
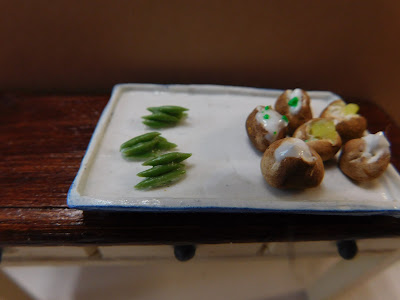
This week we are adding some green beans to our project. I love to make mini green beans because they are so easy and relaxing to make Really the most difficult part is getting the color of the clay correct.
In the past when I have made these I have used a clay color that was labeled as leaf green. I am out of that color so I just pulled out a bunch of the greens that I have on hand and started mixing. What I came up with was a mix of equal parts:

Sculpey III Camouflage Green
Premo! Spanish Olive
Sculpey
III Yellow
Sculpey
III white

Combine these to make a nice green bean color or just sit down with the greens you have a play a bit to come up with a color that is similar to mine.
Once
you have the green mixed it is time to add some Translucent Clay, for
cooked green beans (what we are making today add twice as much
Translucent as you have green. (if you want to make some raw green beans just add an equal amount of the Translucent to the green)
Once the color is well mixed it is time to make the green beans. I do suggest get yourself comfortable and maybe get a movie playing (or just binge watch some YouTube videos like I did)

Roll
the clay into a thin snake

then cut very tiny pieces of clay from the snake.

Transfer
the clay bits to the palm of your hand and first roll it into a tiny
ball

then into a tiny green bean shape.
It is super easy to do and like I said earlier I find it very relaxing.
Once you have you a plate full of beans bake at the temperature directed on your clay for a6 or seven minutes and allow to cool to room temperature.
Now working on a piece of parchment paper form a small blob of TLS (Translucent Liquid Sculpey) and carefully add a few green beans. Try to imagine how they would look on a plate ready to eat them.
If you would like to put some of your beans into a serving dish you can do that the same way just add a bit of TLS and beans in layer, as long as your serving dish can go into the oven.
Bake ate the recommended temperature for 10 minutes and allow to cool to room temperature.
Now apply a very thin layer of Satin Mod Podge and allow to dry.
As always I do want to sincerely thank all of you for watching my videos and reading my blog posts. It means so much to me that you are supporting me in this way. If I could ask you all to do just a bit more by subscribing to the channel and liking the videos and leaving comments. Those help more than you can imagine. Also if you could pass the links on to your friends I would appreciate it so much.
No comments:
Post a Comment