First
sorry this is so late getting up. I ended up getting called into work
an extra day last week then on Sunday my daughter brought my grandson
over for a while. Loved seeing him but I couldn't work on the video
with an almost toddler helping me.
So
this week we are adding some shrubs to the planting beds. I decided
to go this route instead of flowers because I want to leave my porch
on display all year long and decorate it to fit the current season.
Flowers would have been hard to make work that way.
The
shrubs are very simple and use stuff you should be able to get really
easily. In fact you might already have everything you need.
For
the base of our shrub you have many choices. I decided to use scraps
of the pink foam because I have lots of little bits from other
projects. You can use the same or regular Styrofoam, wood shapes, or
even form your base shapes from clay. Or really whatever you have on
hand.
The
next step to add a stem/trunk. This will have 2 uses. First it will
act as a handle while we are working on our shrub then we will use it
to “plant” the shrub. For mine I used plain old round toothpicks.
Again use what you have.
 After
the glue for the stem is dry give the base a coat of paint. Any dark
green (or even black) will work. It should be darker than you will be
painting the foliage and will appear to be a shadow if any of it even
shows. It is just there to prevent the color of whatever you use as a
base from showing in the end. In my case I really didn't want the
pink color to show but unless you use something that is dark colored
for the base do take the time for this step.
After
the glue for the stem is dry give the base a coat of paint. Any dark
green (or even black) will work. It should be darker than you will be
painting the foliage and will appear to be a shadow if any of it even
shows. It is just there to prevent the color of whatever you use as a
base from showing in the end. In my case I really didn't want the
pink color to show but unless you use something that is dark colored
for the base do take the time for this step.
When
the paint dried I then coated the bases with a diluted coat of
ModPodge and covered them with some outdated herbs. I love the
texture the herbs give, they look like leaves on the finished shrubs.
Coat
the herb layer with a diluted coat of ModPodge to act as a sealant.
Otherwise you might find the herbs coming off.
When
this coat dries add a wash of green paint to give your shrubs the
look of a living plant. Remember even if the herbs you use are fresh
now they will fade to a very pale tan over time.
Finally
just put holes in the planting bed where you want to “plant your
shrubs, trim the stem and glue in place.
I
love how these turned out they really added a nice finishing touch to
my porch display.
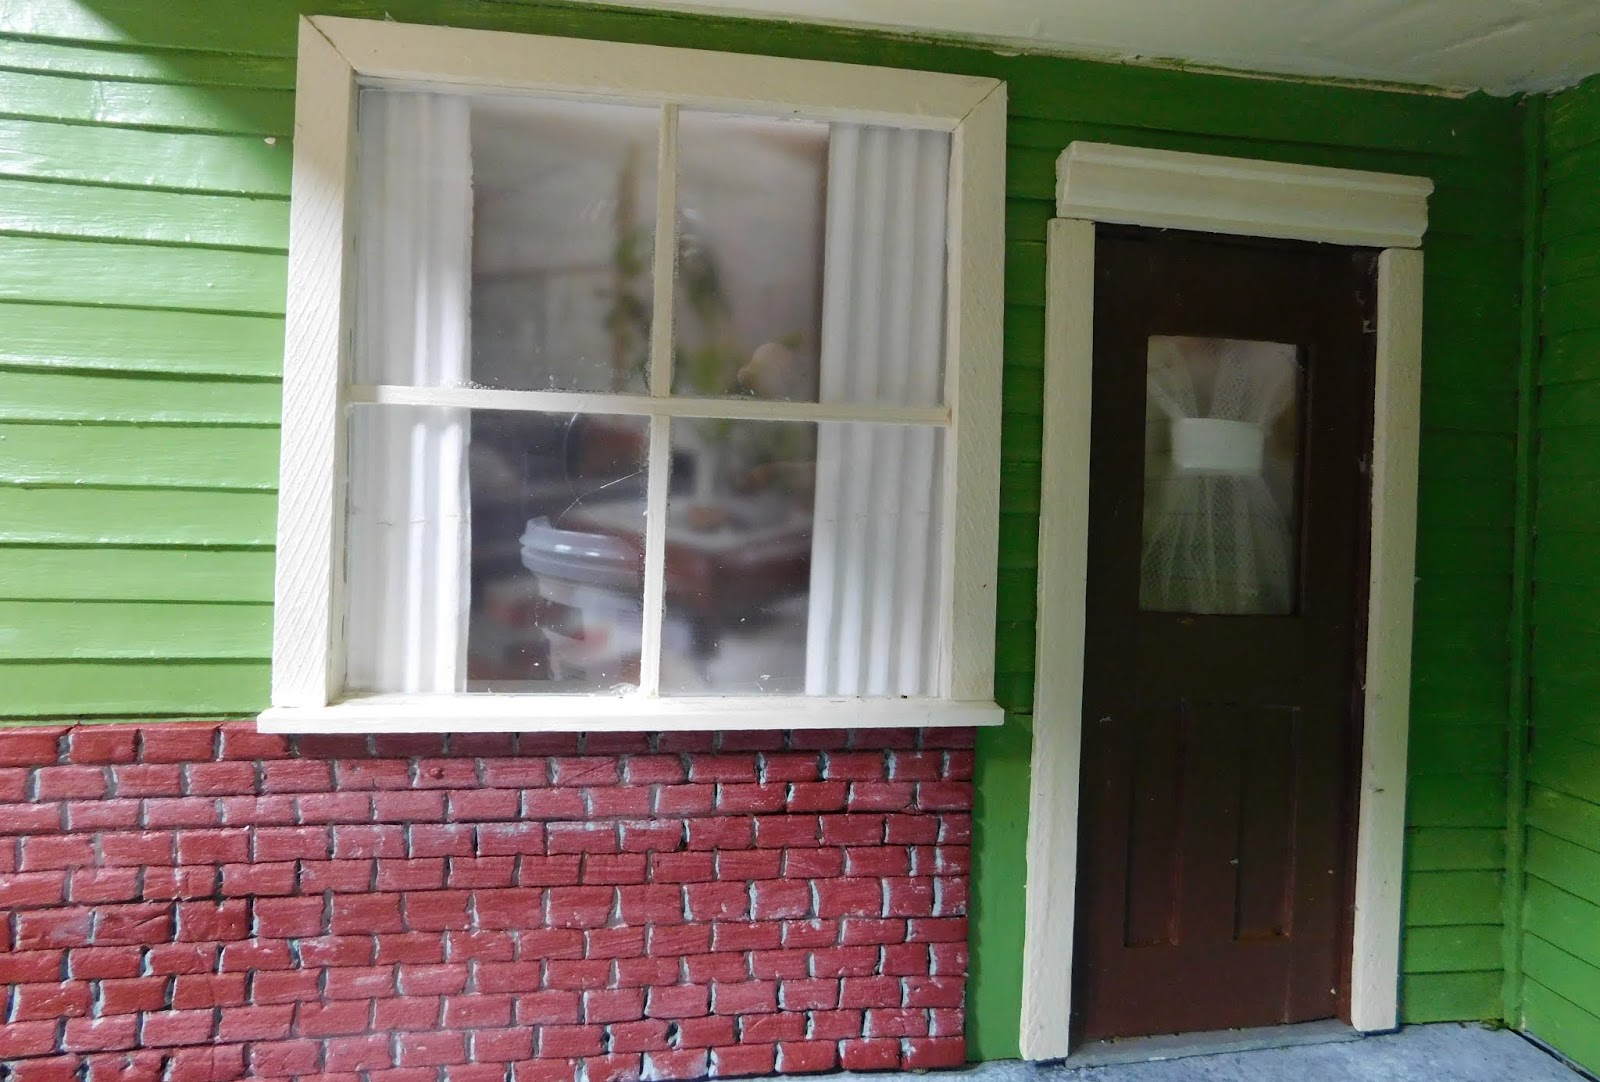
That
being said I think we are pretty much done with our porch project. I
do still need to get a door knob for my front door but other than
that and some seasonal decorations I am ready to display my porch on
the table in my entry. Here's a picture of it in place.
I
will do some tutorials for some of the decorations I make over time.
So
now I need ideas of what you all want to see next. Be sure to let me
know what projects you want to see on the channel.