Check back often

Have you checked out all my blogs?


Dollhouse Minis: http://joannesminis.blogspot.com


18” Dolls: http://joannes18dolls.blogspot.com/


General Crafts: http://joannes-place.blogspot.com/


Cooking: http://joanne-kitchen.blogspot.com/


Also if for some reason I can't post I will try to give a head's up on the Facebook page so check there too.

Wednesday, August 31, 2022

Dollhouse Miniature Stacked Pumpkins


Watch the video here.


I have been seeing these stacked pumpkin decorations all over and I simply love them. I decided they would be a lot of fun to make for the dollhouse so that is today’s project.


The set I made today is big enough to display outside on the dollhouse porch but you could easily make it smaller for an indoor tabletop decoration also.


Another thing you could change up is the both the colors of the pumpkins and the shape of them. I went with a fairly neutral color palette of a toned down orange with some brown/beige tones added in. But I am seeing pumpkin decorations in many other colors so pick what you love and go with it.


As for shape some of the of the real size ones I saw had tall pumpkins and some had short flatter ones. I loved the look of the shorter flattened ones so again that was what I made today.


You could also add a Jack-o-lantern face to all or some of the pumpkins and make this a Halloween decoration.


For the one I made I used one of those wooden plant pots that you can buy at the craft-store. Mine measured a 1” across at the top and was 1” tall. You can pick whatever container you want for yours. Again the real ones vary so much so look through your stash to see what you have on hand.


I painted the pot as plain black because that was the look I liked the best.


Then I mixed my clay colors.


My base color was Fimo in Cognac, which I love for a muted pumpkin color. This was what I used for the middle pumpkin. I mixed some dark brown (Sculpey III in Suede Brown) with some for the bottom pumpkin. For the top one I mixed in some white to the base color to give me nice ombre effect in my colors.


For the stem I mixed some lighter brown (Sculpey III in Hazelnut) with some white to give that dried stem color.


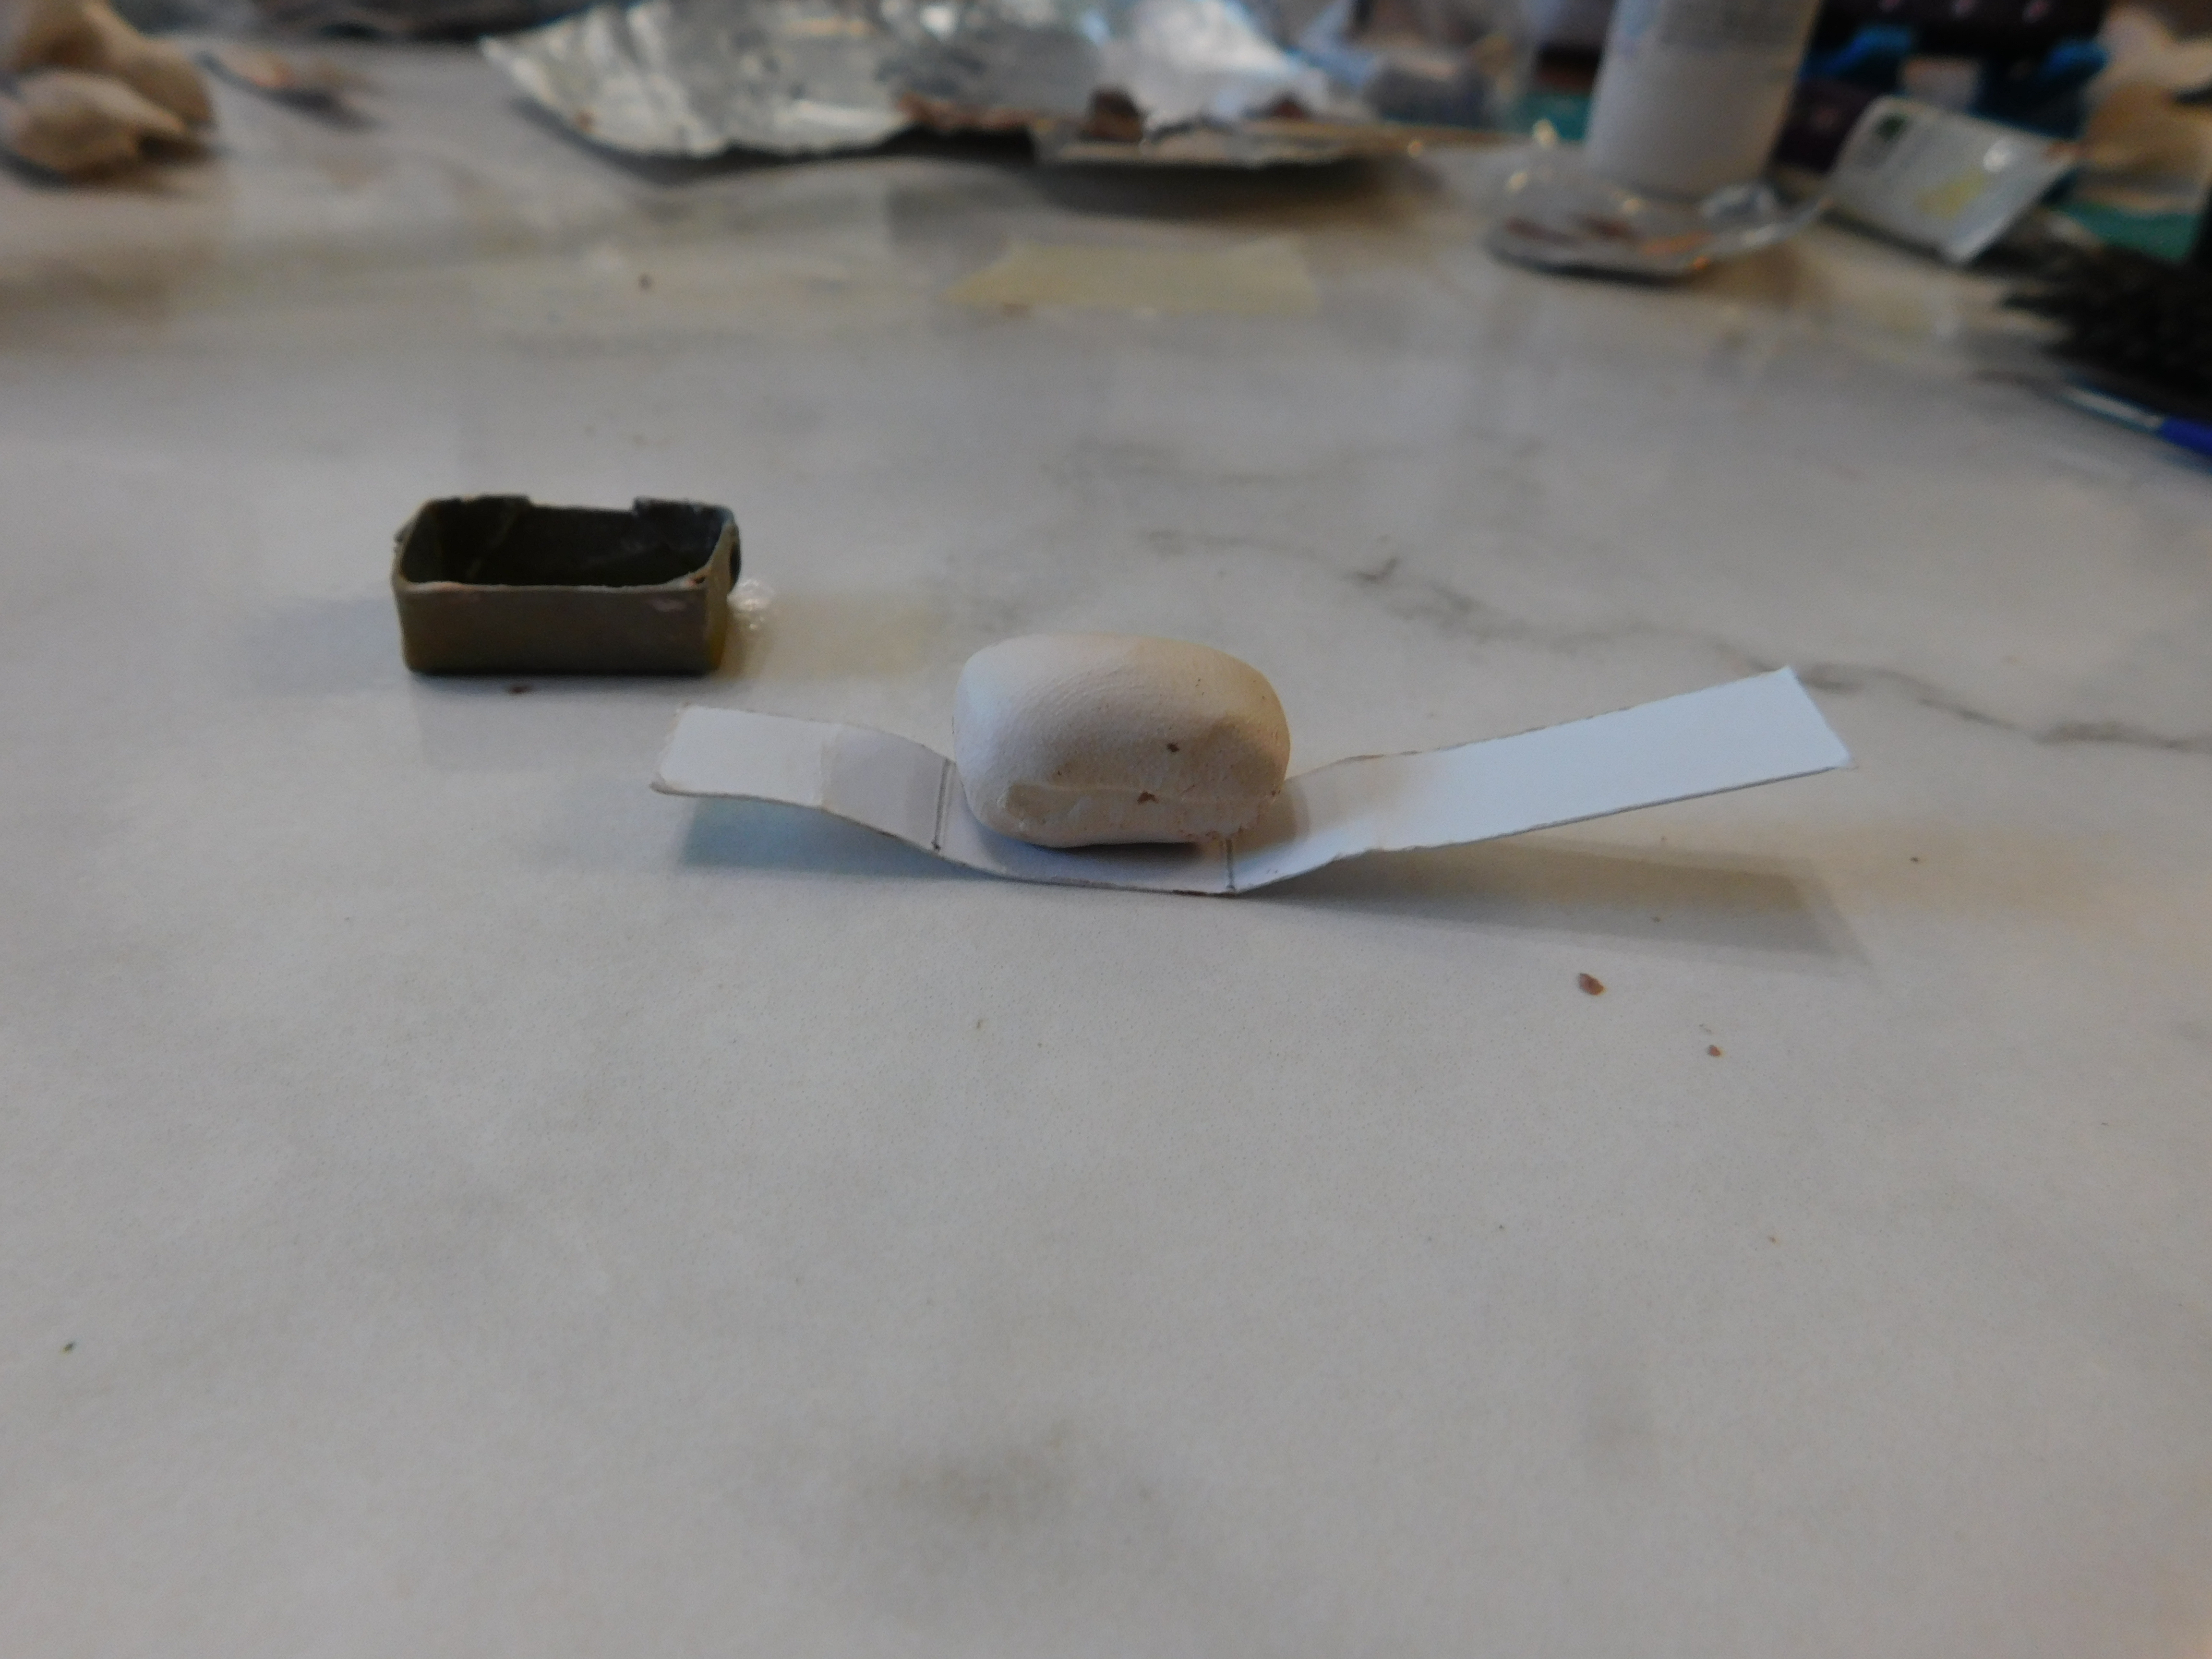
How much clay you need will depend on how big of a container you are using for your base and what shape you want for your pumpkins. Make a ball of the color for the bottom pumpkin and flatten it as much as desired. Then fit it to the top of whatever base you are using. When you have the size you like add the lines to the sides of the pumpkin, I used a toothpick for this step. Test fit the pumpkin to your base again in case you distorted the shape while adding the detail.


Now with the middle pumpkin color make a slightly smaller ball and shape shape it as desired. Try it on you bottom pumpkin and when you are happy with it add the lines the same way as before.


For the top pumpkin use the color you have chosen to make a smaller ball of clay and then shape it into a pumpkin. This one will have a few more details. Use a ball tool to make a dent at the top and smooth it out then add the lines to sides.


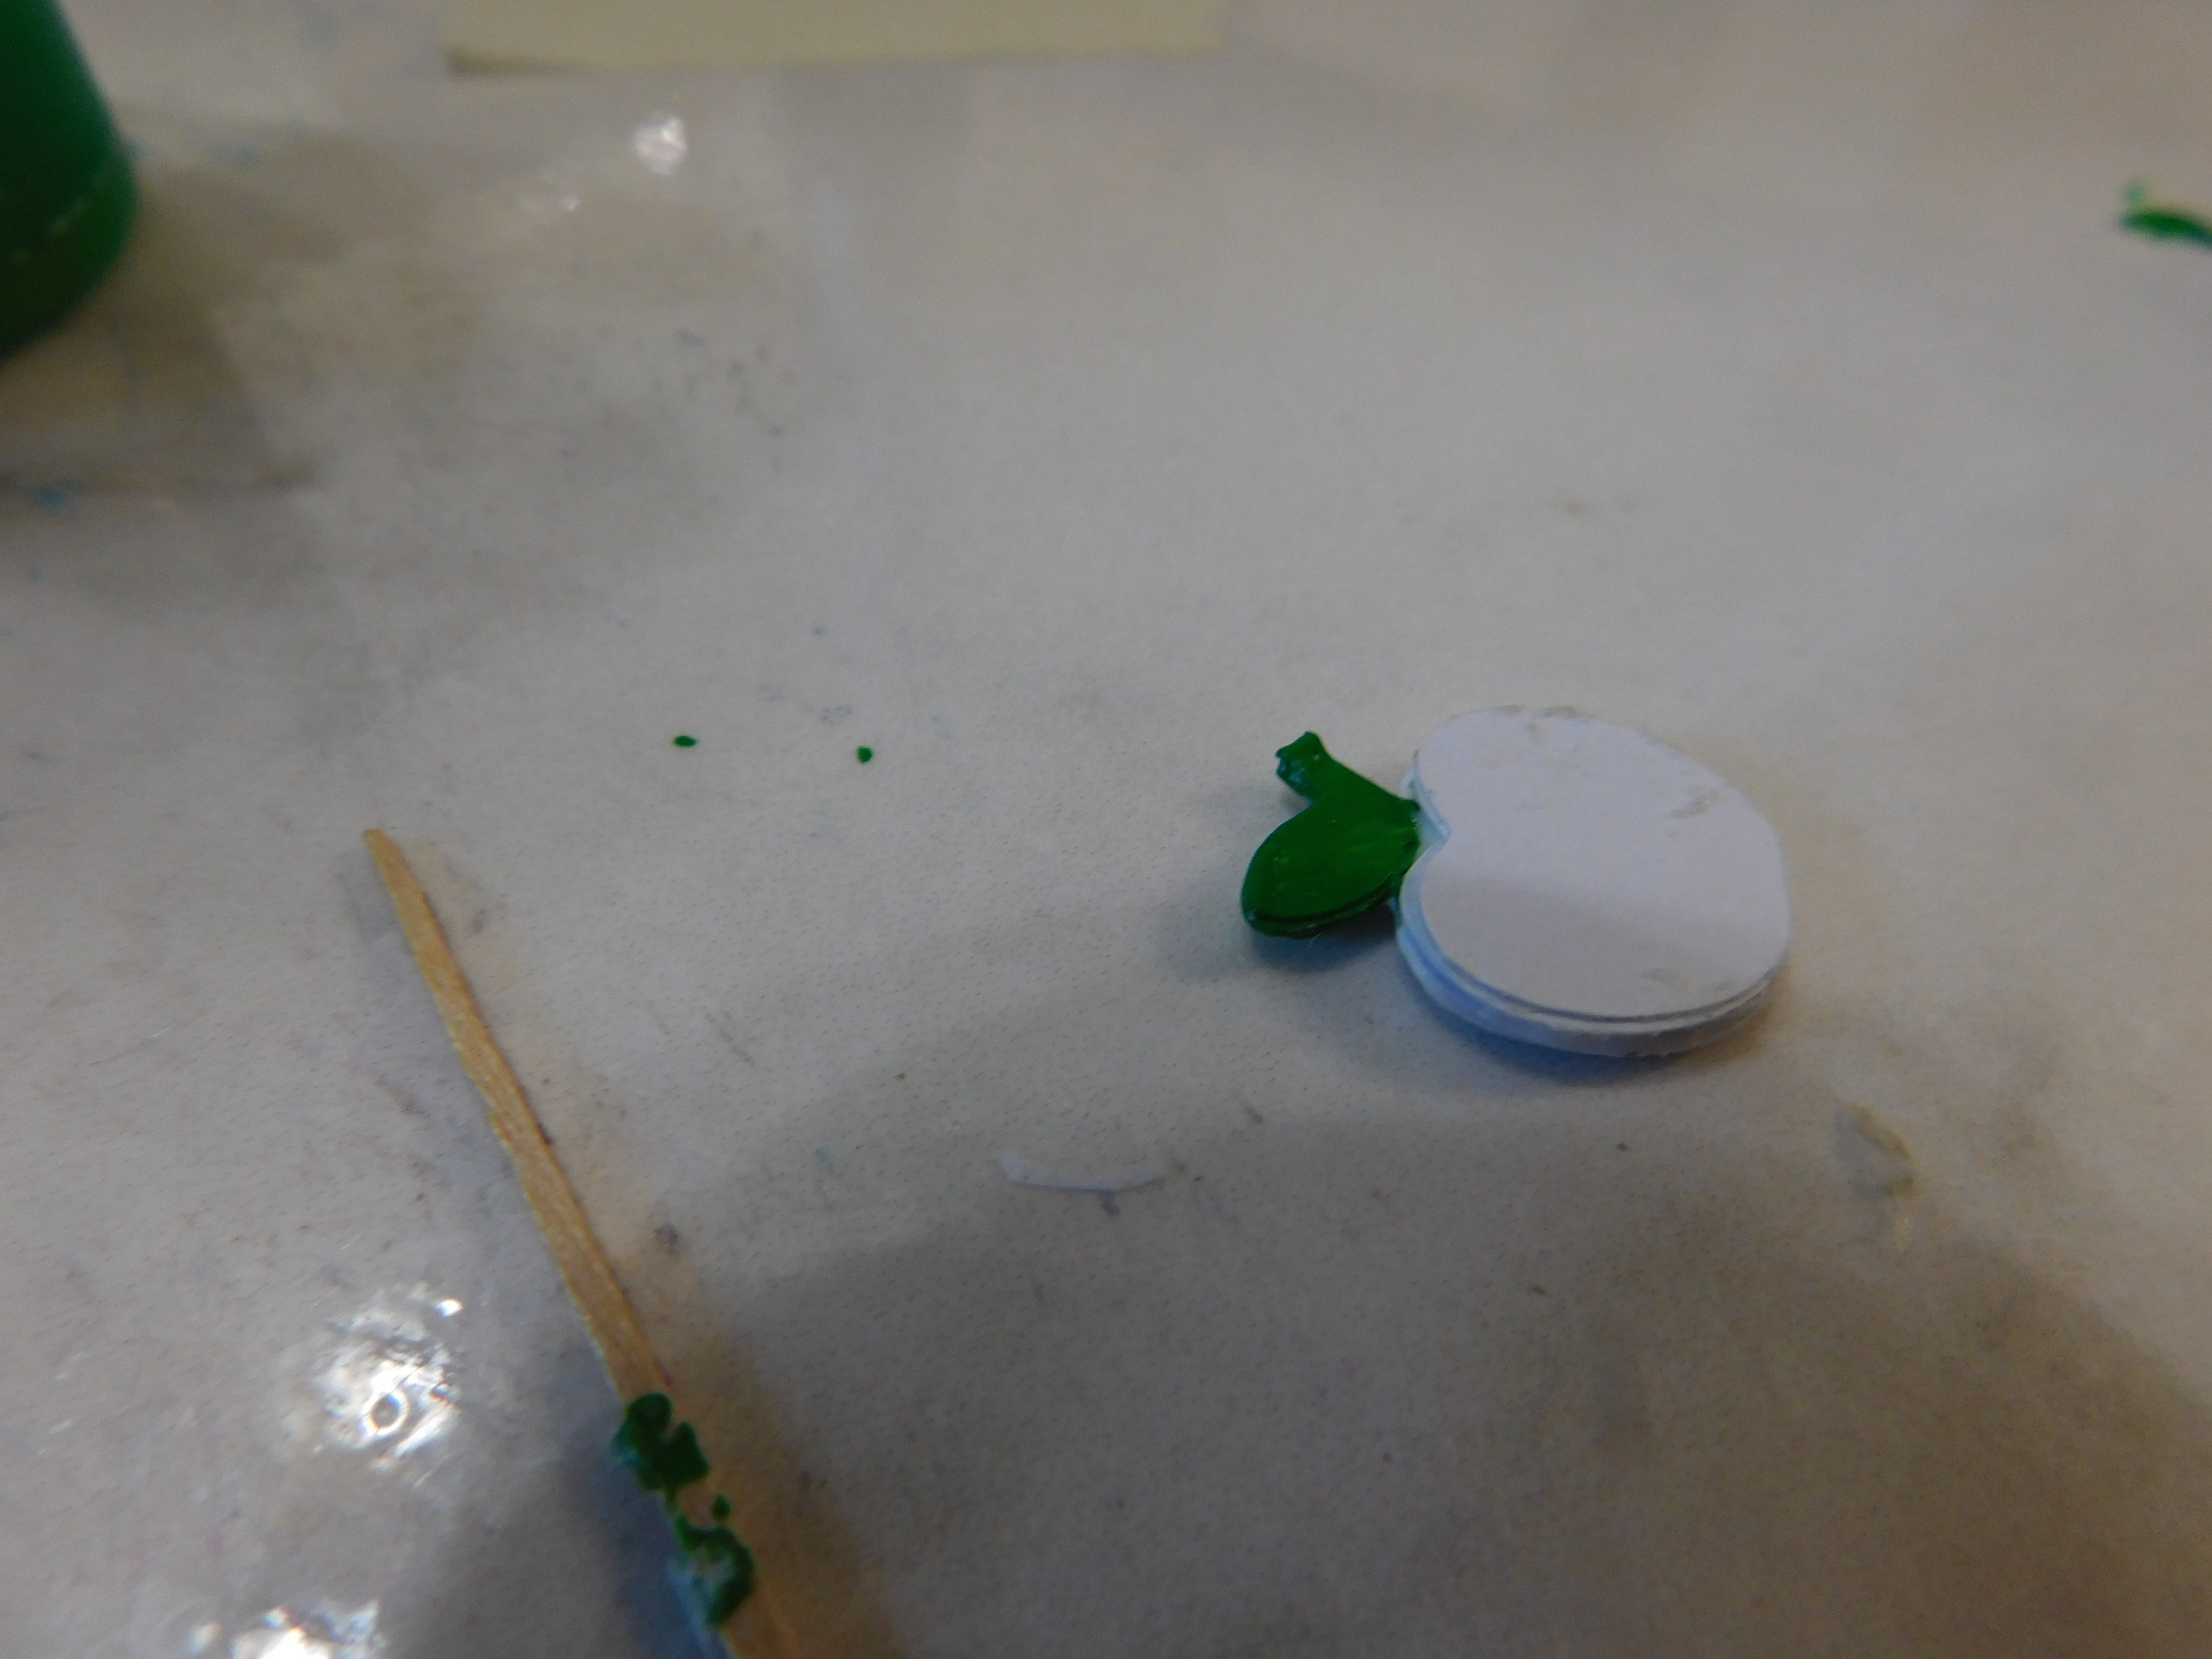
Use the light brown/beige clay to form a stem for the top.


Stack you pumpkins the way you want them. It is a good idea to try them on your base to make sure you have the look you are going for. Them bake the pumpkin stack for 30 minutes at a slightly lower temperature than called for on the clay package.


While the pumpkins baked I finished my pot with some Satin Mod Podge so it would be dry when my pumpkins cooled.


Now you can glue the pumpkins onto the top of your base or leave them loose. I choose not to glue in case I want to display them differently in the future. Since mine sits nicely on their own they will be fine not glued. If you do glue be sure to use a glue that is polymer clay friendly.


Black paint, Mod Podge. and brushes provided by Plaid for use in videos.


As always I do want to sincerely thank all of you for watching my videos and reading my blog posts. It means so much to me that you are supporting me in this way. If I could ask you all to do just a bit more by subscribing to the channel and liking the videos and leaving comments. Those help more than you can imagine. Also if you could pass the links on to your friends I would appreciate it so much.


Sunday, August 28, 2022

Dollhouse Miniature Fall Tabletop Decoration


Watch the video here.


Today I thought it would be fun to replicate in miniature a little fall decoration I recently picked up in real size. I was at the local Family Dollar store and they had just finished putting out some new fall decorative items. In amongst them I saw this cute tabletop decoration. Now to be honest I wasn’t going to buy anything that day but then little guy was just sitting there and I knew it would be perfect to make in miniature. I also know it will fit in on my fake fireplace since the decorations were a little sparse last year.


So to begin we need to gather just a couple of items. A couple of regular craft-sticks and a white chenille stem. For coloring those we will need a few paints (we’ll talk about those in a minute) and some alcohol markers.


Start by cutting the craft-sticks in the following sizes:

2 @ 1”

2 @ ¼”

1 @ ½”

1 with a roof peak that measures 5/8” from the tip of the peak to the base.


Glue the two 1” pieces together and clamp to hold until at least mostly dry. This well be the base of our piece.


Now glue the peaked craft-stick piece and the ½” one like this to form the little house.


Meanwhile use a pair of scissors to trim the chenille stem into a tree shape and color with the alcohol markers. Ideally if you have a brown one that would probably work alone. I didn’t have one so I used a yellow one first to coat it then just a touch of orange on the tips of what are now the branches. Set this aside to dry until later.


Once the glue dried mark the middle of the long unit and glue the 2 tiny pieces to the front like this. Allow to dry.


Now we can paint, I used some vanilla cream paint for the base piece. Then mix a tiny bit of the same paint with a brown (I used Woodsy Smoke) to make a beige color and paint the house part. Allow to dry.


Now add the details. On the house part use the cream color to add the roof details and a door and windows. Then first with a pencil write the word FALL on the base and they using a toothpick apply some rust[orange color paint (I used Buttered Yam) to the letters. Allow to dry.


Once dry glue the house to the top of the base. Cut the tree free of the rest of the stem and glue next to the house and allow to dry.


There you have a cute little fall tabletop decoration for your dollhouse. Here is the one I made in the video next to it’s real counterpart. I think I did a pretty good job of scaling it down for the dollhouse.


As always I do want to sincerely thank all of you for watching my videos and reading my blog posts. It means so much to me that you are supporting me in this way. If I could ask you all to do just a bit more by subscribing to the channel and liking the videos and leaving comments. Those help more than you can imagine. Also if you could pass the links on to your friends I would appreciate it so much.


Saturday, August 27, 2022

Dollhouse Miniature Swirled Bread


Watch the video here.


Today we are going to make some sliced loaves of bread that look like they were baked in our bread pans. I am concentrating on loaves of bread that are swirled today, a cinnamon swirl and a swirled marble rye. I did have another more festive bread that I wanted to fit into to today’s tutorial but there just wasn’t enough time. I have made a note in my calendar to make it closer to the holidays.


We are starting with the cinnamon swirl bread, it is actually the more difficult of the two and by far the most messy. I wanted to get it out of the way so I would know how much time I was going to have once it was done.


We will be using the same clay mixture we used last week for the loaves of bread a mix of 4 parts white with 1 part Fimo Sahara (or any beige)


We also need out liquid clay, since I am almost out of TLS (Translucent Liquid Sculpey) I used the white liquid clay I got recently. This meant an adjustment from my normal color mixture to compensate for the white. We are mixing the clay with oil paints like we often do. Normally with TLS I use just some burnt sienna but for the mixture this time I added a bit of burnt umber to darken it up. I added just a bit and baked a sample then added a bit more until I got a color I could work with that would still bake correctly. Remember if you add too much of the paint the liquid clay won’t cure correctly. If I were to remake this I would add a bit less of the umber and a bit more of the sienna to make the mixture just a touch more on the warm side.


I also made a “lifter” out of a strip of card-stock that is the same width as the loaf pan and long enough to fold up the sides and give handles. I was careful to size this so the bottom area fit really well. I made several because these are going to get messy and you will want a fresh one from time to time. The lifter allows us to form our clay bread in the pan to form the loaf then lift it out with minimal damage to the shape.


Measure out a piece of the clay that fits in your loaf pan the way you want it to. Then roll it out flat into a strip that is narrower that the length of the loaf pan. Use the lifter to help you size the piece.


Then spread some of the liquid clay mixture over the surface.


Roll the clay up to form the swirled loaf and put into the pan with the lifter under it.


Remove carefully and tweak the shape as much as you can.


At this point I placed my loaf in the freezer for 10 minutes to firm up since both clay and the liquid clay were making the piece very soft and hard to work with.


Once the loaf is firm touch up the shape as you need to until you are happy with it.


Now dust with artist chalks to make the bread look baked. We are using the normal 3 colors I use for most baked goods: yellow ocher, reddish brown, and brown.


Start with the yellow ocher and cover the entire outside of the loaf.


Now with the reddish brown cover the top, ends and bit on the sides. Using less of this color than the yellow.


Lastly just a hint of the brown on the very top of the loaf. Be really careful not to overdo the brown or it will look like Mrs. Doll burnt the bread.


Now you will probably need to stick this back in the freezer for another 10 minutes to firm up again.


Once firm you can use your clay knife to cut as many slices as you want.


Now we texture, the first step is a rough texture using a wire brush. Just a bit, you won’t see much of this ideally it just cuts down on how much of the next step you need to do.


Now using your favorite “pointy” tool lightly tease the cut surface of the bread to raise crumbs and add texture. It will help to have either some real bread or a picture to look at.


Lastly to accent the cinnamon swirl I used a clean toothpick to add just a tiny bit in areas where I felt it would look like there were pockets of the cinnamon in the loaf.


Now if you are going to display you slices stacked like I am lay them out that way and the loaf is ready to bake. I am going to make the second variety and bake both together.


Now for the swirled marble rye, this one is easier and much quicker to make. Also not nearly as messy. LOL


We are starting with the same bread color clay, portion of the amount you need to fill your bread pan the way you would like it to be.


Now cut the clay in half then cut one of those halves in half again. Exchange one of those small pieces of bread color for a dark brown clay. Combine the two small pieces to make the rye portion of your loaf.


Now simply roll both colors out separately like we did in the last loaf. 


Then stack the rye color on top of the base color and roll up in a swirl pattern.


Form you loaf and insert it into the bread pan along with the lifter to work on the shape further.


Now carefully remove from the pan using the lifter and work on the shape of your loaf.


At this point I put mine in the freezer you could chalk yours before or after freezing.


Now chalk just like the other loaf using the same colors of chalk.


Slice as many slices as desired and texture with the wire brush and pointy tool. Stack your slices if desired.


Bake both loaves at the temperature recommended for your clay for 20 minutes. I am baking this longer because of how thick the loaves are and we need to make sure both the clay and the liquid clay cure completely.


Once cooled your bread is ready to display in you mini scene. 


As always I do want to sincerely thank all of you for watching my videos and reading my blog posts. It means so much to me that you are supporting me in this way. If I could ask you all to do just a bit more by subscribing to the channel and liking the videos and leaving comments. Those help more than you can imagine. Also if you could pass the links on to your friends I would appreciate it so much.

Wednesday, August 24, 2022

Dollhouse Miniature Tabletop Apple Decoration


Watch the video here.


This week I decided it would be fun to make an apple shaped tabletop decoration for the dollhouse. I wanted to make this as easy as possible and still get the apple shape I wanted. So I used my graphics program and made you bot a pattern for hand cutting the shape and a PNG image that can be used on an electronic cutting machine. You will find the files here along with some quick instructions on how to use them.


I was inspired for this project by several similar decorations I found online for real size. I love the simple apple shape and I think I captured the feel of what I was going for. I also kept this super simple so you make several of them if you wish.


I designed this project to be made mostly of medium weight card-stock. I find with the correct number of layers it is a very sturdy materiel when finished but still really easy to work with. I did make up the apple from some of my 140 lb watercolor paper and while it works nicely I think the card-stock ones came out much better.


Let’s talk about the files I have created for you.


For those of you that will be hand-cutting your pieces I have made a PDF that you can print on your home computer printer and use. If you can print on medium weight card-stock with your printer go ahead and print directly on that. If you print on plain paper and transfer the design to the card-stock. Then just cut out the shapes and follow the steps from the video. I did you a condensed version of the steps on the PDF to refer to while working.


For those of you with a Cricut or similar machine I have created a PNG to use on those. All you have to do is upload it to your machine and size it to a 2” square. Then let the machine do all the cutting for you. This is the same file I used on my machine and it worked wonderfully.


Before you ask you are of course free to sell items made from this pattern, if you want to give me credit I would appreciate it but it is not required. However, please don’t pass on or sell the pattern itself. If someone else wants the pattern share the link to my video or blog with them and let them download the patterns themselves, Thank you in advance.


Now on to making our apples. We stat with our 9 pieces we cut from the pattern, 3 apples with stem/leaf and 6 without. 


Divide them into sets of three that match and glue the sets. Be as careful as possible to line all the edges up. Set aside to dry.


Now we are going to use some green paint to paint the stem and leaf area. You could of course paint the stem brown and the leaf green but I decided especially for the video that one color here would be much better. You don’t need to paint much of the apple area just the stem and leaf and a bit down to be sure there won’t be any white showing when we glue the pieces together. Paint both sides and be sure to paint the edges too.


Allow to dry completely.


Now we will glue all three sets together sandwiching the set with the stem in between the two sets without. This gives our apple some dimension.


Do your best to line up all the edges up neatly. Allow this glue to dry.


Now if needed you can use some sandpaper to give the edges a final smoothing. Then paint the apple portion with red paint. Be sure to get both sides and the edges again and allow to dry.


While the apple dries we can make the stand it will sit on. I used a piece of a regular craft-stick that was cut ¾” long. I then used some dark brown paint and stained ti. Allow this to dry completely also.


Now we just need a bit of glue to attach the apple to the stand. Before you glue it though check to see if your apple with stand on its own. If not use some sandpaper to smooth the bottom edge until it will stand the way you want it to. Then dip into a bit of glue and place it on the stand. Allow to dry.


Give the entire piece a coat of Satin Mod Podge and allow to dry.


There we have a really cute apple decoration to stand on a table in the dollhouse. I was thinking this wold also be great if you are making a mini classroom or teachers desk scene. 


A big thank you again this week to plaid for providing most the paint, the brushes and the Mod Podge used in the video.


As always I do want to sincerely thank all of you for watching my videos and reading my blog posts. It means so much to me that you are supporting me in this way. If I could ask you all to do just a bit more by subscribing to the channel and liking the videos and leaving comments. Those help more than you can imagine. Also if you could pass the links on to your friends I would appreciate it so much.