Just like with all of our door mats lately I am using a 1 ½” by 2 ½” piece of felt as the base. This is the same stuff I have been using for all the door mats in this series and it is the type of felt that is sold by the yard in the fabric store as opposed to the squares from the craft store. This felt is a bit thicker so I feel it looks better but either will be fine.

The first step is a nice coat of Mat Mod Podge, this seals the felt so that that layer of paint will go on more evenly and we won't need as much paint. The Mod Podge will take a while to dry and you do want it to be dry before you add the paint.

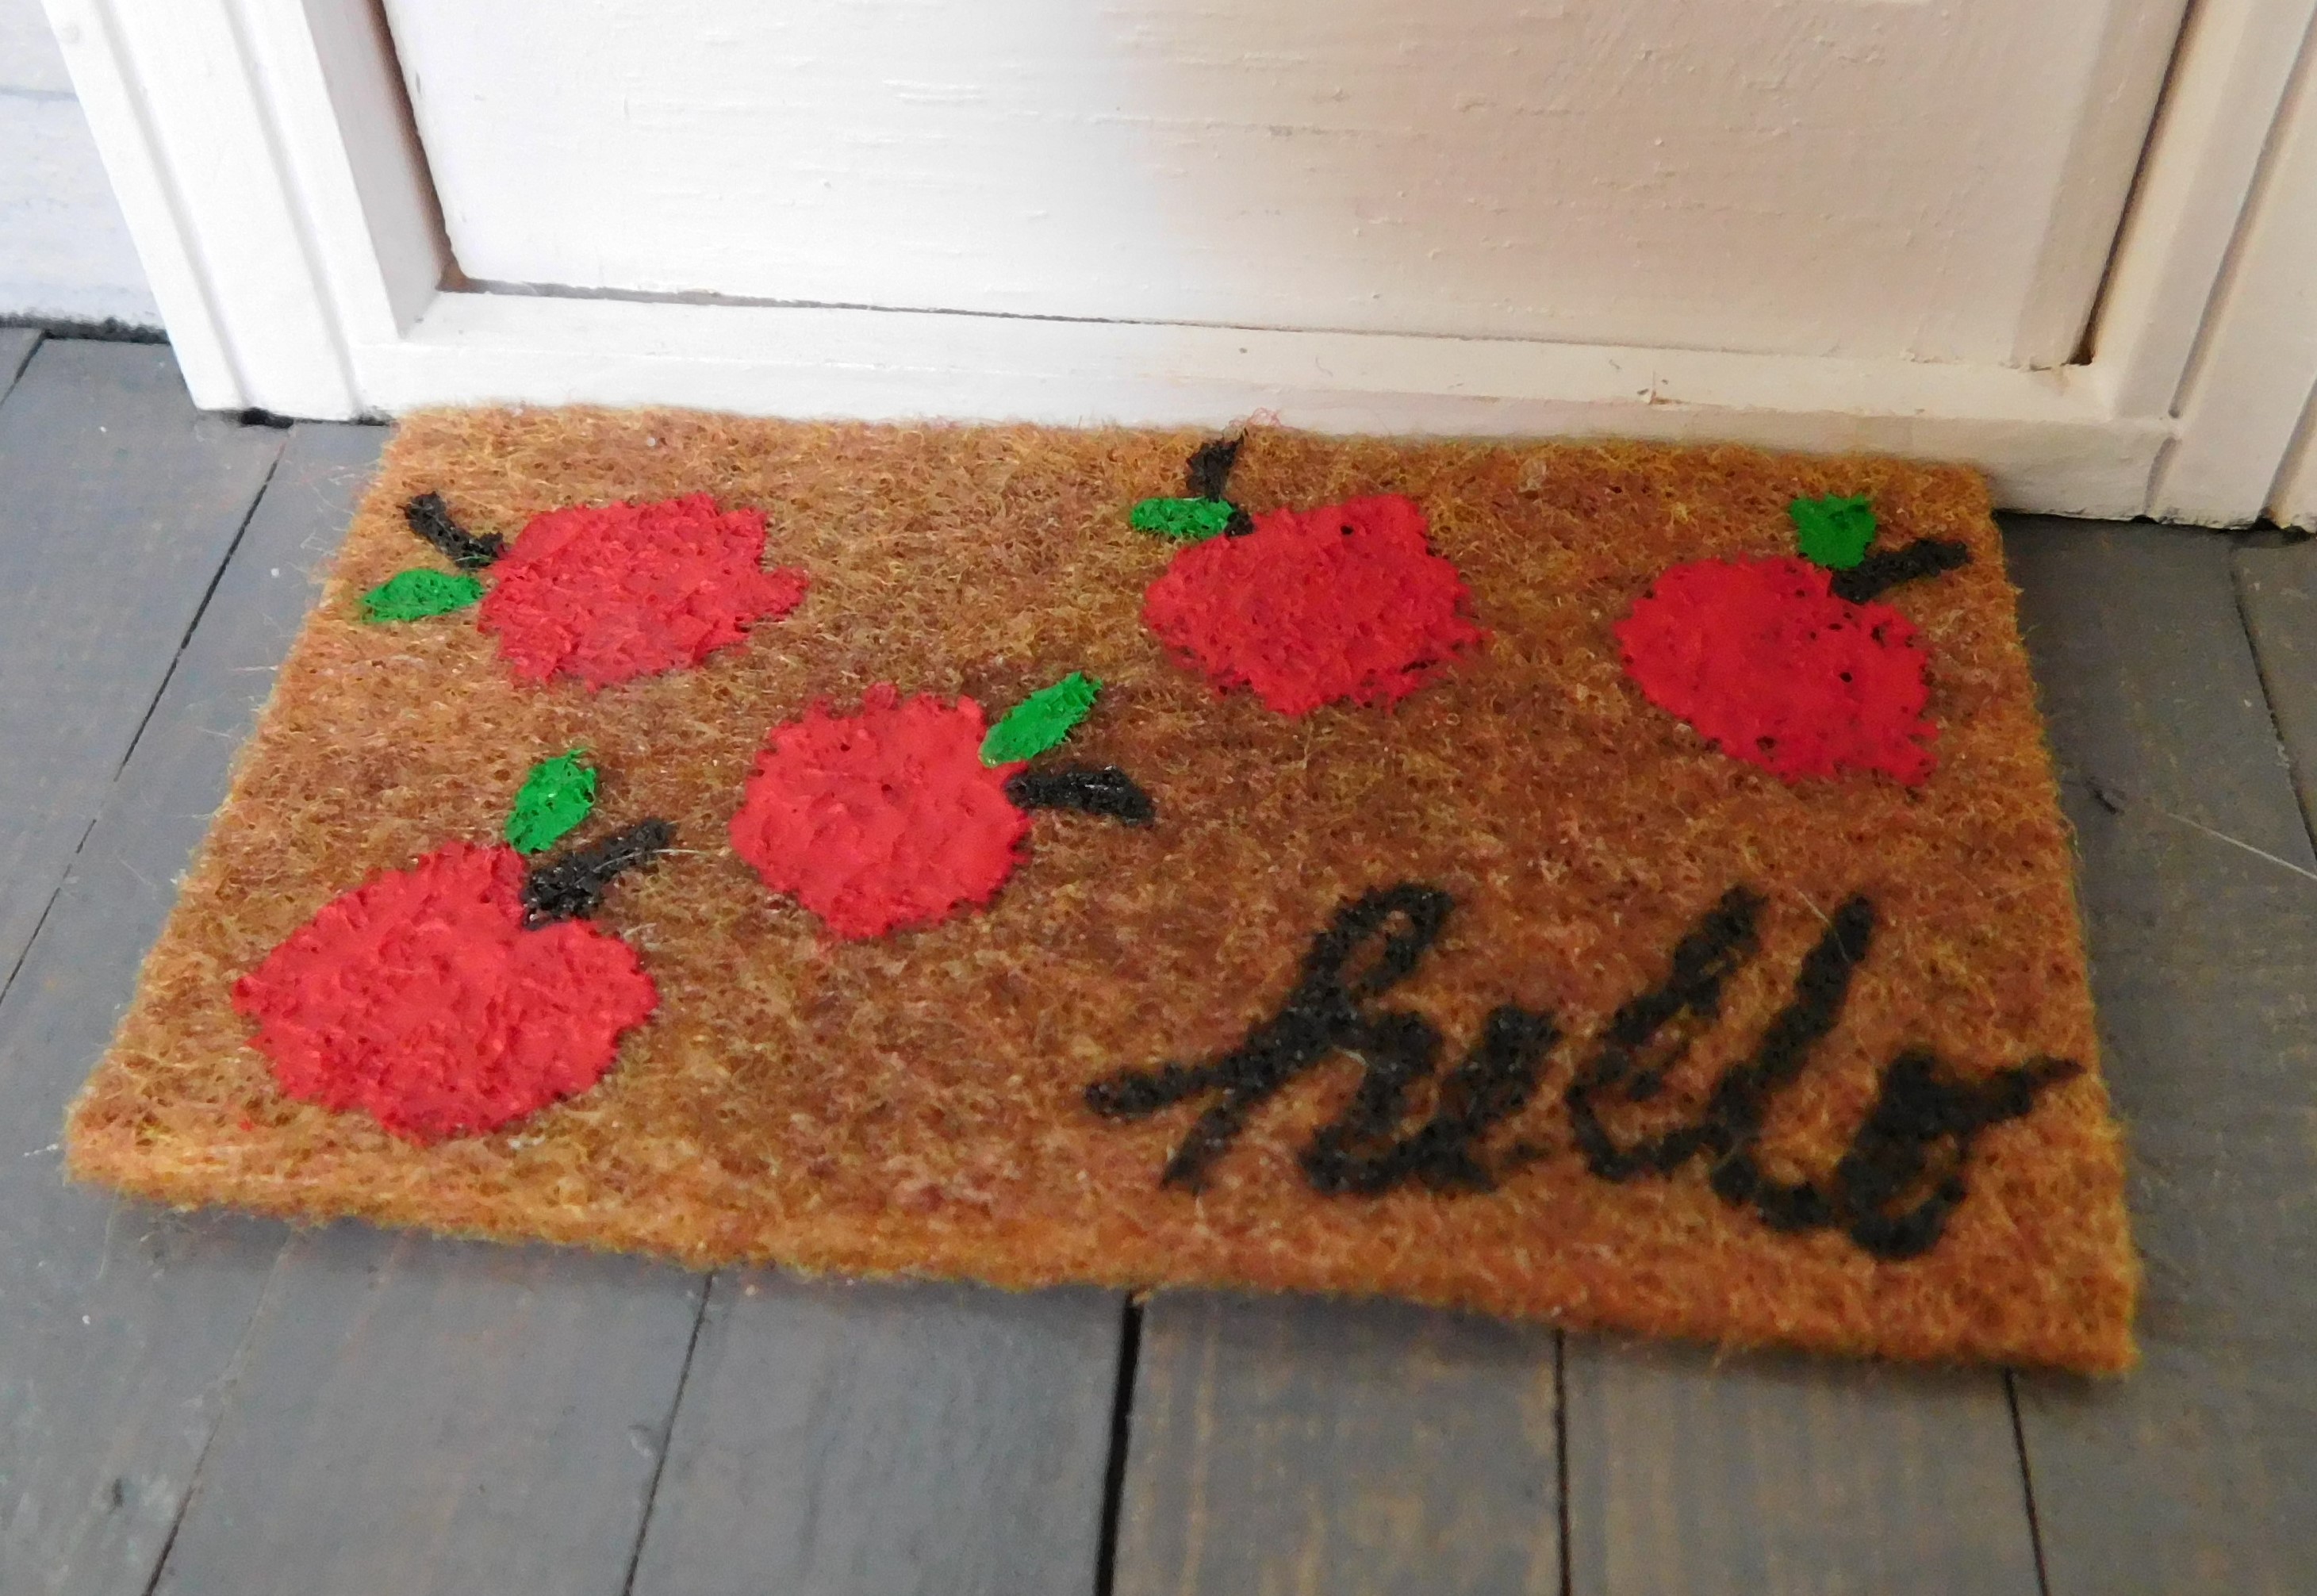
Once the Mod Podge has dried thoroughly we can start decorating our doormat. This month I am starting by writing the word hello in the bottom right hand corner. I did this in cursive and tried my best to make it look as good as possible. I used a fine tip paint pen for this step. These paint pens are fantastic when you want to get small details.

Once the lettering was dry enough that I was sure it wouldn’t smear I added some red blobs that will be our apples. I added 5 of them since that was the number that were on the inspiration doormat I found online. I also think that 5 look really nice on the doormat without making it look too busy. Allow this paint to dry before proceeding.

Next I wanted to add a stem to each apple. I normally would have used a brown paint for this but I didn’t think any of the brown paints I had would show up on the doormat so I used the same black paint pen I used for the lettering. I like that the stems do show up this way. I was careful to try to make each apple face a slightly different way so that they will look like they are randomly falling. Allow this paint to dry.

Now we can add a leaf to each apple. I did try to have all my leaves on the same side of the stem on each apple. I think this helps it to not look too busy and look more pulled together. For this I just used a small brush and some green paint.
For the most part I am using the same paints I used last week for the apple garden flag so that they will look like a set when displayed at the same time.
Once the paint is dry your doormat is ready to put in place. I am so happy with how this one turned out.

A big thank you to Plaid for the paints they sent to me to use in videos on the channel.
As always I do want to sincerely thank all of you for watching my videos and reading my blog posts. It means so much to me that you are supporting me in this way. If I could ask you all to do just a bit more by subscribing to the channel and liking the videos and leaving comments. Those help more than you can imagine. Also if you could pass the links on to your friends I would appreciate it so much.
No comments:
Post a Comment