This week for our Saturday Tutorial we are making some loaves of bread to go in the bread pans we made last week. If you missed that tutorial here you can find the video here.
I start with showing you my favorite clay color mix for a basic bread. I mix some white with a beige/tan color depending on the exact colors of clay the ratio can be a bit different. This time I used 4 parts Premo white with 1 part Fimo Sahara. I looked back on the last bread tutorial I made and I used slightly different colors and it was a 2:1 ratio because the beige was a bit lighter. So you can see it is easy to make this work no matter what brand of clay/colors you have. Just start with small amounts and add/adjust to get the color you need.
This week we are concentrating on bread that is permanently attached to the pan. Later we will be making some loaves that are not in the pans including some sliced fun ones.

I decided to start with the dough in a pan since if you are baking bread in real life this is a very important stage of baking bread. For this depending on how full you fill the pan will determine where in the baking process your dollhouse dolls are at. You could also use this clay the same way in a bowl or on a bread broad. Use whatever liquid polymer clay you have to make sure the bread stays in the container.

Now onto the baked bread. I start by folding a narrow strip of paper to act as a lifter. This way I can place the lifter in the pan, form the clay loaf on top of it then safely lift the bread without distorting it. Without this lifter it would be very difficult to lift the raw clay out and keep the shape you have worked to create.


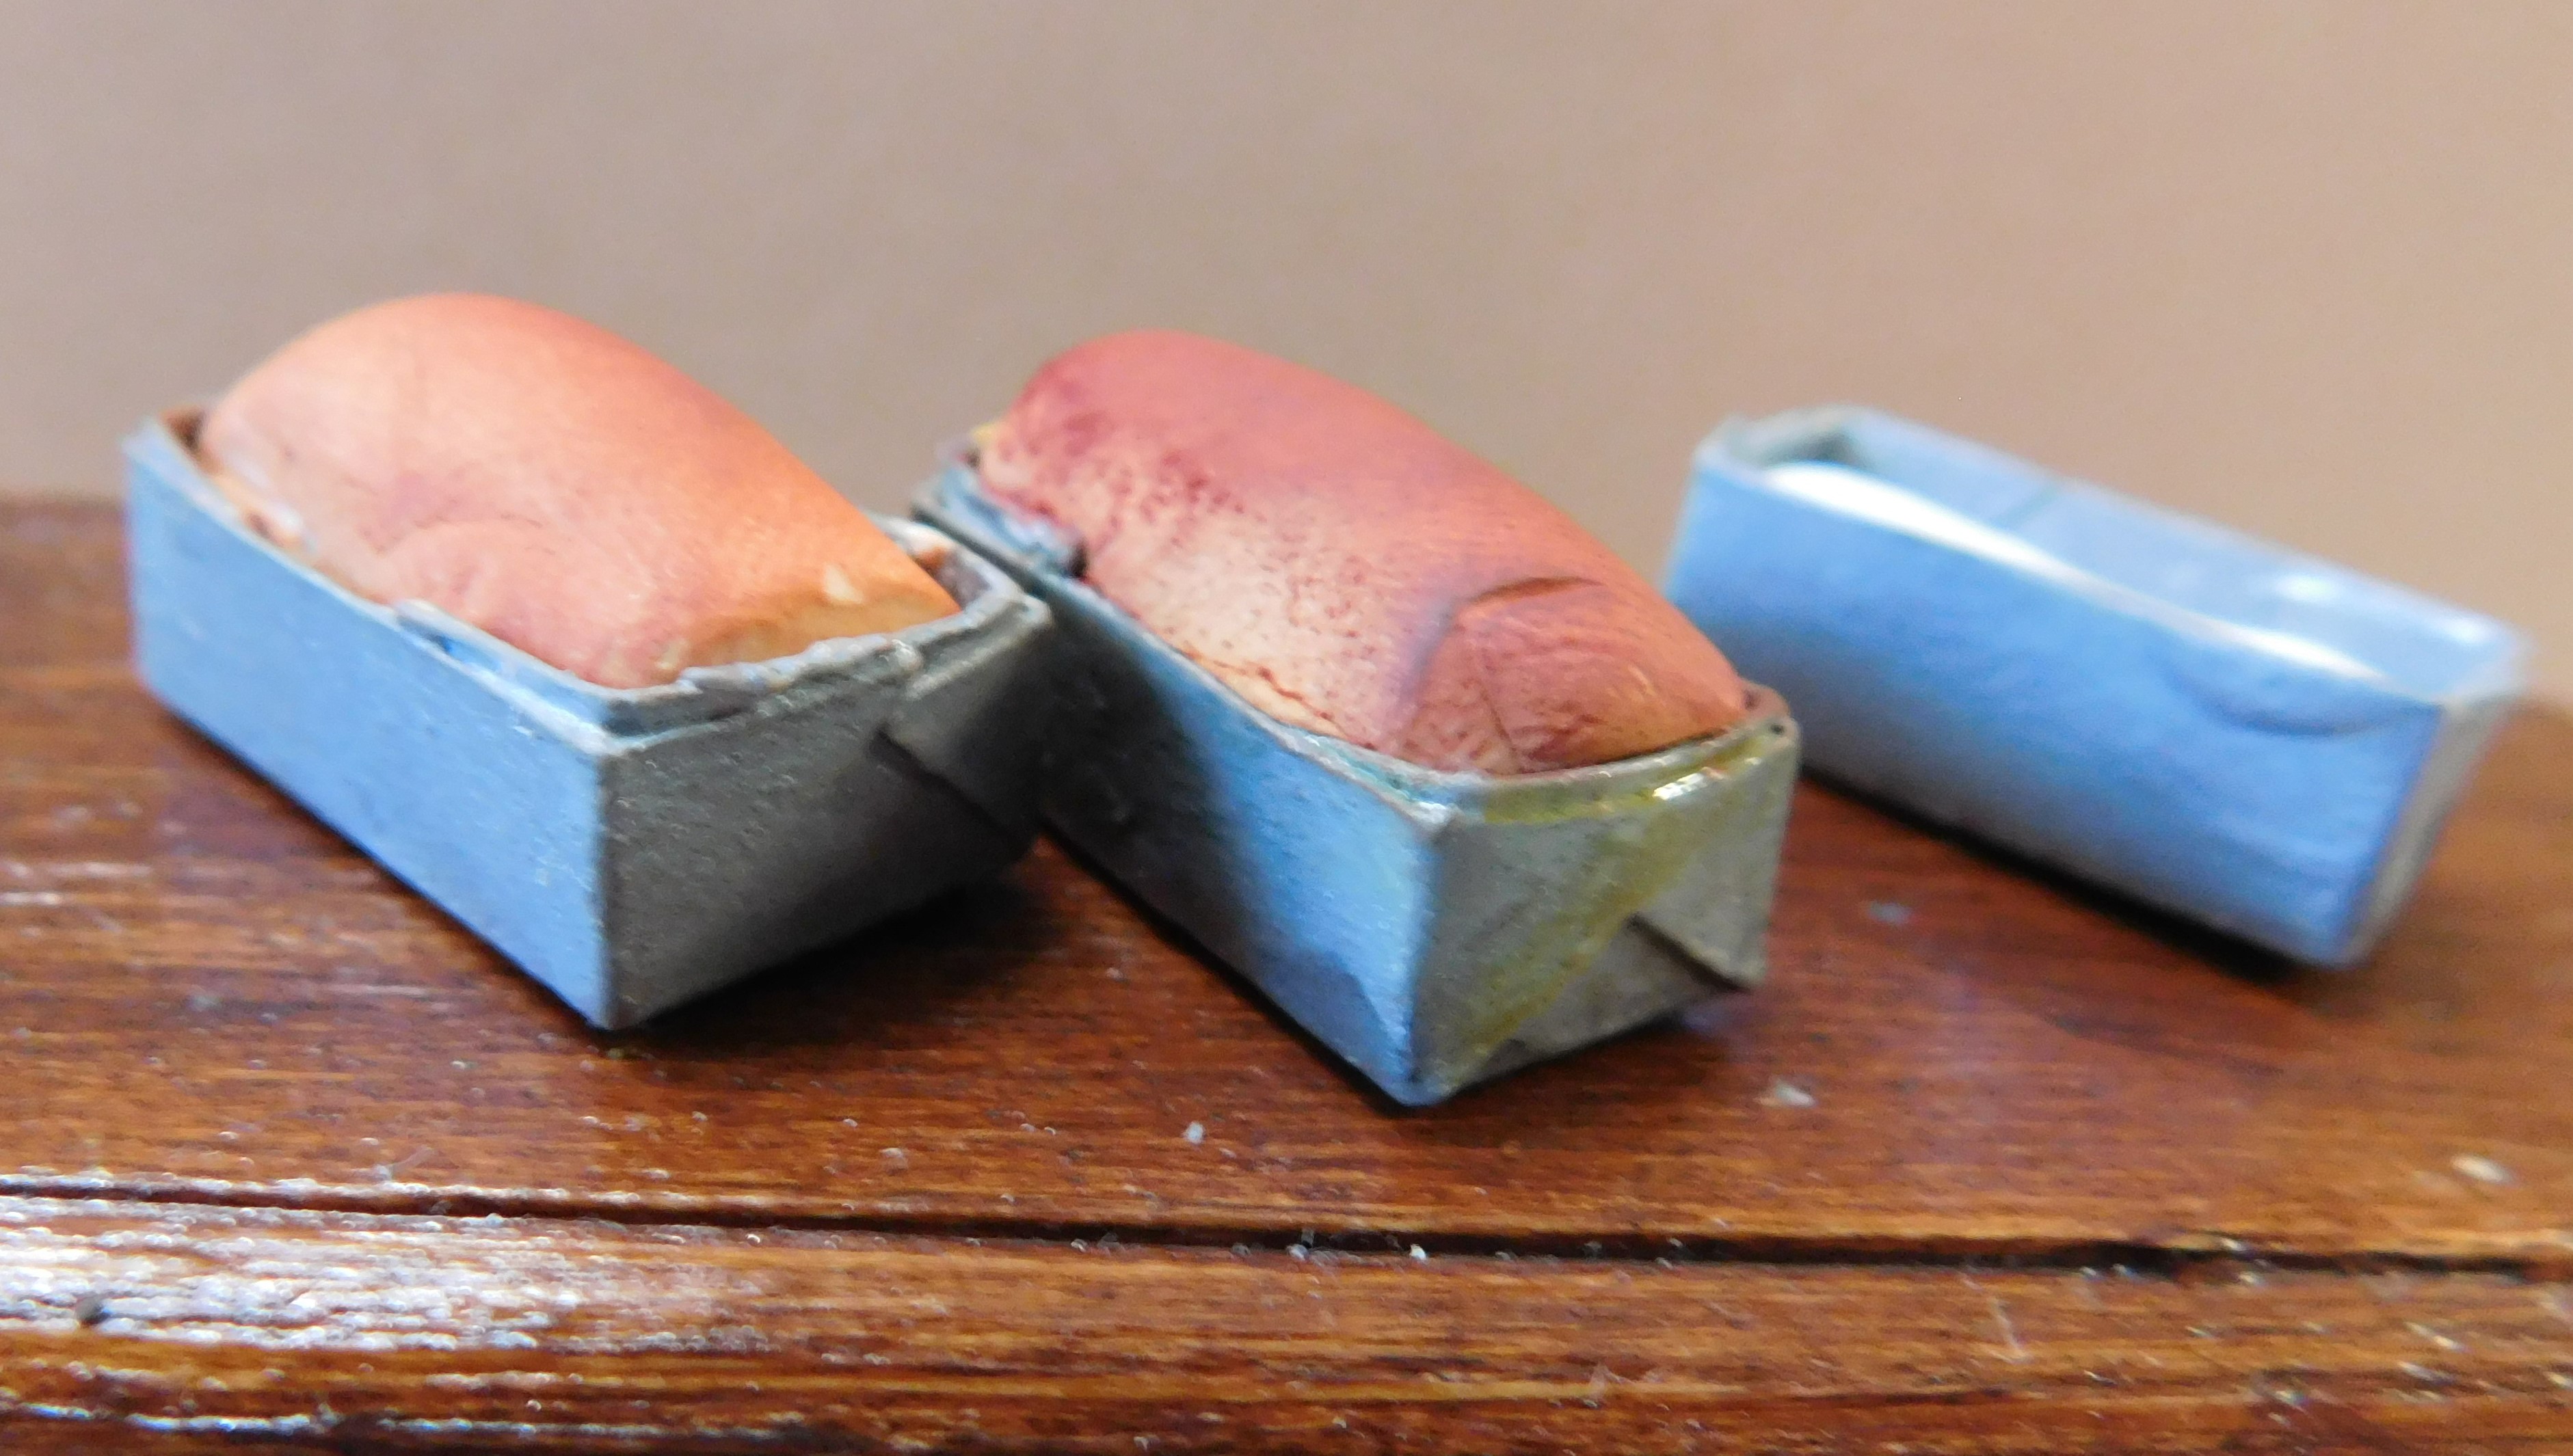
Once the loaf is formed and removed from the pan it is time to use some artist chalks to color the surface of the clay and transform it from raw dough to golden brown and delicious. We will be using the same 3 colors of chalk I use on almost all baked goods: a yellow ocher, a reddish brown, and a brown.
Since the bread will be permanently in the pans we really only need to concentrate on the ares that will show the top and the top portion of the sides.

Start with the lightest color, the yellow ocher and give the surface a good coat of this color. Really rub it into the surface.

Next we move to the reddish brown, and add a bit less of this color and again really burnish it into the clay. Don’t push so hard you distort the shape though.

Now I like to more the bread back into the pan (minus the lifter) being sure to add a drop of two of the liquid clay. Then add just a tiny touch of the brown chalk. Too much of this color and it will look like Mrs. Doll burnt the bread.
Now it is time to bake the clay, bake for 15 minutes at the temperature recommended for you clay.
And there you are fresh baked (and ready to bake) bread for the dollhouse.

As always I do want to sincerely thank all of you for watching my videos and reading my blog posts. It means so much to me that you are supporting me in this way. If I could ask you all to do just a bit more by subscribing to the channel and liking the videos and leaving comments. Those help more than you can imagine. Also if you could pass the links on to your friends I would appreciate it so much.
No comments:
Post a Comment