Check back often

Have you checked out all my blogs?


Dollhouse Minis: http://joannesminis.blogspot.com


18” Dolls: http://joannes18dolls.blogspot.com/


General Crafts: http://joannes-place.blogspot.com/


Cooking: http://joanne-kitchen.blogspot.com/


Also if for some reason I can't post I will try to give a head's up on the Facebook page so check there too.

Sunday, October 31, 2021

Dollhouse Miniature Roasted Turkey


Watch the video here.


This week we are making a roasted turkey for the dollhouse. After all nothing says holiday dinner better than a huge turkey to put on the table. This is a really fun polymer clay project and it really is fairly simple.


I do recommend having some good photos to use as reference while working on this project. Also if you have a mini platter, cutting board or roasting pan you want to display your turkey on/in be sure to have it on hand so you can create your turkey to fit that container.


I kept this project to as few clays as possible. I used just a tiny amount of translucent clay mixed with an even tinier amount of any brown. In fact that tiny ball I mixed in the video was way more than needed. It is just harder to get a good mix with less clay and I also felt I needed to have enough for you to able to see it on the video. The brown clay I used was straight out of my scrap clay bag but you can use any brown clay you have. Add a very tiny amount of the brown, just enough to barely tint the translucent. 


This clay is then rolled into a snake about 1/16” (about the diameter of a toothpick). Cut two pieces that are about ½” long. Use a pointy tool to make a crease in one end of each of these then roll the opposite end to a point. Bake these at 250°F for 5 minutes. Set these aside to use as the bones that will stick out of the legs of your turkey.


The tool I used to check the size of these small snakes was something I picked up at Home Depot several years ago. It was in the tool area with the drills and drill bits and is designed to help you pick the correct size drill bit. It has a lot of really helpful sizes to reference with small clay projects and since it is made of metal I don't have worry about the raw clay melting it like with plastic.
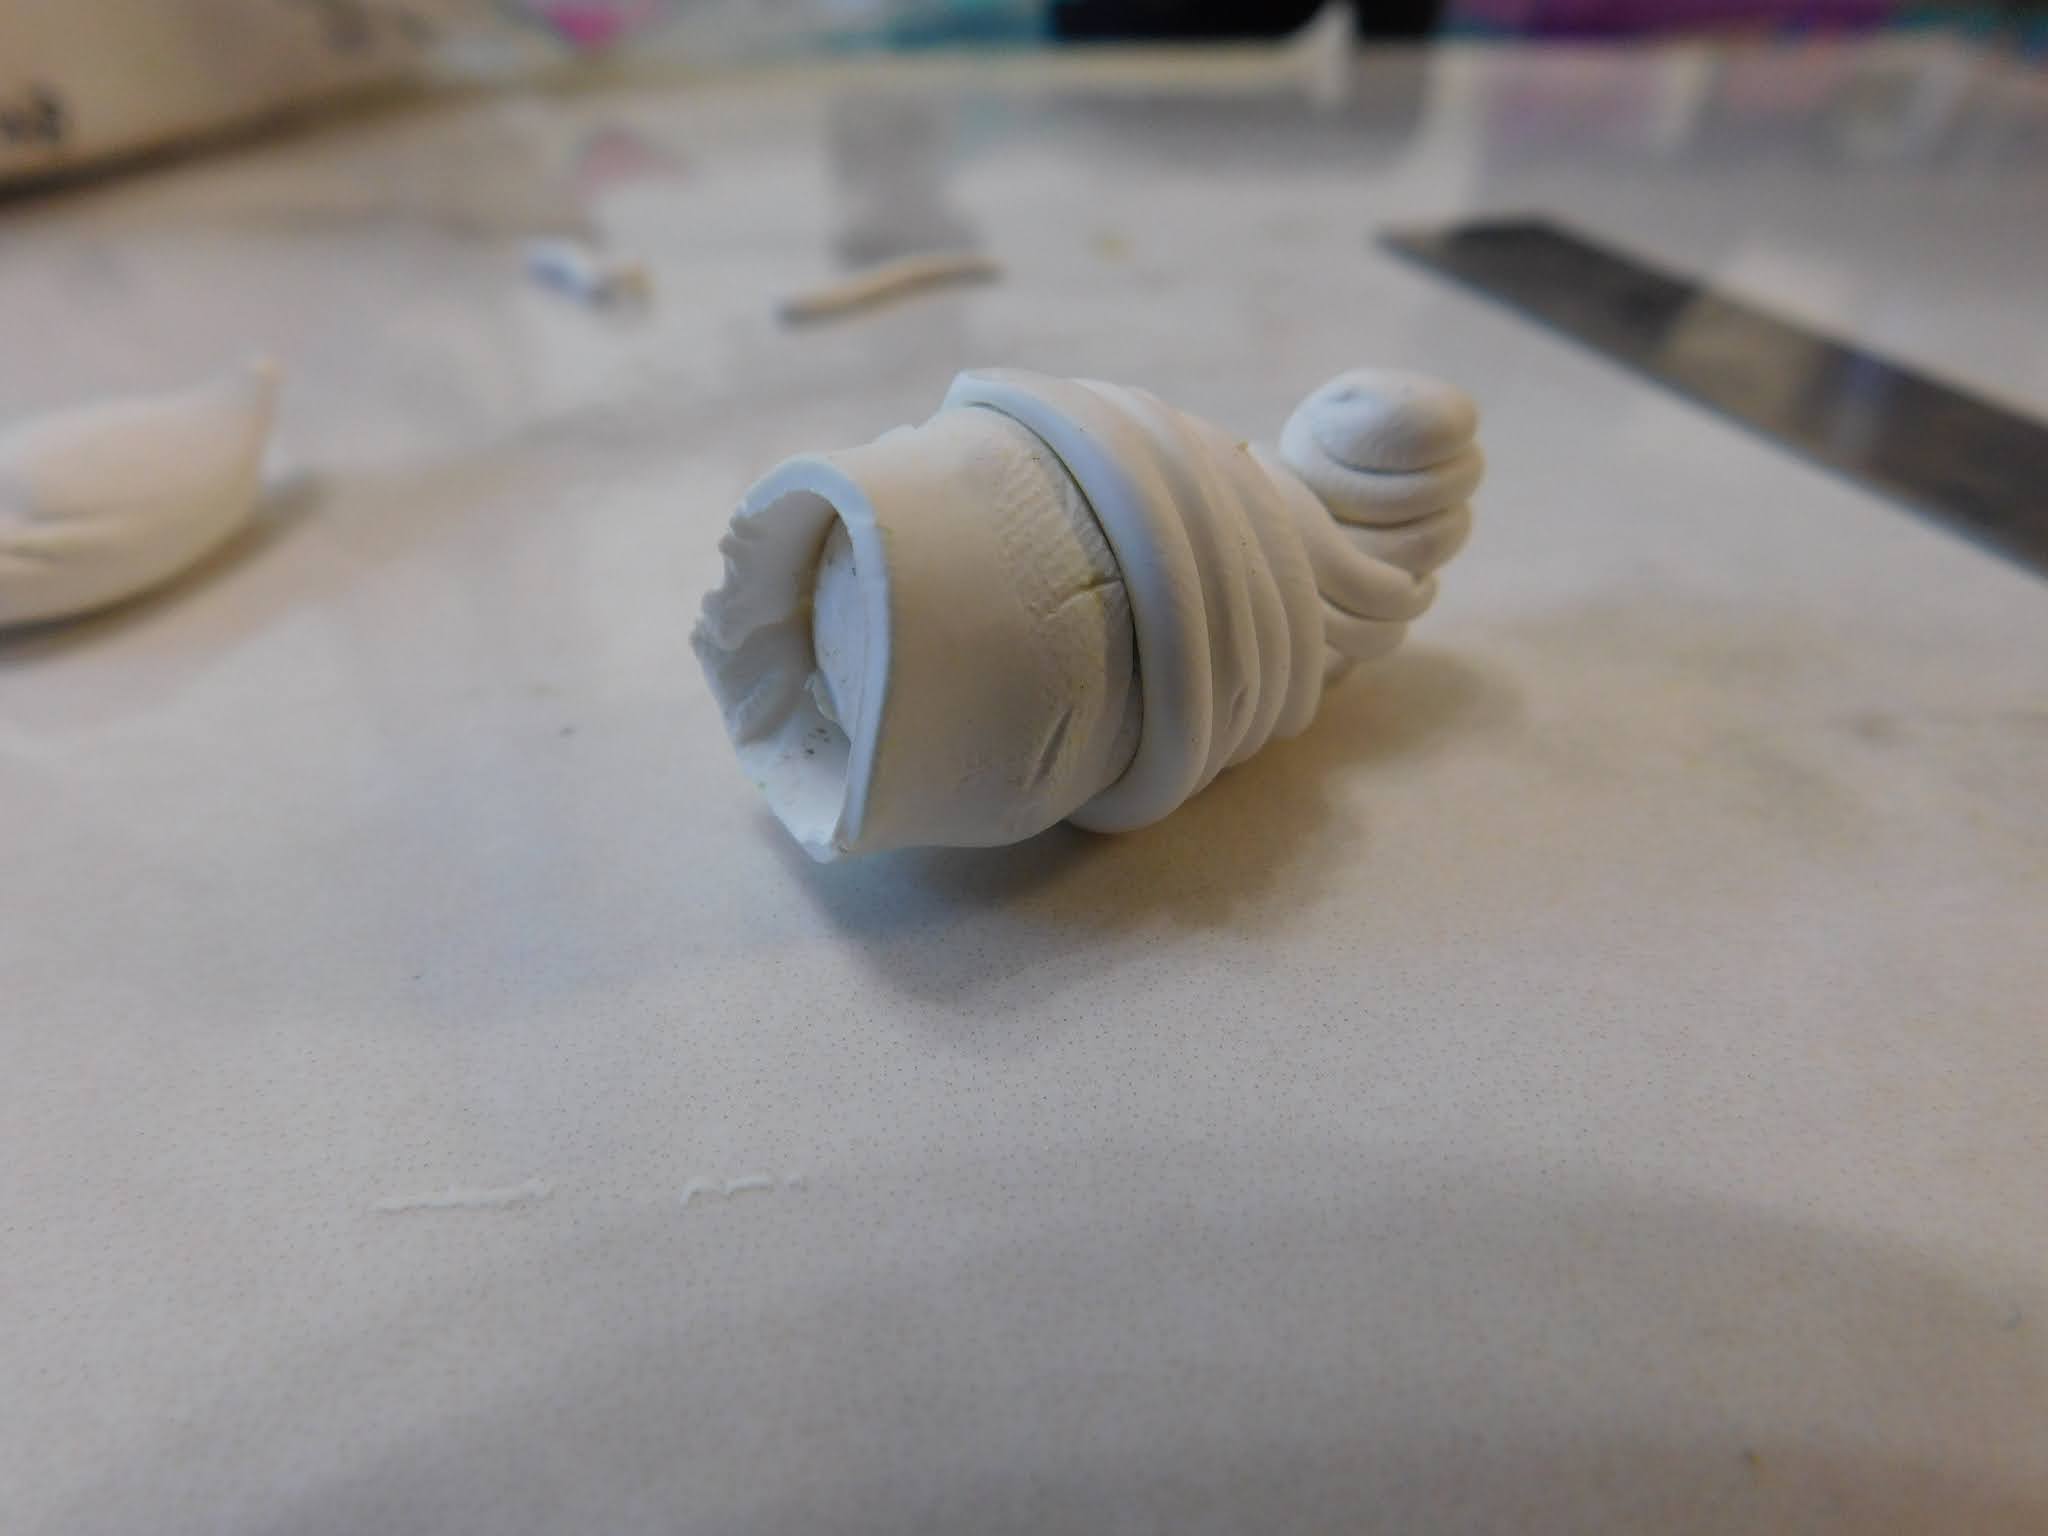

For the body of the turkey you can use any white clay. I used some Sculpey Original since it was on my table when I sat down. This project is made of very simple shapes so any white polymer clay will work. We are going to start by adding some texture to the clay. Start with a ⅞” ball of the white clay. Now work 1 teaspoon of white sand into the clay. You might not be able to get all of the sand worked in, get as much worked into the clay as possible. I had just a few grains left when I was done. In the video I show the texture this gives our clay.


Now divide off ⅓ of this ball of clay and set it aside.


Use the larger portion of the clay to make the shape I showed in the video. Work with your clay until you are happy with the shape. Now hollow out the clay shape.


The smaller portion of clay needs to be divided into thirds now. Two of the smaller pieces will each make up a drumstick/thigh portion for our turkey. When forming the drumstick/thigh portions be sure to make them opposites to you that you will have a right and a left to add to the turkey. Add the bones we baked off in the first step to each leg. Add these to the turkey.


The last ⅓ will make the 2 wings. Roll into a thin snake, cut into half and form the two wings. Adding them to the turkey.


Use any leftover clay to make a small flat bottomed snake to use as sliced turkey later.


At this point my clay was very soft and not cooperating so I stuck it in the freezer for about 5 or so minutes, just enough to solidify it a bit.


The texture comes next and for this we are using some crumpled aluminum foil and a dish scrubber. Use a light hand so you don't misshape your turkey.


One last step before baking, we need to add some color with some artist chalk. I used the same colors I use when I am making baked goods: a warm yellow, a reddish brown and a dark brown. 


Start with the yellow and cover most of the surfaces of the turkey, follow with a bit less of the reddish brown and lastly just a touch of the dark brown. Be sure to do the top surface of the snake for sliced turkey too.


Slice that snake of turkey into slices that can be used later. If you want to now is also the time to remove a slice or two from the breast area of the turkey too.


Now bake all the pieces at 275°F for 20 minutes.


Allow to cool to room temperature then coat with Satin Mod Podge avoiding the exposed turkey meat where you removed the slices.


As always I do want to sincerely thank all of you for watching my videos and reading my blog posts. It means so much to me that you are supporting me in this way. If I could ask you all to do just a bit more by subscribing to the channel and liking the videos and leaving comments. Those help more than you can imagine. Also if you could pass the links on to your friends I would appreciate it so much.


Tuesday, October 26, 2021

Dollhouse Miniature Halloween Doormat


Watch the video here.


I was looking through a magazine a couple of days ago and ran across an article on decorating real size front porches for Halloween. At the side of the page ware pictures of several items the author of the article was recommending. And among all of these items there was a doormat that stood out to me. First off it was adorable but more importantly my first thought was how easy it would be to recreate in dollhouse size. So here we are, a fun and really quick little Halloween project. The only really time consuming part of this project was waiting for paint to dry.


I used a small piece of some brown felt I had on hand for this doormat. The felt I have is the kind that comes by the yard at the fabric store not the kind that is sold by the square in the craft store. This version is a bit thicker but I am sure either type would work just fine. The color of the felt really doesn't matter since we are painting the entire top surface. Felt is cut 1 ½” by 2 ½” to make nice in scale doormat.


First step is to paint the entire top surface with a nice bright orange paint. I did put on 2 coats to make sure I had a fairly good coat. It doesn't have to be perfect but you want most of the surface covered.


After the orange was dry I used the handle of a paint brush to add yellow dots randomly all over the surface of the doormat. Don't worry too much about where you put the dots you want it to look random and fairly even overall.


When the yellow is dry add 2 larger white dots near the bottle edge.


Once all the other paints are dry we are going to add the details with some black paint. For this since I couldn't find a really thin paint brush that I could really get a precise line from I used a toothpick to paint most of the lines with the black. I also used a paint brush handle to add 4 black dots along the top area. Make these at differing heights. They will be your spider bodies.


All that is left to do is wait for the paint to dry and you can place your adorable doormat in front of the door of your dollhouse.


Also a side note I now have a ton of ideas for other seasonal doormats so expect to see more of them from time to time.


As always I do want to sincerely thank all of you for watching my videos and reading my blog posts. It means so much to me that you are supporting me in this way. If I could ask you all to do just a bit more by subscribing to the channel and liking the videos and leaving comments. Those help more than you can imagine. Also if you could pass the links on to your friends I would appreciate it so much.


Sunday, October 24, 2021

Dollhouse Miniature Cornucopia


Watch the video here.


This week we are making a project that I have always wanted to make in real life but never got around to it. I used to host all the holiday dinners and almost every year about the day before Thanksgiving I would think “oh, I should have made a cornucopia.” but by then it was too late. So I would think I'll make sure I make one next year. As you can probably guess the next year was an exact repeat of the above internal discussion I had. So when I got a request recently for some fall table centerpiece ideas I knew what I had to make.


This is a fairly easy project and only uses one color of clay, white. It can be any brand you have on hand. We are not going to be trying to do really intricate details so a soft clay is fine.


I actually made up two practice cornucopias to prepare for this video and I figured out the easiest way to get and keep the correct shape was to make a kind of blank to build on. For this we just need to make a cone shape and curve the end the way we want our cornucopia to sit. They can either sit with the point in the back going up (the way I did mine) or to the side. I also found adding a thin “collar” of clay to form the open end is a necessity too. 

Once you have these pieces put together and know how you want it to sit, flatten the bottom so it will sit nicely when it is done. Now this piece (our blank) needs to be partially baked, I baked mine at 250°F for 10 minutes. This won't cure the clay all the way through just set it enough to keep working without misshaping it.


Once cooled we are going to add the snakes of clay that will be the visible “bread” our cornucopia is made from. I tried to keep these at ⅛” to keep them in scale.


 Carefully wrap them around the cornucopia ending just a bit before the open end. 


Try to keep all of the joins between the snakes on the bottom (flat side) of the cornucopia.


Now make 3 more long snakes the same ⅛” diameter and make a long braid. Then add this to the open end, carefully using it to cover the collar we added.


Now we get to play with chalks to color our bread and make it look all “golden-brown and delicious” like the chefs on TV say. We start with a warm yellow gold color then move to a reddish brown and then just a bit of a darker brown. The first color is used the most with each layer after being a bit less. Don't overdue the dark brown or it will look like it spent too much time in the oven. (unless that's the scene you are going for)


Once you are happy with the amount of color you have added it is time to bake the cornucopia this time we are going to bake at 250°F for about an hour. We need to cure the clay all the way through to the middle of that blank we made in the first step. Once baked allow to cool to room temperature before handling.

Now you just need to add some fruits, flowers, or leaves to create the centerpiece for fall in your dollhouse.


I have a lot of fruit tutorials on the channel here is a link to the playlist of most of them. I may have missed a few when I put the list together.


If you make a cornucopia from my tutorial be sure to share a picture with me. I love to see what you make. Also let me know what you want to see tutorials of in future videos.


As always I do want to sincerely thank all of you for watching my videos and reading my blog posts. It means so much to me that you are supporting me in this way. If I could ask you all to do just a bit more by subscribing to the channel and liking the videos and leaving comments. Those help more than you can imagine. Also if you could pass the links on to your friends I would appreciate it so much.


Tuesday, October 19, 2021

Indecision


Watch the video here.


So this week is a bit of a different video, I had something I felt I needed to talk with all of you about so I took this as the opportunity to do so.


I knew this point would come around eventually but I just wasn't sure when it would happen.


The video I posted on Sunday was not the one I had planned to post, I planned to do at least 3 more videos before I worked on the kitchen sink kit. The video I was planning to have for you on Sunday was prepping the base cabinets for painting. I had planned to glue the cabinets together into groups based on where in the kitchen layout they were going to be. I was also going to add the back to the cabinets that will form the eating bar. Those will need the open back closed off since they are going to not be along a wall. I had everything ready to do just that video. Then I couldn't come up with a plan for how I wanted the cabinets grouped. I kept moving them around. I knew if I just plowed on ahead I would be very upset with myself later.


I thought I had a pretty good plan for how I wanted to organize the kitchen right up until the moment when I was going to make it permanent. Then I kept changing my mind. I just couldn't go through with gluing anything together. I don't think I have ever been this indecisive in my life.


I thought I would step away for a day and it would be fine and I would move forward. The next day it was worse.


I then got curious about how long I have been working on this dollhouse and how many videos I have already filmed on it. From my check on my planner I have been working on the dollhouse for 9 months. 9 months!!!!! I had no idea it had been that long. I know there hasn't been a video every week but I still worked on the dollhouse at least one of each week regardless.


Then I counted the videos. As far as I can see in my list I have filmed 30+ videos on this dollhouse in those 9 months.


So I think this creative block is my brain saying I need to step away from the dollhouse for a short time. Don't worry we will be finishing it. I am really excited to work on it. The thing is while I am not “burnt out” on the project at all I don't want that to become the case. So I am going to not touch the dollhouse at least through the rest of this month and the month of November. I am not sure about December, I might work on it again at that point but I am thinking I am going to try to do some seasonal stuff in December.


I know myself well enough to know I could push through this and just glue the cabinets together. But I also know if I do push myself I risk getting burnt out and not wanting to continue.


For me this creative block is a sign that I need to just take a short step back so that the excitement builds again. By not letting myself work on it for a short time I know I will be really ready to work on it later.


So what are the signs you recognize in yourself that mean you are getting close to burning out? What are your strategies for working past these feelings?


I haven't planned out all the videos for the next several weeks yet but I do have some clay projects planned. And I am hoping to find first some fall and then some Christmas themed projects to do tutorials on.


If you have something specific that you would like to see let me know so I can add it to my list.


As always I do want to sincerely thank all of you for watching my videos and reading my blog posts. It means so much to me that you are supporting me in this way. If I could ask you all to do just a bit more by subscribing to the channel and liking the videos and leaving comments. Those help more than you can imagine. Also if you could pass the links on to your friends I would appreciate it so much.


Sunday, October 17, 2021

Beachside Bungalow Kitchen- The Sink


Watch the video here.


If I sound a bit “off” in the video I had a bit of a headache most of this last week.


This kit is part of the Kitchen Collection by Houseworks which can be found here.


So this week I decided to paint the sink for the kitchen set. I could have left it the white color it came in but I wanted to change it up a bit. Since all the appliances are white so far I decided to go with a “stainless steel” look.


The one thing that I can say I am not really thrilled with in this sink is the fact the surface is textured as you can see in this photo. I would have preferred it to be smooth. But we will just go with it and it will be fine.


Since the faucet that I purchased only needed one hole centered on the sink and the sink had 2 holes dealing with that was the first task. I filled the holes with some caulking and drilled a new hole where I wanted it. This all worked fairly well. I did have to dig out my Dremel to drill the hole but that is not really an issue. I could have filled the holes a bit more than I did but I am okay with the slight dents, I'll probably have thing setting in those areas anyway. I just didn't want the holes to be there. The dill bit I used was 1/16” and it is a tight fit.


Next up was to glue the two parts of the sink together. If you wanted to paint the rim and the basin part in different colors I would paint first then glue together. I am painting mine all one color so I wanted it to be a single unit to make painting easier.


I used a base coat of black craft paint followed by a coat of Brushed Metallic in Brushed Silver. This makes a nice dark metal color that will look lovely in place in the dollhouse.


I added just a bit of black paint in the little drain area that was molded into the sink bottom to make it look more like a drain, totally optional step but I usually do this when possible.


I sealed my sink with a coat of mat Mod Podge, this step was probably not completely necessary but I prefer the finished look it gives the piece.


After all was dry I stuck in the faucet to see how it looks. At this point I am going to leave it just in the sink and not glue it. It fits very snugly and I think it will be fine. If I find it slips out at all I will glue it in place.


Here is a picture of the finished sink placed in the cabinet where it will eventually live.


As always I do want to sincerely thank all of you for watching my videos and reading my blog posts. It means so much to me that you are supporting me in this way. If I could ask you all to do just a bit more by subscribing to the channel and liking the videos and leaving comments. Those help more than you can imagine. Also if you could pass the links on to your friends I would appreciate it so much.


Tuesday, October 12, 2021

Dollhouse Miniature Crashed Witch


Watch the video here.


I really wanted to do a Halloween project for today's tutorial but I wasn't sure what I wanted to do. Then while I was out for my walk and thinking about Halloween decorations I remembered the crashed witches. I have always wanted to have one in real life but didn't want to bother with storing it from year to year. In mini I can have the decoration and not have to store a human size decoration. Perfect!


So this one did take me a couple of tries to get started. I made one about halfway to get the process figured out. I did have to do some thinking on my feet at toward the end of the video. I hope you don't mind my thought process as I worked out a couple of bugs with the witch. I left them in for two reasons 1- I am hoping you can see how I worked out some steps and use that in your own projects and 2- I was simply running out of time filming this. Normally I have the Tuesday video already uploaded and scheduled by end of the day on Friday. This last week that didn't happen and then on the days I had time to film it there were so many things going on around me that were very noisy that it was hard to get this filmed.


So I started with the hands and shoes. These I felt would be easiest to make from polymer clay. I formed them on toothpicks that had been dipped in TLS. I can't tell you specific clays I used because I just grabbed out of my scrap clay bag. You will need a black for the shoes and a green (or what ever color you want) for the hands.


By pre-baking the “fingers” they can be easily added to the hands and then all is baked together. The shoes were fun to figure out and I think I will be using the same method at Christmas for some elf shoes.


Once the clay was baked I did paint the “legs” with some orange paint. You can do yours in whatever color you choose.


For her hat I used two types of paper. A heavy black card-stock for the brim, which was cut into a 1 ½” circle. And a very lightweight black paper that I used for the top of the hat. This was cut into a 2” circle which I cut in half. I formed the half circle into a cone which was then glued to the circle of card-stock. I used a piece of a cotton ball to help hold the tiny edges together.


Once this was dry I added some orange glitter to the hat kind of like a hat band, after-all I think our witch would want to sparkle a bit. The glitter I used was some nail glitter from the dollar store, this is a good source for fun glitters that are inexpensive and usually small amounts.


I wanted to add a very simple broom for our poor witch. For this I started by making a small very quick tassel from tan embroidery floss. I then added a toothpick handle. I think this same method could be used to make a decorative broom like those cinnamon scented ones that are sold at this time of year in the craft stores.


I used some simple paper tubes for the arms of our witch. I really didn't measure much of anything I just went by how I felt it should look.


I used a standard size craft stick to act as a base to build the witch on.


 I added some more of the cotton ball to pad her out a bit.


 I also used a bit of the cotton ball to help glue the legs on.


I used more of the thin paper to wrap the body of the witch to cover everything up and make it look neater.


The finishing touch was a cape made from the same lightweight paper.


I love how she turned out.


As always I do want to sincerely thank all of you for watching my videos and reading my blog posts. It means so much to me that you are supporting me in this way. If I could ask you all to do just a bit more by subscribing to the channel and liking the videos and leaving comments. Those help more than you can imagine. Also if you could pass the links on to your friends I would appreciate it so much.