This
week for Trash to Treasure Thursday I wanted to show you how to
recreate those wonderful antique carved frames that were so popular
in the past. I have been working my way through all of my mom's
belongings that I inherited and there are a bunch of pictures of all
kinds in this type of frame. They are all sizes and the designs are
all very different. The things that they all have in common are they
all have a carved design (some very detailed and some very plain)
they were made of wood and painted with a brass or gold paint to look
like what they are not and they have all gained a wonderful patina of
age over the decades that they have been around. Most of them have a
slight blackish coating on them and that is what I think makes them
look so warm and wonderful.
Since
I would bet a lot of families have some of these frames either
displayed or stored away I thought it would be nice to show you how
to make some for the dollhouse.
I
think I will be putting mine in the attic of one of my dollhouses at
least for now.
I
mentioned on the video that I also think this could easily be
translated to a fun project for real size. I know when my kids were
little I had them make most of the gifts they gave at least to family
and I think this would have been a winner with both the kids in
making it and the grandparents receiving it. Just pick a rather plain
frame and some heavy laces that are wide enough for the frame. Let me
know if you do this I would love to see the results.
Now
onto the project.
The
frame in the video is made with craft skinny sticks, a staple for a
lot of us. I love them because I can find them almost everywhere that
has any craft supplies (even my grocery store has them) and they are
cheap. Some packages are better than others and try to peak through
the packaging to make sure you are getting relatively straight
sticks. The other frame I showed was made with another craft room
staple, craft sticks. These are also easy to find and cheap and if
you eat frozen Popsicles at your house they are free.
This
is one of those projects that really does require the two glue method
and is much easier to do on a tile so you can let it stick down while
it cures. As you see in the video it is easy to pop back off the tile
when dry. Since the glued area is so small I decided to add the
insurance of gluing on some card stock to the back. I wanted to make
sure my frame wouldn't fall apart while I painted it and also since I
haven't decided if I will add a picture of not to the frames I felt
this was important. If you know you will be gluing your frame to a
mirror or picture and want to skip the paper backing feel free to do
so.
When
choosing lace you could use any flat lace that will fit on the frame
face. The more depth to the design the more detailed your frame will
look. The lace on the craft stick frame has a mesh between the motifs
and on the frame looks less detailed than the heavier narrow lace on
the projects made with the skinny sticks.
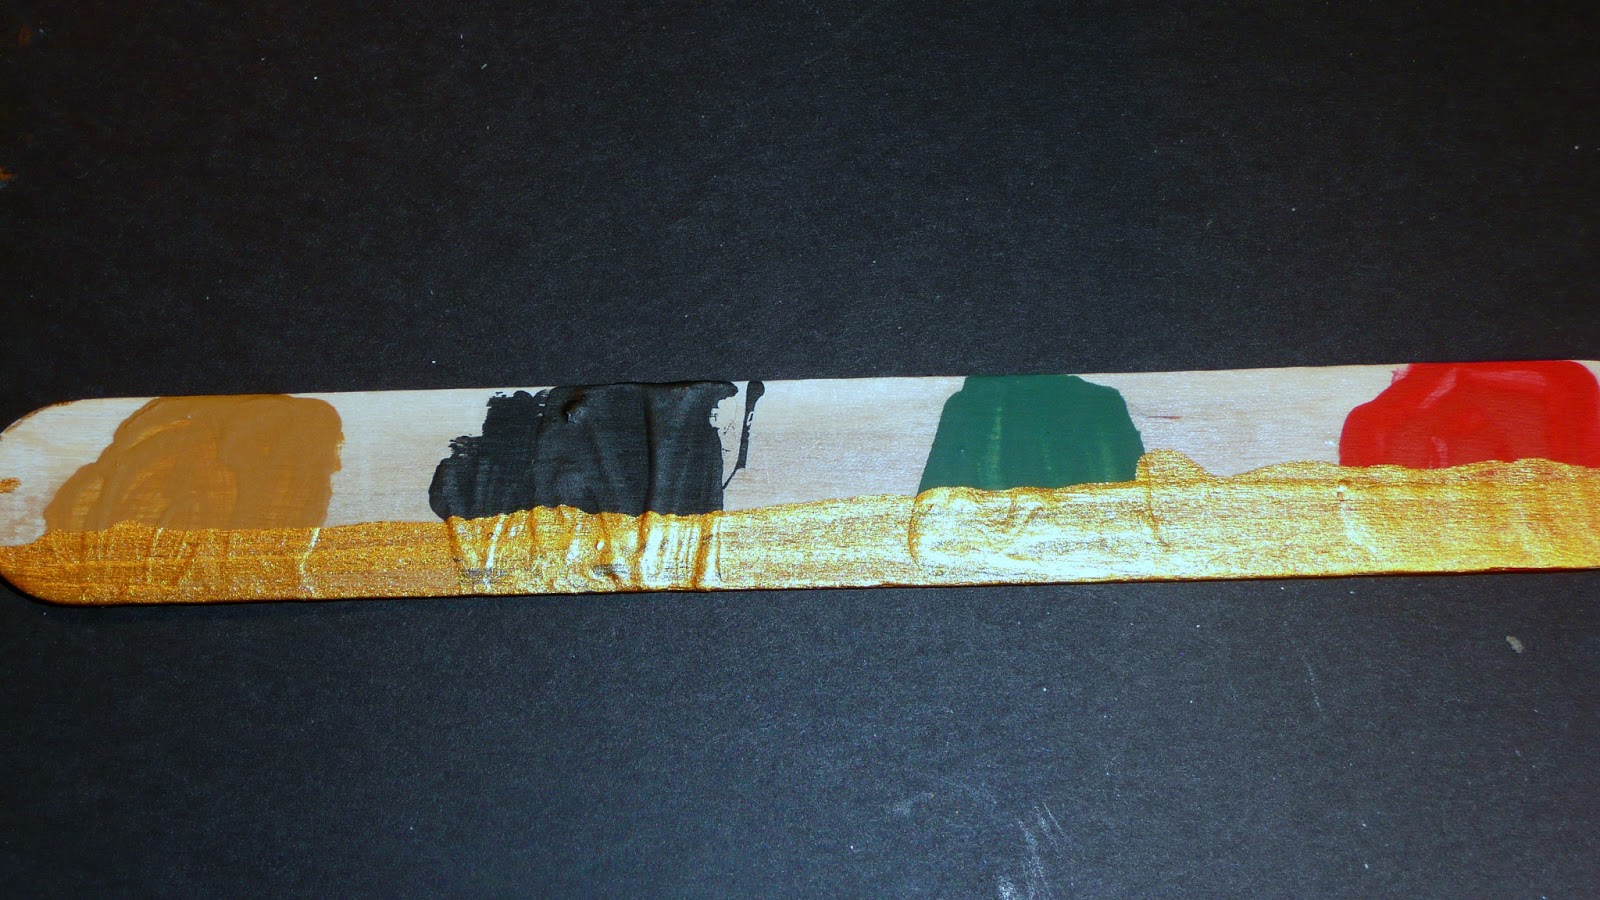
I
almost always do a base coat of some kind under metallic craft paint.
I find it is a bit thinner that the regular craft paints so it
doesn't cover as well. Also it is usually a bit more expensive so I
prefer to base coat with a regular paint and save the metallic for
special use. Your base coat paint won't really show but if you look
closely it may add a warmth or coolness to the finished color. I did
a test strip of 4 different choices for base coat. Use what you have
on hand or do a test strip if you are looking for a certain effect.
Be sure to not clog up the holes in the lace with paint, blot out any
excess so the texture is still visible.
After
all the paint is dry it is important to add the black wash to finish
off the frame and make it look old. For this wash I simply had a
small container of water and dipped my brush back and forth between
the black paint and the water to get a very thin wash. Then I used a
dabbing and I guess swabbing technique to coat the frame. Follow
this immediately with a dabbing and wiping with a paper towel to
remove excess wash. Repeat these steps until you get the finish you
want.
Paint
colors used in this video
Deco
Art Hunter Green
Ceramcoat
Bright Red
Ceramcoat
Golden Brown
Ceramcoat
Black
Ceramcoat
Metallic Bronze


J'ai beaucoup aimé la vidéo sur le cadre doré!
ReplyDeleteMerci !!
Isabelle
Thank you! I am going to make myself a mirror and some frames! I am also going to try it on my dollar store wood furniture and see how it looks. You are amazing!
ReplyDeletethis is just what I need, thank you very much :)
ReplyDeleteThis is a great technique! And I have all the materials on hand! Thank you, so much!
ReplyDelete