Watch the video here.
This
week we are making a cake to display on the cake stand from last
week's tutorial. If you missed that one you can find it here.
This
cake is going to be designed to be displayed as the whole cake. It
would look lovely in a lot of mini scenes, in the kitchen/dining room
of the dollhouse, in a mini bakery, in a mini cafe, etc. We will make
some sliced cakes later on but this one I felt was just better this
way.
I
was inspired by a cake that I saw in a magazine article about fall
entertaining. The cake in the article was a beautiful 3 layer carrot
cake with beautiful buttercream frosting, pecan halves on top of
piped frosting swirls and the bottom had a beautiful band of chopped
pecans. There was also a nest of shaved carrot strips on the top. I
was planning to replicate all but the carrot strips but I was so
happy with how my frosting was acting on the top I decided to skip
the piped frosting and just add the pecan halves to the top. I am
glad I did, I think the way I was initially planning to decorate it
would have been a little too much on the small cake top.
The
first step this week was to make the pecans. We need to use mostly
translucent clay with just a small amount of an off white (beige,
very light brown) color to tint it a bit. For the pecan halves we
just need to make tiny balls then flatten and mark them with 3 little
lines from a pointy tool (I used my trusty dental pick)
The
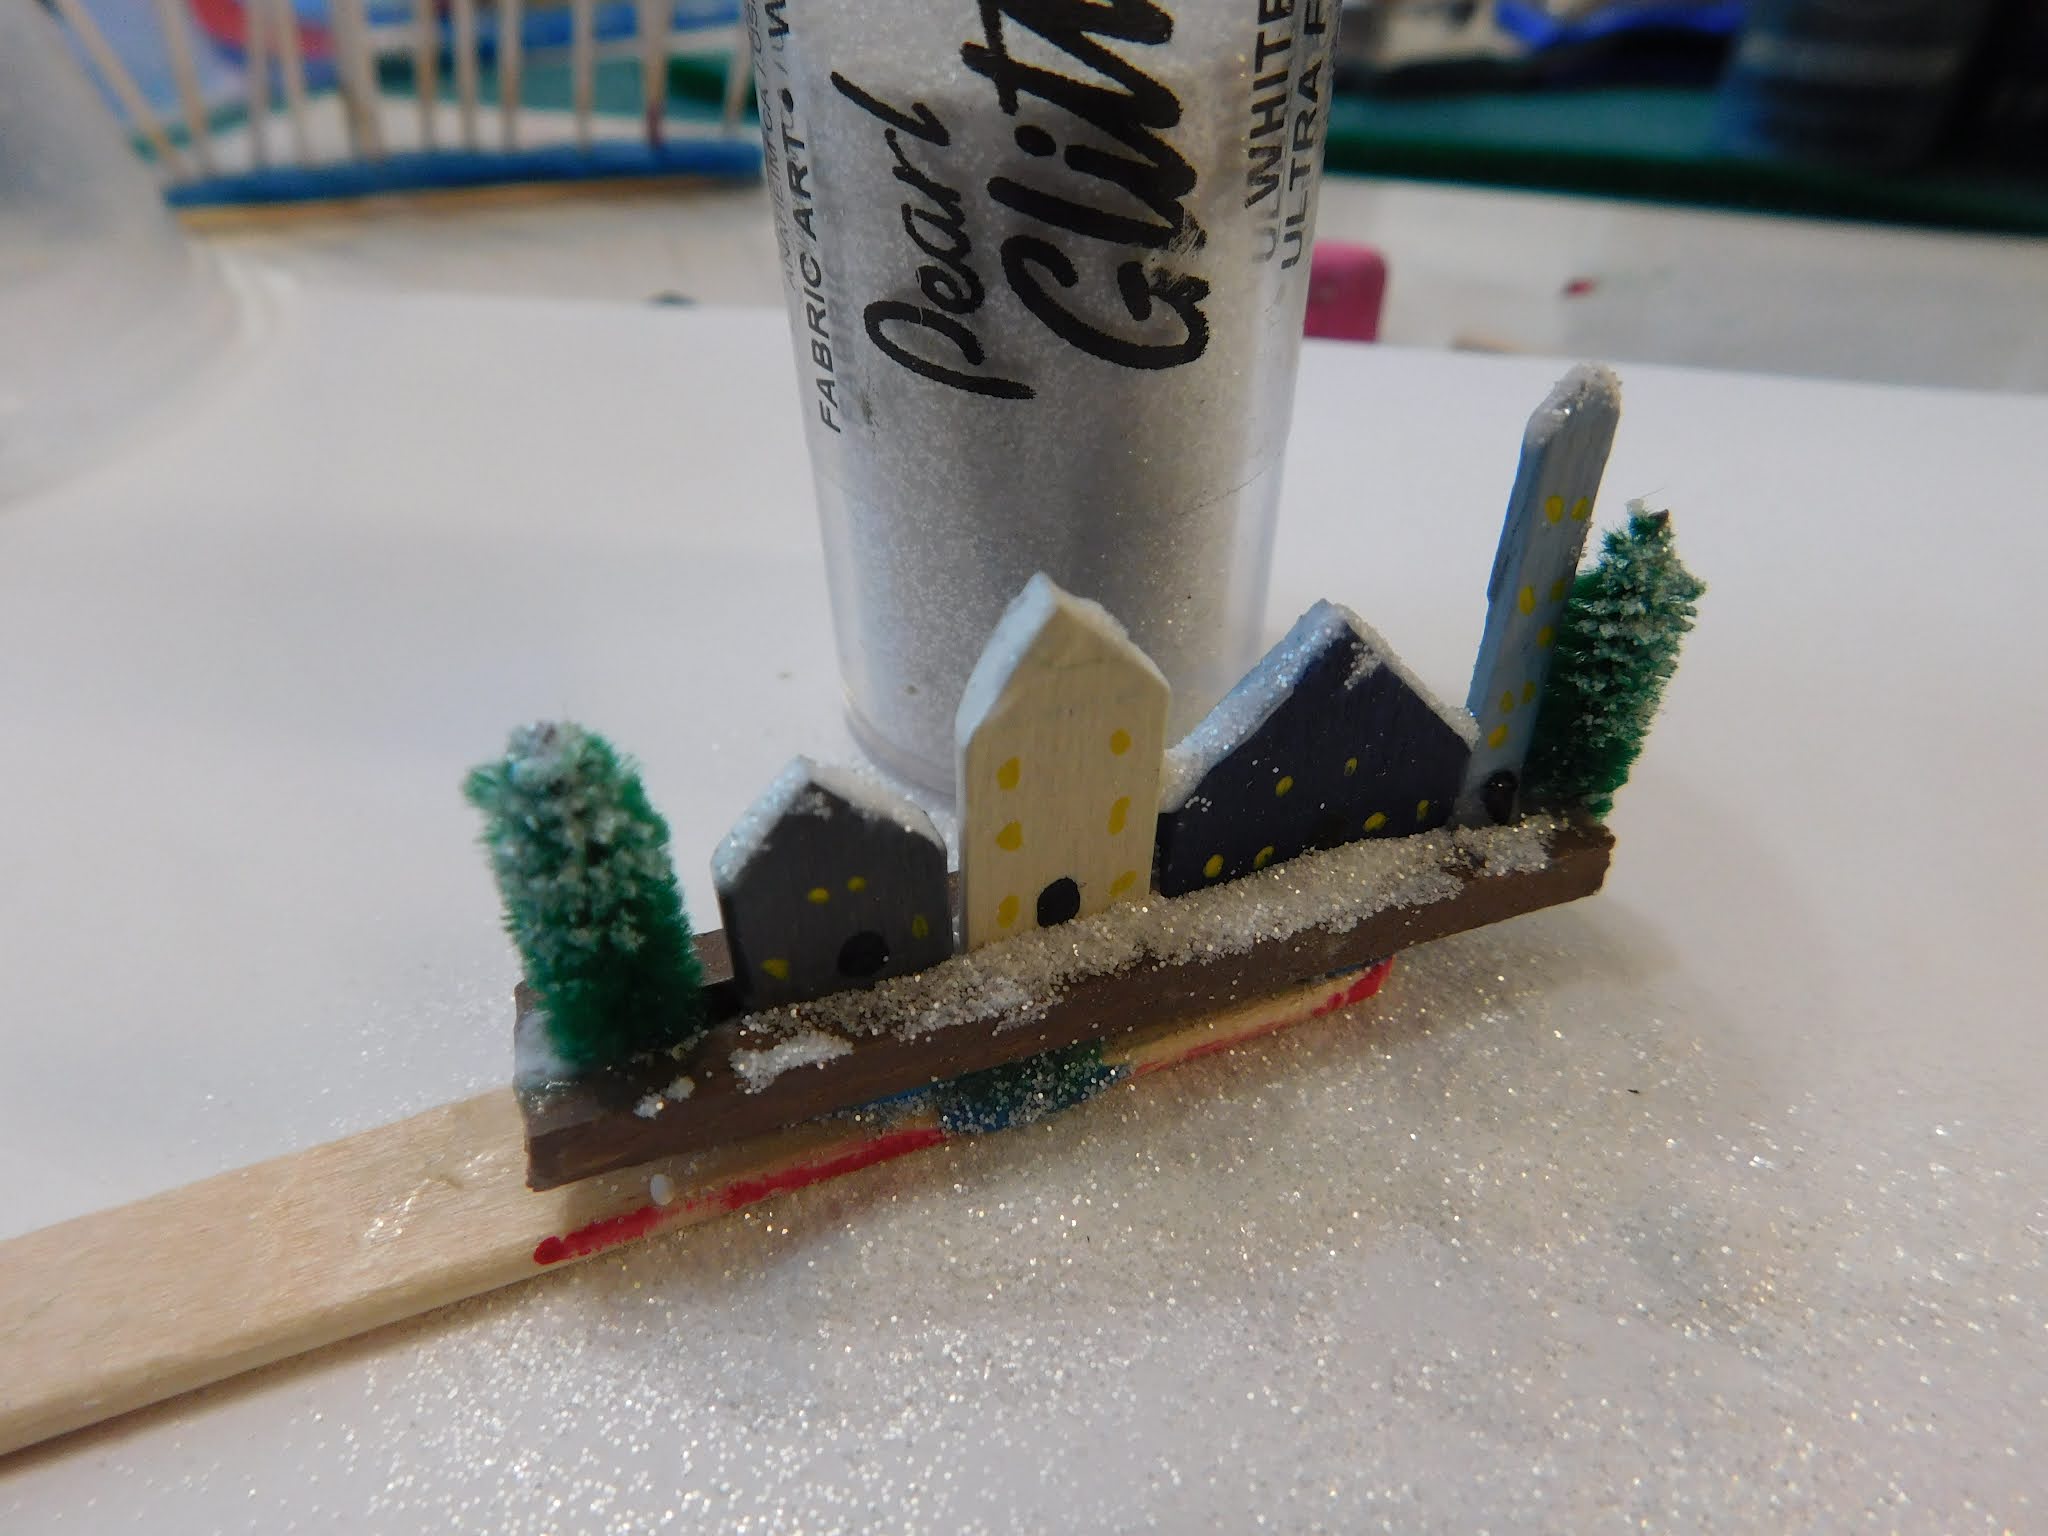
pecans were then colored with a brushing of chalk in brown/ red
brown/ golden colors. Pretty much the same colors as I use when I
make bread or any baked good, maybe a touch darker but a similar
color.
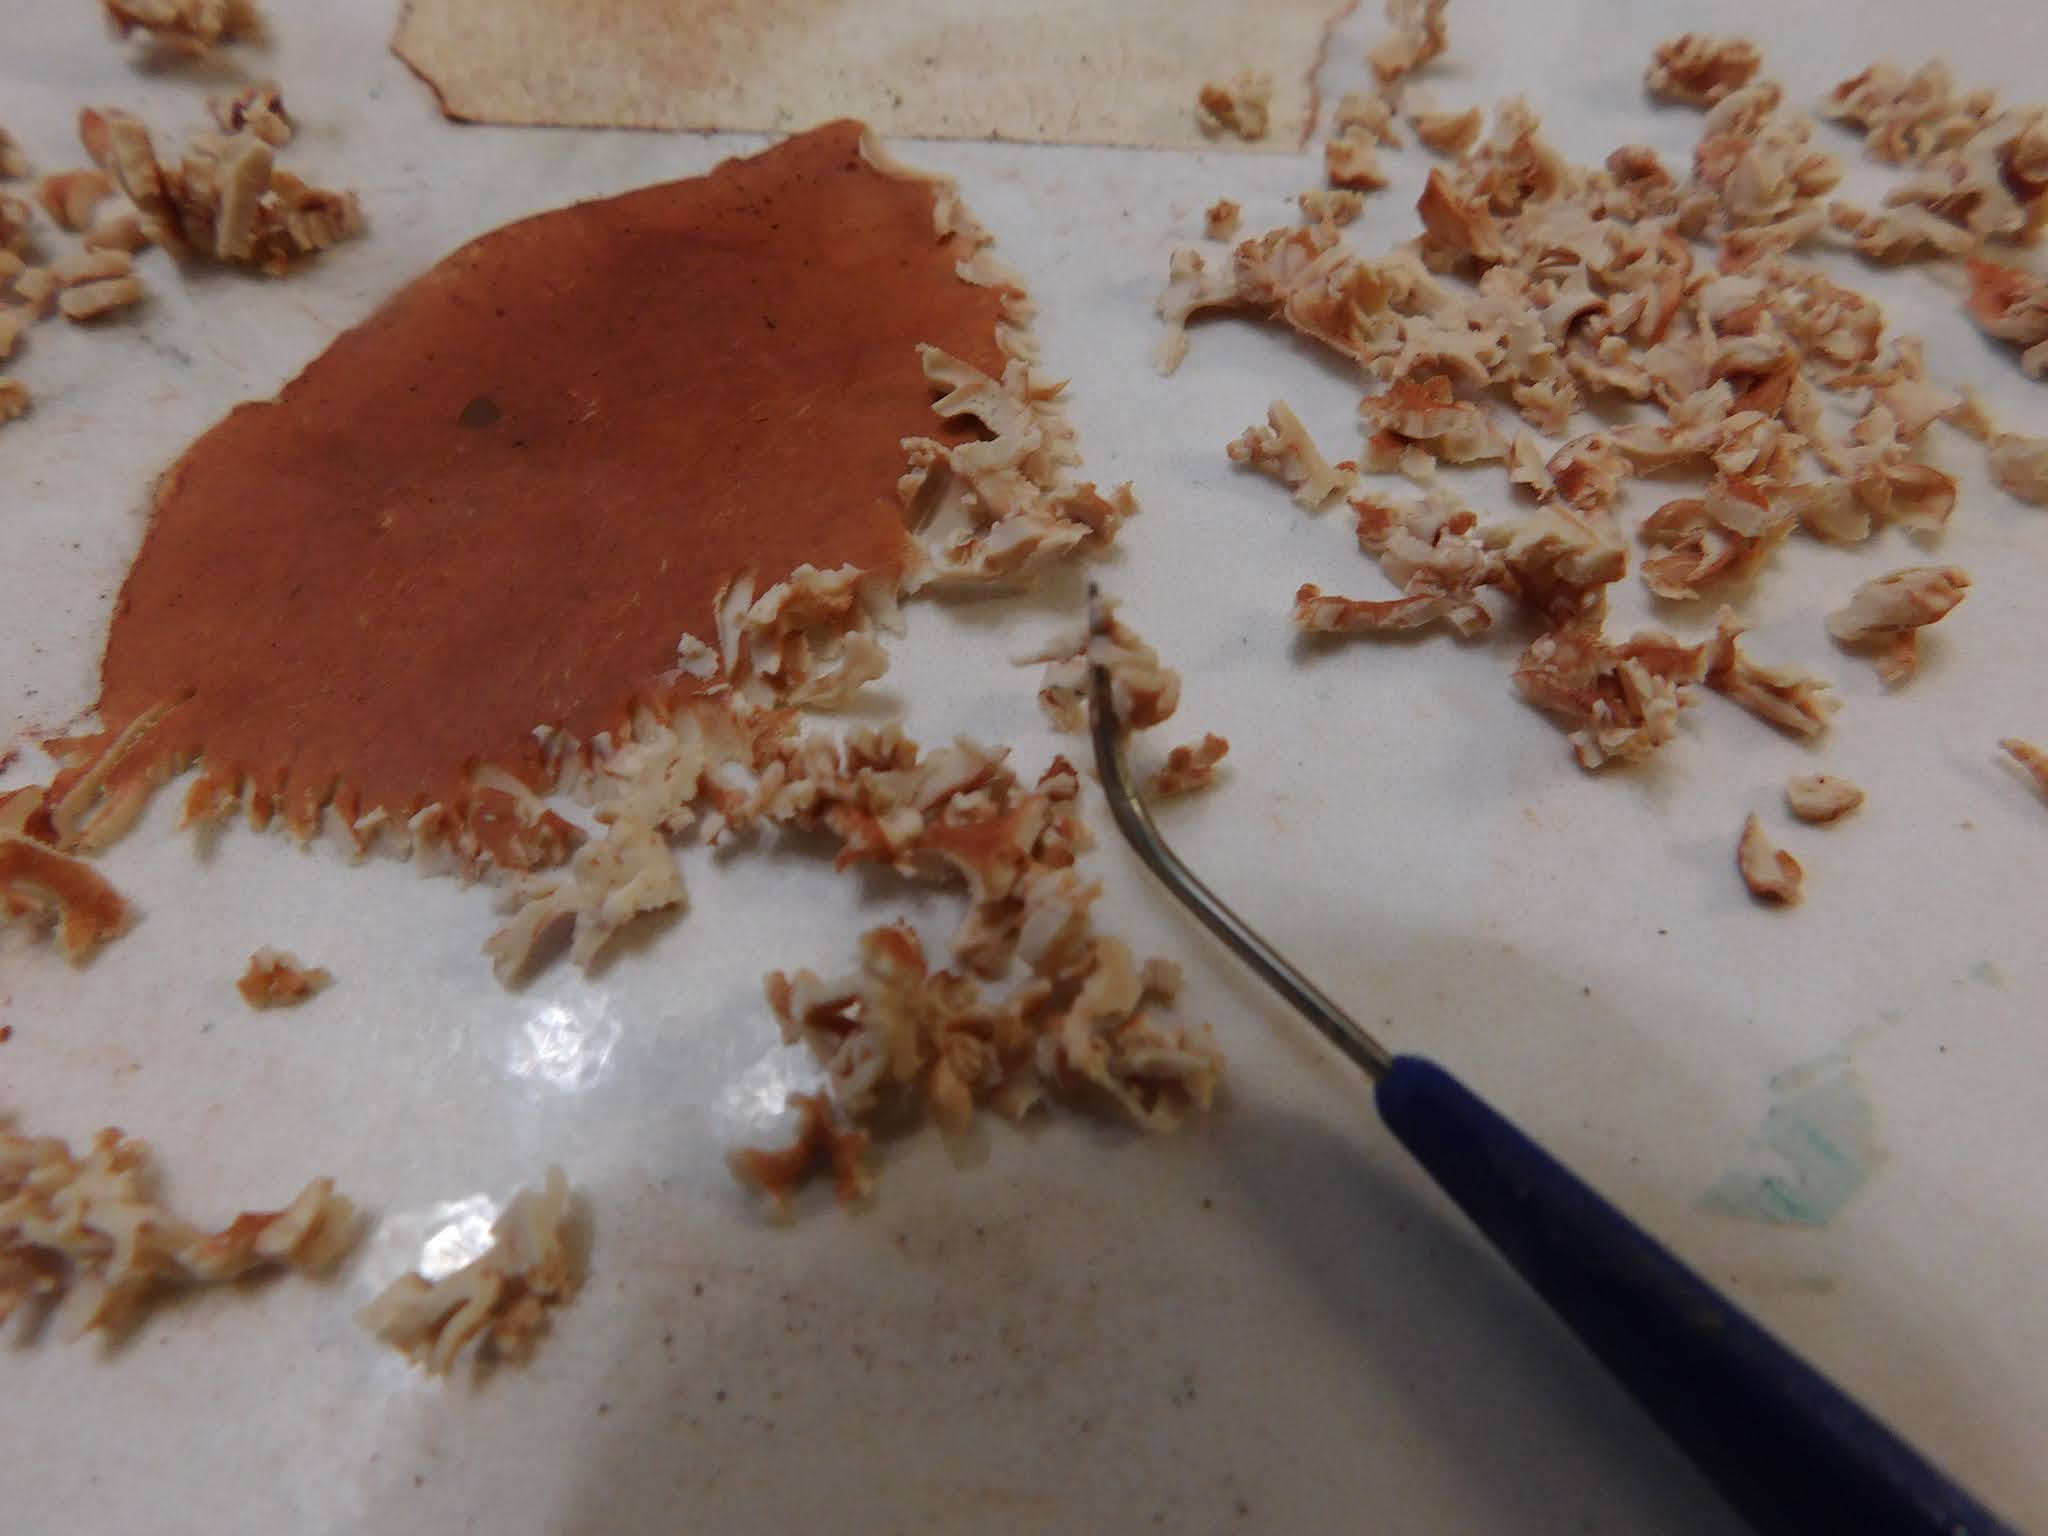
For
the chopped nuts I rolled out a thin slab of the same clay coated the
top with the same chalk mixture and then used my pointy tool to just
“tease” off little bits. They don't need to be perfect or even
strictly in scale we just want irregular shapes the resemble chopped
nuts. We will chop them further when we are ready to use them. I made
a lot more of these chopped nuts than I need for this project, that
is because I had the clay there and I felt I might as well just use
it up. I can store the finished chopped nuts in my clay tool area and
they will be ready to use in future project so I don't have to do
them again for a very long time.
Both
the pecan halves and the chopped ones were baked at 275°F
for 10 minutes.
Next
up was the cake blank, back when I used to sell minis I would make
these up in bulk and have them on hand to decorate whenever I needed
to make a cake. For this use an inexpensive white clay. I used Original Sculpey rolled to ½” thick and cut it with a ¾” round
clay cutter. The clay cake blank was then baked at 275°F
for 30 minutes and allowed to cool to room temperature before using
it.
If
you don't want to use clay for this part you can cut a piece of ¾”
dowel to ½” and use that. It does have to be cut perfectly flat
though.
Once
the cake blank has cooled it is time to frost it. I am just making
some frosting from polymer clay. I again used some Original Sculpey
mixed with just a tiny bit of a very pale yellow Sculpey III, I don't
know the color because that part of the package was missing. It just
takes a tiny bit, like in the video, you just want to give the
frosting a more “buttery” look than the plain clay would give.
Once you are happy with the color mix in enough TLS (Translucent
Liquid Sculpey) to give it a frosting consistency, pretty much just
like real frosting.
Now
I like to just frost the sides of the cake then bake it (5 minutes @
275°F) then frost the
top in another step. This is much easier and a lot less messy.
Since
the frosting on the top swirled so nicely I decided to just add 8 of
the pecan halves directly to the top of the cake. Try to keep them
evenly spaced.
Bake
the cake again for 5 minutes at 275°F.
Once
cooled again use a toothpick to add a thin bead of frosting around
the base of the cake and add the chopped nuts, chopping them as
needed to be in scale. Once you have gone all the way around bake
again at 275°F for 10
minutes.
Now
give your cake a really good look over and fix any areas that you are
not happy with. I did have to add a few more chopped nuts in a spot I
had missed. I also spread a bit of TLS around the base of the chopped
nuts on the bottom of the cake to make them a bit more secure.
Once
cooled your cake is ready to display in your favorite mini scene.
As
always I do want to sincerely thank all of you for watching my videos
and reading my blog posts. It means so much to me that you are
supporting me in this way. If I could ask you all to do just a bit
more by subscribing to the channel and liking the videos and leaving
comments. Those help more than you can imagine. Also if you could
pass the links on to your friends I would appreciate it so much.