Check back often

Have you checked out all my blogs?


Dollhouse Minis: http://joannesminis.blogspot.com


18” Dolls: http://joannes18dolls.blogspot.com/


General Crafts: http://joannes-place.blogspot.com/


Cooking: http://joanne-kitchen.blogspot.com/


Also if for some reason I can't post I will try to give a head's up on the Facebook page so check there too.

Tuesday, November 2, 2021

Dollhouse Miniature Fall Signs


Watch the video here.


When I was looking around at pictures of doormats for last week's video I kept seeing these large fall signs on a lot of the same sites. Since they are so popular right now for real houses I decided it would be a lot of fun to make one (or three) for the dollhouse.


When I started working on the video I was only planning to make one sign. Then just about the time I was ready to start filming the part of the video where I was going to start decorating the sign they started grinding branches right outside my window. It was so loud there was no way I would be able to film so since I was having trouble choosing just one sign design I decided to quickly make two more the blank signs.


The great part about that was I was able to show you 3 different ways to decorate your sign. Choose whichever you are most comfortable doing.


So let's talk about how I made the sign blanks. I based these really loosely on some I saw on the Kirkland's website. Theirs were really big (6' by 12" wide) the mini ones I made represent a slightly smaller size. One feature I loved about some of the ones on the website was that they were made of narrow boards combined to make them. I loved the texture and the less than perfect look that gave.


I looked around my stash and pulled out the package of skinny sticks that I had gotten from Hobby Lobby a while back. They are slightly smaller than the skinny sticks I gotten at other stores but they worked really well. To connect the skinny sticks I used scraps of craft-sticks that I had cut off and put into my basket of wood bits. Be sure when you cut up those wood pieces you save the ones that are big enough to use. I cut the scraps down to ¾” since this was just slightly shorter than the width of 4 of the sticks side by side.


On my first try at this project I found that just using two pieces to connect the skinny sticks was far too flimsy to work. It really needs 3, if you have the heavier (thicker) skinny sticks you might be able to get away with using 2. You might only need to use 3 of those sticks to make the sign also, I think these are skinnier than the normal ones. You are looking for a sign width of just a hair over ¾”. I used my tape trick to hold the sticks still so I could glue them together. I found, for me that worked much better than trying to clamp all those pieces.


Once the glue is dry carefully cut the ends to be even. My sticks had rounded ends so they needed to be trimmed.


Now it is time to paint the base color, I used the same orange paint I have been using. It is one of the bottles of paint that was sent to me at no charge from Plaid. I have fallen in love with this paint for fall projects. It is such a clear orange.


Once the paint dries I gave the piece a coat of mat Mod Podge. I found that my lettering looked much better when I sealed the paint than when I didn't seal it.


To decorate the signs I did 3 versions.


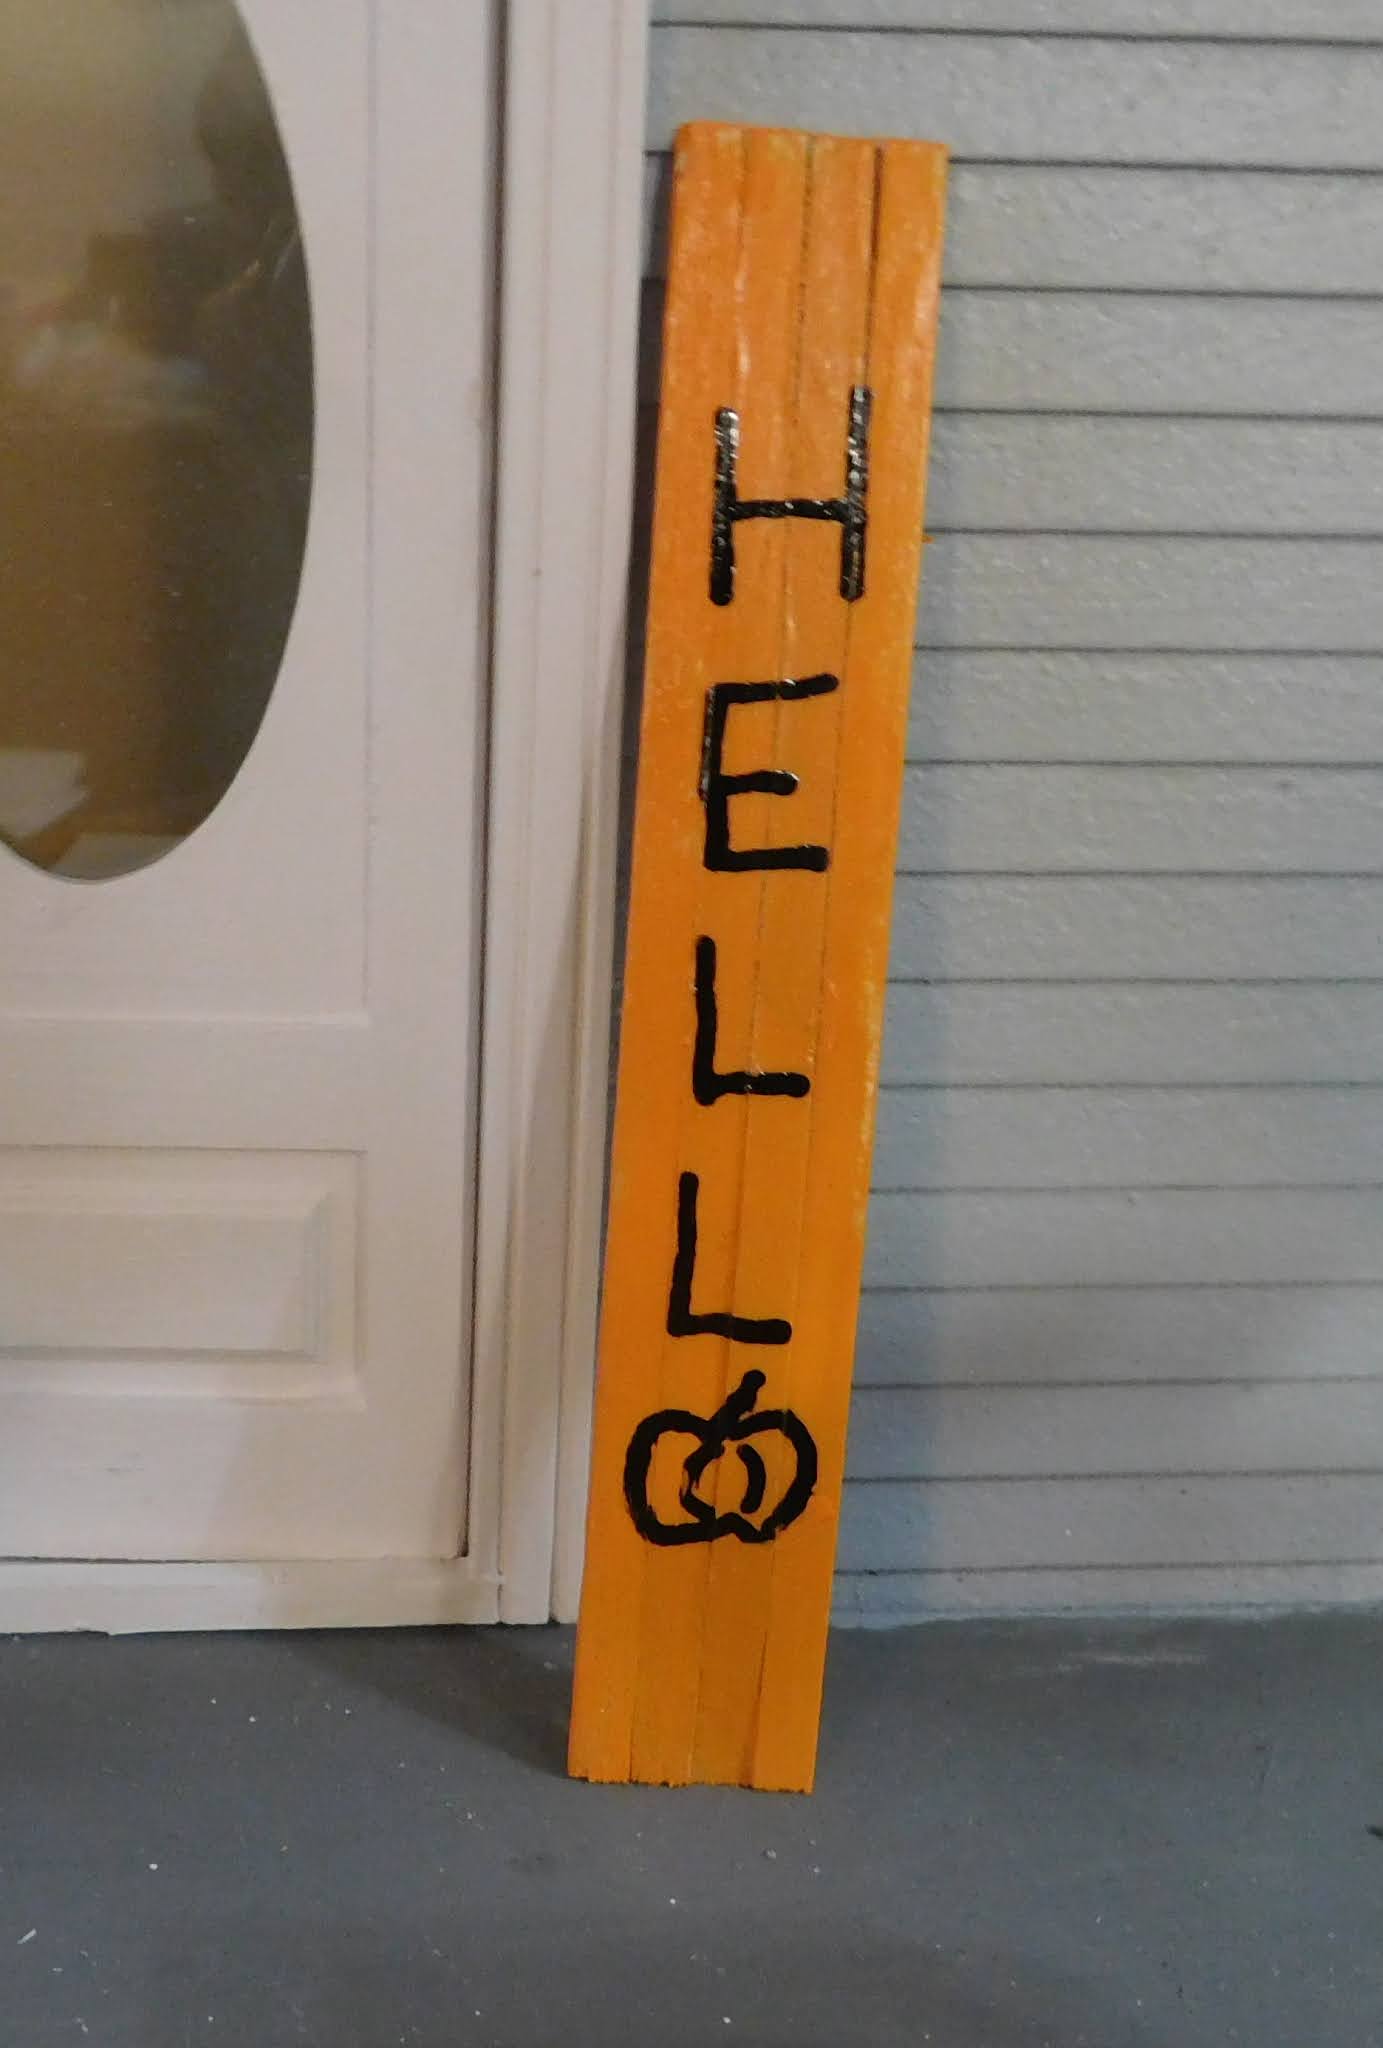
On the first one I used a fine pointed paint pen to write the word substituting a little pumpkin for the “o” in Hello. It was very easy to do and I love it even though I don't normally like my own handwriting on projects.


On the second one I did an experiment and used an alcohol marker, this one was from Bic and I purchased it as part of a set at Walmart some time ago. This time I wrote the word Harvest. I thought this would work and was happy it worked as well as I thought it would. You could use any alcohol based marker (Bic, Sharpie, Copic, etc) for this project.


On the last sign I pulled out some ½” alphabet stickers that I had in my stash. I did use the marker to add the word happy to the top corner.


So there you go 3 signs that you can choose from to decorate the front porch of your dollhouse.


I already have lots of ideas for more signs for more holidays/seasons so expect to see more of both these signs and the doormats from last week in the coming months.


As always I do want to sincerely thank all of you for watching my videos and reading my blog posts. It means so much to me that you are supporting me in this way. If I could ask you all to do just a bit more by subscribing to the channel and liking the videos and leaving comments. Those help more than you can imagine. Also if you could pass the links on to your friends I would appreciate it so much.


No comments:

Post a Comment