Check back often

Have you checked out all my blogs?


Dollhouse Minis: http://joannesminis.blogspot.com


18” Dolls: http://joannes18dolls.blogspot.com/


General Crafts: http://joannes-place.blogspot.com/


Cooking: http://joanne-kitchen.blogspot.com/


Also if for some reason I can't post I will try to give a head's up on the Facebook page so check there too.

Showing posts with label joannes's minis. Show all posts

Wednesday, December 18, 2024

Polymer Clay Baking Test- Translucent Clay Comparison


Watch the video here.


I decided to grab a block of translucent clay and when I saw that Michael's has Cernit brand available I decided to get it. I then went to my YouTube channel thinking I had done a baking test of translucent clays many years ago. I was really confused to not find a video since I remember doing the test. Then I checked the blog and discovered that when I had tested the translucent clays way back in 2012 I had made it a blog post only. So today we are testing the 3 brands of translucent clay I have on hand.


I am doing the test in a similar manner to how I did the old one just subbing in the clays I have on hand today. Some of the clays are different than I had then and some of the brands have made some major formula changes in the last decade plus. So I was excited to see how this was going to turn out and if I would get similar results to what I got way back then.


The three brands of translucent clay have on hand today are: Sculpey III, Fimo, and the Cernit that I just picked up.


I mixed all three of the translucent clays with both red and black. I chose those two colors specifically for the following reasons. Red because red has a habit of color shifting more than any other color of clay I work with. And black because if we are mixing a translucent with black we want it to still be black and not change to a gray.


I did several things off camera for the test. First I marked a paper plate for my baking surface that gave me areas for each brand of clay and a spot to put the control samples of the colored clays. That way I knew I would be able to keep all the samples in the correct places and not get them mixed up.


Next I found the thinnest craft-sticks I had on hand (a slim stick from Hobby Lobby) to use as a rolling gauge. Since I only had one I cut it in half that’s why I am using the short pieces in the video.


After rolling the clay I used a small round clay cutter to cut pieces that were all the same size of each clay. And since I was so short of the Sculpey clay I cut those circles in half and used just a half circle of each clay in each test. I cut 3 half circles of each of the translucent clays and 4 each of the red and black clays. I made sure to put the pieces of clay in the correct areas of my labels paper plate.


I then mixed the samples I wanted to bake- 1 that was equal parts black and translucent and one red and translucent. I left one piece of the translucent clay plain also. In the center of the paper plate I kept on piece of each of the red and black clays.


I rolled the mixed samples out with my clay roller and the same spacers. I then baked the all the clay at the proper temperature for 10 minutes and allowed the clay to come to room temperature.


Now let’s talk about each brand individually.


Sculpey III- this one is definitely the softest of the three and the easiest to work in with the colored clay. The big downside for me is the translucent clay on its own stays somewhat beige when baked. Although this wasn’t an issue in the test with the colors that I used I think if I had used white as a third color we would have seen a difference in the baked color. Also the translucent properties are really not great. Even with the thin sample I baked there was no way I could see the black lettering on the plate through the clay.


Fimo- this was the firmest of the translucent clays and because of that it was a bit of a challenge to get it combined with the colored clay. Once mixed in it acted very nice. This translucent clay is very white when raw and keeps that white hue when baked alone. I do find it works well with pretty much any color of clay I combine it with. I could see the lettering through the plain baked sample a bit.


Cernit- this clay does have a somewhat strange texture by itself. It is almost slimy and because if that it was a bit hard to combine with the colored clays. I do like the feel of the clay once I got used to it though. It did bake up the most translucent of all the clays tested today. I think for most projects when I can get this one I will stick with it. I like how it worked in.


As always I do want to sincerely thank all of you for watching my videos and reading my blog posts. It means so much to me that you are supporting me in this way. If I could ask you all to do just a bit more by subscribing to the channel and liking the videos and leaving comments. Those help more than you can imagine. Also if you could pass the links on to your friends I would appreciate it so much.


Sunday, September 1, 2024

Dollhouse Miniature Exterior Siding Cube 2.0 Side 1


Watch the video here.


This week I decided to cover a side of what I am calling my Exterior Siding Cube 2.0. I talked a while back about the fact that the original cube got damaged so I had to toss it. I really liked it so I decided I was going to do another one. I asked if you guys wanted to see me create the new one and I get enough positive responses to go ahead and share the process. I decided that I while some of the sides will be the same or similar to the old cube I will try to add some new ideas this time around also. I would love your input on what to add so if you have ideas let me know.


Also if this video seems rushed I apologize, I had actually planned to do another project today but there is one key component that I couldn’t get my hands on so I had to scramble to come up with a project for today.


If you haven’t seen the tutorial where I made the cube I am using here is a link to that one. These are super simple cubes made from foam core which I demonstrate a different technique on each of the 6 faces. We have one that when finished will have 6 different ways to create dollhouse miniature porch, patio, or deck floor. This one will be ideas for the exterior walls of your dollhouse projects. I also have plans to start a roof cube soon too. I have also played with the idea of doing cubes that are devoted to different decorating styles. For instance maybe a mid-century modern cube that would have 8 different surfaces related to that style, or Art Deco, or Victorian, or whatever. Those would have a combination of wall, roof, and ceiling ideas/textures/finishes that might be a mix of indoor and exterior. Also cubes devoted to interior finishes could be fun too.


These cubes are decorative but also inspirational, I find looking at the different sides does spark ideas for projects. I have my flooring cube in my living room and guests have been fascinated by it and it has sparked conversations so it is fun for that also.


Now on to today’s project.


For this first side I am going to do a “stucco” type finish. This happens to be my favorite way to get this look. It is also really easy and really cheap to do (even if you are covering an entire dollhouse with it) I used this finish on most of the exterior way back when I built my Harrison dollhouse. I think the tour of that dollhouse was either the very first or second video on the channel so that was a looooong time ago.


All you need to do this technique besides the surface you are covering are whatever paint you wish to use and some facial tissue (make sure it is the kind that is smooth without any designs stamped in the surface)


To start peel the layers apart if the brand you are using has more than 1 layer and tear the tissue into smaller pieces.


The paint for this layer is basically a primer coat so even if you are using a latex paint for the final coat just use a craft paint for this layer.


Paint a small area of you surface with a generous coat of the paint.


Then lay a piece of the tissue on top of the paint.


Use your loaded paint brush to move the tissue to give you the amount of wrinkles and lumps you want. Keep in mind that after you add the topcoat of paint at the end it will even out the look so make it slightly more lumpy than you want in the end. Make sure the tissue starts as a single layer because otherwise I find the paint doesn’t soak through as well and bubbles will result.


 If you see areas where it looks like there is air trapped just mash the area with the paint loaded brush and mash it down. You really want to coat this with plenty of paint.


Allow this to dry completely, overnight is best for this step.


Normally I use interior latex paint from the hardware store but I don’t have any in the cream color I wanted for this project so I am using just plain old craft paint. I would not recommend using craft paint for the exterior of a dollhouse but if you need to be sure you use enough coats to give a good finish and follow up with a topcoat of a clear mat or satin sealer (like Mod Podge) The cream color I am using I had to mix for another project so I made extra to use here. It is just mostly a white acrylic craft paint with a few drops of the palest yellow craft paint I had on hand. I just wanted something like a cream/ivory color. Just brush whatever paint you are using over the surface and allow it to dry. You might need 2 (or more) coats depending on the paint you use. Allow the paint to dry.


Since my goal on this side of the cube was to create a really old, dirty wall I wanted to add a dirty wash. If you making a newer wall you can skip this part or just do a tiny bit. For this step no matter what type of paint my main wall color is I would use an acrylic craft paint. I started by mixing a brown color that looked like mud. You can use a ready made color or mix one like I did. Then I added a lot of water. My paint barely covered the bottom of the small container I used then I added water to be about 1/8” deep. We are really just going to use the colored water not paint in this step.


To add the wash use a large brush and add a good amount of the wash to a small area. For this step of the project I am stirring the paint/water mixture each time I put my brush into it. Layer on a good layer of the wash and let is sit for a few seconds up to a couple of minutes depending on the look you are after. On a dollhouse you will have to lay it down so the surface you are painting is horizontal for this. After the wash sits use paper towels to blot off the excess. You should have just a stain of color. Go over the surface repeating these steps and then let it dry. It will lighten up in color as it dries. When you have the level of grunge on the surface that you like you can move on to the details.


Next I added a layer of just the water from the top of the wash container around the edges. On a dollhouse I would do this at the bottoms of walls where they were in contact with the ground. Where mud and such would splash/seep up. The more you add the older and grungier your wall will look. If you have window openings add drips coming from the corners. The only place you want to avoid adding too much is in areas that would be protected, places like just under the roof eaves, leave that fairly clean and add more grunge closer the bottom of the wall. Just have fun and make it as old or new as you wish.


Since I dd use craft paint now was the time to add that sealer coat. I just used some mat Mod Podge since I am after an old grungy look. For a newer looking wall use a satin sealer. Allow this to dry.


As always I do want to sincerely thank all of you for watching my videos and reading my blog posts. It means so much to me that you are supporting me in this way. If I could ask you all to do just a bit more by subscribing to the channel and liking the videos and leaving comments. Those help more than you can imagine. Also if you could pass the links on to your friends I would appreciate it so much.


Wednesday, August 28, 2024

Dollhouse Miniature Paint Test How Many Coats???


Watch the video here.


I was in the mood to do another paint test and this is one that has been roaming through my brain for a couple of weeks now so here we go. I do want to preface this by saying I really wanted to do this test with the acrylic paint form Dollar Tree but they were out of the black so I decided to do the test with the Prang Tempura paint also from Dollar Tree. I have another idea that I want to do with the Dollar Tree acrylic paint which also will need the black so I hope they get it in stock soon.


So let’s start with the set up for the test.


I am using a sheet of 140lb weight watercolor paper. I used some acrylic (Anita’s brand) black paint to cover half the sheet.


I put out some of each the black and white paint that I am testing into containers that have lids to work from as the day goes on.


I picked two large brushes that were similar to use and they were wrapped in wet wipes between tests. This way I am not going back in with water in the brushes that could affect the opacity of the paint.


I then laid down as even of a coat as I could of the black on the white side of the paper and the white on the black side. This coat filled most the height of the sheet of paper. Then it was allowed to dry.


Off camera I added more single coats of paint allowing then to dry between. I would have filmed more of the coats but there were people in the parking lot outside my window with a stereo going loud enough that it would been picked up by my microphone. (YouTube would have not liked that at all)


I was surprised that the black covered a lot better than the white did in this test. Especially since the first coat of black was so transparent and blotchy. It really looked okay in person after the fourth coat was dry and the fifth coat looks really good. The white at this point was still lacking coverage big time.


With the white paint the fifth coat was almost okay… And for some applications I can see it being usable. The 6th coat was close to decent coverage, maybe one more would have been enough but I am not sure sure.


Off camera I also did test the white acrylic paint and the results were very similar to the white in the “official” test today.


So what did we learn. As expected with enough coats of the paint you can get decent coverage. The question is would it be worth it? That remains for you to answer.


I do wonder if these could be a good alternative as a base or primer coat. Since they are a lot cheaper than the good craft paints if they would seal the project and allow us to cut down coats of the more expensive paint it might be worth it for that. The question there in my mind is durability and that could be a future test on the channel.


I do have another test in mind where I think the lack of opacity would be a positive and as soon as I can get the black in the acrylic I will be doing that one.


In the meantime if you have paint tests you would like to see let me know I love doing these. They are probably the videos I have the most fun doing and that is just what I need some weeks.


As always I do want to sincerely thank all of you for watching my videos and reading my blog posts. It means so much to me that you are supporting me in this way. If I could ask you all to do just a bit more by subscribing to the channel and liking the videos and leaving comments. Those help more than you can imagine. Also if you could pass the links on to your friends I would appreciate it so much.


Sunday, August 18, 2024

Dollhouse Miniature Exterior Floor Cube Side 5


Watch the video here.


I had so much fun with the floor last week I decided to cover another side of the exterior floor cube this week. This time I went with a wood look for the material but still used just some poster board to make it.


This time I wanted two layers a black bottom layer that was then covered with strips that look like wood. For the black layer it is a simple coat of black craft paint. For the wood look I used a couple of colors of brown as well as a golden yellow and painted on a very streaky coat of paint to look like wood grain. Once cut into the small pieces it will be more convincing than it looks as a large piece.


Let the paints dry. Once dry cut the piece that is painted to look like wood grain into ¼” strips with the steaks going the long way.


Once cut it is a simple task to just glue those strips to the black piece leaving a small gap between them. When we are done this will resemble the fake wood tiles that you can buy to cover a real deck with.


Once the strips are glued down and the glue has dried (at least mostly dried) cut the piece so that you have strips that have 3 “boards” on each one.


Once cut use one of the wide strips (with 3 boards) to determine the length to cut each one into. What you are wanting is a bunch of square “tiles” that look like they are made of 3 pieces of wood.


Now just glue the tiles onto the cube (or in place on your dollhouse patio/deck/porch) alternating the orientation of the boards on the tiles. Continue until the surface is covered trimming as needed at the edges.


I did add a clear finish to this floor using some Mat Mod Podge to give just a very subtle shine to the flooring.


And there we are another surface of the floor cube covered.


What do you think I should to with the last side? Be sure to let me know if you have an idea.


As always I do want to sincerely thank all of you for watching my videos and reading my blog posts. It means so much to me that you are supporting me in this way. If I could ask you all to do just a bit more by subscribing to the channel and liking the videos and leaving comments. Those help more than you can imagine. Also if you could pass the links on to your friends I would appreciate it so much.


Wednesday, July 31, 2024

Dollhouse Miniature Unicorn Toy Makeover


Watch the video here.


This week while I was thinking about what to do for the Midweek Video I remembered that I had gotten some items in some blind bags a while back that I had set aside to do makeovers on. So I pulled out the container where they are and found this little unicorn. I immediately thought of a stuffed unicorn and decided to show how to do just that. Now this will work in any little plastic figurine, it doesn’t have to be the same as what I did. Look through your stash for any little figurine that you want to turn into a “stuffed” toy for the dollhouse kids.


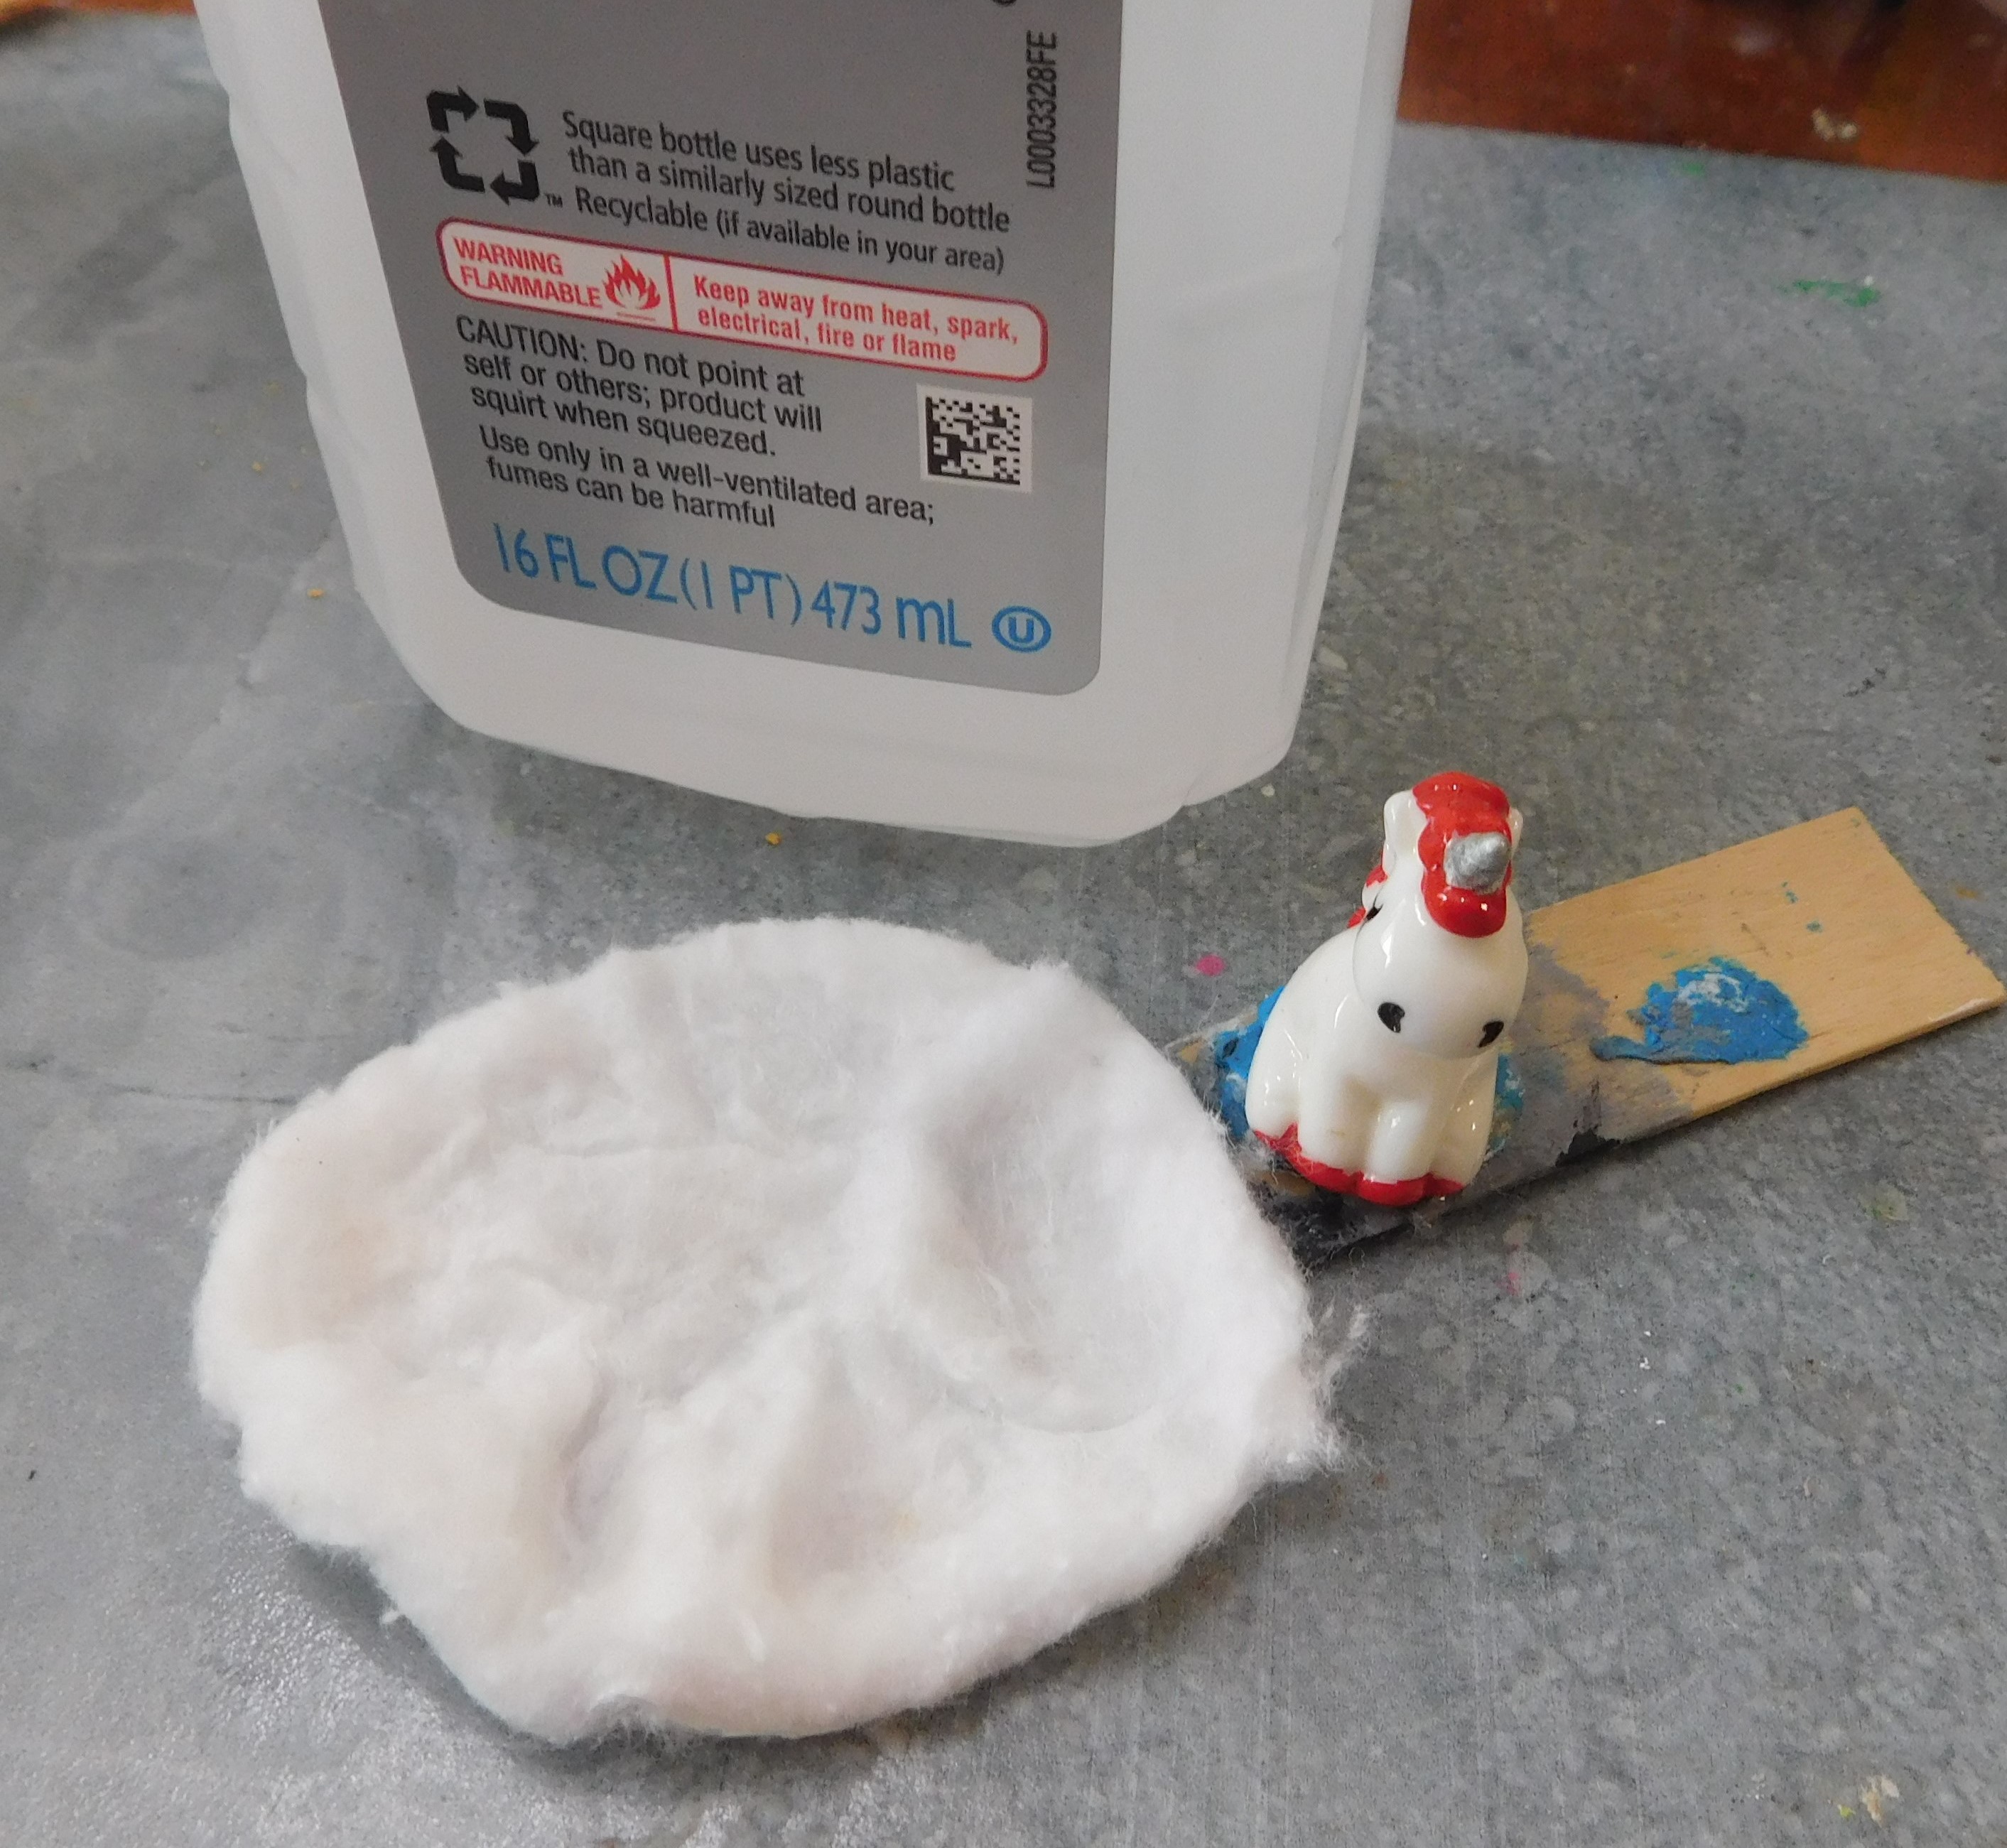
Since the item we are working with is so small it is really important to add a “handle” to help hold onto it with. I like to use some of that stuff that is sold to hang posters up with to stick the item (in this case my unicorn) to a piece of craft stick. Once in place use some Isopropyl alcohol on a cotton pad or cotton ball to clean the surface. We want to clean off any oils or debris that might be on the surface that could cause the glue in the next step to not stick. It is really important to not touch this again with your fingers until after the flocking is on and set. Let the alcohol dry.


Next I added a coat of tacky glue to the surface of the unicorn, trying to stay off the horn. (I want to make the horn look like gold vinyl) Do your best to brush on an even coat and check for missed spots. Once you are happy with coverage cover the glue with some white flocking. I am using the brand Fun Flock because that is what I have. Any brand of white flocking with work. If you don’t have any it is normally sold with the card making supplies. I believe the people that do model cars also use something similar on upholstery to give a similar texture.


Once you feel you have given the glue time to dry carefully remove the excess flocking. I just start by gently shaking it off then use a soft brush to gently brush off the remaining excess. The key word here is gently. Look over your piece and check for areas that are not covered in flocking that should be. If you missed spots add a small drop of glue and add more flocking, allow to dry and brush off excess. Once you are happy let the figurine set out to completely dry. The glue tends to not dry all the way until you remove the excess fluff and let the air get to it.


Once the glue is completely dry it is time to add some paint. I first base coated the unicorn’s horn with some golden yellow color paint. Then I coated all the flocked area with a thin coat of white paint. Allow the paint to dry. I have found that the first coat of paint over the flocking takes a very long time to dry so be patient.


Once dry it is time to add some details back to our little stuffed animal. I started with some pink where the hooves were and then added some pink to his mane. I also added some light lavender and blue paints to his mane. If I had more time I would have probably done more details but for the videos I try my best to balance the details with the how long that would make the video. Let this paint dry.


Next I added some metallic gold paint the unicorn horn and some tiny eyes with a dot of black paint in the appropriate places.


I decided that I wanted both more shine and more depth to the eye so I carefully added a tiny dot of black nail polish over the black dot. Allow this to dry.


As always I do want to sincerely thank all of you for watching my videos and reading my blog posts. It means so much to me that you are supporting me in this way. If I could ask you all to do just a bit more by subscribing to the channel and liking the videos and leaving comments. Those help more than you can imagine. Also if you could pass the links on to your friends I would appreciate it so much.


Sunday, July 28, 2024

Dollhouse Miniature Succulent Chair Part 1


Watch the video here.


Early last week when I was looking for ideas for today’s video I noticed a bunch of succulent chairs on my Facebook feed. I hadn’t noticed them before and they caught my eye because they were so pretty. So I decided to do some image searches which lead to some DIY videos on how to make these in real life and that is how we got to today’s project.


In my stash of stuff to work with was this sad little chair. I got it a couple of years ago at Dollar Tree. I had been in a hurry and grabbed several packages of their dollhouse furniture to use for tutorials. I noticed when I grabbed it that this chair was a bit off. It wasn’t until I got home and really looked at it that I realized just how off that was. I did have a plan for it but I never found anything to make that work so this chair has sat in a box in my craft storage for all this time just waiting.


So today we are going to dig out a messed up chair from our mini stash and create a centerpiece for the doll’s garden. I have seen photos of these chairs in gardens, on porches, in flower beds, on porches and even inside of homes and businesses. So this can go almost anywhere.


To start I just gave the chair a basecoat of a white craft paint. This way I had something to sand back to later and I knew it would allow me to just do one coat of the colored paint in the next step. Don’t be overly careful with this coat for the most part it won’t show, if you miss spots don’t worry about it.


Next add a coat of whatever color paint you want your chair to be. I picked this bright blue color. Again this coat of paint doesn’t have to be really well done. If you miss spots don’t worry about it. We are going to be sanding back in areas in the next step. One place I did make sure was covered was the detail on the legs. That way I can sand back the higher areas and there will still be paint in the more recessed parts of the leg design.


Once your paint is dried use a piece of sandpaper to really add some age to the chair. Take off as much or as little paint as looks right to you. Be sure to hit those areas that get the most wear- edges of the seat, the legs, the back, anywhere on the chair that people would have rubbed on the chair in normal use.


Now for one of my favorite parts of aging anything, adding the grime. For this I used a thicker medium to darkish brown paint, I just a cotton swab to both apply it and to rub off excess. (I also used a paper to towel to remove and blend some) The idea is to add this paint in any areas that would get dirty in real life. Again think about where people would touch the chair. The spots that would get stuff spilled or be in contact with dirt. The area where the seat meets the back and the bottoms of the legs are good areas to do this step on as well as the seat. Allow this paint to dry.


Next I added a thin coat of Mat Mod Podge just to set all the work I’ve done up to this point. I really like how the aging looks and I don’t want to loose what I’ve done. This is optional though and you could skip this step if you wish.


Next I wanted to add what looked like the potting soil that comes through the seat. On some of the real chairs I saw they had removed the center of the seat, lined the area with chicken wire, added one of those liner things and filled that with potting soil. This step is to add that part beneath the seat.


Start with a piece of some kind of foam and cut a shape that will fit the bottom of the chair between the legs that is rounded on the bottom and flat on the top.

Now to replicate the chicken wire texture. I had one of those little stretchy bags that you get fresh garlic in at the grocery store. It is the perfect texture to make this look like it is covered in the chicken wire. The biggest problem was getting it glued in place. I started with tacky glue but while it held a little it wasn’t strong enough. So I ended up using super glue. Lots of super glue. And you guys know how much I hate super glue. But it worked and that was the important part.


Once the glue is dry paint this part with some brown paint. I used the same paint I had used earlier. Allow to dry.


Once the paint dries glue the “soil” to the bottom of the chair. I used my Shoe Goop because my almost new tube of e6000 is still missing in my craft storage room. I remember thinking that I was putting it in a place that “made sense” I still have no idea where that place was….. Anyway use any glue that will hold the soil to the bottom of the chair.


Several of the chairs I have seen online have what appears to be a sheet of moss laying over the back of the chair. I thought that was really pretty and I am hoping it kind of distracts the eye from how thick that chair back is at the top. To make it I am using some cotton fabric (unbleached muslin) I measured and decided to make my moss sheet ¾” by 2” for my chair.


Using a pencil I marked this area on a piece of the fabric. Now brush some Mod Podge inside of the shape you just drew making sure to stay inside the lines but fill it in really well. Now I used some dry herbs and sprinkled them over the Mod Podge. These are just expired dry herbs from the kitchen. Whenever I am changing out a container of dry herbs I dump what I have left in the old container into this zip-lock bag and keep them to use in crafting. Pat the herbs down into the Mod Podge and allow to dry.


Once dry use a variety of green paints to stipple paint the surface of the herbs. This will not only color this to make it look like it is not old dry herbs but it will also help to seal the leaves down. Allow to dry.


I like to now seal the moss mat with a coat of Mat Mod Podge. This will seal everything down and help to discourage any tiny critters from snacking on our project. Allow to dry most of the way.


Now cut the moss mat along the lines you drew and glue it in place on the back of the chair.


This seems like a good place to stop for this week. The video is already pretty long at this point and we are in the midst of a heatwave so I need to stop for the day.


Next week the plan is to create some plants and maybe other decor to put into/onto the chair. Hopefully we will get the chair finished next Sunday.


As always I do want to sincerely thank all of you for watching my videos and reading my blog posts. It means so much to me that you are supporting me in this way. If I could ask you all to do just a bit more by subscribing to the channel and liking the videos and leaving comments. Those help more than you can imagine. Also if you could pass the links on to your friends I would appreciate it so much.