
This week we are making a project that I have always wanted to make in real life but never got around to it. I used to host all the holiday dinners and almost every year about the day before Thanksgiving I would think “oh, I should have made a cornucopia.” but by then it was too late. So I would think I'll make sure I make one next year. As you can probably guess the next year was an exact repeat of the above internal discussion I had. So when I got a request recently for some fall table centerpiece ideas I knew what I had to make.
This is a fairly easy project and only uses one color of clay, white. It can be any brand you have on hand. We are not going to be trying to do really intricate details so a soft clay is fine.


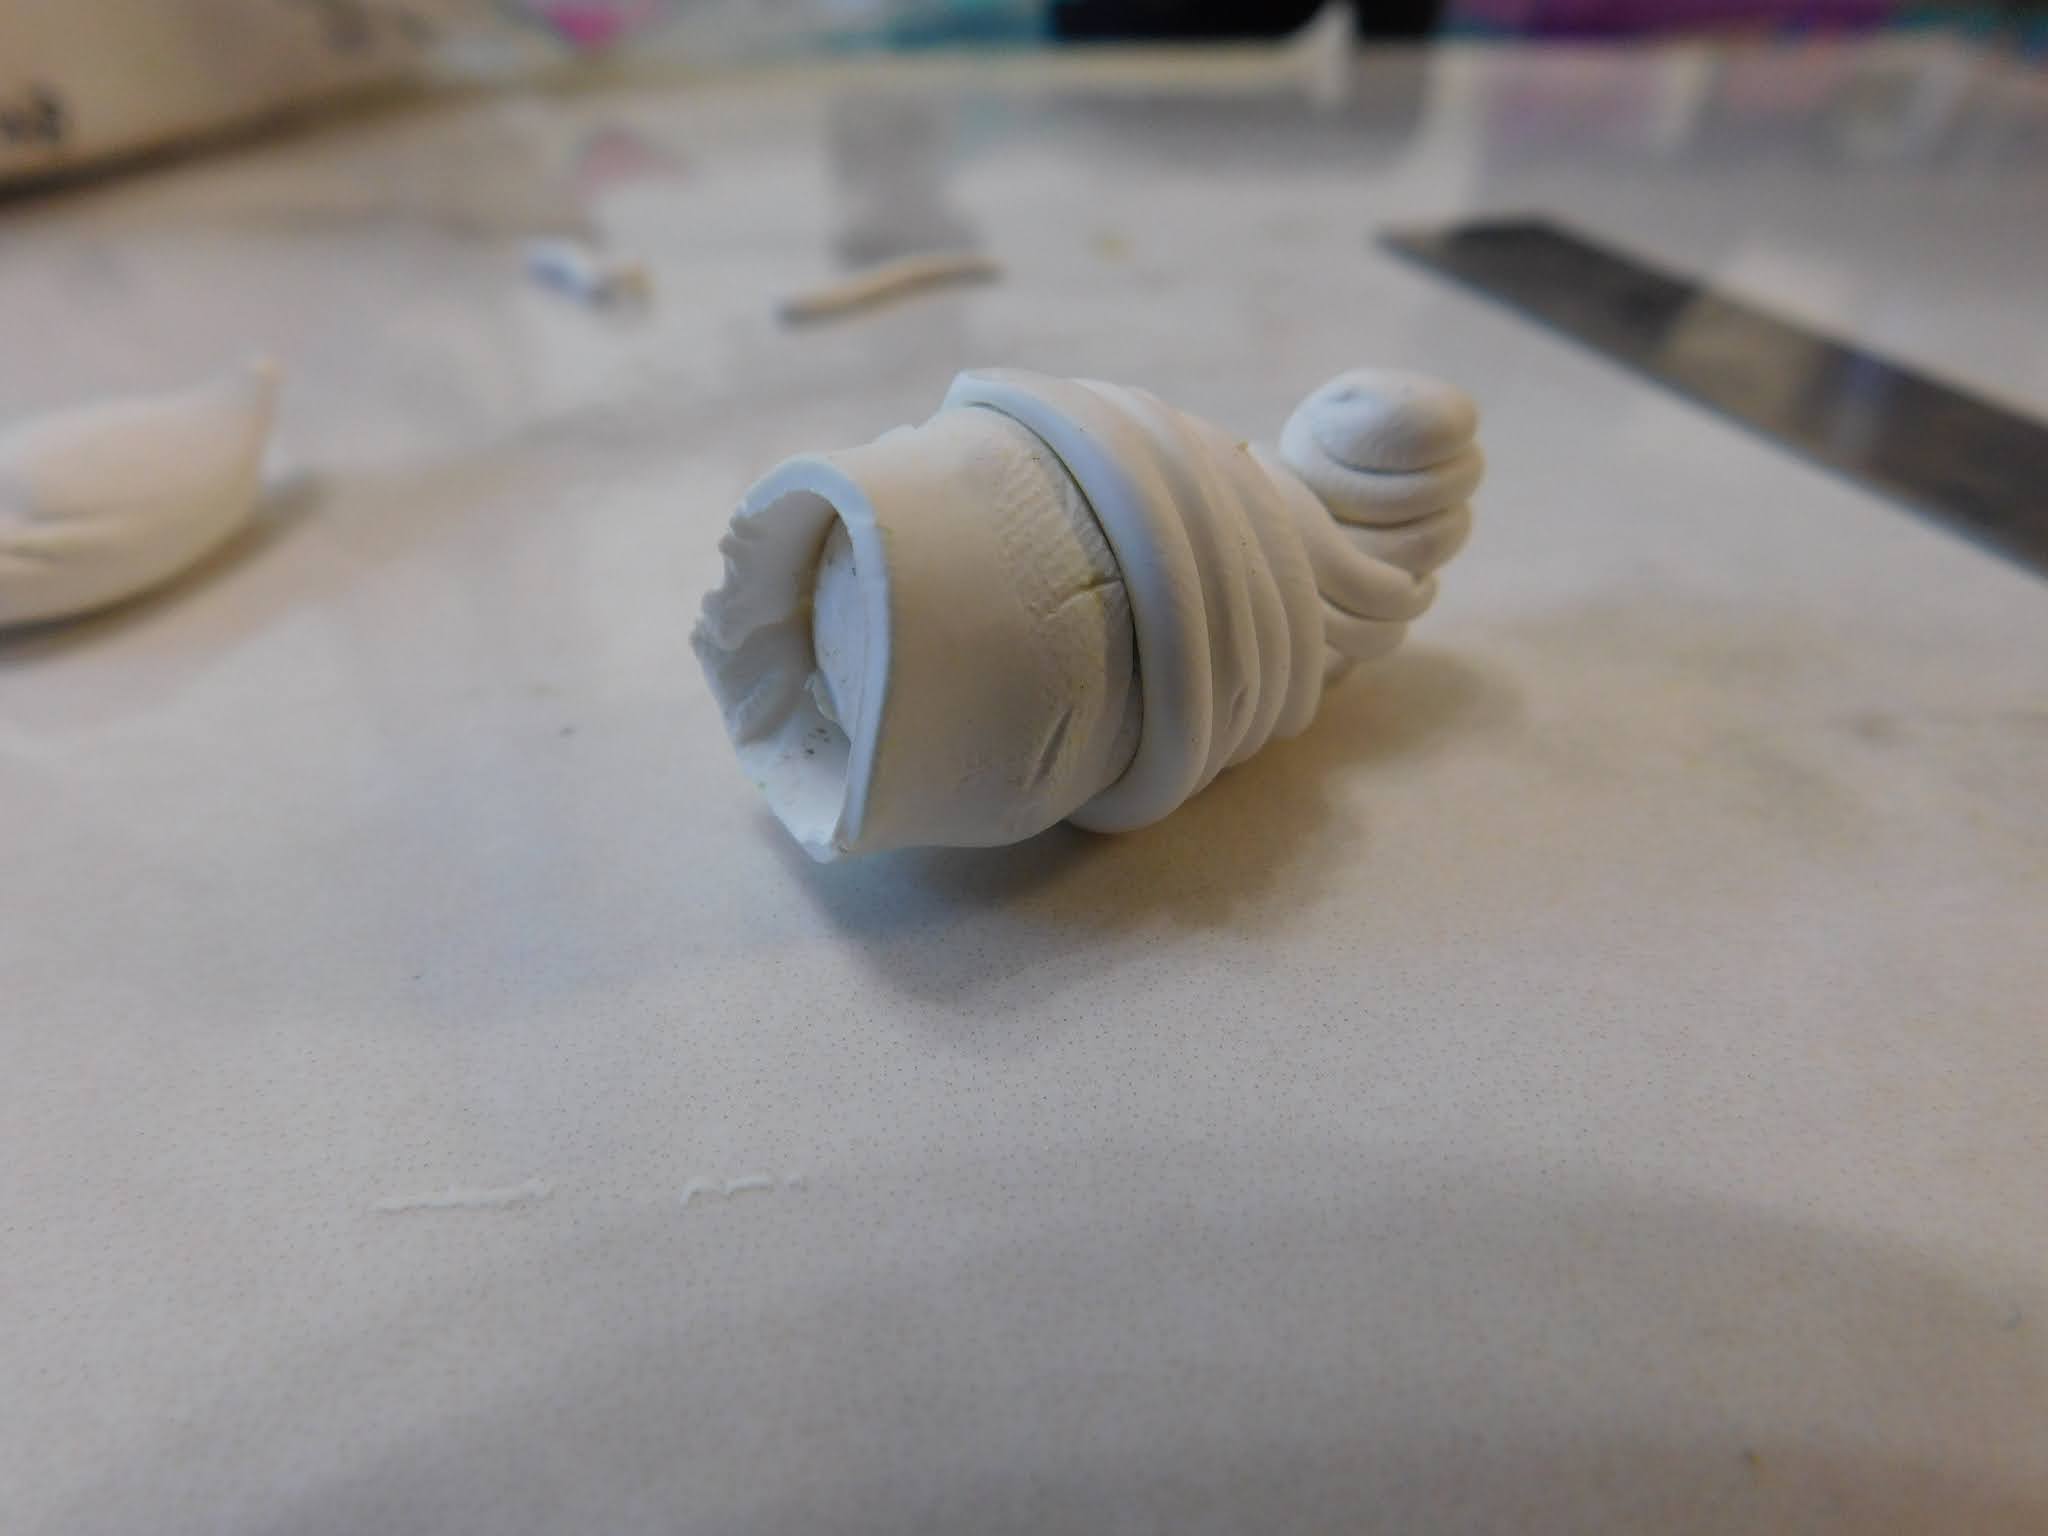
Carefully wrap them around the cornucopia ending just a bit before the open end.


Now we get to play with chalks to color our bread and make it look all “golden-brown and delicious” like the chefs on TV say. We start with a warm yellow gold color then move to a reddish brown and then just a bit of a darker brown. The first color is used the most with each layer after being a bit less. Don't overdue the dark brown or it will look like it spent too much time in the oven. (unless that's the scene you are going for)

Once you are happy with the amount of color you have added it is time to bake the cornucopia this time we are going to bake at 250°F for about an hour. We need to cure the clay all the way through to the middle of that blank we made in the first step. Once baked allow to cool to room temperature before handling.
Now you just need to add some fruits, flowers, or leaves to create the centerpiece for fall in your dollhouse.
I have a lot of fruit tutorials on the channel here is a link to the playlist of most of them. I may have missed a few when I put the list together.
If you make a cornucopia from my tutorial be sure to share a picture with me. I love to see what you make. Also let me know what you want to see tutorials of in future videos.
As always I do want to sincerely thank all of you for watching my videos and reading my blog posts. It means so much to me that you are supporting me in this way. If I could ask you all to do just a bit more by subscribing to the channel and liking the videos and leaving comments. Those help more than you can imagine. Also if you could pass the links on to your friends I would appreciate it so much.
No comments:
Post a Comment