
This week I decided it would be fun to make an apple shaped tabletop decoration for the dollhouse. I wanted to make this as easy as possible and still get the apple shape I wanted. So I used my graphics program and made you bot a pattern for hand cutting the shape and a PNG image that can be used on an electronic cutting machine. You will find the files here along with some quick instructions on how to use them.
I was inspired for this project by several similar decorations I found online for real size. I love the simple apple shape and I think I captured the feel of what I was going for. I also kept this super simple so you make several of them if you wish.
I designed this project to be made mostly of medium weight card-stock. I find with the correct number of layers it is a very sturdy materiel when finished but still really easy to work with. I did make up the apple from some of my 140 lb watercolor paper and while it works nicely I think the card-stock ones came out much better.
Let’s talk about the files I have created for you.
For those of you that will be hand-cutting your pieces I have made a PDF that you can print on your home computer printer and use. If you can print on medium weight card-stock with your printer go ahead and print directly on that. If you print on plain paper and transfer the design to the card-stock. Then just cut out the shapes and follow the steps from the video. I did you a condensed version of the steps on the PDF to refer to while working.
For those of you with a Cricut or similar machine I have created a PNG to use on those. All you have to do is upload it to your machine and size it to a 2” square. Then let the machine do all the cutting for you. This is the same file I used on my machine and it worked wonderfully.
Before you ask you are of course free to sell items made from this pattern, if you want to give me credit I would appreciate it but it is not required. However, please don’t pass on or sell the pattern itself. If someone else wants the pattern share the link to my video or blog with them and let them download the patterns themselves, Thank you in advance.

Now on to making our apples. We stat with our 9 pieces we cut from the pattern, 3 apples with stem/leaf and 6 without.

Divide them into sets of three that match and glue the sets. Be as careful as possible to line all the edges up. Set aside to dry.

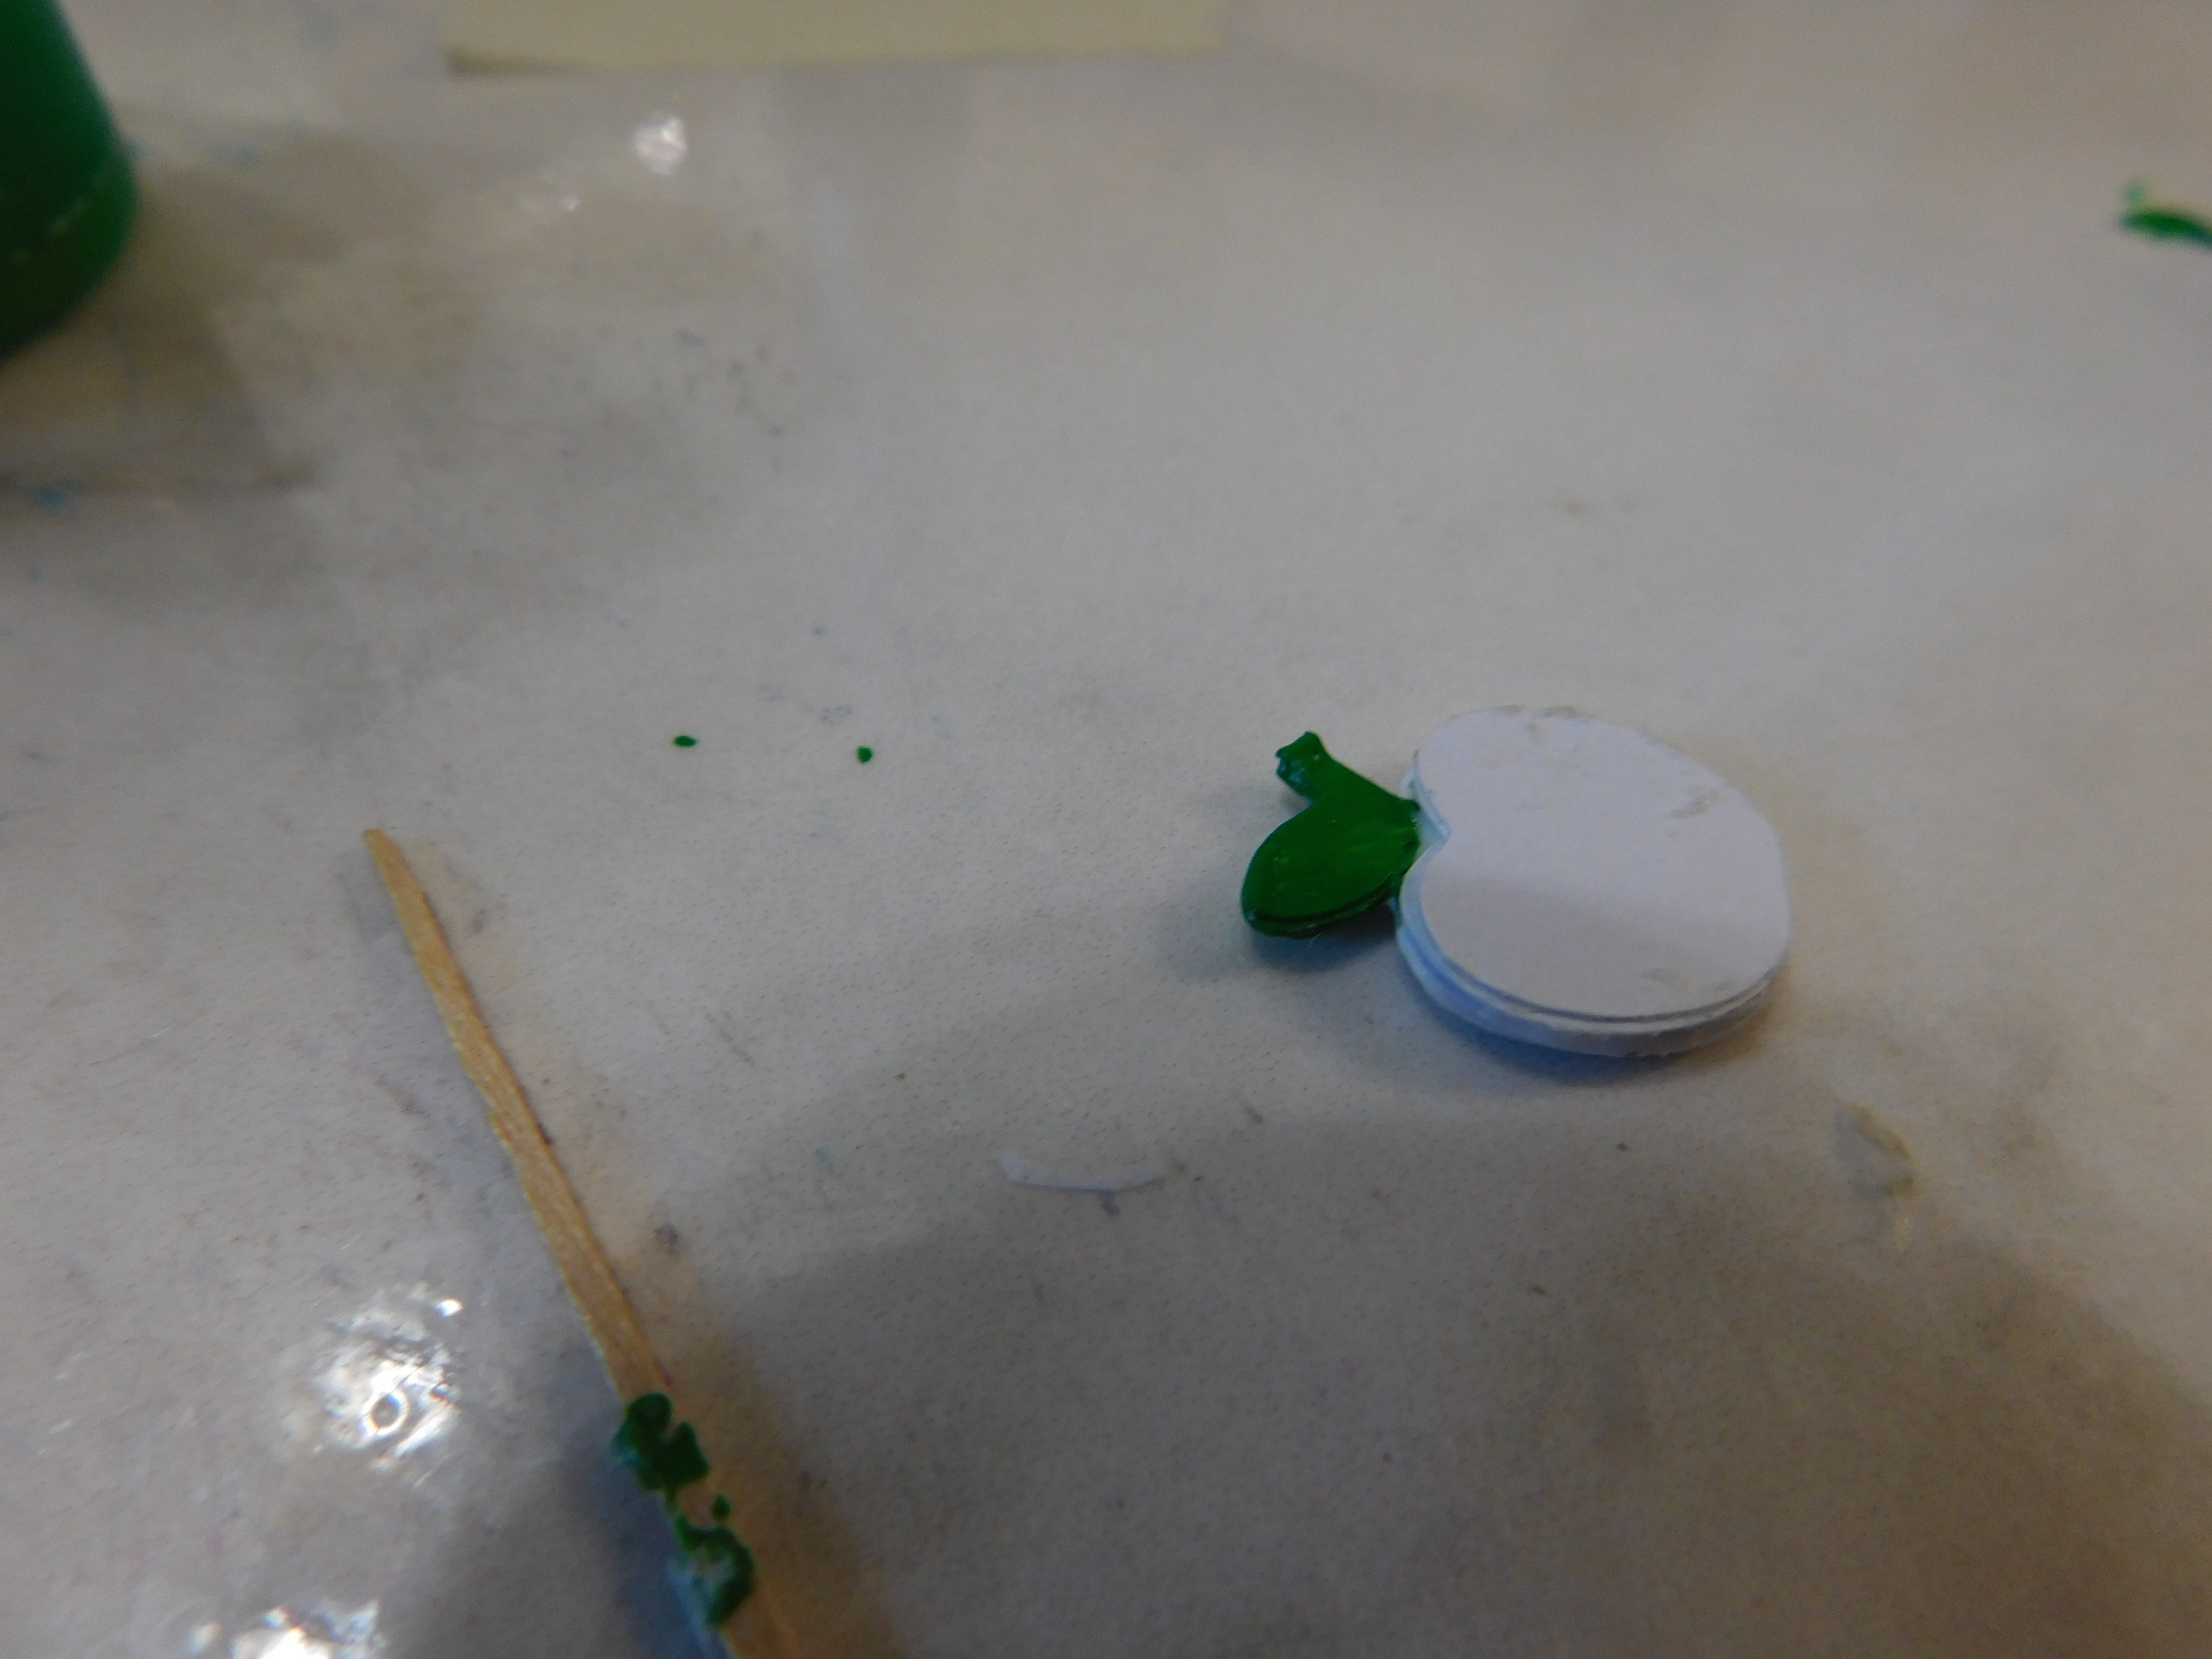
Now we are going to use some green paint to paint the stem and leaf area. You could of course paint the stem brown and the leaf green but I decided especially for the video that one color here would be much better. You don’t need to paint much of the apple area just the stem and leaf and a bit down to be sure there won’t be any white showing when we glue the pieces together. Paint both sides and be sure to paint the edges too.
Allow to dry completely.
Now we will glue all three sets together sandwiching the set with the stem in between the two sets without. This gives our apple some dimension.
Do your best to line up all the edges up neatly. Allow this glue to dry.

Now if needed you can use some sandpaper to give the edges a final smoothing. Then paint the apple portion with red paint. Be sure to get both sides and the edges again and allow to dry.

While the apple dries we can make the stand it will sit on. I used a piece of a regular craft-stick that was cut ¾” long. I then used some dark brown paint and stained ti. Allow this to dry completely also.

Now we just need a bit of glue to attach the apple to the stand. Before you glue it though check to see if your apple with stand on its own. If not use some sandpaper to smooth the bottom edge until it will stand the way you want it to. Then dip into a bit of glue and place it on the stand. Allow to dry.

Give the entire piece a coat of Satin Mod Podge and allow to dry.
There we have a really cute apple decoration to stand on a table in the dollhouse. I was thinking this wold also be great if you are making a mini classroom or teachers desk scene.

A big thank you again this week to plaid for providing most the paint, the brushes and the Mod Podge used in the video.
As always I do want to sincerely thank all of you for watching my videos and reading my blog posts. It means so much to me that you are supporting me in this way. If I could ask you all to do just a bit more by subscribing to the channel and liking the videos and leaving comments. Those help more than you can imagine. Also if you could pass the links on to your friends I would appreciate it so much.
No comments:
Post a Comment