
Today we are going to make some sliced loaves of bread that look like they were baked in our bread pans. I am concentrating on loaves of bread that are swirled today, a cinnamon swirl and a swirled marble rye. I did have another more festive bread that I wanted to fit into to today’s tutorial but there just wasn’t enough time. I have made a note in my calendar to make it closer to the holidays.
We are starting with the cinnamon swirl bread, it is actually the more difficult of the two and by far the most messy. I wanted to get it out of the way so I would know how much time I was going to have once it was done.

We will be using the same clay mixture we used last week for the loaves of bread a mix of 4 parts white with 1 part Fimo Sahara (or any beige)

We also need out liquid clay, since I am almost out of TLS (Translucent Liquid Sculpey) I used the white liquid clay I got recently. This meant an adjustment from my normal color mixture to compensate for the white. We are mixing the clay with oil paints like we often do. Normally with TLS I use just some burnt sienna but for the mixture this time I added a bit of burnt umber to darken it up. I added just a bit and baked a sample then added a bit more until I got a color I could work with that would still bake correctly. Remember if you add too much of the paint the liquid clay won’t cure correctly. If I were to remake this I would add a bit less of the umber and a bit more of the sienna to make the mixture just a touch more on the warm side.
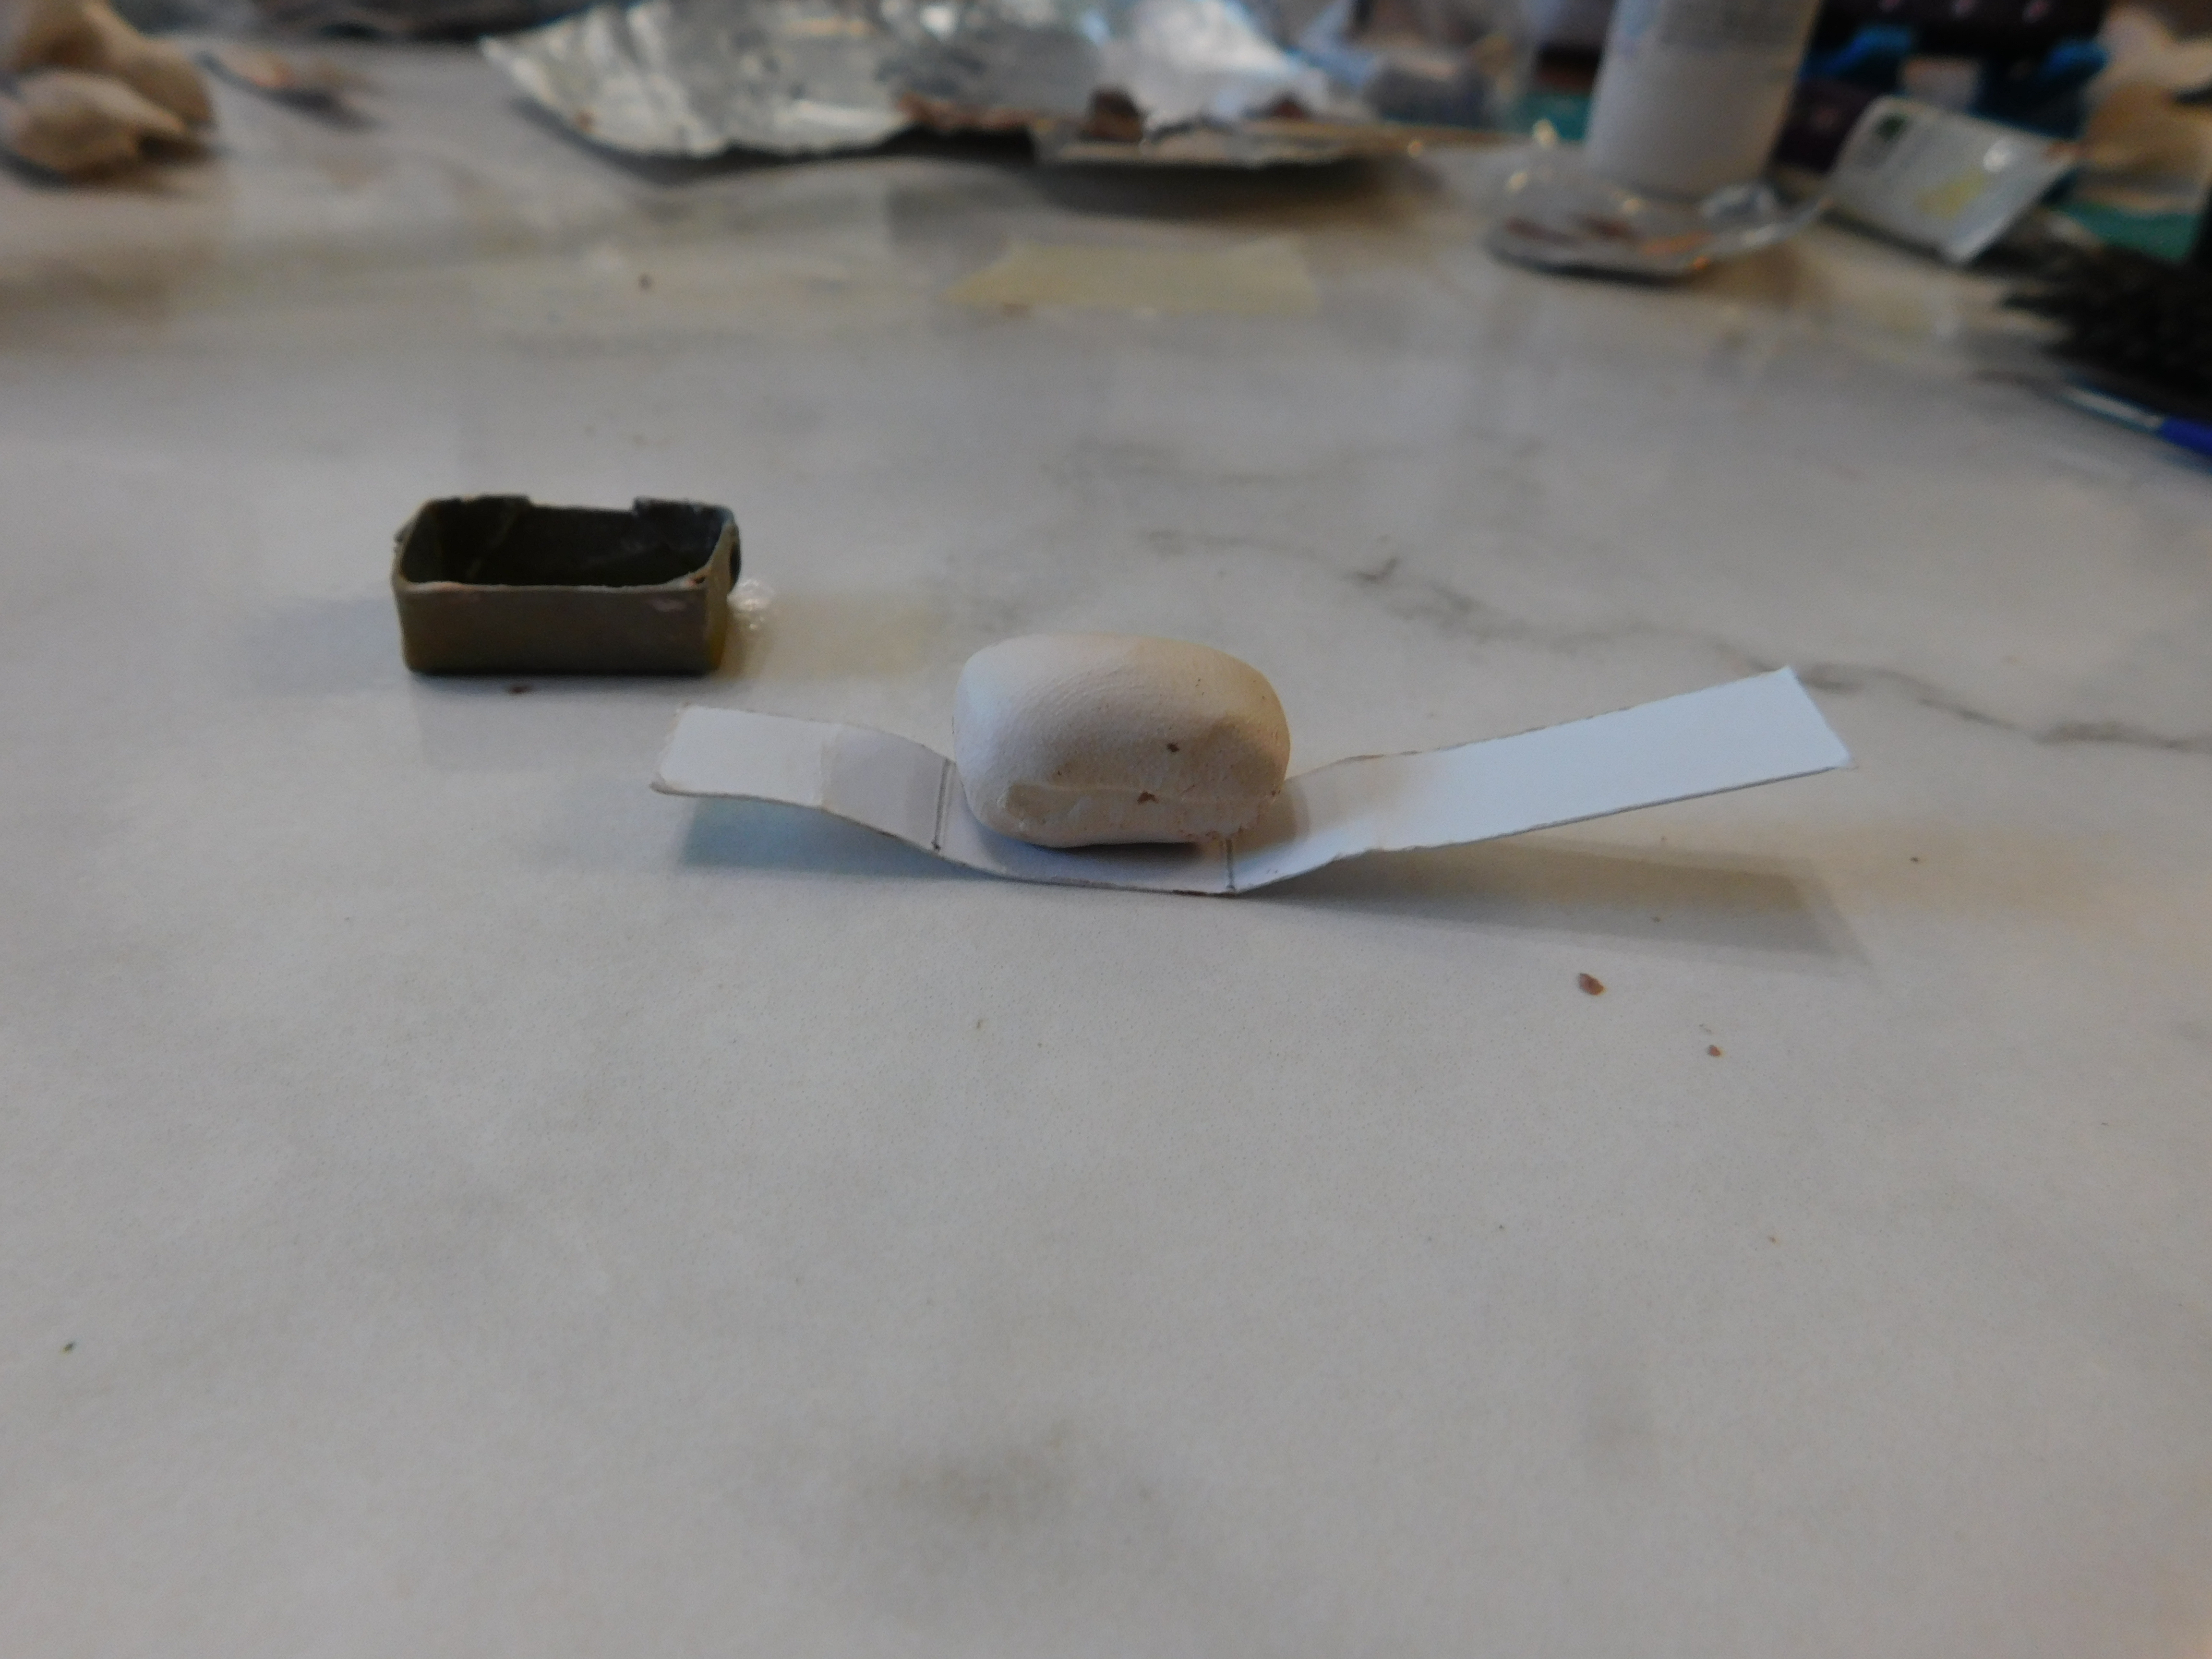
I also made a “lifter” out of a strip of card-stock that is the same width as the loaf pan and long enough to fold up the sides and give handles. I was careful to size this so the bottom area fit really well. I made several because these are going to get messy and you will want a fresh one from time to time. The lifter allows us to form our clay bread in the pan to form the loaf then lift it out with minimal damage to the shape.

Measure out a piece of the clay that fits in your loaf pan the way you want it to. Then roll it out flat into a strip that is narrower that the length of the loaf pan. Use the lifter to help you size the piece.

Then spread some of the liquid clay mixture over the surface.

Roll the clay up to form the swirled loaf and put into the pan with the lifter under it.

Remove carefully and tweak the shape as much as you can.
At this point I placed my loaf in the freezer for 10 minutes to firm up since both clay and the liquid clay were making the piece very soft and hard to work with.
Once the loaf is firm touch up the shape as you need to until you are happy with it.

Now dust with artist chalks to make the bread look baked. We are using the normal 3 colors I use for most baked goods: yellow ocher, reddish brown, and brown.

Start with the yellow ocher and cover the entire outside of the loaf.

Now with the reddish brown cover the top, ends and bit on the sides. Using less of this color than the yellow.

Lastly just a hint of the brown on the very top of the loaf. Be really careful not to overdo the brown or it will look like Mrs. Doll burnt the bread.
Now you will probably need to stick this back in the freezer for another 10 minutes to firm up again.
Once firm you can use your clay knife to cut as many slices as you want.

Now we texture, the first step is a rough texture using a wire brush. Just a bit, you won’t see much of this ideally it just cuts down on how much of the next step you need to do.

Now using your favorite “pointy” tool lightly tease the cut surface of the bread to raise crumbs and add texture. It will help to have either some real bread or a picture to look at.

Lastly to accent the cinnamon swirl I used a clean toothpick to add just a tiny bit in areas where I felt it would look like there were pockets of the cinnamon in the loaf.

Now if you are going to display you slices stacked like I am lay them out that way and the loaf is ready to bake. I am going to make the second variety and bake both together.
Now for the swirled marble rye, this one is easier and much quicker to make. Also not nearly as messy. LOL
We are starting with the same bread color clay, portion of the amount you need to fill your bread pan the way you would like it to be.

Now cut the clay in half then cut one of those halves in half again. Exchange one of those small pieces of bread color for a dark brown clay. Combine the two small pieces to make the rye portion of your loaf.

Now simply roll both colors out separately like we did in the last loaf.

Then stack the rye color on top of the base color and roll up in a swirl pattern.

Form you loaf and insert it into the bread pan along with the lifter to work on the shape further.
Now carefully remove from the pan using the lifter and work on the shape of your loaf.
At this point I put mine in the freezer you could chalk yours before or after freezing.

Now chalk just like the other loaf using the same colors of chalk.

Slice as many slices as desired and texture with the wire brush and pointy tool. Stack your slices if desired.
Bake both loaves at the temperature recommended for your clay for 20 minutes. I am baking this longer because of how thick the loaves are and we need to make sure both the clay and the liquid clay cure completely.
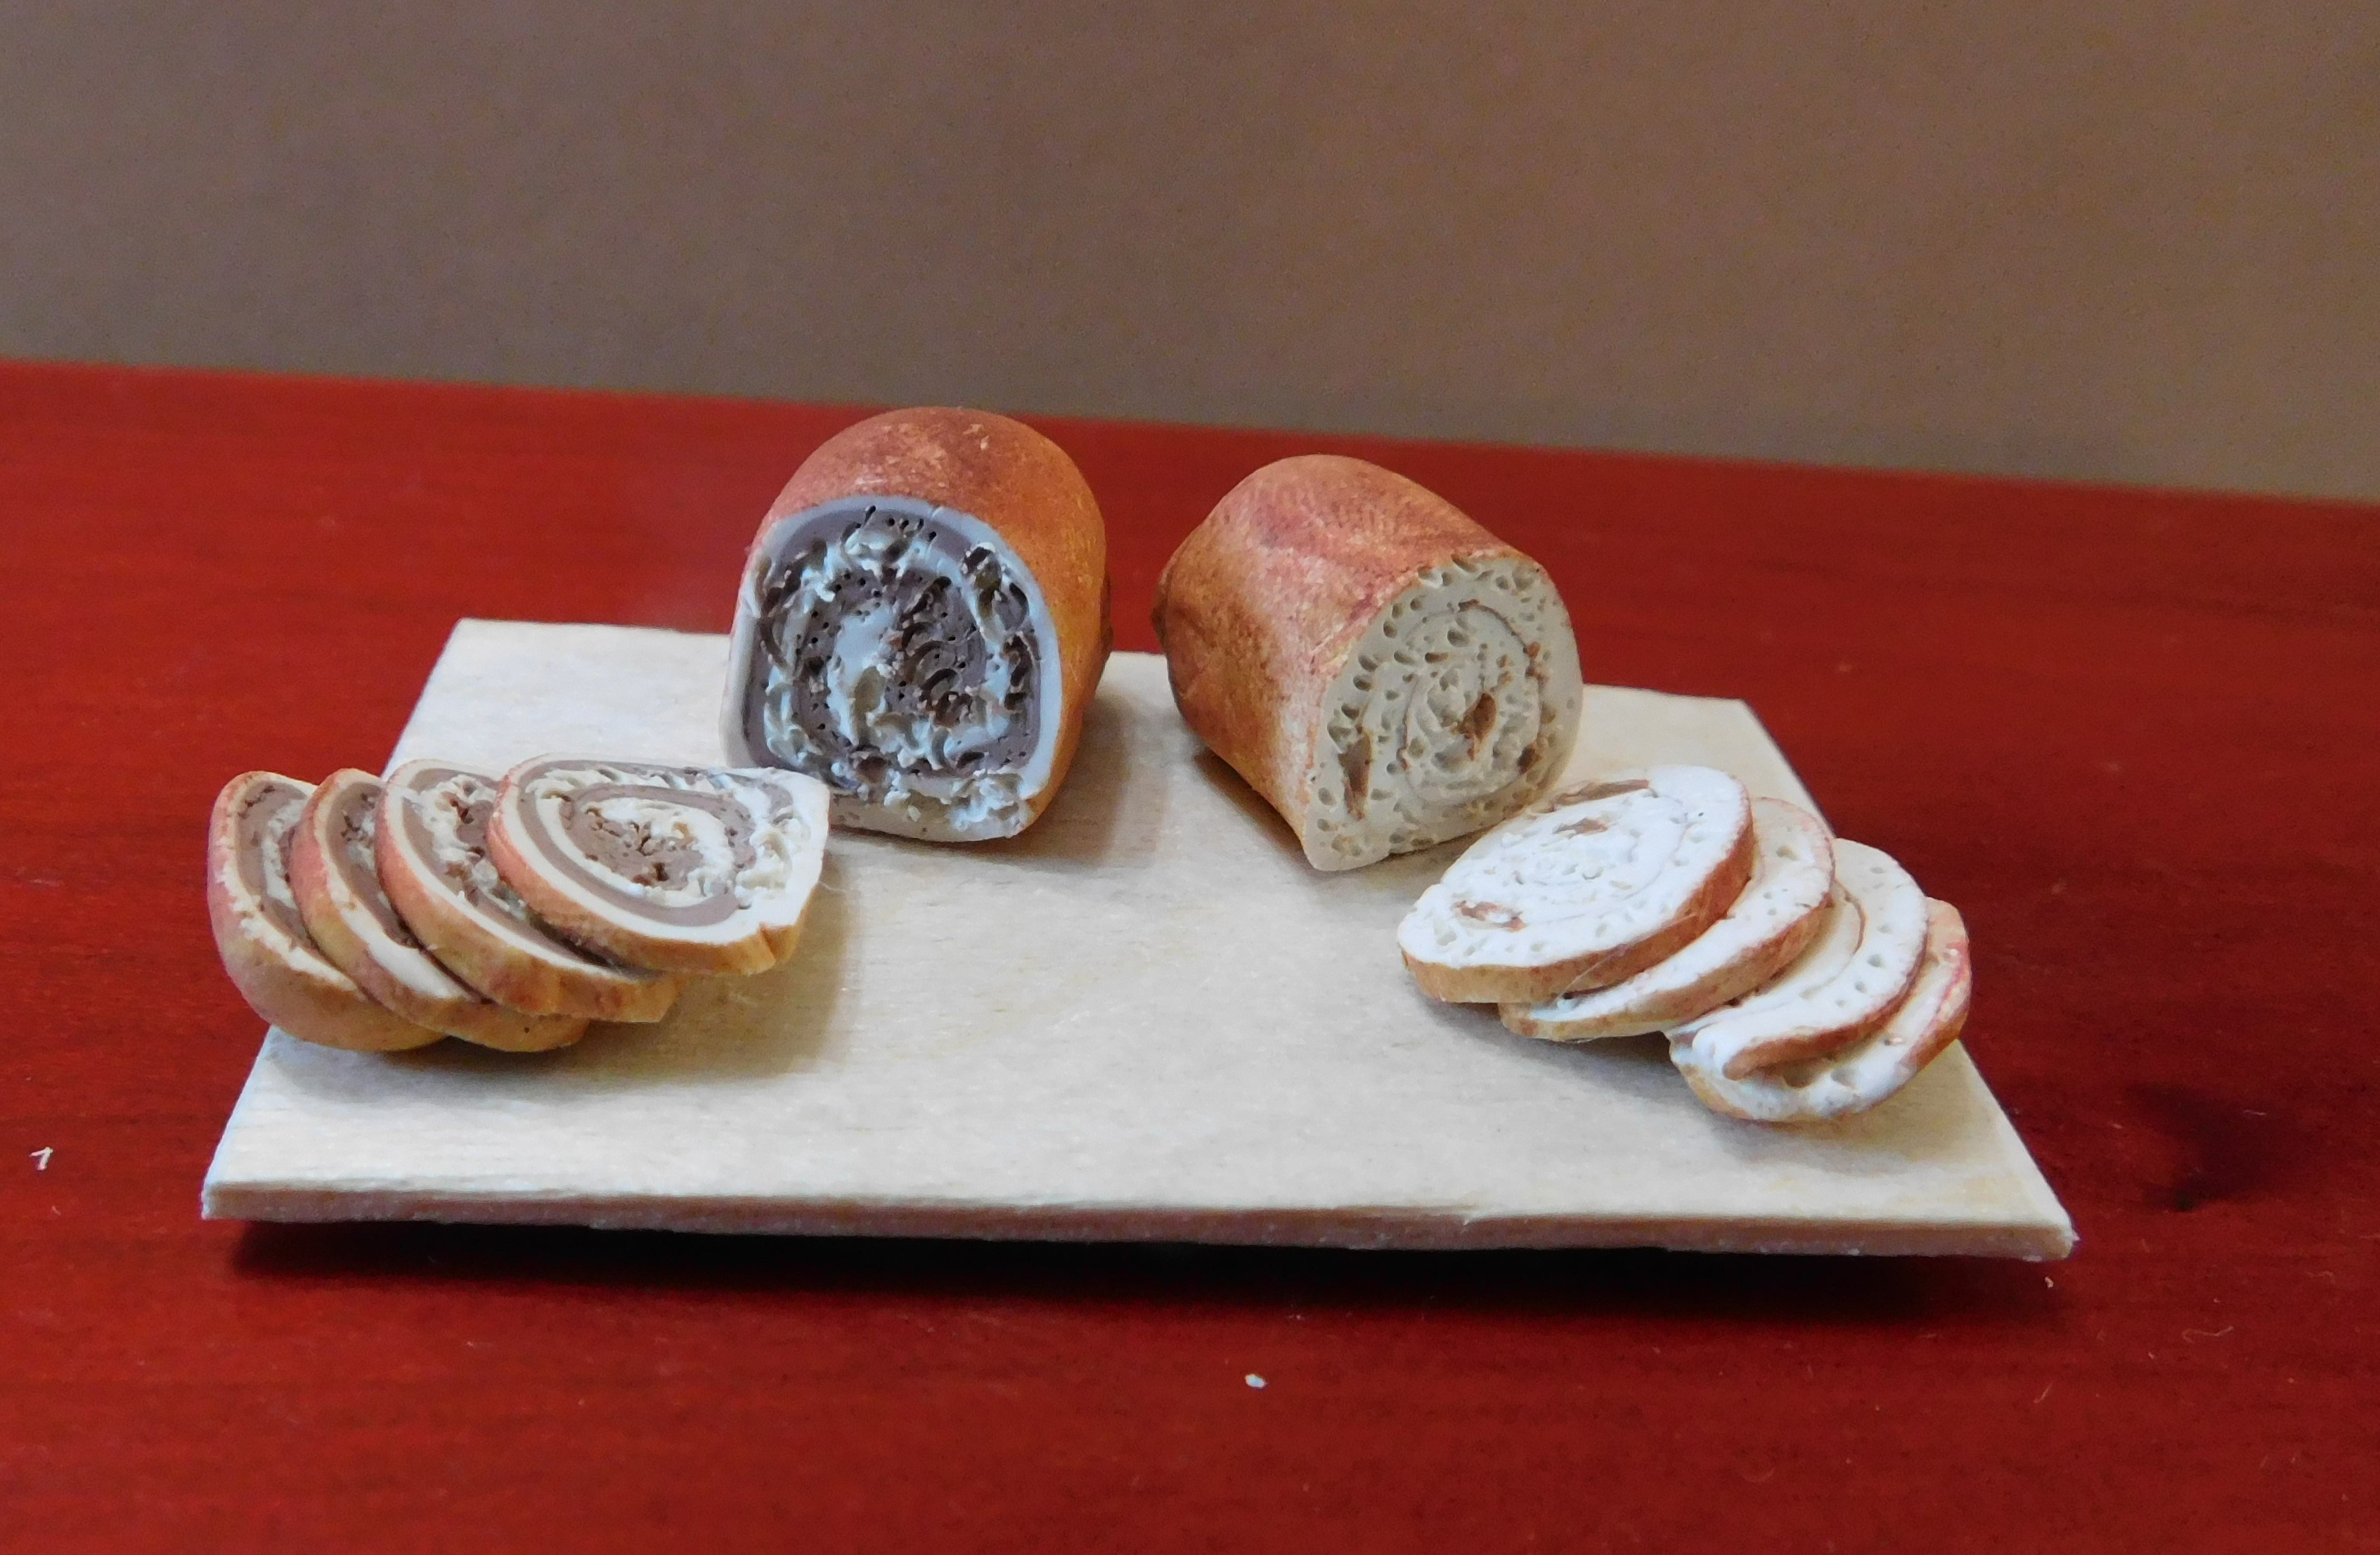
Once cooled your bread is ready to display in you mini scene.
As always I do want to sincerely thank all of you for watching my videos and reading my blog posts. It means so much to me that you are supporting me in this way. If I could ask you all to do just a bit more by subscribing to the channel and liking the videos and leaving comments. Those help more than you can imagine. Also if you could pass the links on to your friends I would appreciate it so much.
No comments:
Post a Comment