
This week of the Saturday tutorial we are making some olives and sweet pickles to go on our meat and cheese board. I am really happy with how they came out and I hope you like them also. Remember to share pictures with me if you make any of the items from my tutorials, I love seeing what you are making.
So we are start out with the black olives, mainly because they are easiest of the projects so I figured they would be the best starting point. These are made from pretty much any black polymer clay. A firm clay will behave better than a soft one for the olives so keep that in mind.


Then we use a
toothpick to make the large hole in the end of the olive. Use a
pointy tool to make the hole in the opposite end. Carefully move to a
baking surface and bake at 250°F
for 7 or 8 minutes.
For
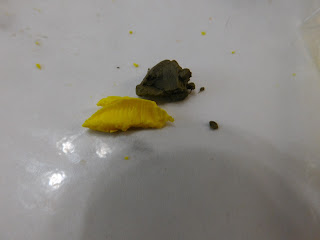
the green olives I needed to mix some clay since I didn't have a
color I was happy with. I found that equal parts Sculpey III in Camouflage Green and Fimo in Sunshine Yellow make a really good olive
color. We form the olives exactly the same as we made the black ones
and then bake them the same way.

Once
they are baked we can use some red clay to make the “pimento” in
the olives. Simply use a pointy tool to place small bits of red clay
inside each green olive. Then bake again this time for about 6 or 7
minutes or so should be fine.

For
the pickles we will mix equal parts Camouflage Green and Translucent
clay with just a tiny bit of black clay.

Then roll into a 1/16”
snake again but these about ¼” long. Then soften the ends of the
pickles. Next use a dish scrubby pad to texture the pickles. Then
give some of them a slight curve. Transfer to you baking surface and
bake the same as for the olives.

Once all the clay is baked and cooled to room temperature you can add a thin coat of Mod Podge. For the bowls I used a very thin coat of Gloss and for the pickles and olives a thin coat of mat.
I love how the meat and cheese board is coming together and can't wait to put it all together soon.


As always I do want to sincerely thank all of you for watching my videos and reading my blog posts. It means so much to me that you are supporting me in this way. If I could ask you all to do just a bit more by subscribing to the channel and liking the videos and leaving comments. Those help more than you can imagine. Also if you could pass the links on to your friends I would appreciate it so much.
No comments:
Post a Comment