
I was looking at various home decor sites the other day and saw a couple of adorable snowmen signs to put on the front porch of a real house. They were so cute I just had to make a mini version for today's tutorial.
This is a really easy and quick project and I tried to do my best to design it in such a way that you can use what you have on hand. The items I used were all in my stash of wood shapes, if you don't have the exact ones use something close in size. My circles are made of wood only because I have some of different sizes rattling around in my bin of stuff I want to get used up. If you don't have these you could use anything of about the same size, even cut some from some heavy card-stock should work just fine.

I started with 3 circles (½”, ¾” and ⅞” ) I glued these to a craft-stick. I left a bit of the craft-stick showing at the top and a
lot at the bottom. At this point I hadn't figured out exactly how
this was going together but I lucked out and had the right amount at
the top for my hat later on.

After
the glue dried I painted this part all white and allowed to dry.
Next
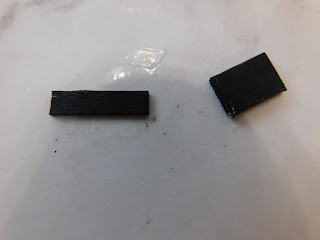
I cut and painted some wood pieces for the hat (½” of craft-stick
and about ¾” of slim stick) these I painted black and allowed to
dry.

Next
step was to glue the hat in place. And allow to dry.

Next
up was to paint the features, for this I just used a toothpick since
all the details are really small. I used some black paint for the charcoal pieces that form the eyes, mouth and buttons. And just a
touch of orange to represent the carrot nose. (a tiny orange bead
would be cute for the nose too)

After this was dry I created a stand for the snowman. I used a small bit of craft-stick (¾”ish) and a bit about ¼” of a piece of ⅛” by
⅛” strip-wood. (use whatever you have on hand)

Speaking of painting it was now time to paint the stand/base with the same white paint we used earlier. If you want you could sprinkle some white glitter over the wet paint to add some sparkle.

As always I do want to sincerely thank all of you for watching my videos and reading my blog posts. It means so much to me that you are supporting me in this way. If I could ask you all to do just a bit more by subscribing to the channel and liking the videos and leaving comments. Those help more than you can imagine. Also if you could pass the links on to your friends I would appreciate it so much.
No comments:
Post a Comment