
This week we are making another “display” cake, by that I mean a cake meant to be displayed in a mini scene as a whole cake. I think this one would be right at home in many scenes this time of year from the dollhouse to a mini bakery.

So our first step is to make a “cake blank” to work on top of. This is a basic shape that we decorate and can really be any clay you have on hand. Since in the finished cake we won’t be seeing this base use whatever clay you have on hand. I used some Original Sculpey for mine. You need to roll out a slab of clay that is approximately ¼” thick. I used my pair of double craft-sticks for this step. The exact thickness is not as important as being the same thickness all the way across.

Then cut a rectangle shape that measures ¾” by 1” for our cake. Bake this at the recommended temperature for 15 minutes to make sure it is cured all the way through and allow to cool to room temperature.
Like many time for these projects I looked online to find real size cakes that people had made to get inspiration for my mini version. When I looked up “Halloween monster cakes” I found so many wonderful ones to look at for ideas. Some were just plain cute, some were kind of scary. There was a wide range of green tones used for the skin tone from a very light yellow-green to very dark blue-green. I looked through my clay stash and found a package of Premo in Wasabi that I felt would be perfect for my cake today.
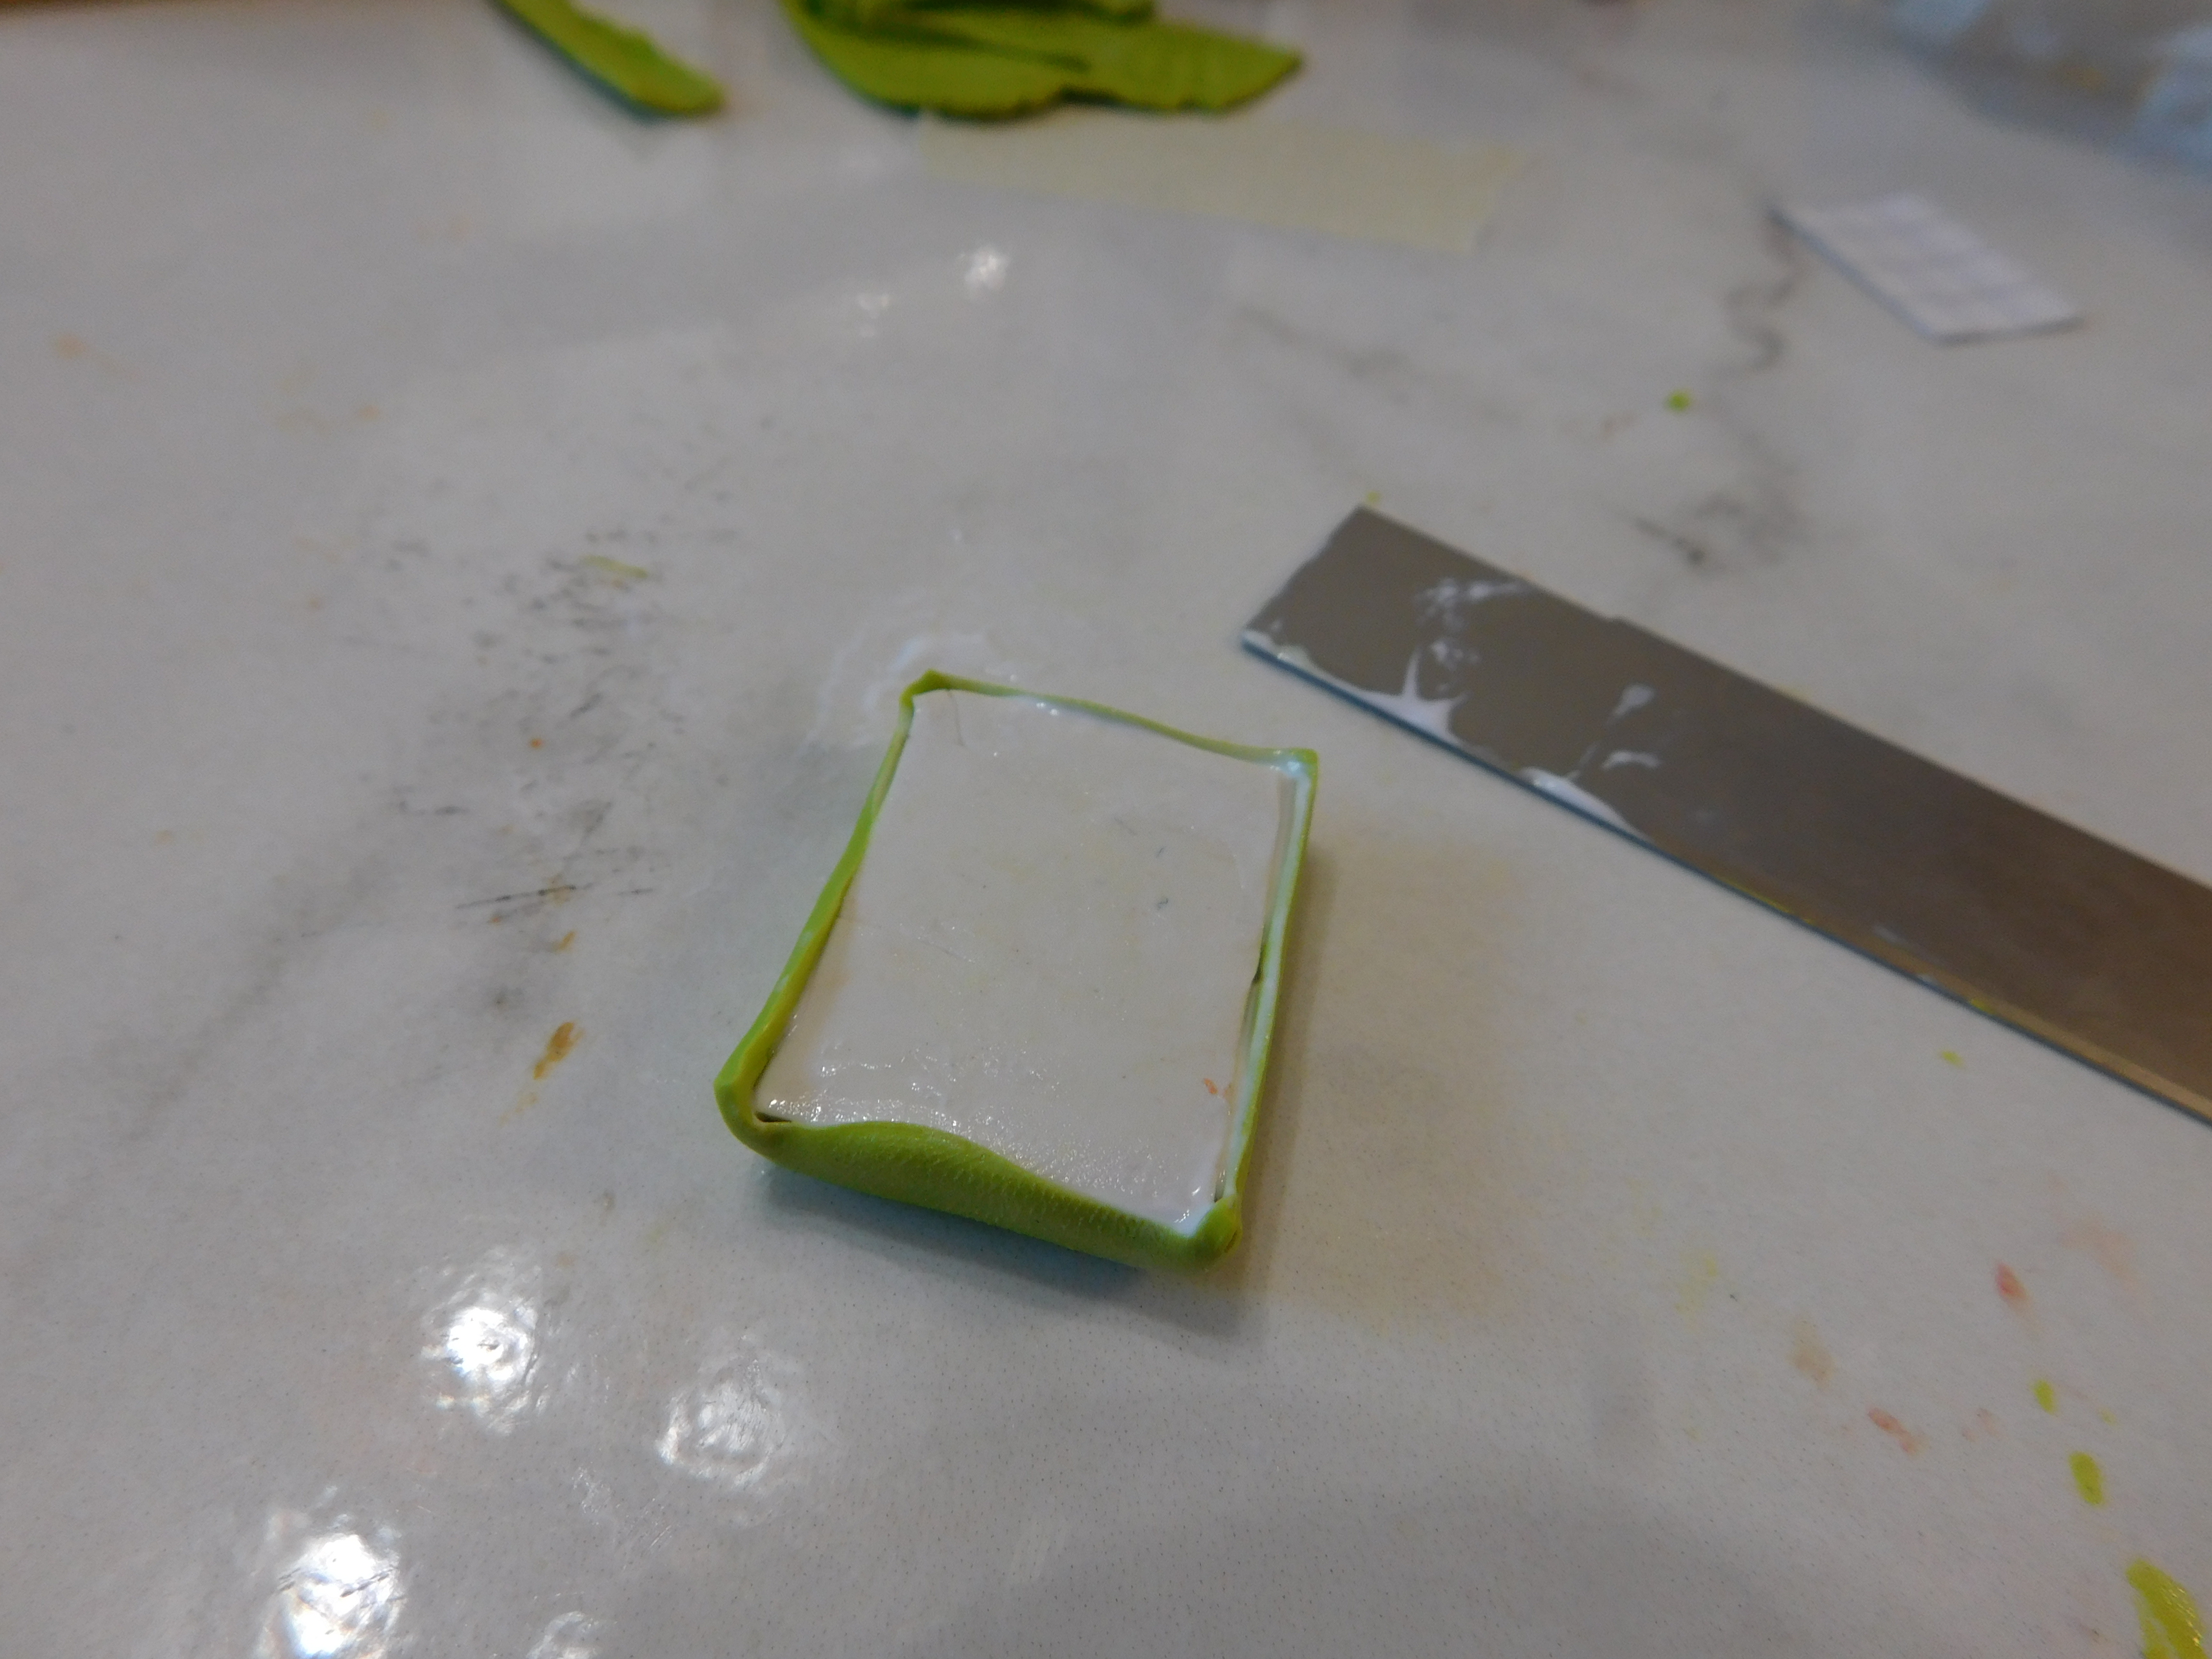
Once you have your green clay roll it out into a very thin even sheet of clay. I used some of the Hobby Lobby “slim sticks” to make sure mine was a nice even sheet. Then coat you cooled clay blank with some liquid clay and cover the top and sides with the green clay. This should look like a fondant coating on a real cake. Take you time and get it as smooth as possible. I do like to leave the sides a bit past the bottom of the cake so I can even out the bottom edge once baked. Once you are happy with your cake covering bake for another 10 minutes. If you left the sides a bit long place the cake upside down on your baking surface.
Once baked and cooled run the cake over some sandpaper to even up the bottom. I find this gives the nicest looking bottom edge on my cakes lately.

Now the fun part we get to add the monster face to the cake and turn it from just a green rectangle into a Halloween monster. For this I am using my White Liquid Sculpey. I mixed the liquid clay with just enough black oil paint to make it a nice black color. Then use a toothpick which you have dulled the pointed end on to draw the facial features. For the whites of the eyes I used the white liquid clay to make the dot and placed a tiny black dot over it.
Once you are happy with the face bake the cake a final time for another 10 minutes and allow to cool.
Now the dolls in the dollhouse have two Halloween cakes to choose from for their party.

As always I do want to sincerely thank all of you for watching my videos and reading my blog posts. It means so much to me that you are supporting me in this way. If I could ask you all to do just a bit more by subscribing to the channel and liking the videos and leaving comments. Those help more than you can imagine. Also if you could pass the links on to your friends I would appreciate it so much.
No comments:
Post a Comment