

Like
always we are starting with a strip of plain white, 100% cotton
fabric. I use bleached muslin for my flags, you should be able to
find this fabric in any fabric store/department especially if they
carry any fabrics geared to quilters. For our flag we need a strip
that measures 1” by 3”.

The other item we will need to begin is some paper backed fusible web. This is basically a fabric glue that is heat activated and comes on a sheet of paper making it very easy to use. I prefer the Heat 'N Bond brand. There are other brands in stores and you can use whatever brand you can find. I do recommend you pick one that is designed to hold without sewing. Mine is labeled “Ultra-Hold” this way you won't need to worry about your flag coming apart later. You will need a 1” square of the paper-backed fusible web.
Follow the directions on your fusible web product to form your flag.
Now for the fun part, turning this flag into a fun Halloween flag. The first step is actually to check the orange paint to make sure it can cover the black background. I just painted a swipe of black on a small scrap of card-stock then when it was dry I swiped a bit of the orange I was planning to use over it and let it dry. Mine was opaque enough to cover. If yours isn’t you can either find a different orange or try painting your design first in white then top that with the orange, most whites seem to be pretty opaque.
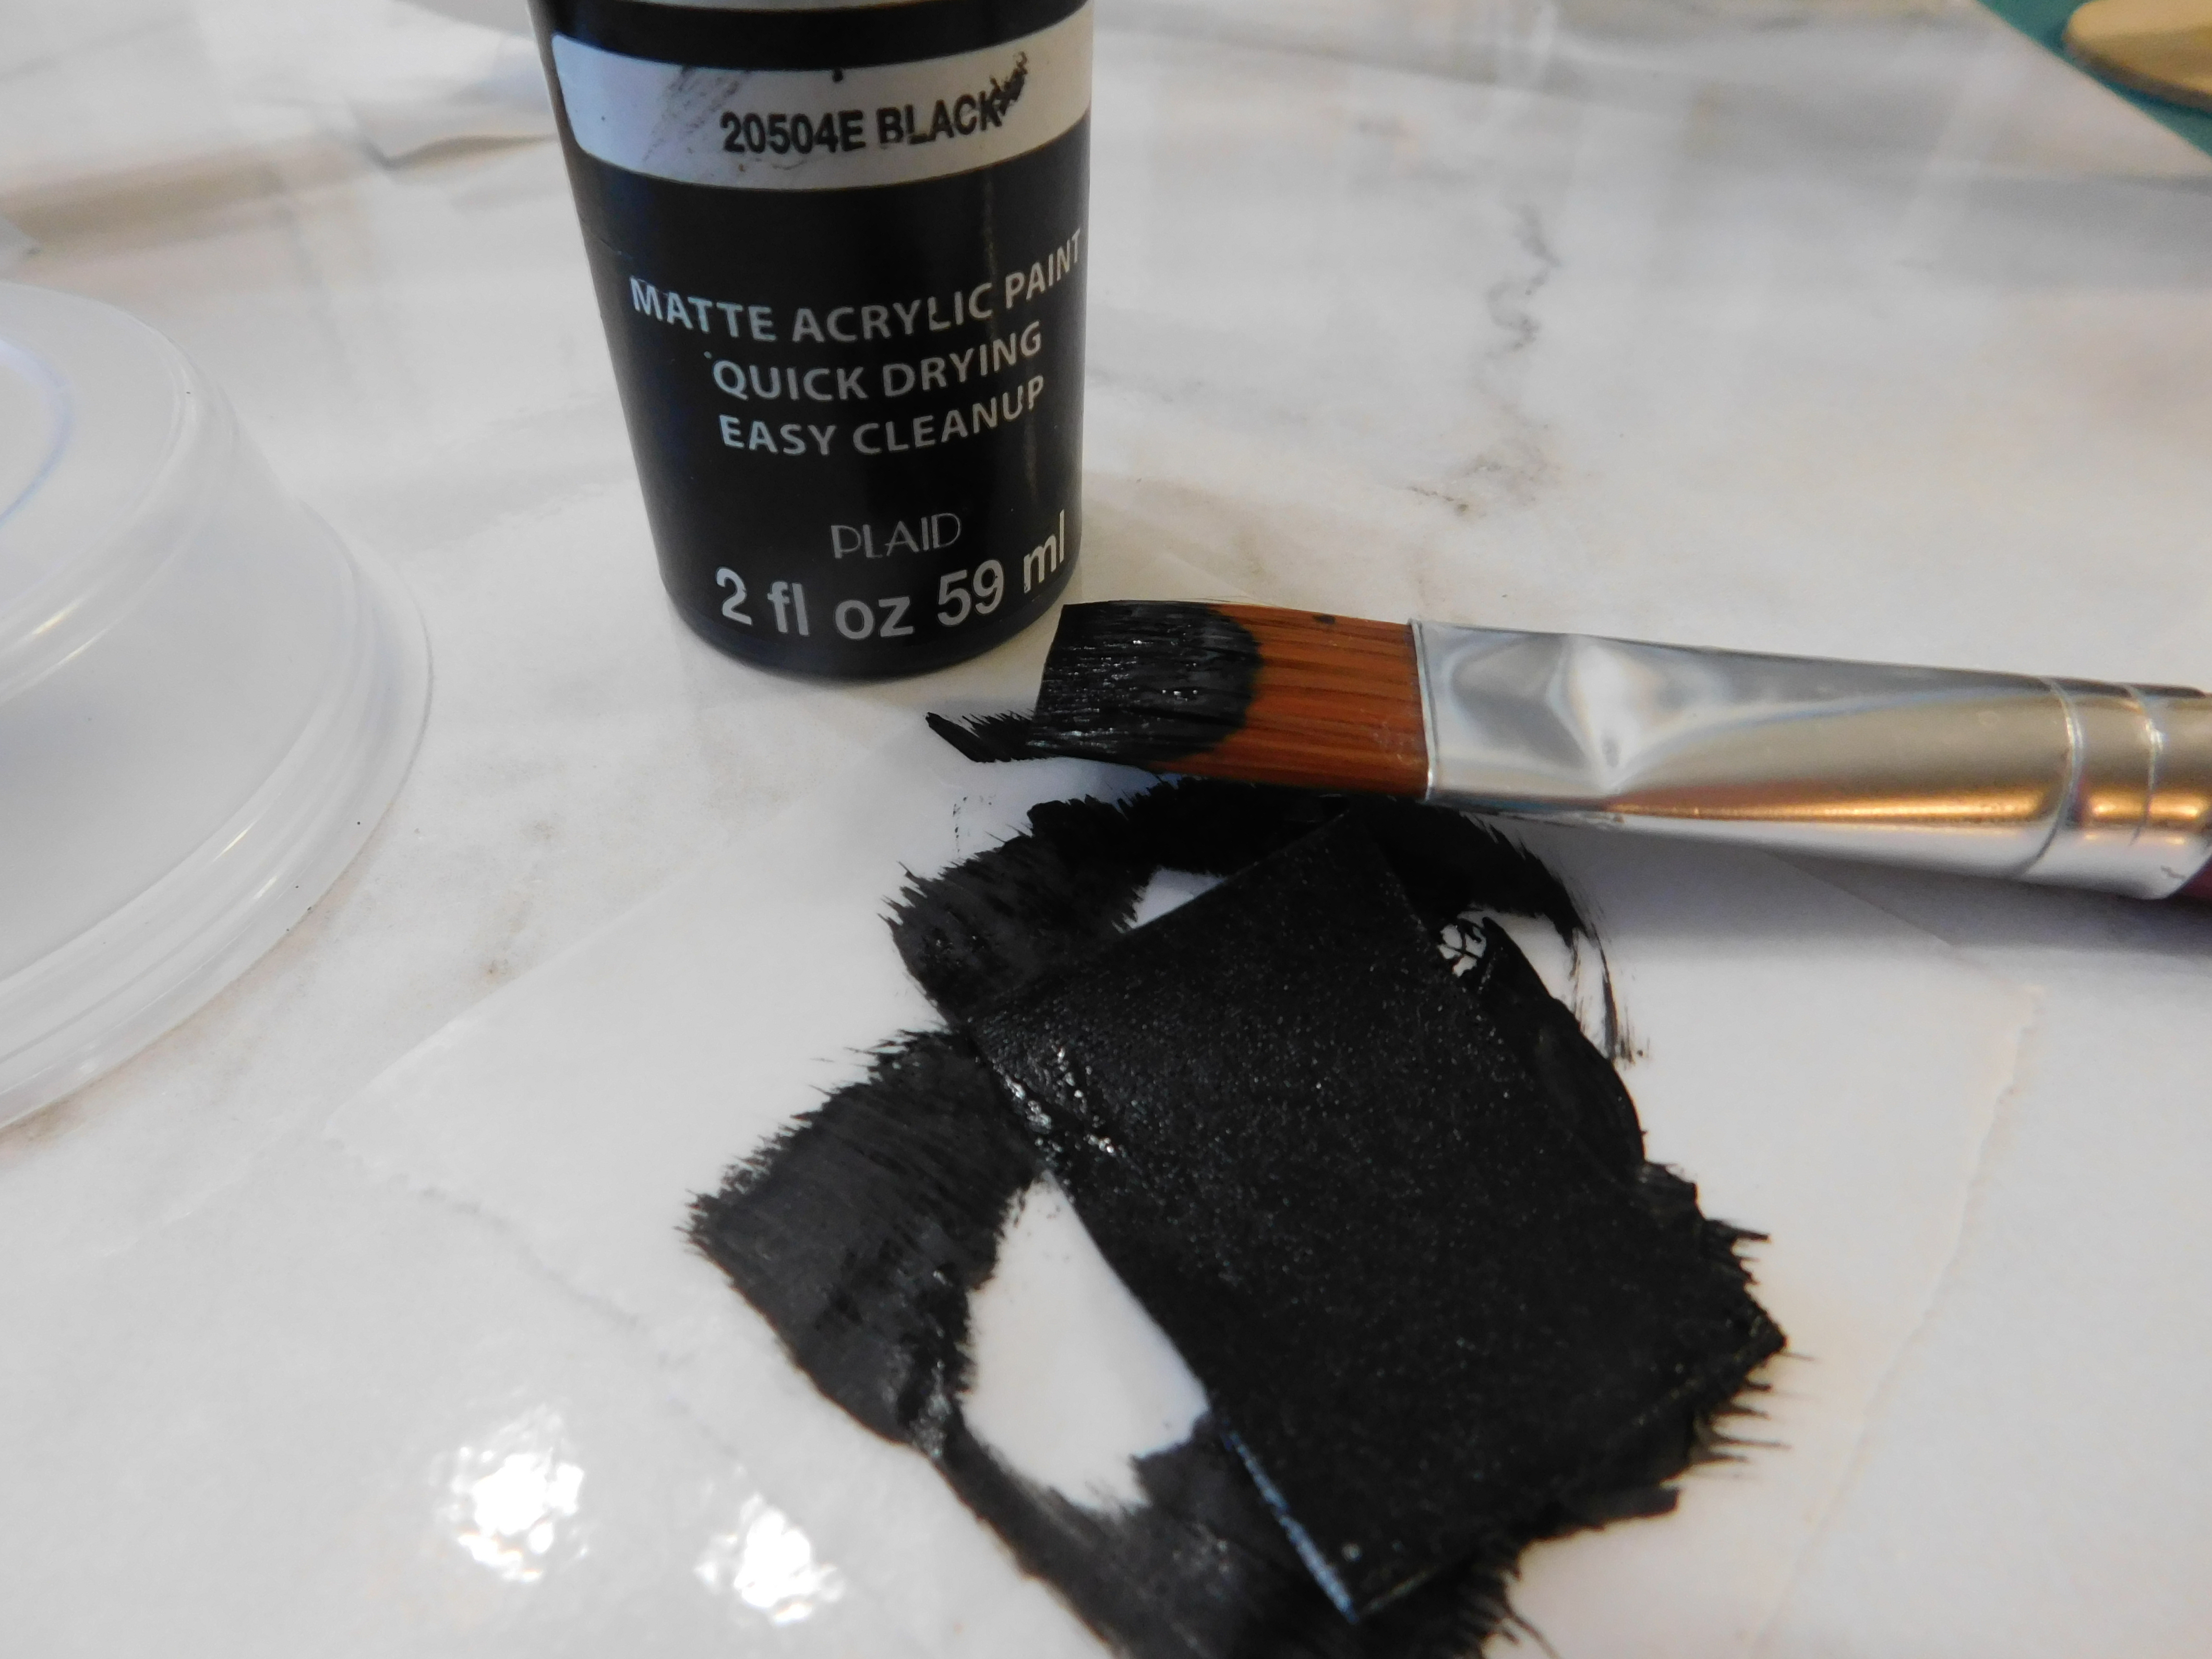
Now onto the creating a Jack-O-Lantern face. First paint your flag on both sides with black paint. If you have some black fabric you could use that but I felt it was faster to use what I had out than to dig through my fabric stash to find a piece of black. Also it you make any errors in your painting if you have painted the background with the black paint you can paint over mistakes and it won’t show very much.

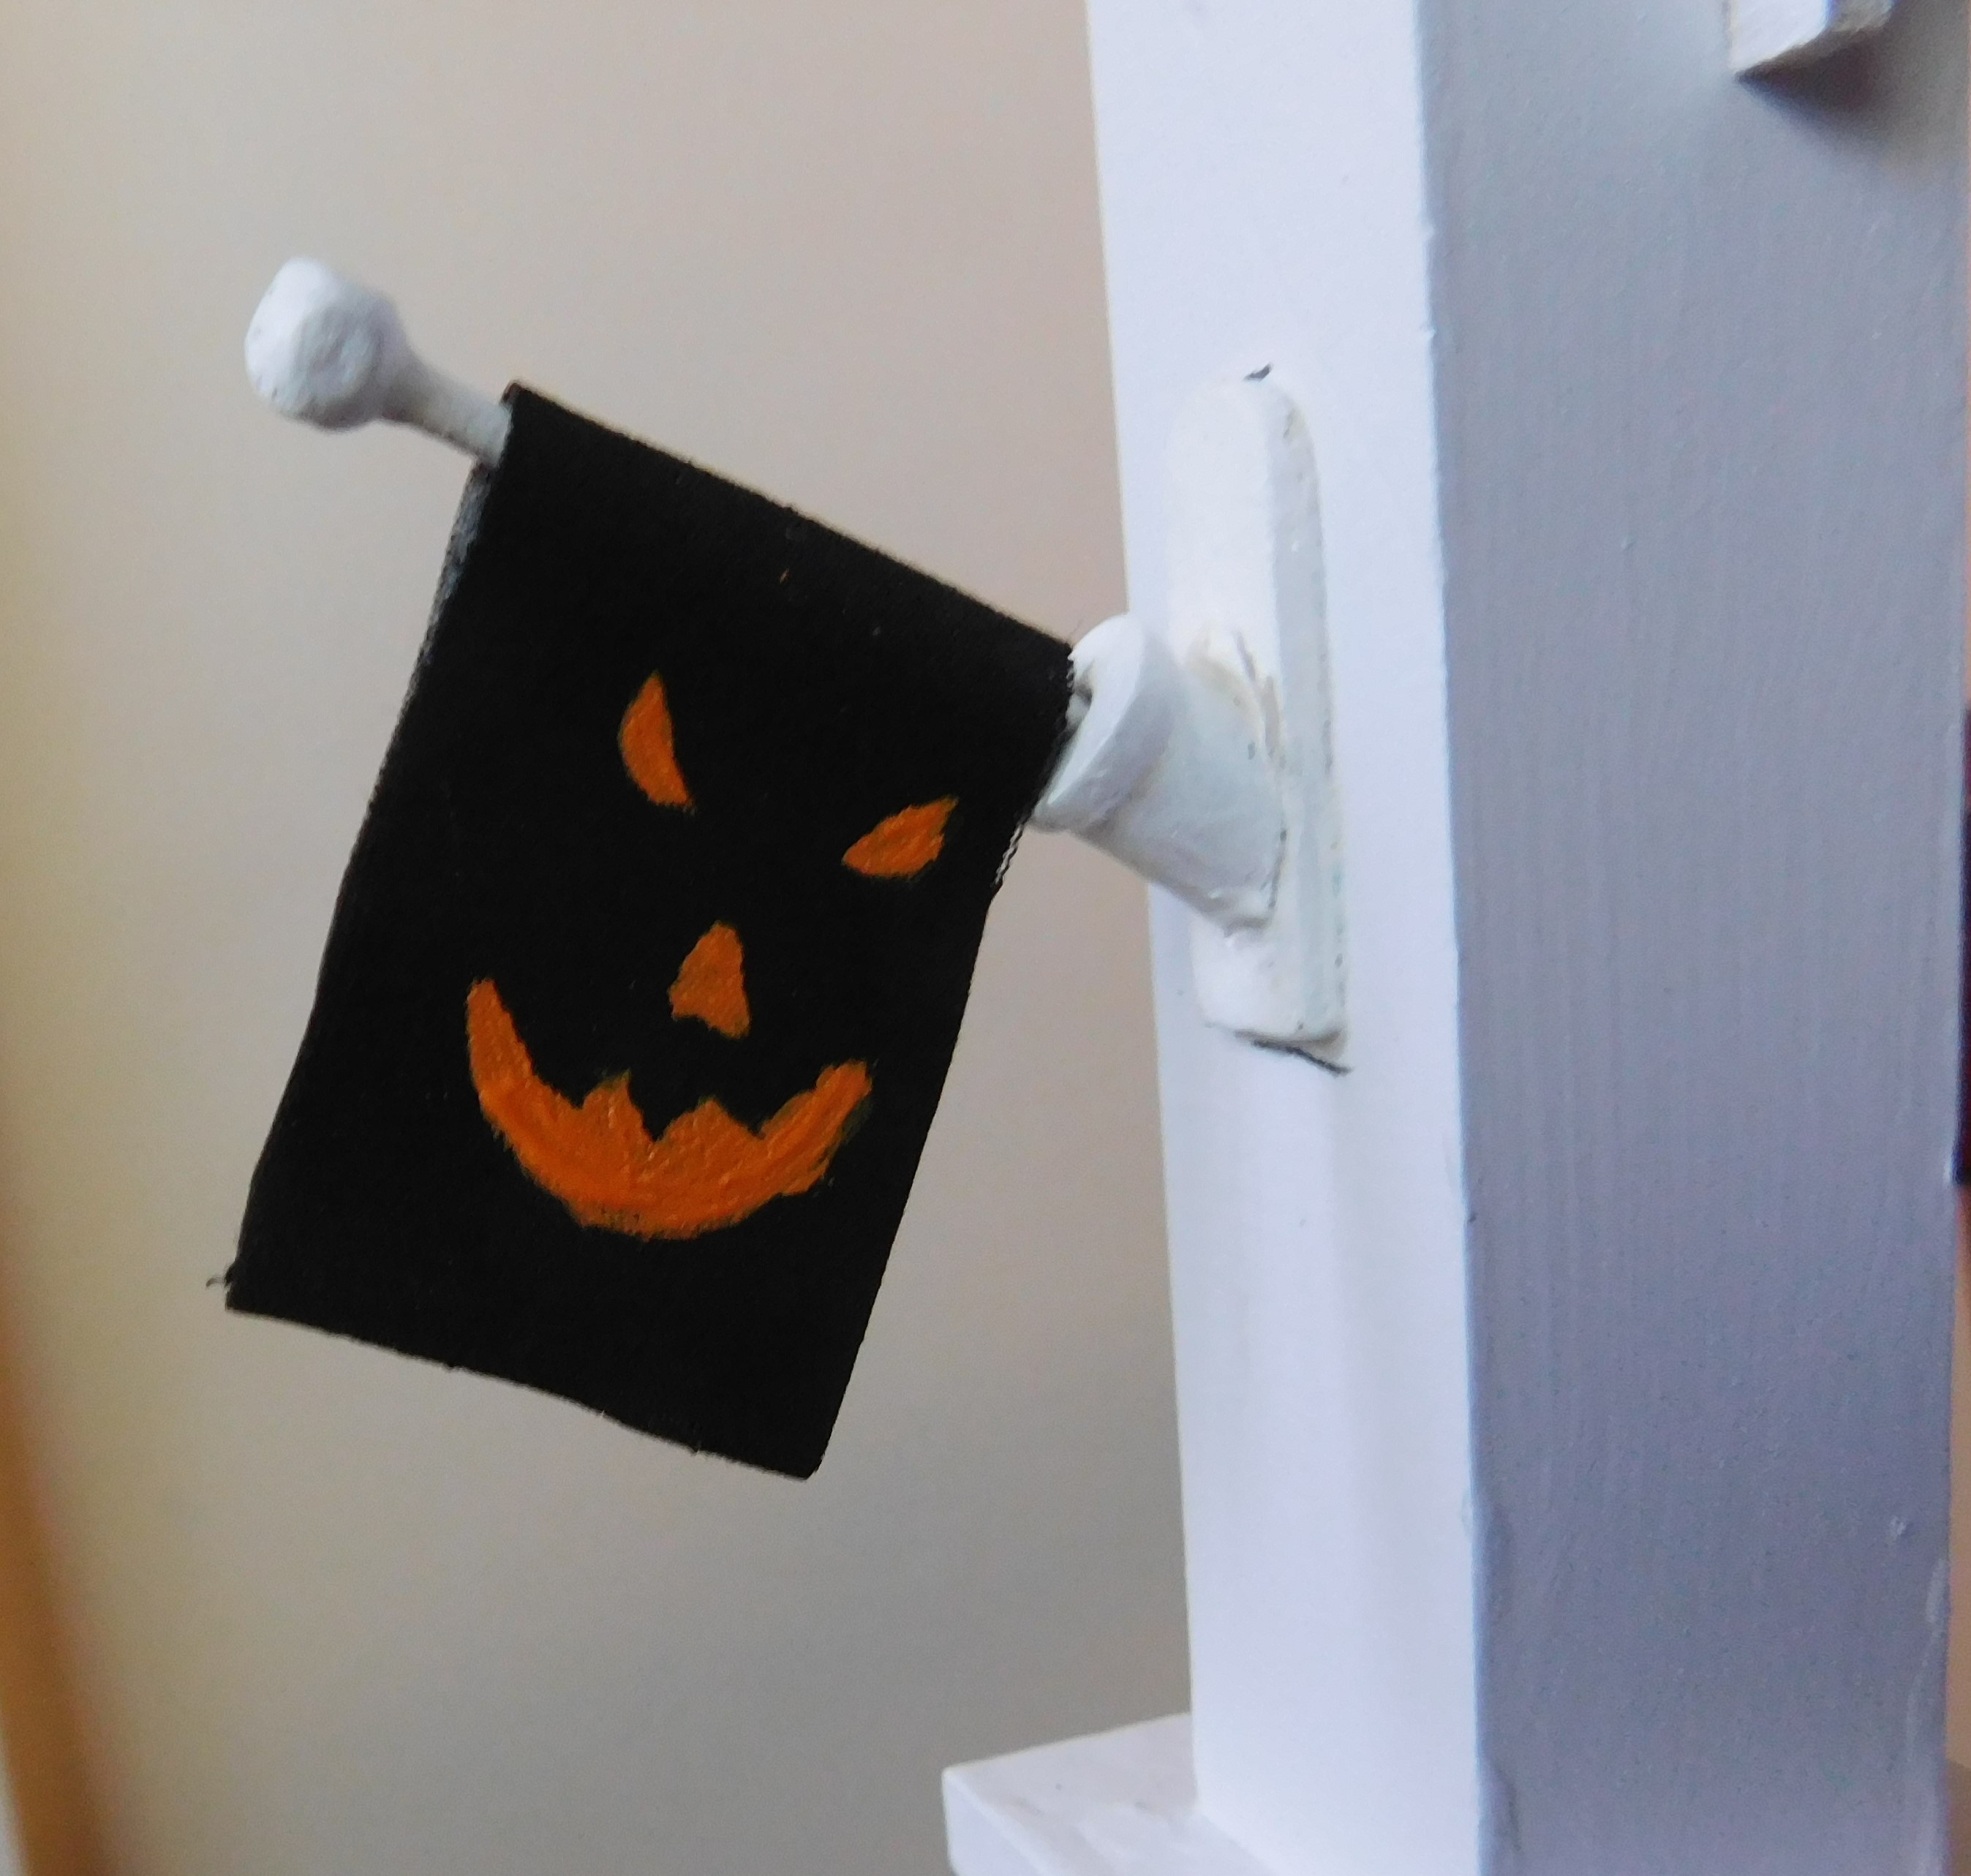
Once both sides are painted and dry we get to create our face. You can give your flag whatever personality you wish from cute to scary to anything in between. Paint the face on one side and allow it to dry before you paint the other side. I did need to do 2 coats of the orange paint on my flag to get good coverage.
Once the faces are dry your flag is ready to display.
As always I do want to sincerely thank all of you for watching my videos and reading my blog posts. It means so much to me that you are supporting me in this way. If I could ask you all to do just a bit more by subscribing to the channel and liking the videos and leaving comments. Those help more than you can imagine. Also if you could pass the links on to your friends I would appreciate it so much.
No comments:
Post a Comment