
This week we are adding another cookie jar to the growing collection. Since our theme this month is centered around the beach I decided to make a cookie jar that looks like a lighthouse. For the tutorial I did simplify the lighthouse a bit so I would love to see how some of you talented people dress this one up. If you make one be sure to share a picture with me.
We start the cookie jar like pretty much all the others we have made, with a card-stock core or base. This is made from a strip of white card-stock that is ¾” by 4” and is rolled around a Sharpie type marker and glued to form a tube. This allows us to have a sturdy base to build our cookie jar on and it also gives the inside of the cookie jar a nice finished appearance.

I
do highly recommend using a thick tacky glue for this step and then
allowing the glue to dry really well (overnight is probably best)
This way the glue will not let go in the oven. At least that is what
has worked best for me on these. The only time this method didn’t
work for me was when I tried to rush and didn’t give the glue
enough time to dry completely.

At this point we are also going to create the base for the light portion of the lighthouse. For that we will need a strip of the same white card-stock cut ¼” by 2”, glue in the same way using a pencil as the form. Set aside to dry and once dry paint with a very light yellow paint.

Once the glue on the card-stock cookie jar base has dried we need to add a very thin layer of white polymer clay. This will give us a nice base to build our cookie jar on. For this I used Original Sculpey but any white polymer clay you have on had will do. Use a good coat of TLS (Translucent Liquid Sculpey) to act as a glue between the card-stock and the raw clay. We will also be using the TLS in any step where we add raw clay to anything other than raw clay.
Once you have the outside of the base covered including a bottom added bake for 10 minutes at the temperature recommended on your clay. Also create a small round piece of clay that is disc shaped about ¼” thick and sized to fit inside the opening of the cookie jar, this will be attached to our lid later on in the process. Bake your piece for 10 minutes and allow to cool to room temperature before moving to the next step.

Now for the fun part, we get to start making this look like a lighthouse. I conditioned some white clay and some red clay (Premo white and Fimo Metallic Red) and rolled them both very thin. I then cut strips to make horizontal stripes on the outside of the lighthouse. Use a layer of TLS to apply this. Smooth out the seams where the clay pieces meet and bake at the recommended temperature for 10 minutes and allow to cool to room temperature.
Now
it is time to start the lid of the cookie jar. I waited until I had
the outside of the cookie jar baked so I would know how big it was
going to be so that I could make a lid that worked with it. Depending
on how thick your layers of clay are your cookie jar could be fatter.
I do try to keep those layers pretty thin so that my cookie jars stay
looking in scale.

I used a ¾” round cutter to cut the blue part of the lid that will sit on top of the cookie jar. It was just a bit bigger than the cookie jar. Then I used some TLS to attach the yellow card-stock ring to the top of it (in the center) to act as the light for the lighthouse.
At the same time I cut a tiny rectangle of the white clay with a peaked top to act as the area where the door would be on the lighthouse. Use some TLS to add this also. And bake both pieces for 10 minutes and allow to cool.

Now we can add some blue roofs to the top of both the lid and the little door area. For the one on the jar just cut a very small strip and add it to the peak using TLS. Use your clay knife to cut and shape it as you like. For the roof over the light on the lid I made a ball of clay that looked kind of like a chocolate chip and use TLS to add it to the top. Bake for another 10 minutes and allow to cool to room temperature.
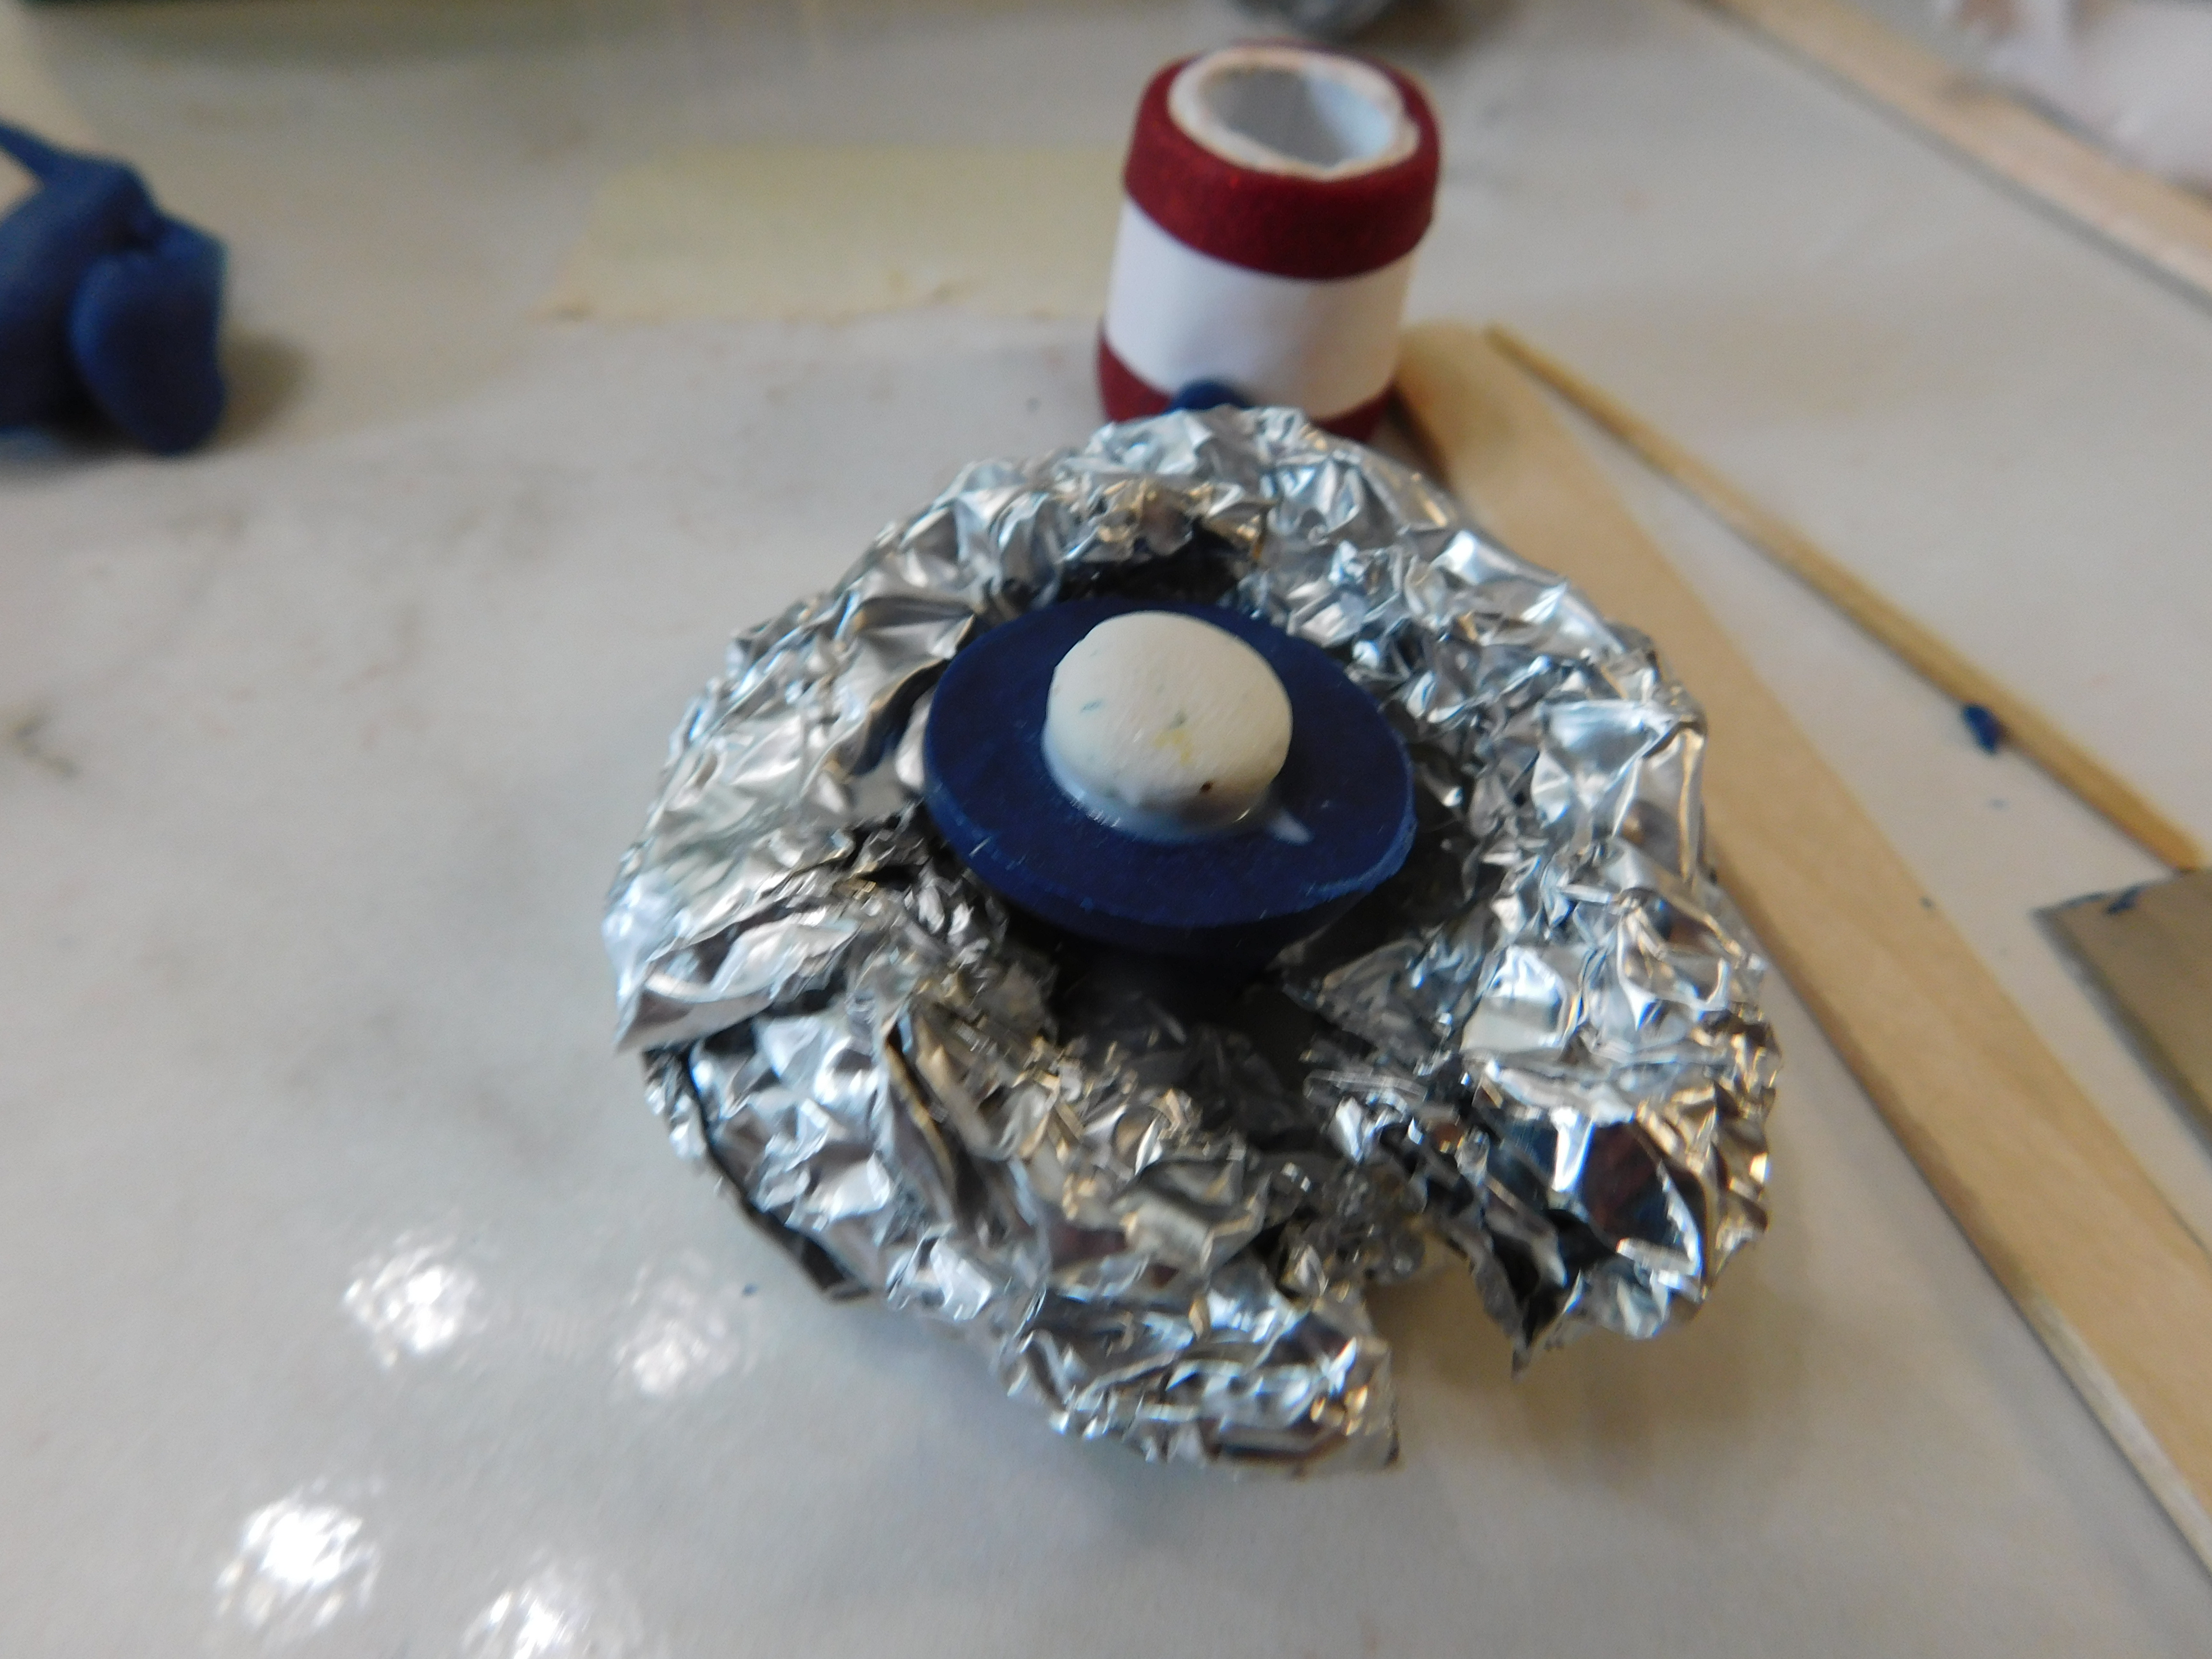
Next we need to add that little disk of white clay you made when we covered the card-stock with the white clay. Use TLS to attach it to the bottom of the lid centered so the that the lid will sit nicely on the cookie jar when finished. Bake once again for 10 minutes and allow to cool to room temperature.

Now it is time to add a very thin coat of Gloss Mod Podge. I can not stress the concept of this being a thin coat enough. It is much better to err on the side of too thin that too thick here. You can always add a second thin coat, if it is too thick it can (and will) remain sticky when dry.
Once dry your cookie jar is ready to add to your favorite mini display.
As always I do want to sincerely thank all of you for watching my videos and reading my blog posts. It means so much to me that you are supporting me in this way. If I could ask you all to do just a bit more by subscribing to the channel and liking the videos and leaving comments. Those help more than you can imagine. Also if you could pass the links on to your friends I would appreciate it so much.
No comments:
Post a Comment