
For me growing up on the west coast of the US only a couple of hours from the Pacific Ocean summer and the beach just go together. So the theme for our porch items for the month of July all things to do with the beach.
The doormat I decided to make this month is a bit abstract but I really love it. I was looking on Google Photos like I do every month for inspiration and fell in love with an abstract doormat that is similar to the one we are making today. I did make a few modifications to the design to both make it more my design and also to make it easier to do in the small scale.
So let’s jump into the project and make a doormat.
Just like with all of our door mats lately I am using a 1 ½” by 2 ½” piece of felt as the base. This is the same stuff I have been using for all the door mats in this series and it is the type of felt that is sold by the yard in the fabric store as opposed to the squares from the craft store. This felt is a bit thicker so I feel it looks better but either will be fine, especially since we are giving it a good coat of paint later.

The first step though is a nice coat of Mat Mod Podge, this seals the felt so that that layer of paint will go one more evenly and we won't need as much paint. The Mod Podge will take a while to dry and you do want it to be dry before you add the paint. I do prefer to do this step the night before I am planning to make the doormat. I did go ahead this month with the Mod Podge a bit damp yet but it was almost dry. Whatever you do don’t use a heat gun to dry the felt. I tried that one time and ended up with little melted holes in my piece of felt and had to start over.

Once the Mod Podge is dry (do as I say not as I did on this video… LOL) give your doormat a nice even coat of a light tan paint. I had to mix mine since I don’t have any tan paint in my stash. I used some white craft-paint mixed with a bit of Burnt Umber to make a light tan. Do keep in mind most of the time these paints dry a bit darker than they look when wet.

The idea here is that the tan base will represent the sand on the beach. Once the doormat has a nice even coat of tan paint let it dry completely.
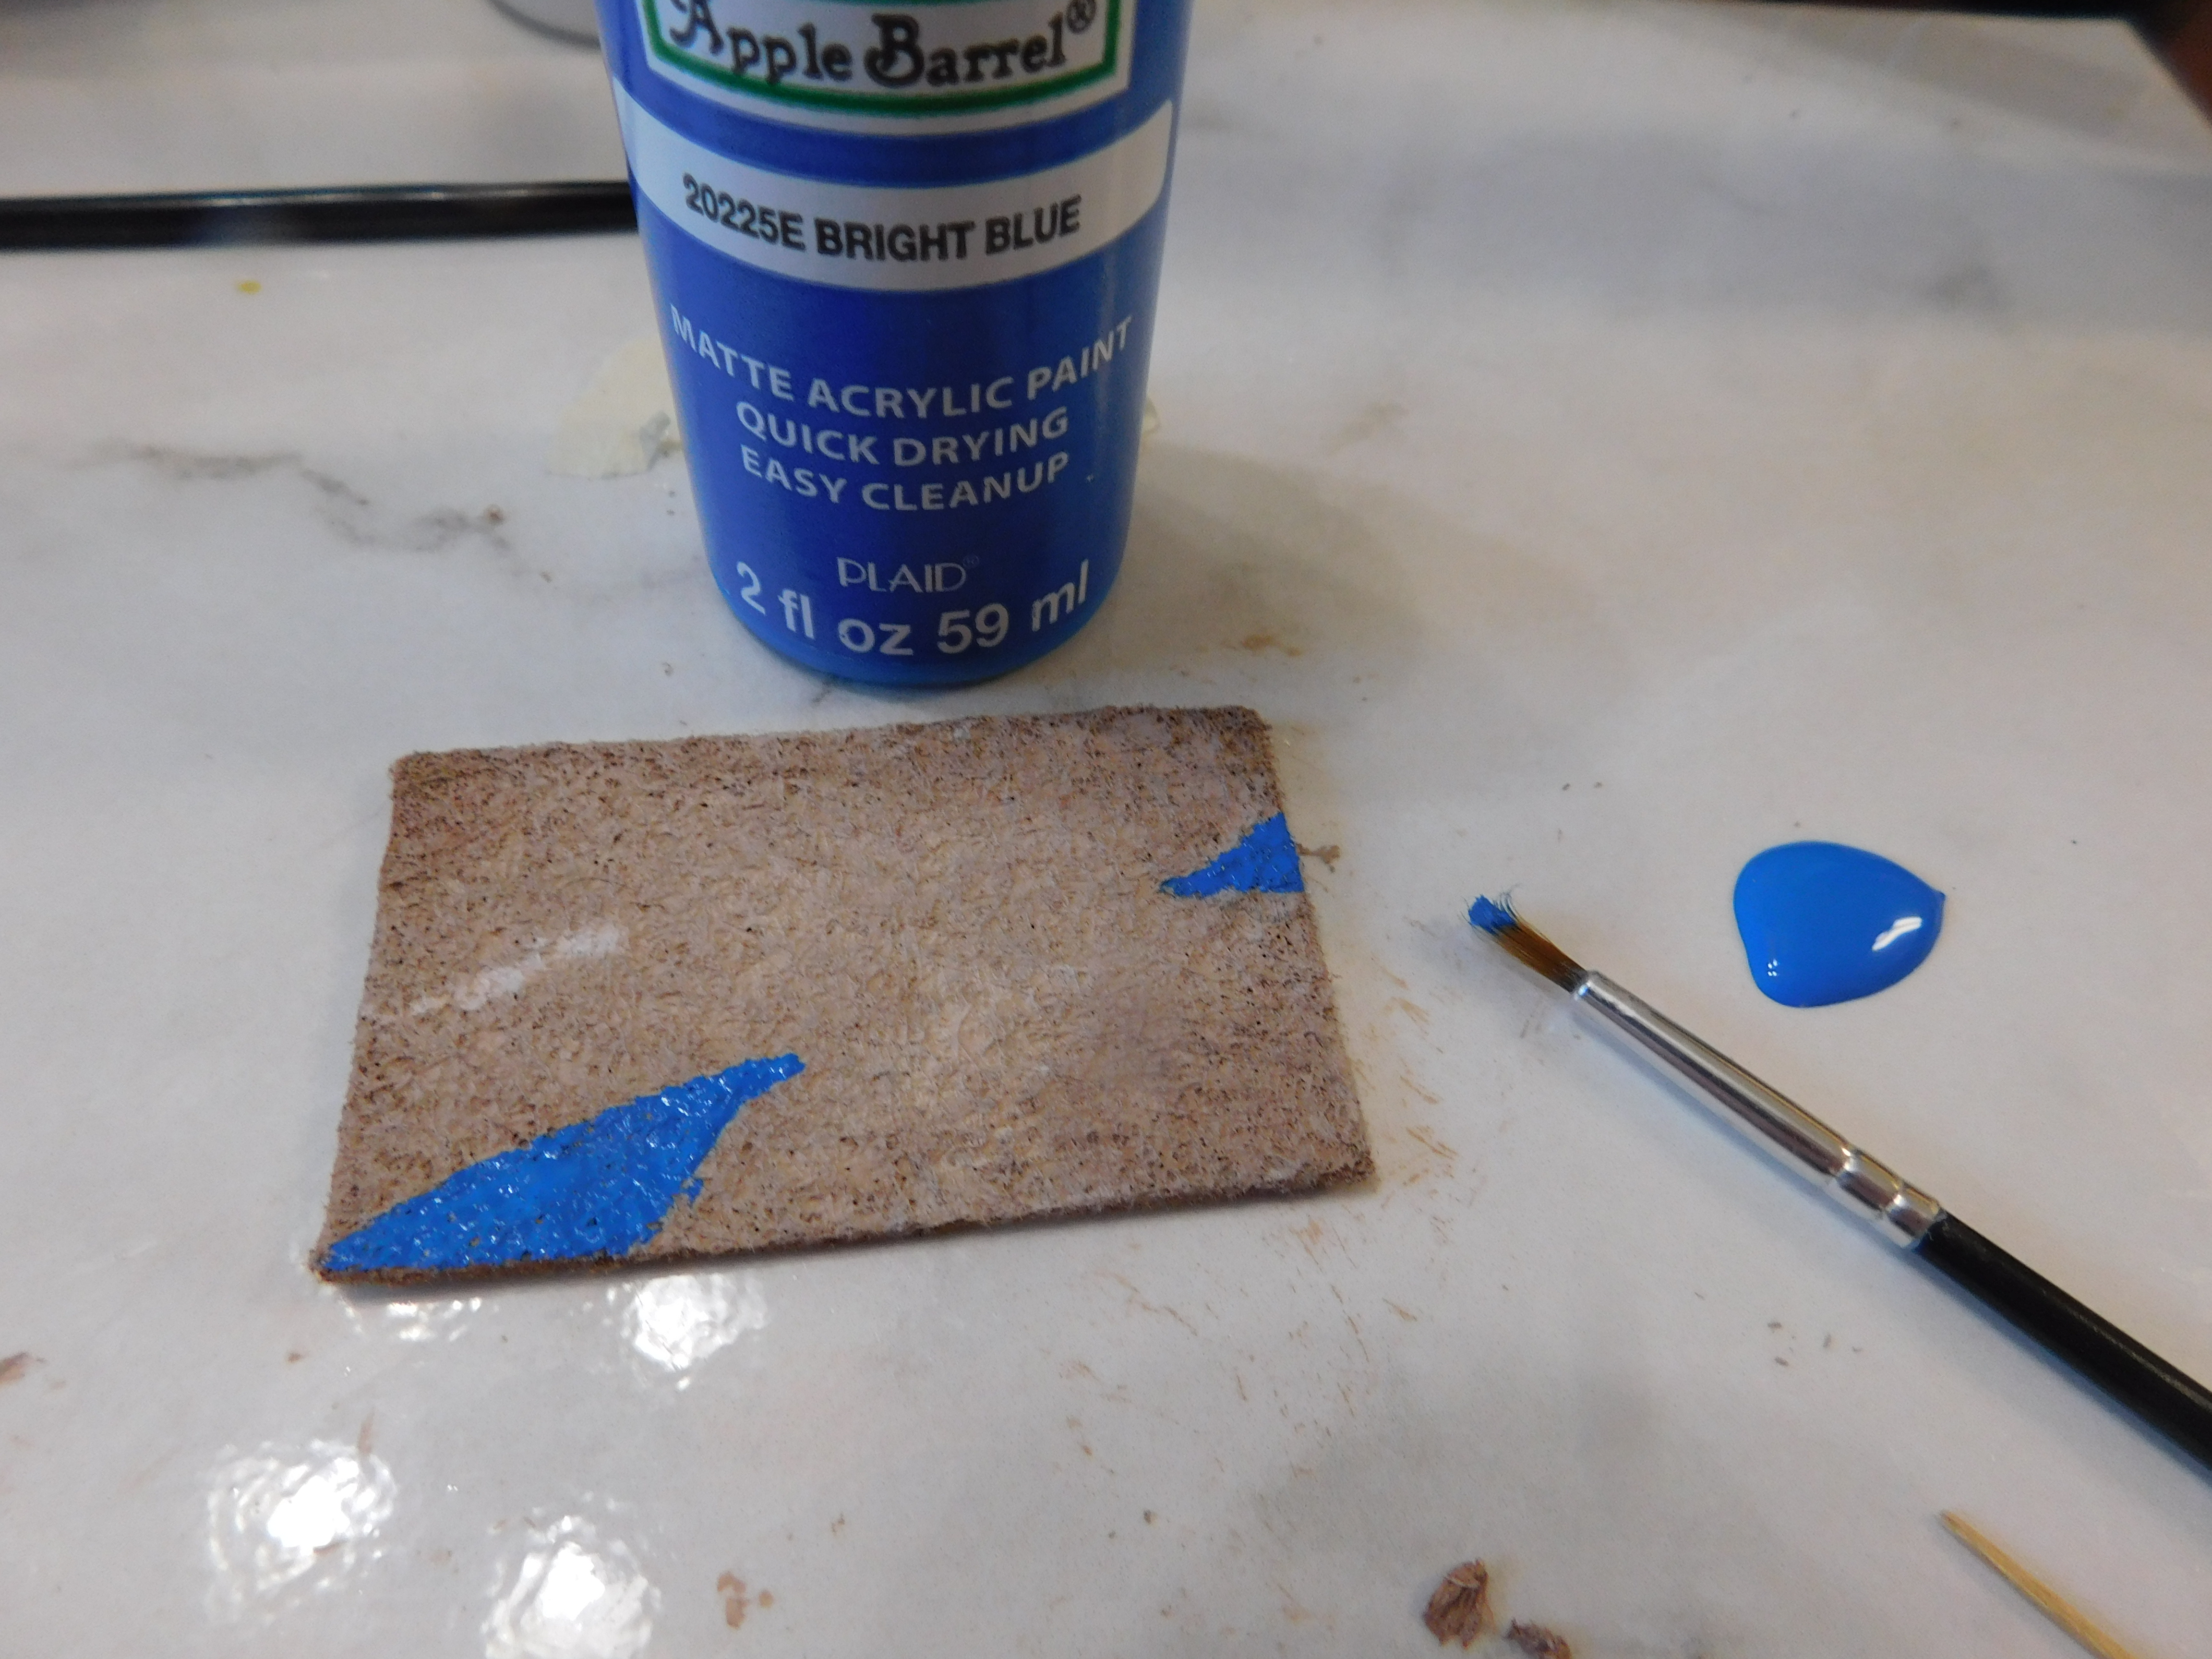
Next I used some Bright Blue craft-paint from Apple Barrel to make some smallish areas. These represent the some of the deeper water. Allow this to dry completely.

Now with some Island Green craft-paint form Anita’s add some more areas of water. This is the more shallow areas of water and there should be more of this color. Let dry completely.

Now with a white paint pen draw the lines dividing the areas on the mat surface. This is the step where the design really comes together.

Allow to dry completely and place your new doormat in front of the door of your dollhouse.
And once again a huge thank you to Plaid for the Mod Podge and Bright Blue paint.
As always I do want to sincerely thank all of you for watching my videos and reading my blog posts. It means so much to me that you are supporting me in this way. If I could ask you all to do just a bit more by subscribing to the channel and liking the videos and leaving comments. Those help more than you can imagine. Also if you could pass the links on to your friends I would appreciate it so much.
No comments:
Post a Comment