
For the porch sign to go with our beach theme this month I decided to go a bit rustic. I do love rustic signs both in mini and in real life, especially when paired with the beachy blue colors and the beach theme.
So
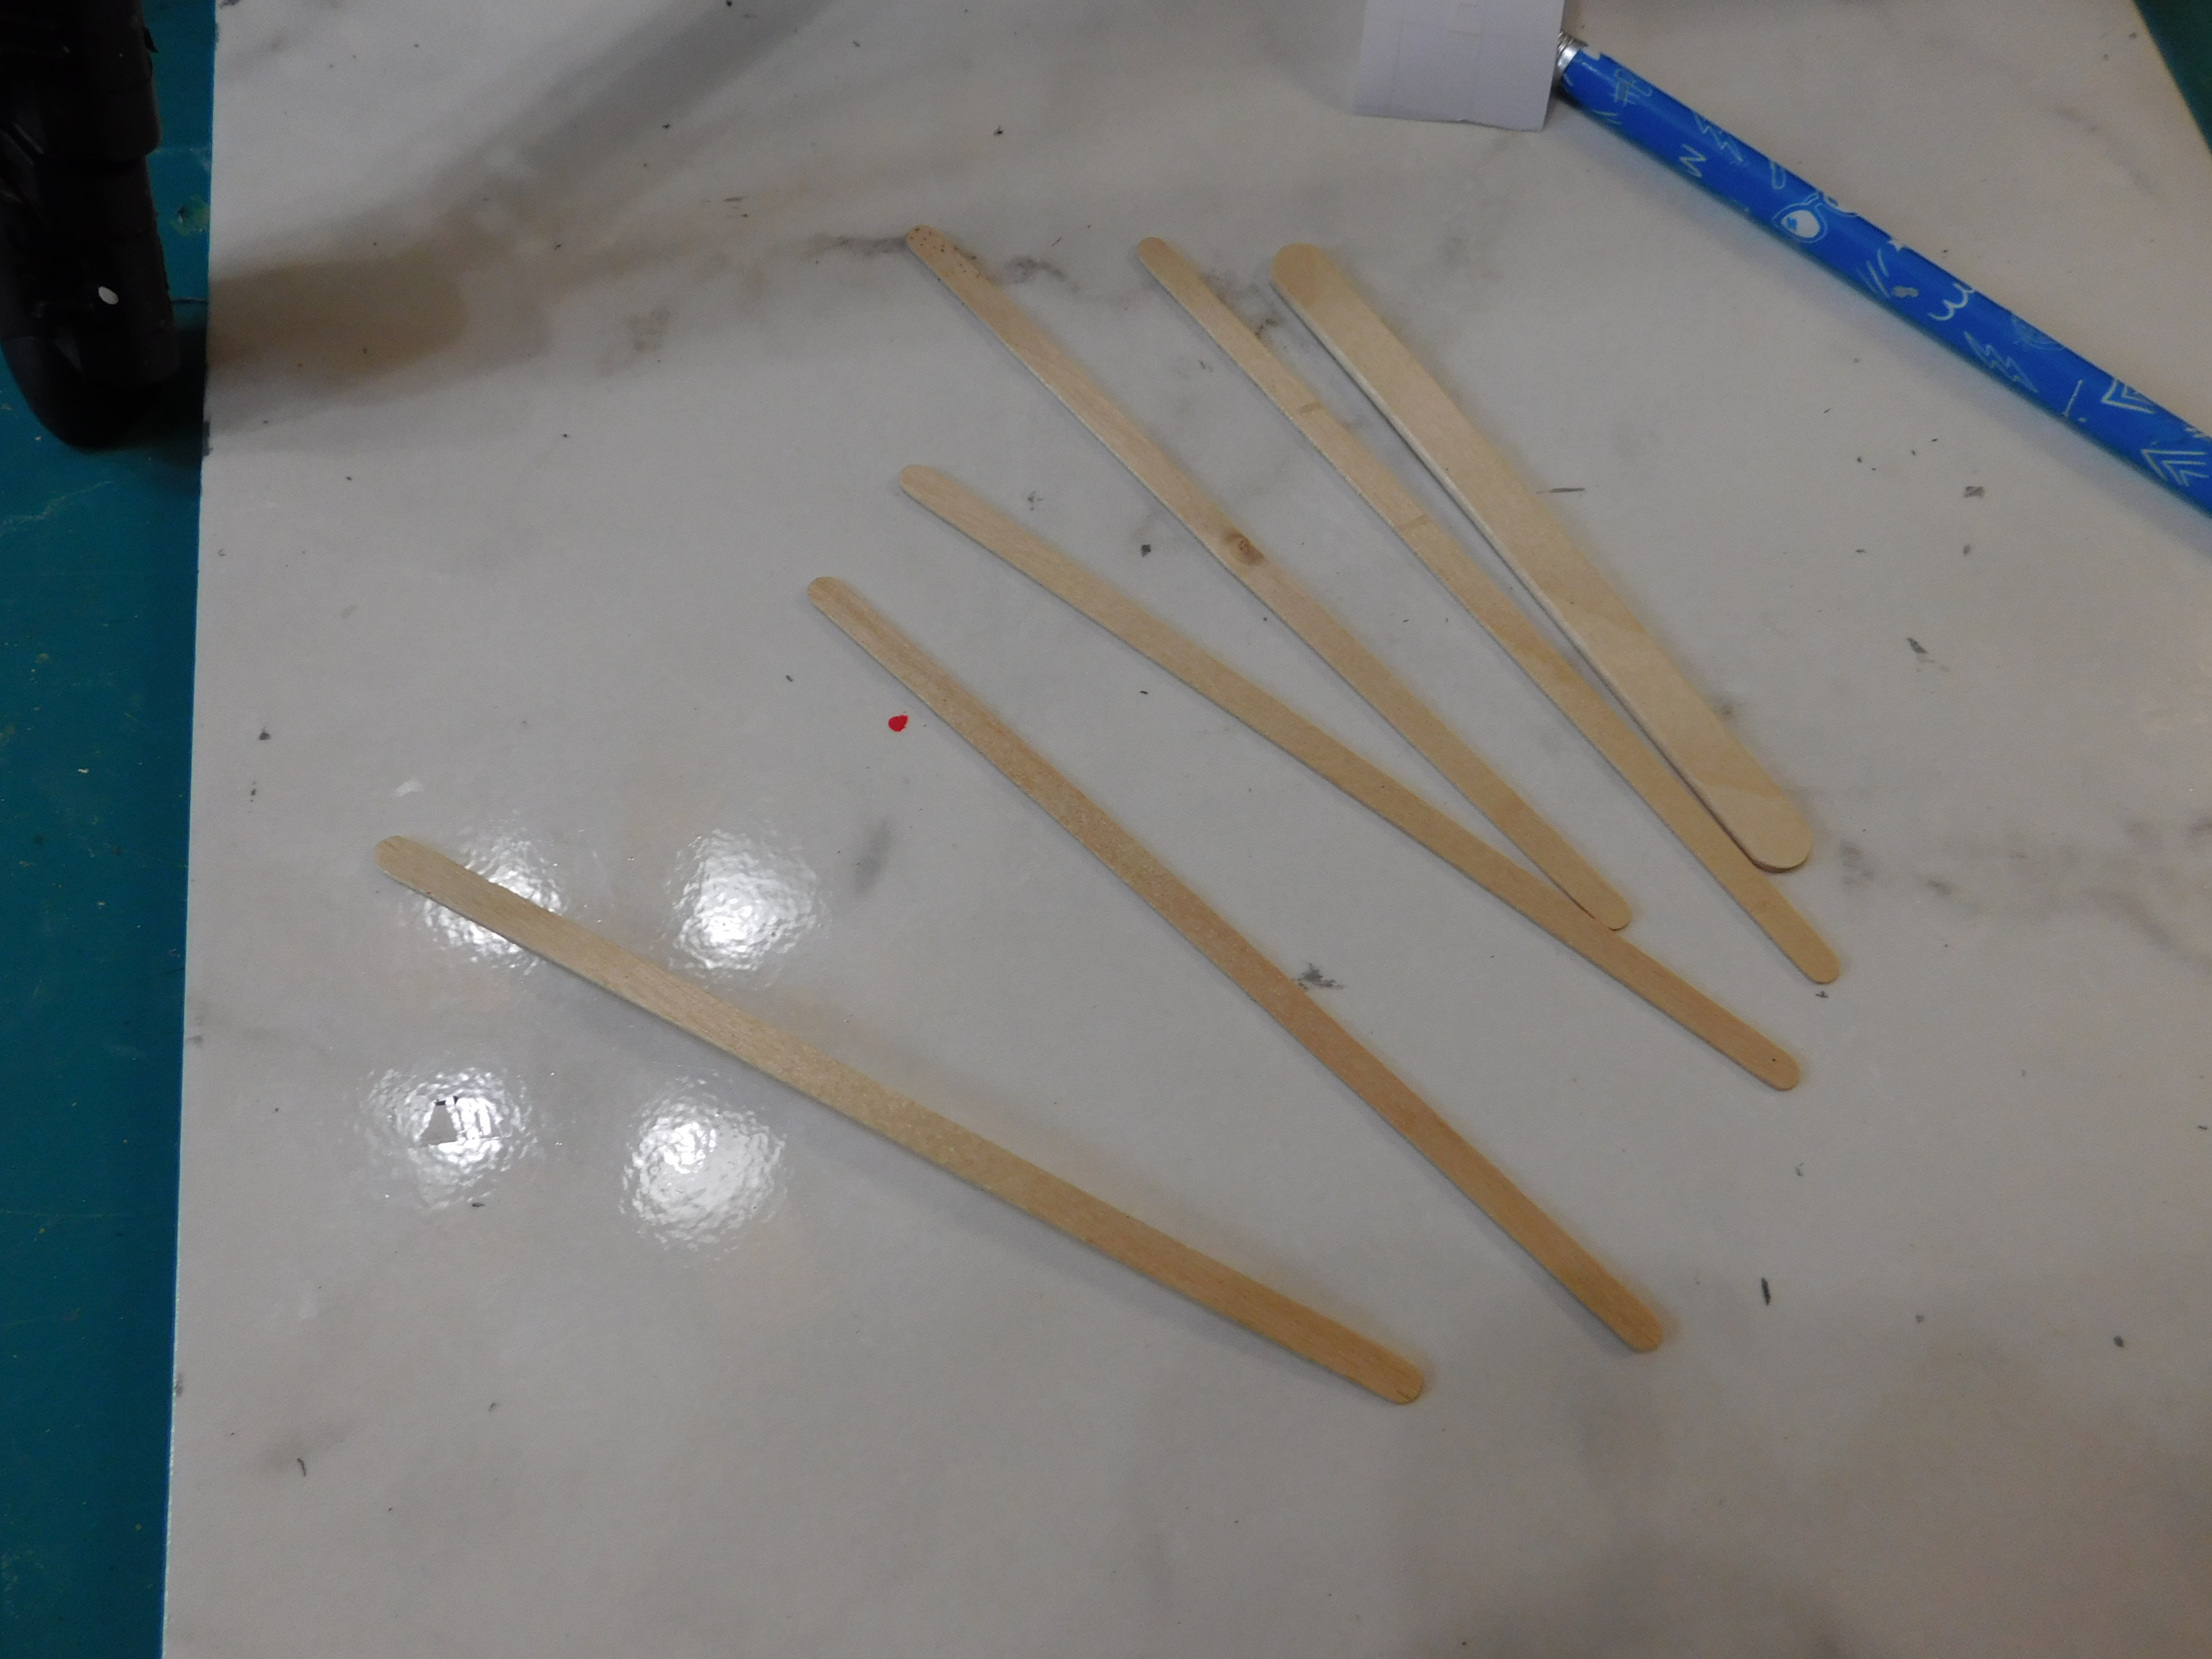
to begin I cut the sticks to 5” long and then cut 3 pieces of a
regular size craft-stick to just under 1” to use as brace pieces to
hold the sign together.

I just used some nice thick tacky glue to glue everything together. After I held the boards in place for a few minutes (until they started to hold on their own) I used a brick to hold everything together until the glue dried.

Now it was time for a coat of paint. I choose this lovely beachy blue from Folk Art and gave a fairly even coat. Don’t stress too much about the paint being perfect since in the next step we are going to be sanding the paint back to reveal the wood. Allow the paint to dry completely before the next step.
After my glue dried I decided I wasn’t completely happy with the how stable the sign felt so I added a bit more glue to the backside to help firm up those connections.

Now the fun part. Use a piece of sandpaper and sand off some of the paint, concentrating on the edges of the boards and the ends. Do this as much or as little as you like.
Now it is time to add the lettering. I used my Cricut again this time to cut the letters. I have been doing a couple of non-mini projects with it so it was on the table. Let me know if you would like me to figure out how to share the cut file for this sign. You of course don’t need a fancy cutting machine to make your sign. You could paint your letters like we have done on several of the signs in previous months or you could use stickers. The letters I cut were just a bit less than ½” tall so you have an idea of what size to make yours. I did use a cut out of a shell for the “o” one the sign. You could use a sticker for yours or you could use a tiny real shell if you have one. I was thinking about doing just that but didn’t have time to get to the craft store to buy shells before doing this.

Once the lettering was in place it was simply a matter of a thin coat of Mat Mod Podge and the sign was ready to place on the front porch of the dollhouse.
I want to thank Plaid once again for the paint, brushes and Mod Podge they provided to me to use in these videos.
As always I do want to sincerely thank all of you for watching my videos and reading my blog posts. It means so much to me that you are supporting me in this way. If I could ask you all to do just a bit more by subscribing to the channel and liking the videos and leaving comments. Those help more than you can imagine. Also if you could pass the links on to your friends I would appreciate it so much.
No comments:
Post a Comment