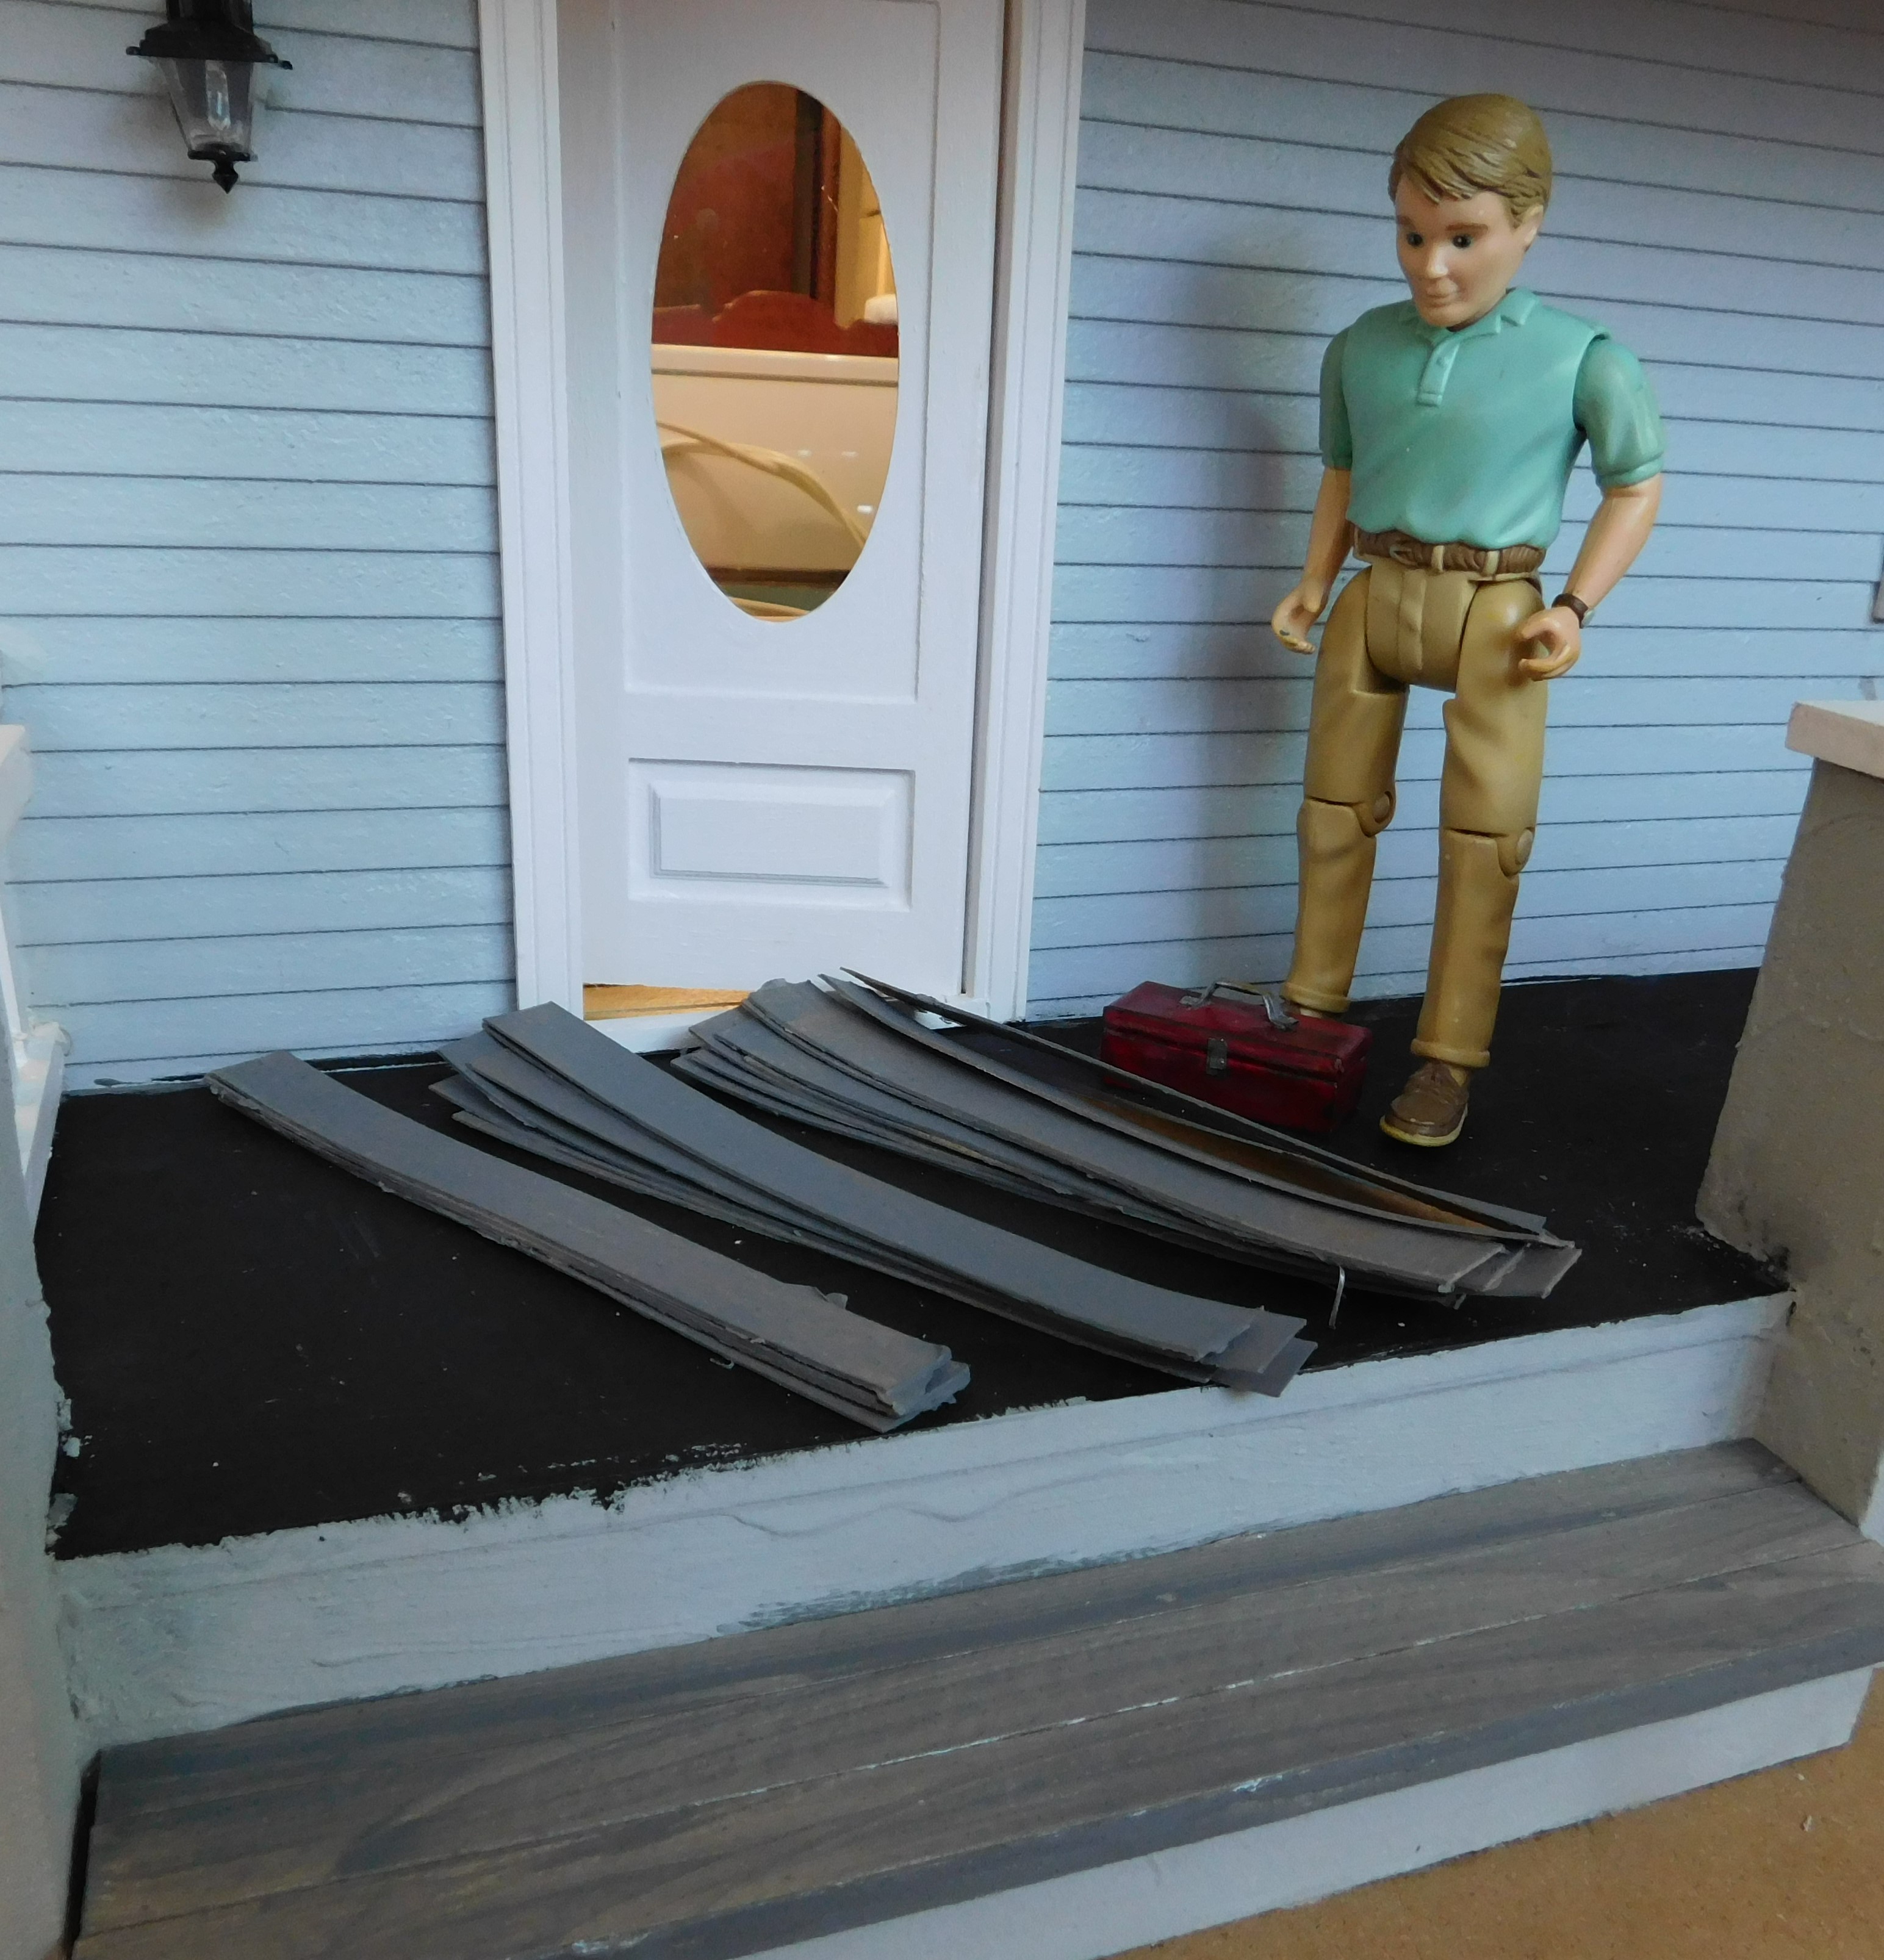
I decided I wanted to finally do something with the floor of the front porch of the dollhouse. I have been staring at it for several months and I am frankly tir4ed of it being unfinished. I mean we keep making fun decorations for the front porch so it needs to look its best.
So one of the things that had been holding me back on finishing this was indecision on what to use for the floor boards. I looked at wood but it was hard to find what I wanted and wood prices (even in mini) are getting anything but mini lately. The few times I found something I felt was thin enough to work either the store didn’t have enough or the price was really high. So I have been thinking about this for a long time.
Then as I was putting away some cans of cat food the other day it struck me that the pieces of cardboard that separate the layers of canned cat food in the cases would be perfect for the dollhouse porch floor. I know not everyone is going to have exactly this same cardboard and I gave some alternatives in the video but for me this is the perfect medium, I knew I had been saving all of those pieces for a reason. LOL

To prepare the house for the addition of the boards I decided to paint just the top surface of the porch floor with some flat black paint. That way if we do see between any of the boards in spots it will just look like a shadowed area.
Next I had to decide which direction I wanted my boards to run. I looked online at pictures and found that depending on how the joists for the porch run the boards can run either front to back or sideways. I like the look of them them running front to back best so that was the way I decided to go with this project.
Now the task of cutting the boards, and this was a big project. I measured the porch and did some math. Based on my boards being cut ½” wide to represent 6” boards I was going to need over 50 of them I had been considering cutting my boards a bit narrower than ½ until I realized how many boards I would be cutting. I decided that the ½” was narrow enough. Since I know that I might make mistakes I wanted to have some extra. In total I cut around 60 off camera as well as the 5 on camera. So while the video might not be as long as some I put up I did a lot off camera this week in order to get the video ready for you.
I also wanted to cover the top of the front step with boards. The problem being the step is wider than my pieces of cardboard. If I had had a cereal box on hand I could have used that but I don’t have any in my stash. Instead I pulled out a piece of the chipboard I have in my stash and used it. I think it will work just fine.
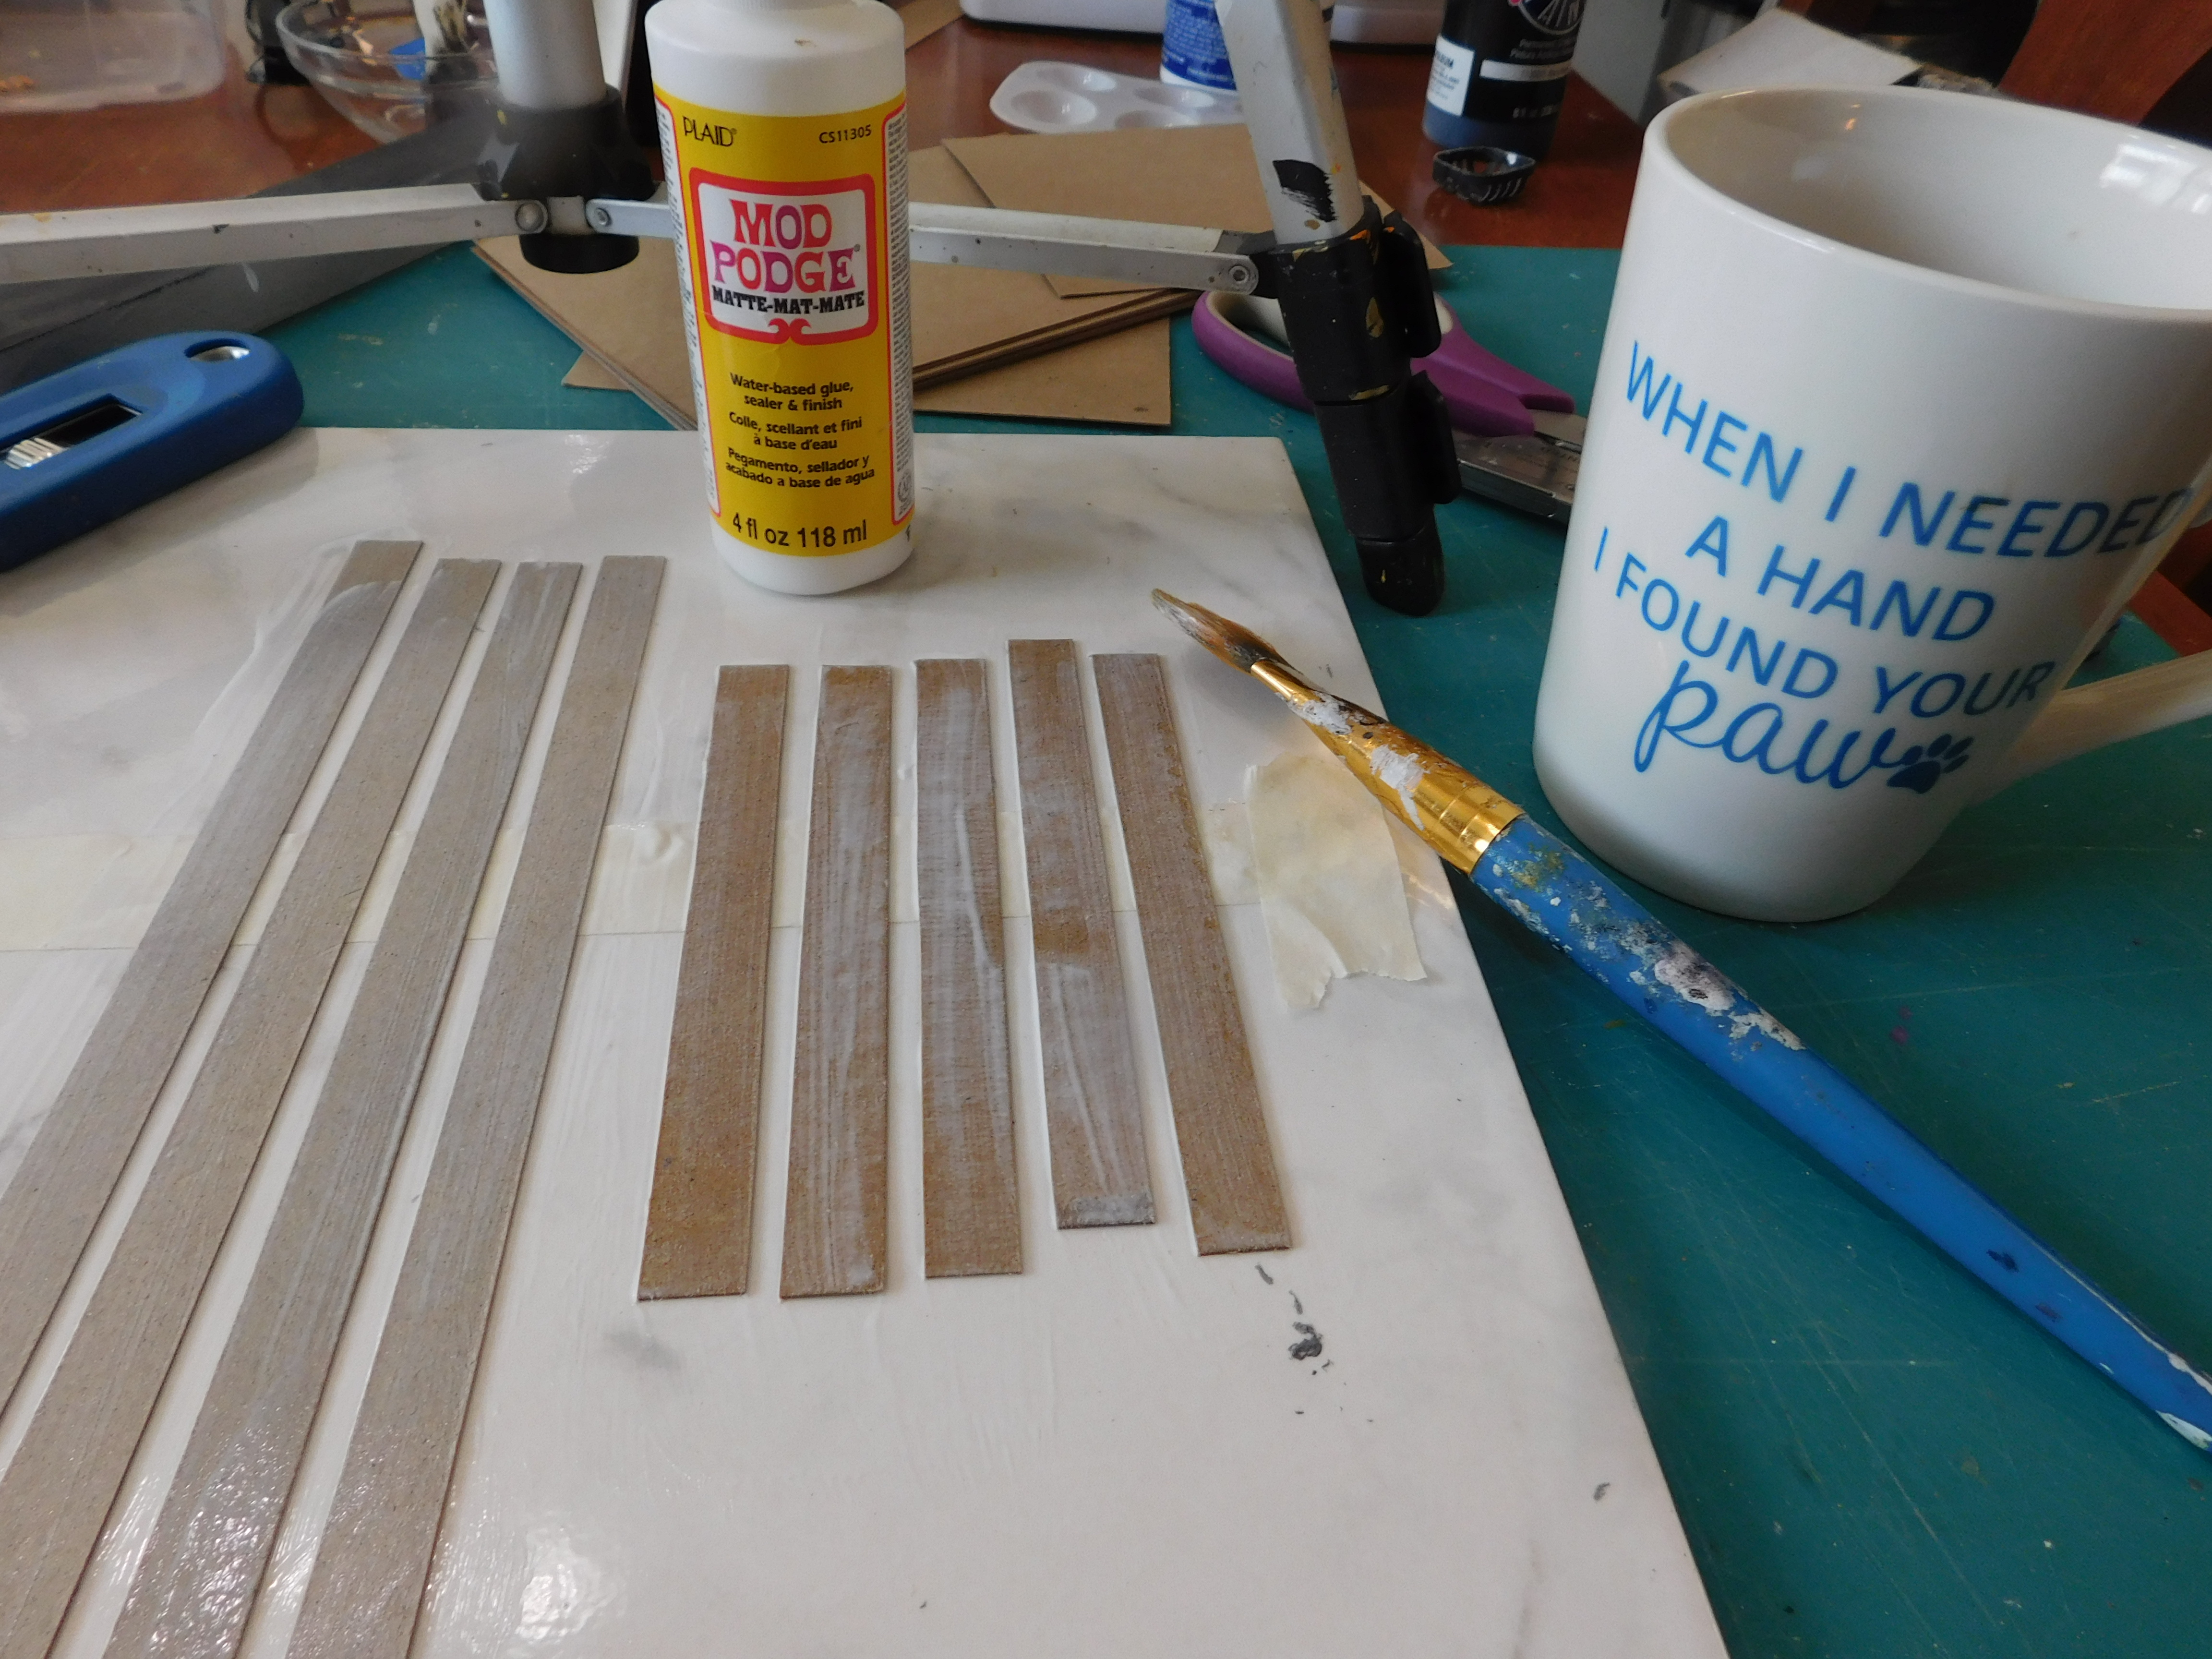
Once cut I laid my boards out on my ceramic tile held down with some tape like I do when I paint small things. Then I gave them a coat of mat Mod Podge. This will help to seal the surface and add a bit of strength to the boards.

I found the darkest gray. I had in my stash a Charcoal gray. from Anita’s. I brushed this onto the boards lightly making sure to stay going the direction the wood grain would run. I didn’t want to have a solid “just painted” look. By being a bit streaky I think it really gives the feeling of wood grain.
Once the boards were dry I carefully removed them from the tape and used a piece of sandpaper to remove the excess paint from the edges.

I decided to start with the step since I can work on it on my work tile and it will be easier. I use the same wallpaper paste we used on the walls of the dollhouse and glued down the first strip lining it up with the front edge. I then turned this upside down and used a brick to weight it down until it started to dry. I am treating the step a bit differently than I will be the porch floor we’ll talk about that more next week.

Once the first board was set in place I could add the rest that were needed to cover the top.

Once dry I cut the back board to be even with the step top and gave the piece a coat of Satin Mod Podge.
Next week we will start placing the boards on the front porch.

As always I do want to sincerely thank all of you for watching my videos and reading my blog posts. It means so much to me that you are supporting me in this way. If I could ask you all to do just a bit more by subscribing to the channel and liking the videos and leaving comments. Those help more than you can imagine. Also if you could pass the links on to your friends I would appreciate it so much.
Great color for outdoor weathered "wood". Thank you for sharing.
ReplyDelete