A while one of you requested that I make some tacos and I think the ones I make in today's tutorial turned out pretty cool.
This is actually a project that has been on my list for a long (very long) time. Back when I first got into miniatures, long before I had even touched my first block of polymer clay I was checking out every book and magazine on dollhouse miniatures that was available through the county library system. I had purchased a notebook and would copy down directions for projects I wanted to try to make.
These taco shells are based on one of the projects from that old notebook. I have no idea where I had seen the project since it never occurred to me to note that in my notebook.
Anyway, I did have to make few changes to them based on what materials I could get my hands on now. But the main idea is still intact.
I know we could make the tortillas/taco shells from polymer clay and if you decide you want to do that rather than the card-stock like I did today look on my channel for my tortilla chip video, you can use the same clay mixture I used for that to make your tortillas. In addition to really wanted to finally make this I love that I can make the taco shells so thin and they aren't fragile like they would be if they were made from polymer clay. The card-stock is a perfect thickness to look in scale and yet it won't crumble on you while you work.
So for the tortillas you will need a piece of sturdy card-stock in a cream or very light beige color. This needs to be really pastel in color to work correctly here. Then we will build up the color in layers. It is important that you work with all 3 layers of color one right after the other. Don't allow this to set up and dry between layers. This will help with getting the colors to just slightly blend and meld into each other.

For the first layer use a rather dark yellow color of craft paint and just rub it onto the card-stock with a paper towel. Don't try for a really nice even coat of paint you want it to be slightly blotchy with some of the paper color showing through.

Next we need a darker golden yellow color, a yellow ocher type color. This one we will just be using a paper towel to dab it on like if you were sponge painting.

Next use any brown and with an old toothbrush and a toothpick splatter the brown onto the surface.
Once the paint dries completely on this side do the same steps on the other side of the card-stock.
Once both sides are painted and completely dry punch out a bunch of ½” circles, you can use a hole punch if you have one, I decided to use my Cricut machine since I already had it out on the table and this was so much quicker than finding my hole punch.
Once you have your tortillas cut out use a small amount of the two yellow paint colors to touch up any edges or spots as needed.
Now onto the fillings.

For our diced tomatoes mix a red polymer clay with an equal amount of translucent clay, roll it out and cut tiny pieces. Transfer to a paper plate for baking.

For the lettuce mix a green clay with an equal amount of translucent and roll as thin as possible, you are aiming to go paper thin if you can. Use your clay knife to score tiny pieces and transfer it to the paper plate. Try to kind of roll it a bit as you lift it so it isn't laying completely flat.

For the cheese mix a yellow and a golden yellow/ocher color clay and roll as thin as possible and score it just like for the lettuce. Move it to the plate in same way so it isn't flat.

Bake these pieces at recommended temperature for you clay for 5 minutes. They don't need to cure completely just firm up so they will be easier to work with.

The meat filling is made the same way as we did fro the enchiladas last week. Using a reddish brown and a dark brown chop the clays up finely and form a mottled snake.

Now use a toothpick to form the tortillas into taco shells.
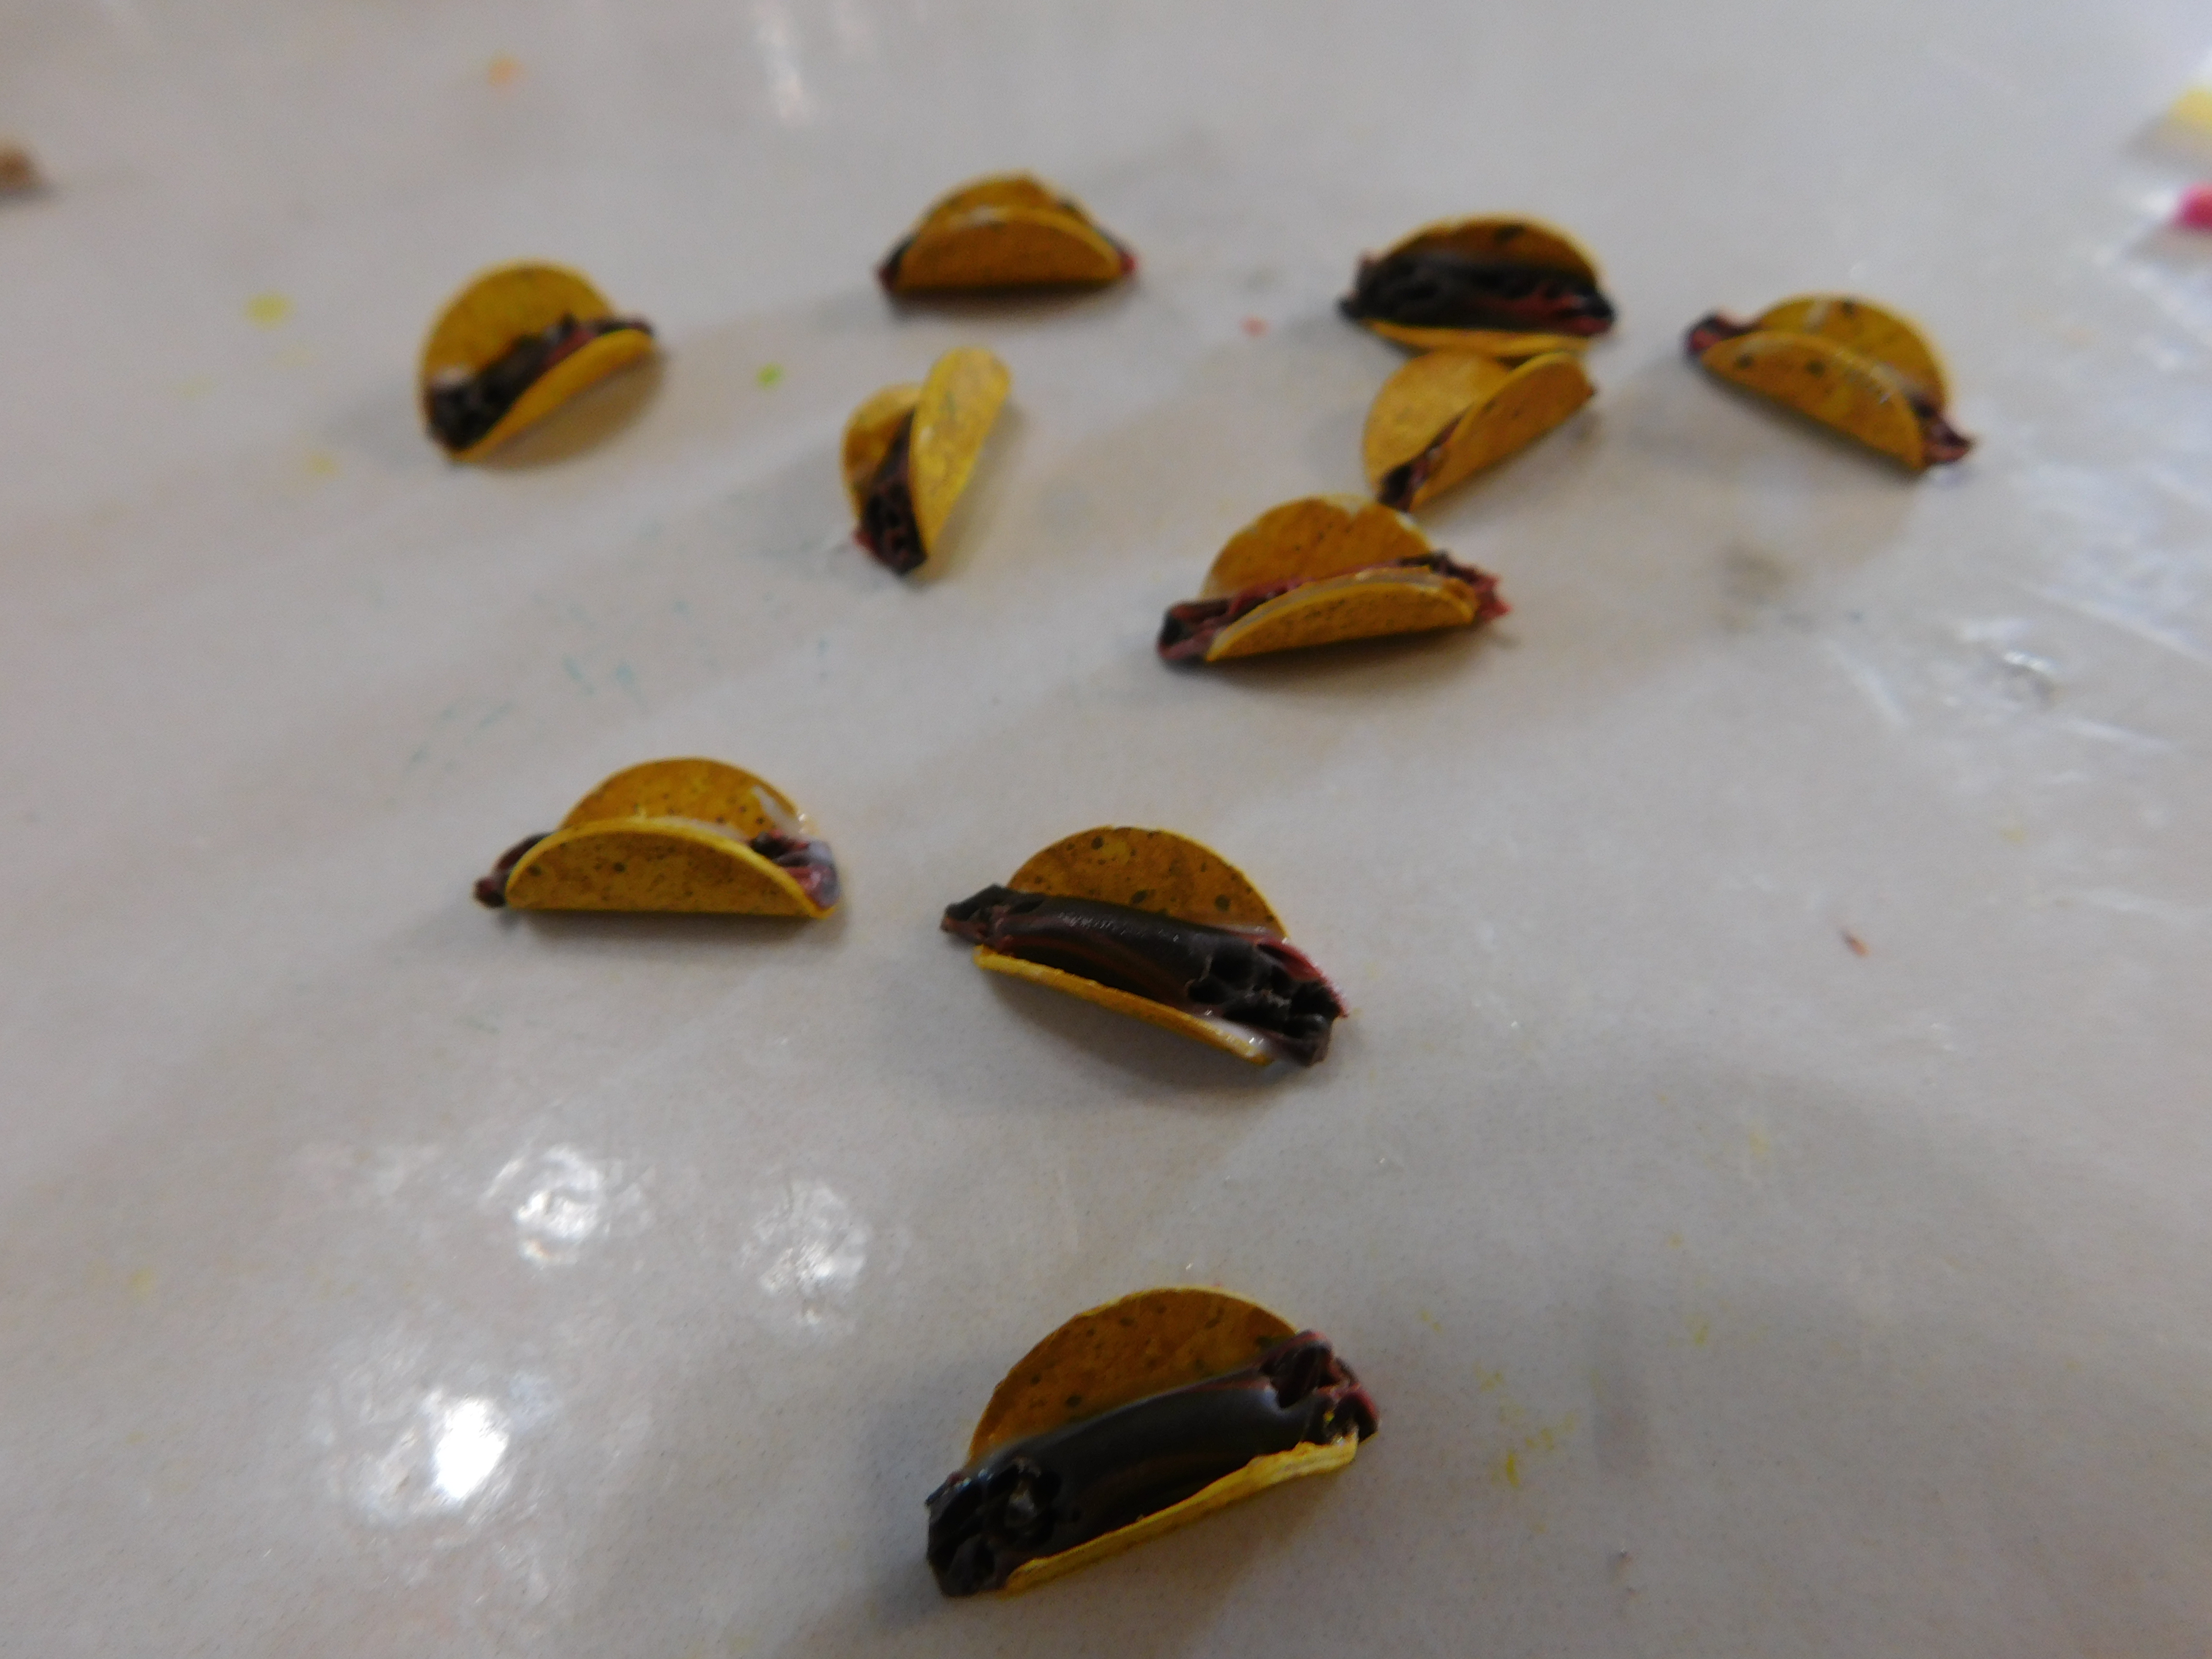
Add some TLS (Translucent Liquid Sculpey) to the inside bottom of your taco shells and lay the snake of meat filling inside. Cut the ends even with the shell and texture the meat with a pointed tool.

Layer on some more TLS and add the chopped tomatoes,

lettuce

and cheese adding more TLS as needed.
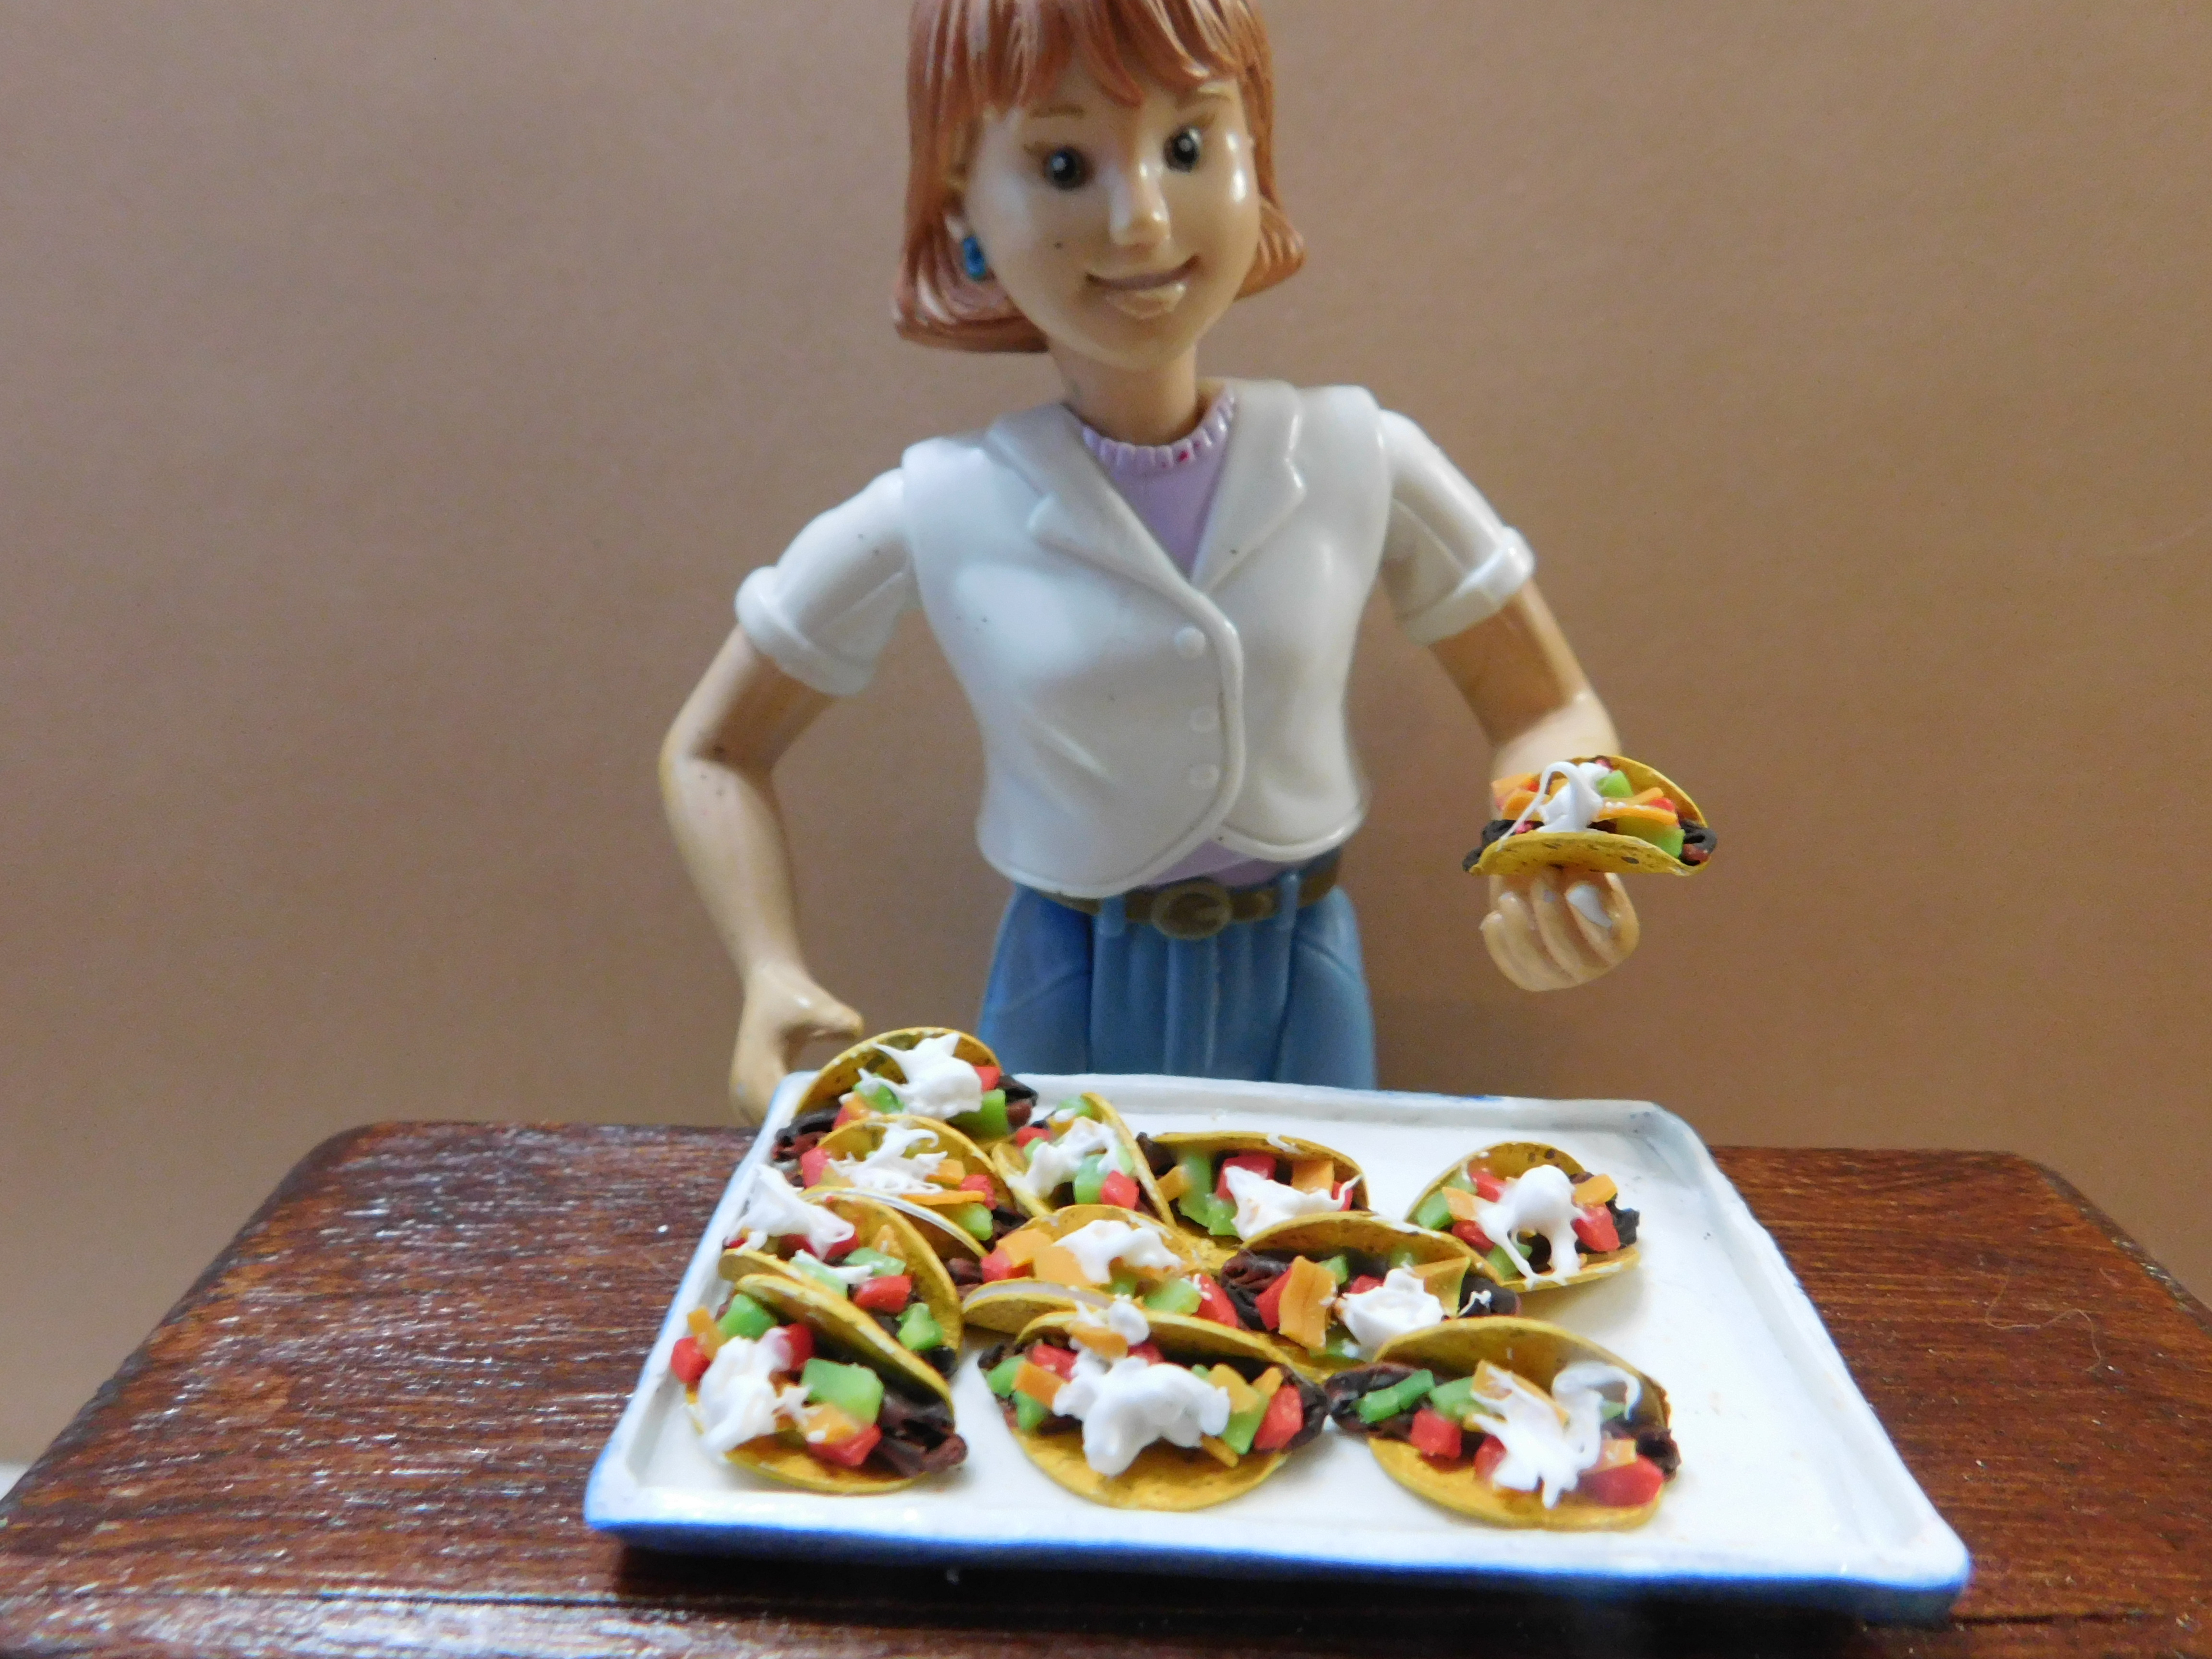
Bake for 10 minutes to cure then add some some white TLS “frosting” (white clay mixed with TLS to make a spreadable frosting) you just want a cute little dollop on the top of the other fillings. Bake again for 10 minutes and your tacos are ready to display in your next miniature scene.

As always I do want to sincerely thank all of you for watching my videos and reading my blog posts. It means so much to me that you are supporting me in this way. If I could ask you all to do just a bit more by subscribing to the channel and liking the videos and leaving comments. Those help more than you can imagine. Also if you could pass the links on to your friends I would appreciate it so much.
No comments:
Post a Comment