
This is a really easy project and I think it turned out really well. I used to make humming bird feeders way back when I sold minis and they were pretty popular. Those were made entirely from beads and I sadly don't have any of the kinds of beads I used back then. So I sat down this morning and thought up another way to make these and I really like how they turned out.

For the bottom of the feeder I decided to start with a ball of red polymer clay about ¼” in diameter. This is then flattened out and a head pin poked through. I did dip the head of the head pin into TLS to make sure it would stay in place on the finished feeder.

I also took just a moment and slid a cocktail straw down over the head pin to make an indentation in the top of the clay. This will make gluing the feed tube on easier later. Remove the straw and back at the recommended temperature for your clay for 10 minutes and allow to cool.

Using a red alcohol marker color about ¾” of the end of a white cocktail straw. If you have a clear straw that would probably be even better than white and you could possibly skip coloring it. Allow the ink to dry.

Once the ink dries and the clay cools cut about ½” length of the colored straw , dip just a bit of one end into some super glue and slide it onto the feeder with the glue toward the top of the red clay base. Allow the glue some time to set up/dry,
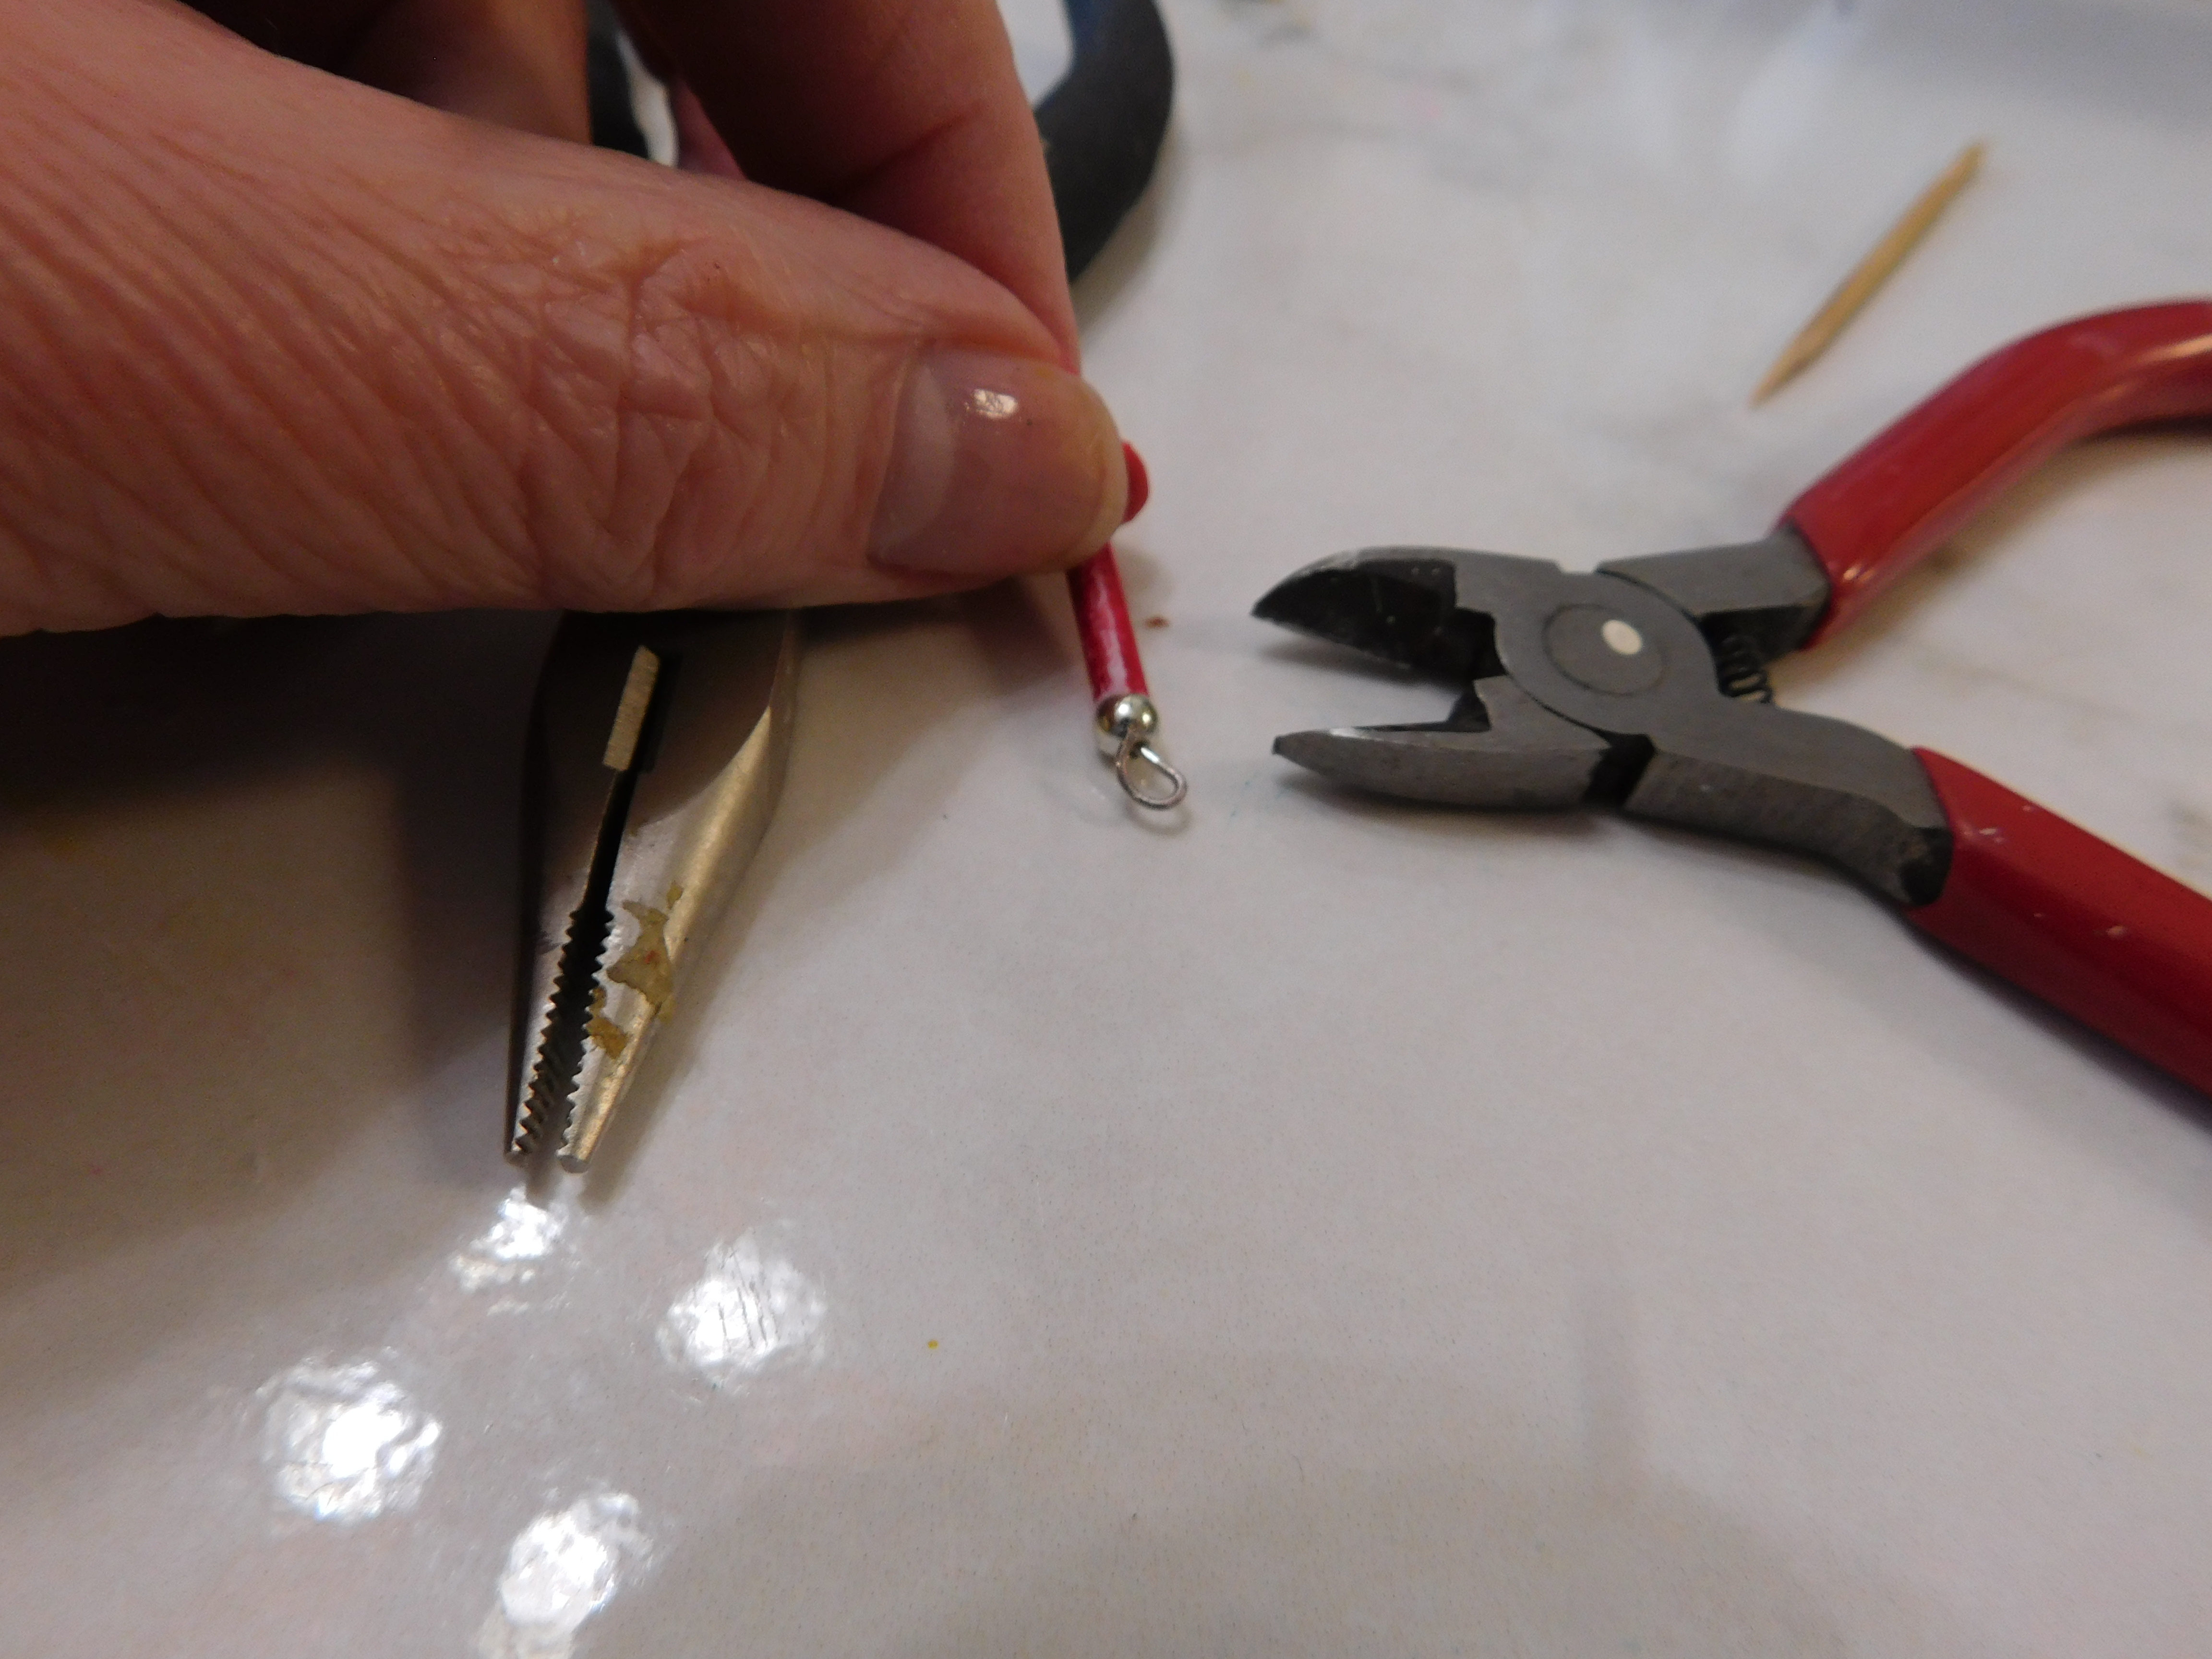
now slide on a tiny silver (or any color you wish to use) bead onto the wire and form a loop with the head pin that is snug against the small bead at the tip of the feeder.

Using a blunted toothpick paint some dots for the openings the humming birds will get the food from around the base with some yellow paint. Allow to dry.

Touch up any spots on the tube portion with your marker and give your humming bird feeder a coat of Satin Mod Podge. Allow to dry.
Use a piece of wire of some fine jewelry chain to create a hanger for your feeder and display it hanging from the front porch of your dollhouse.
As always I do want to sincerely thank all of you for watching my videos and reading my blog posts. It means so much to me that you are supporting me in this way. If I could ask you all to do just a bit more by subscribing to the channel and liking the videos and leaving comments. Those help more than you can imagine. Also if you could pass the links on to your friends I would appreciate it so much.
No comments:
Post a Comment