
This week we are using some of those chocolate covered strawberries we made in last week’s tutorial. You can find that here if you missed it.
I do often do a Google image search to get inspiration for my tutorials and this week that was exactly what I did. I had searched for Valentine Cakes and as I was scrolling down the long list of pretty pictures I found one that stood out to me. The cake was on a fairly simple cake stand and was covered in what appeared to be a pale pink fondant. Then along the top edge was a line of chocolate glaze that had bee encouraged to drizzle down the sides of the cake. On top was a huge pile of chocolate covered strawberries. I know as soon as I saw it that was what we were going to be making.
I decided that before we could make this cake though we would need to make some chocolate covered strawberries so that was why those showed up last week.
Since this is a cake designed to just sit on a cake stand and look pretty we can make the interior “core” from any clay. I chose to use some Original Sculpey since it is easy to work with. I also wanted to make the inside white so that I didn’t have to worry about a darker color showing through the pale pink later.

To make this core or blank roll out your clay using a couple of double thick craft-sticks to guide the thickness. Then cut two layers using a ¾” round clay cutter.

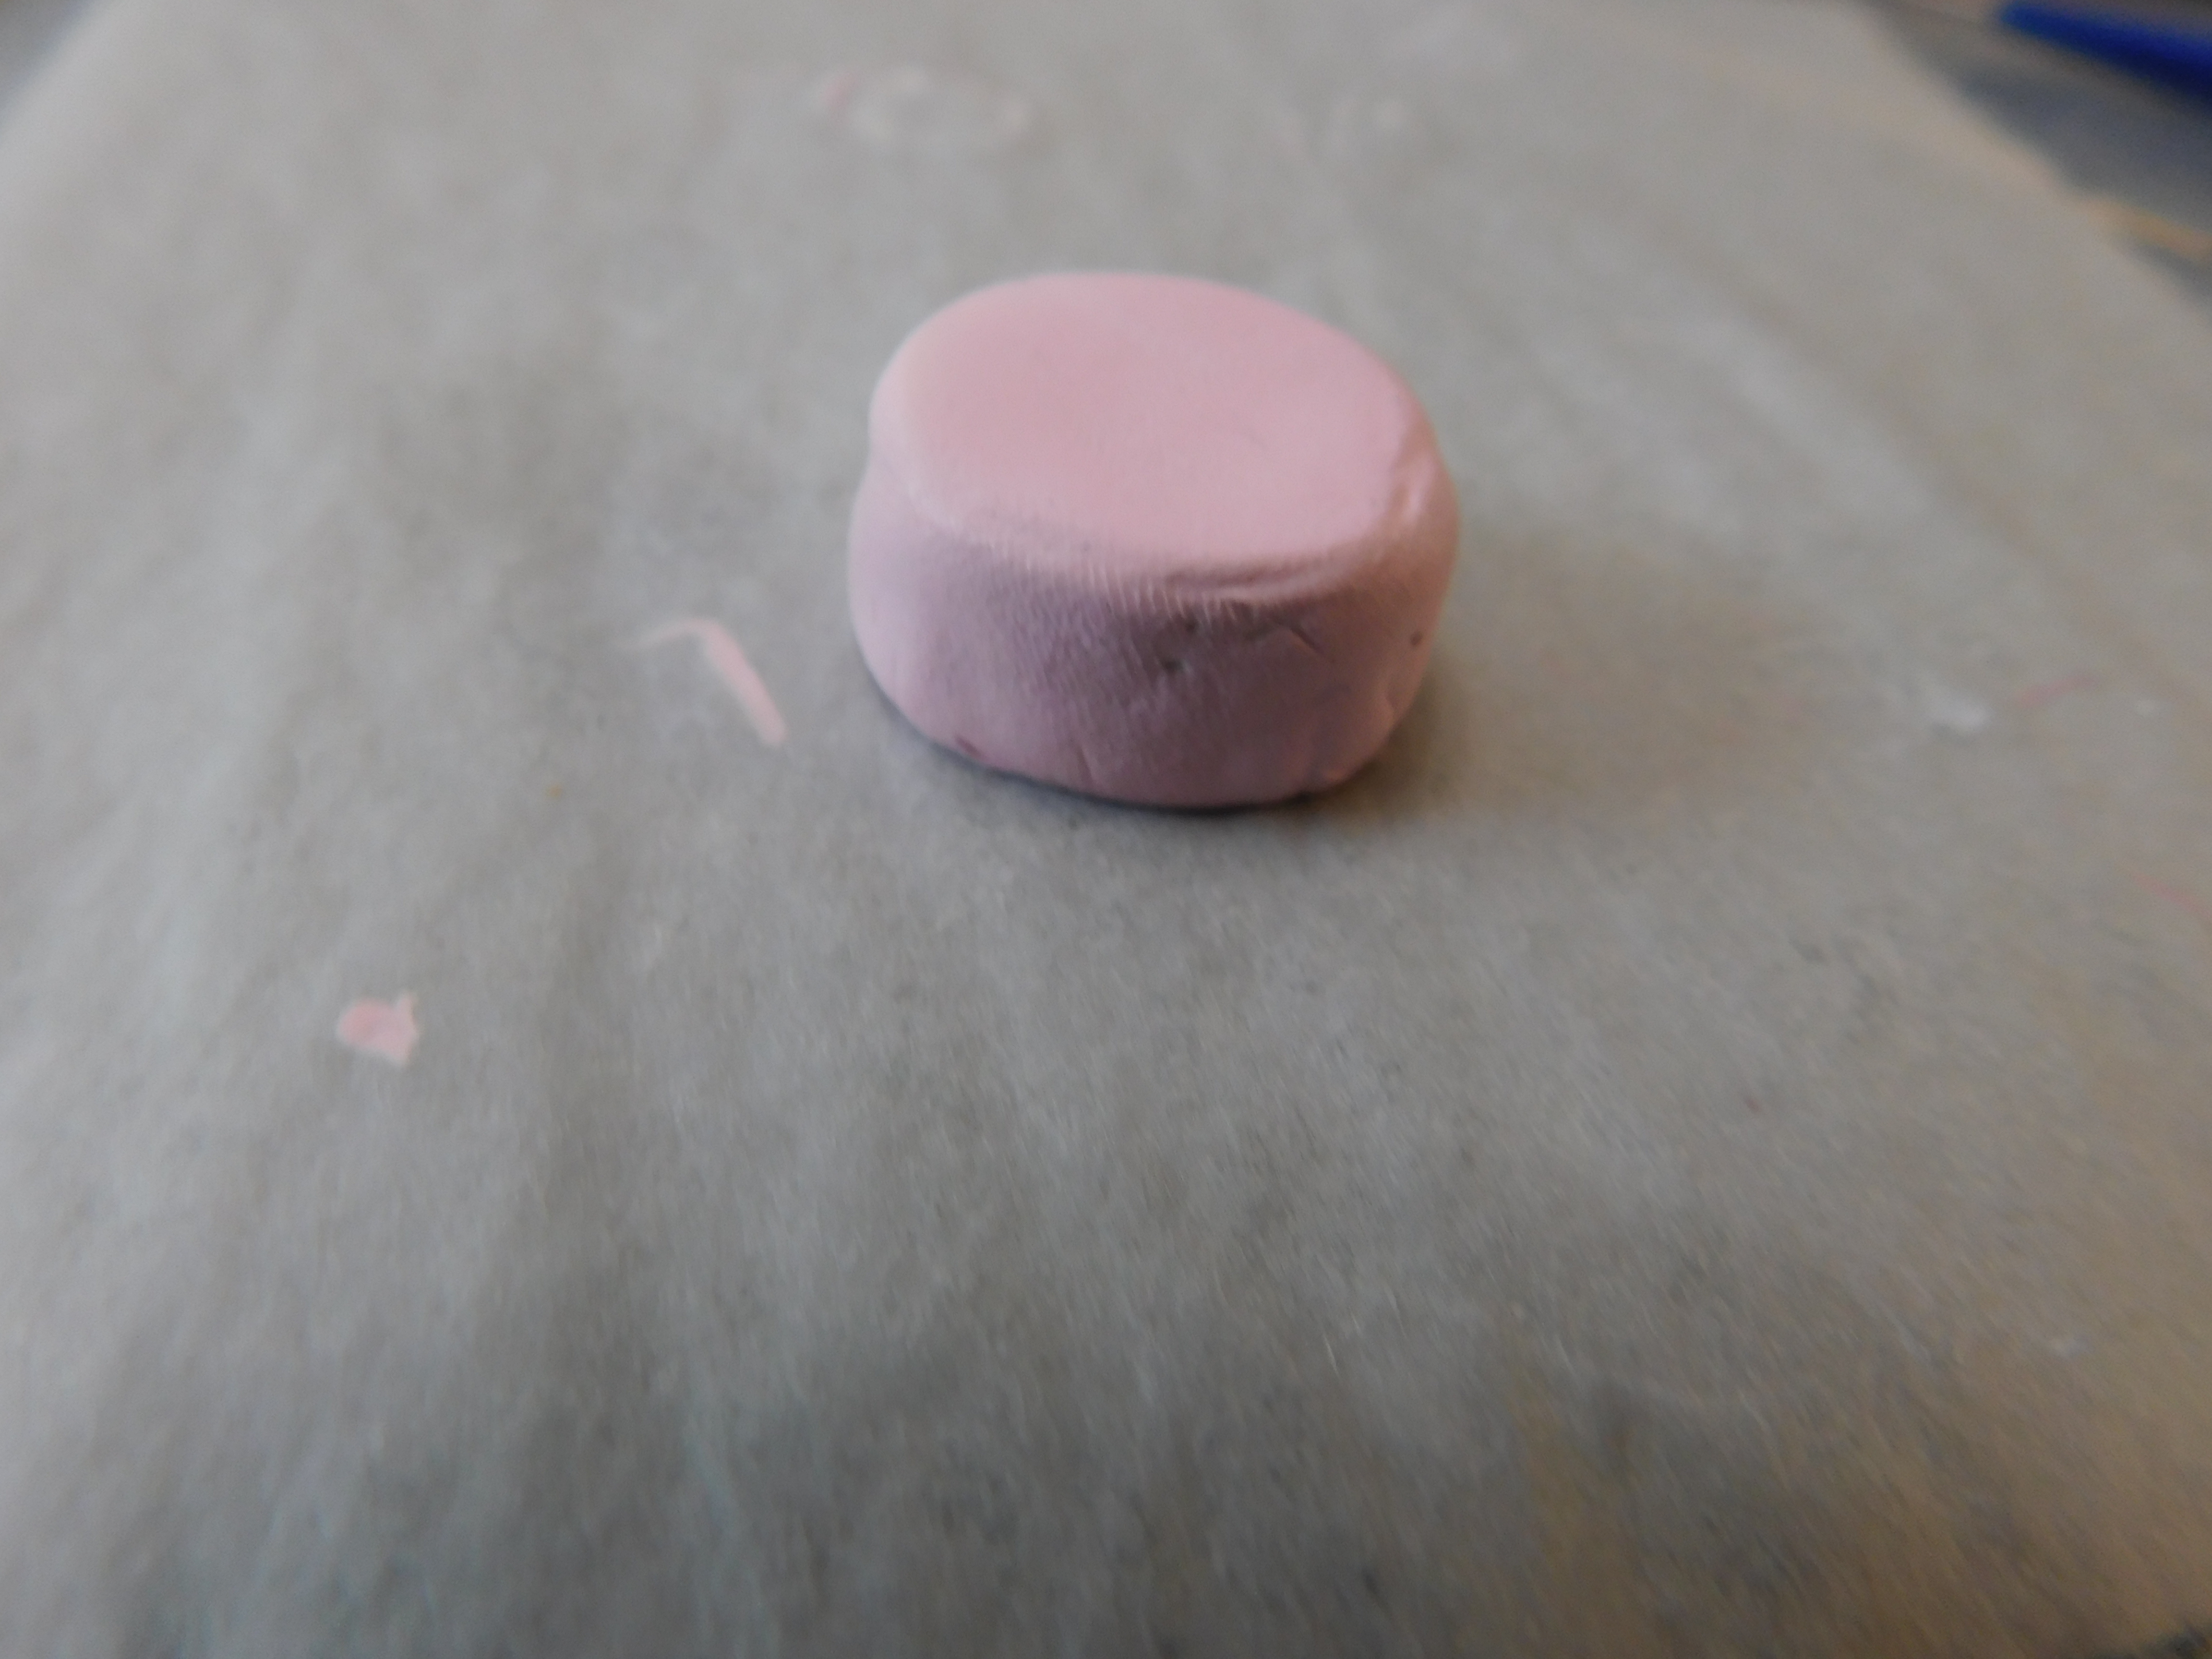
Stack these together to make your cake and bake for 20 minutes at the temperature recommended for your clay. Allow to cool to room temperature.

Now roll out the pale pink you have chosen. I am using Sculpey III in Ballerina Pink. This should be rolled pretty thin.

I like to do the next step on parchment paper to prevent sticking to my work surface. Add some liquid clay to the top of your baked cake core.

Place this core on the sheet of pink clay liquid clay down and add a bit more liquid clay around the cake.
Then just ease the extra clay around the cake trimming and smoothing until it looks like a real cake coated in fondant. Once you are happy with the way it looks bake for 10 minutes at the recommended temperature for your clay and allow to cool to room temperature.

Now we can mix up some dark “chocolate” drizzle. We are using the same stuff that was used in last week tutorial for the chocolate dipped strawberries so if you have any left you can use that.
In a nutshell it is a mixture of burnt umber oil paint with a tiny bit of black oil paint then a bit of that is mixed with your liquid clay I do recommend baking a small amount as a sample to test the color and make sure it will cure correctly.

Once the cake is cooled use a dotting tool (or something similar) to add a line of the chocolate to the top edge of the cake. Then pull some drips down from that line.

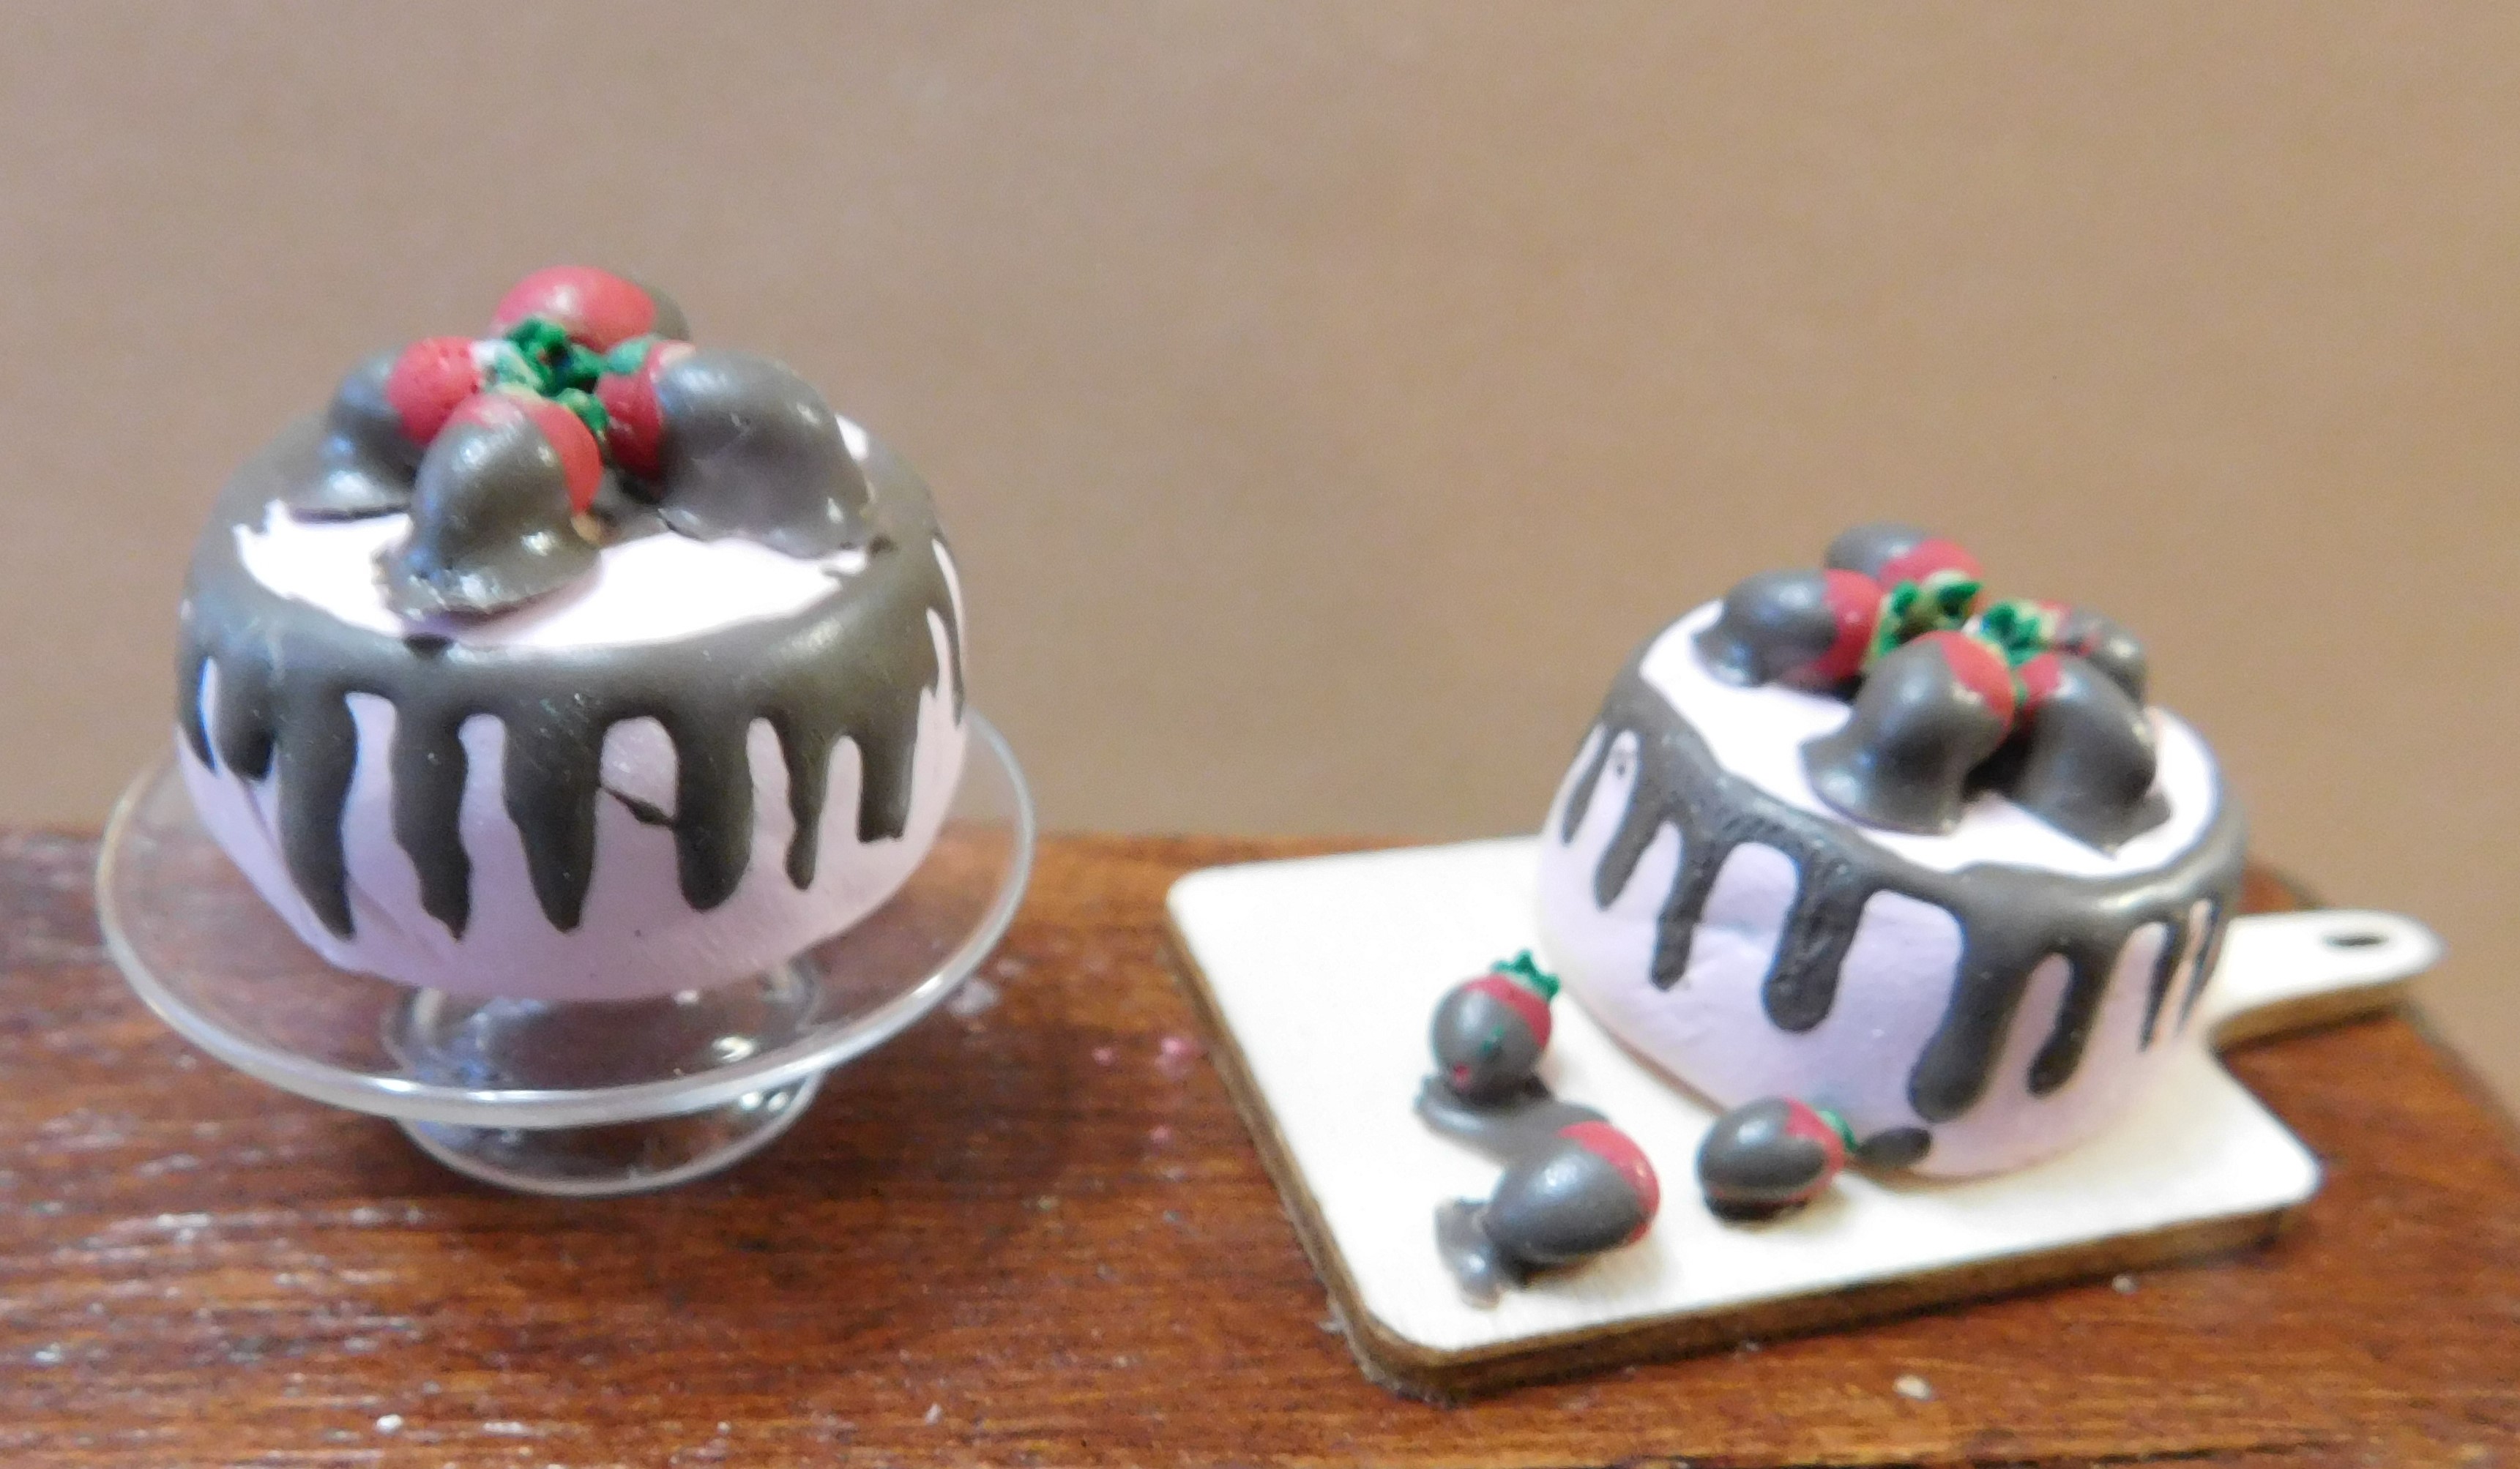
Add a small pool of the chocolate in top center and add your chocolate covered strawberries to the top as desired.
Bake one last time for 10 minutes and allow to cool before you touch it. The drizzle is delicate until the entire cake reaches room temperature.
Now you have a fun cake to display for Valentine’s Day or anytime.
As always I do want to sincerely thank all of you for watching my videos and reading my blog posts. It means so much to me that you are supporting me in this way. If I could ask you all to do just a bit more by subscribing to the channel and liking the videos and leaving comments. Those help more than you can imagine. Also if you could pass the links on to your friends I would appreciate it so much.
No comments:
Post a Comment