
This week I have another project with a free downloadable pattern for you. You can find the pattern here. You will get both a PDF version of the pattern that can be hand cut and a PNG for use with an electronic cutting machine like a Cricut. There is also a note page that will give sizing information for using the PNG.
All pieces are cut from a medium weight white card stock then painted to the desired colors. This is both more economical since one pack of paper will make a lot of projects and the color when painted seems to be less likely to fade over time from exposure to light than colored paper.
I know the letters are going to be hard to cut by hand so I would recommend just painting the word Hello on the sign during assembly. It’s a short simple word and I know it won’t look the same as having the letters added will be much easier.
I was actually looking for inspiration for a more Valentine’s Day themed sign when I came across a couple of simple hello signs and decided I just had to make this one this week. It is kind of Valentine themed because of the colors but can easily hang all spring if not all year in the dollhouse. You could easily change the paint colors to make it fit any color scheme and any time of year too.

So lets start with the parts of the pattern. This one is pretty simple, just 5 sets of pieces.

I like to make the backs of these signs with 4 layers so that they are more apt to stay flat. Also when you glue the back circles together I do highly recommend putting something on top of it to weight it down until he glue dries. This will help this piece to stay flat.
I like to use a thick tacky glue to glue my pieces together since I find the items I do that way stand up much better. I have discovered way too many projects that have come apart in storage from year to year when glued with a glue stick.
Line the pieces up carefully and let the glue dry completely before moving on to the next step, painting.
For painting use a good brush and double check that you have covered the edges of each piece with paint. This will not only make them look better it will add a bit more insurance that they stay together long term.
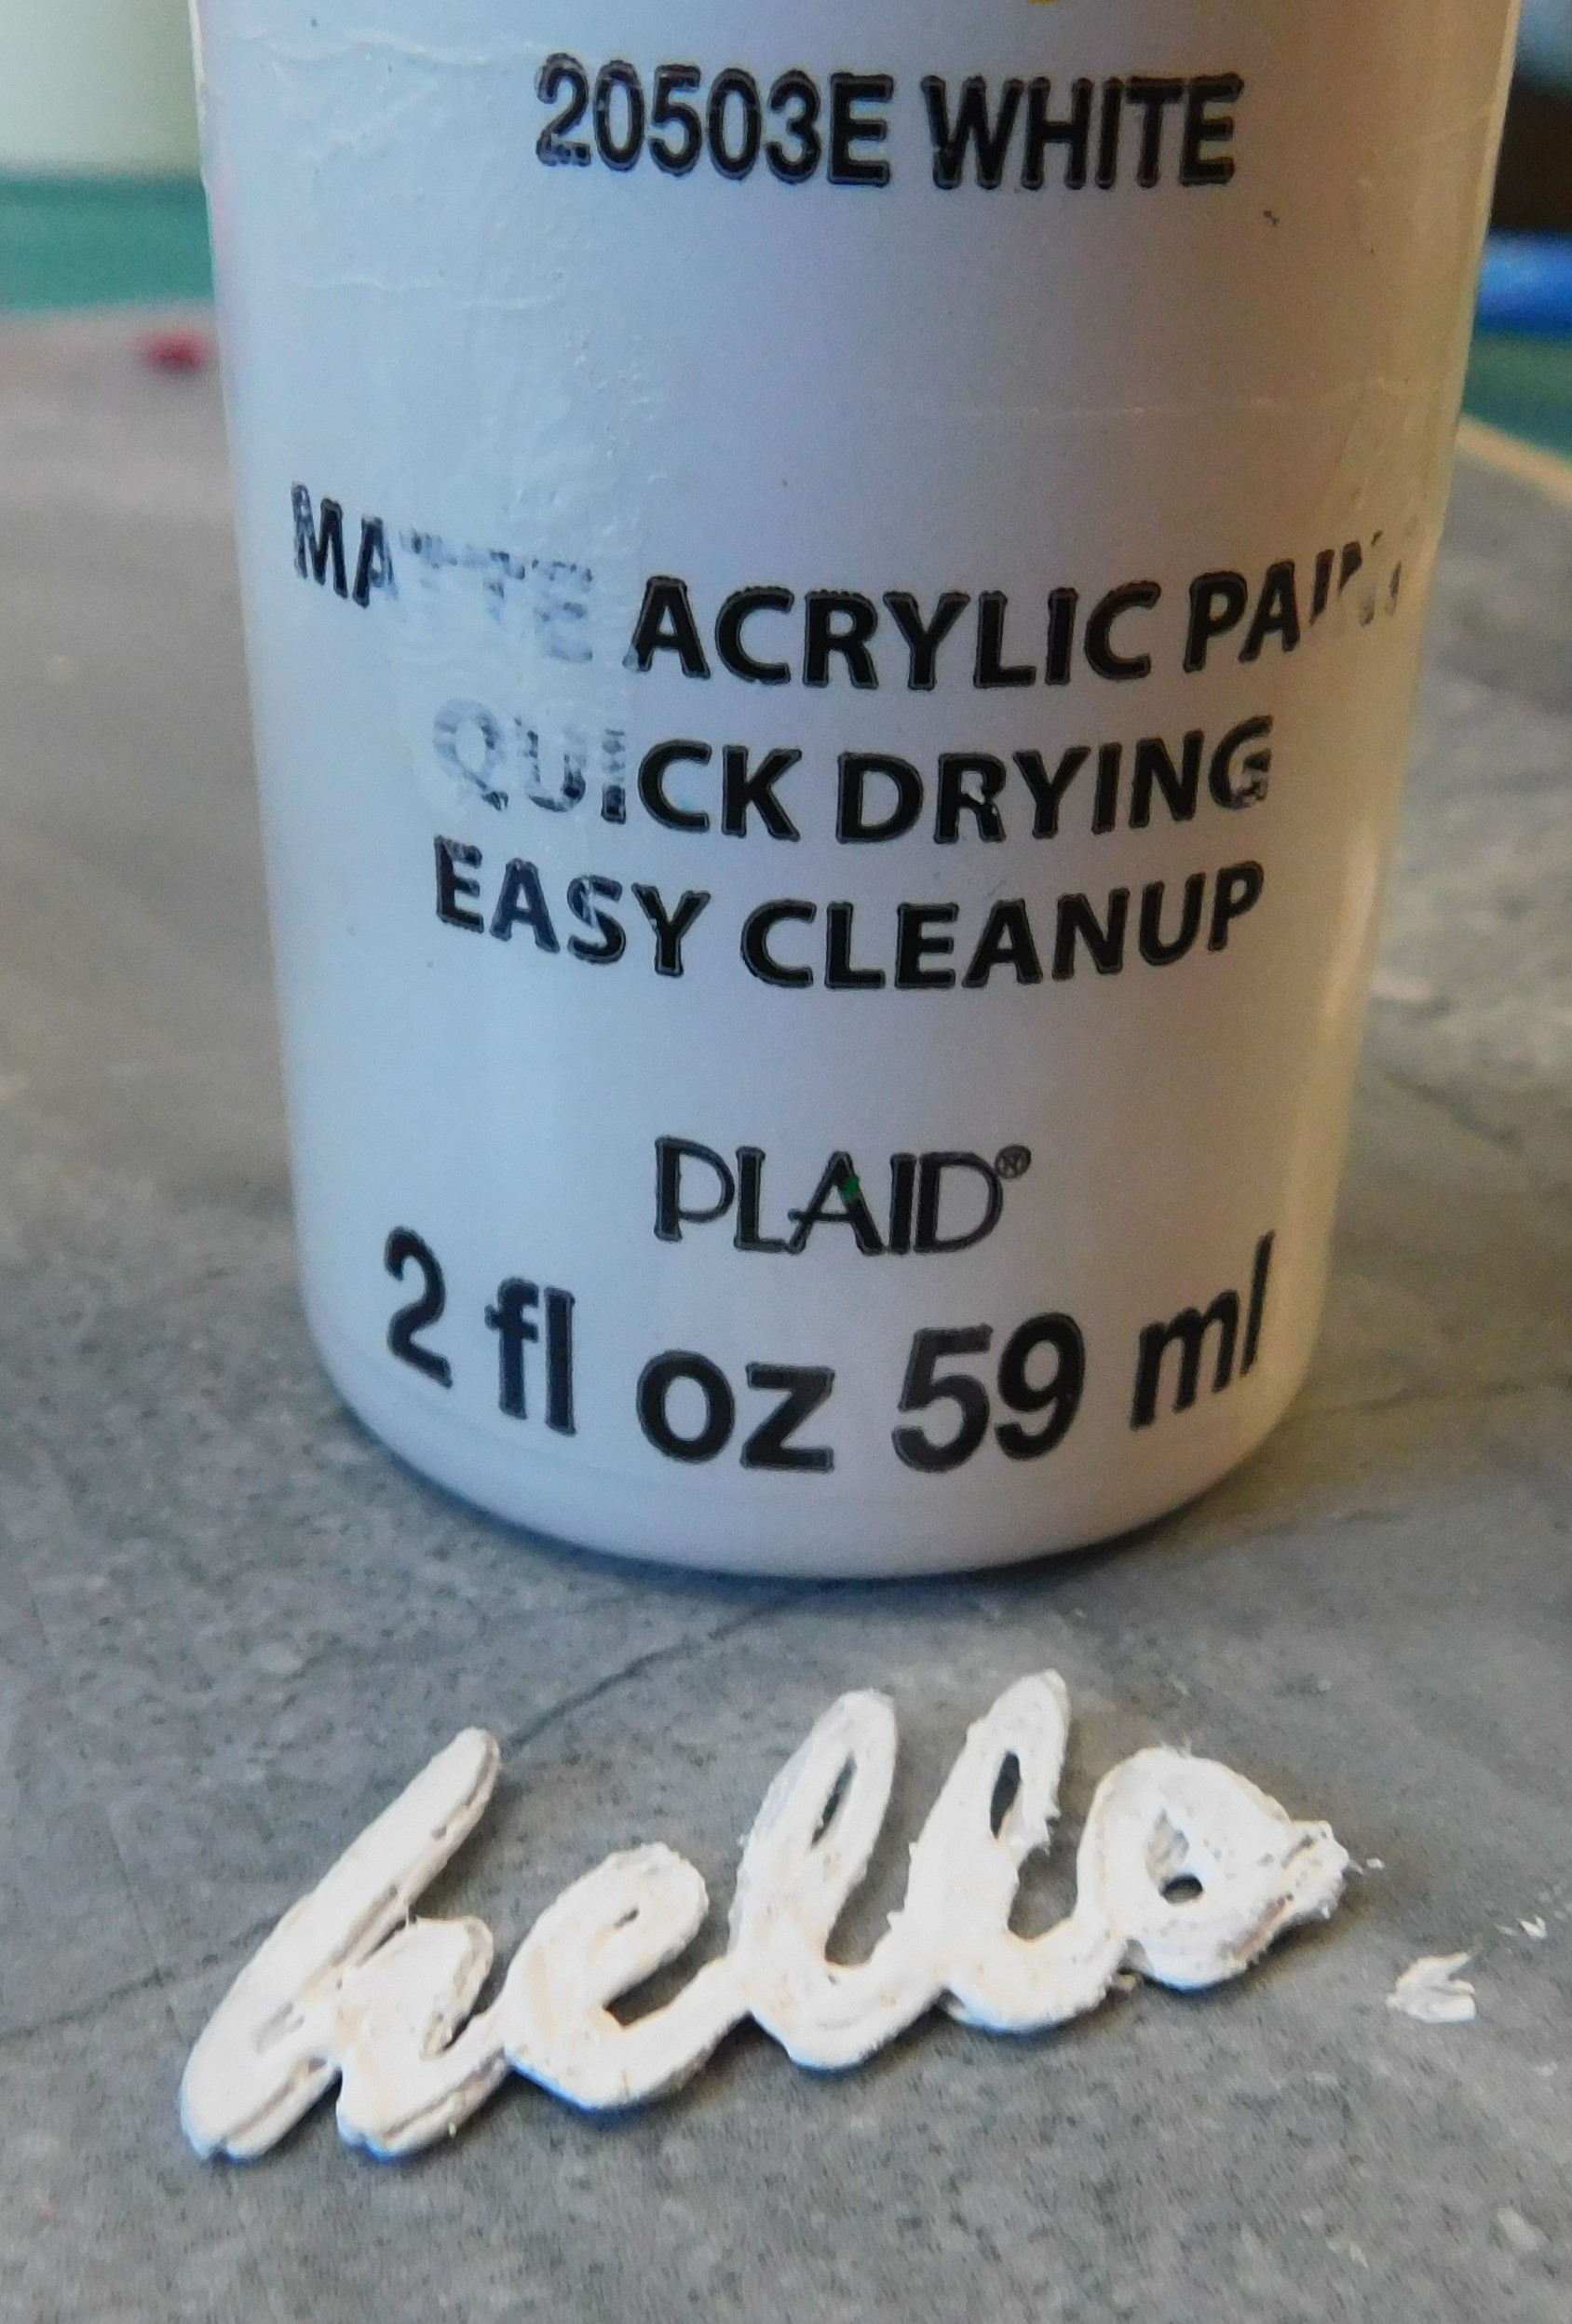
The word hello is painted with white paint, this allows it to look like it belongs with the rest of the pieces and also disguises the fact it is made of three layers of paper.
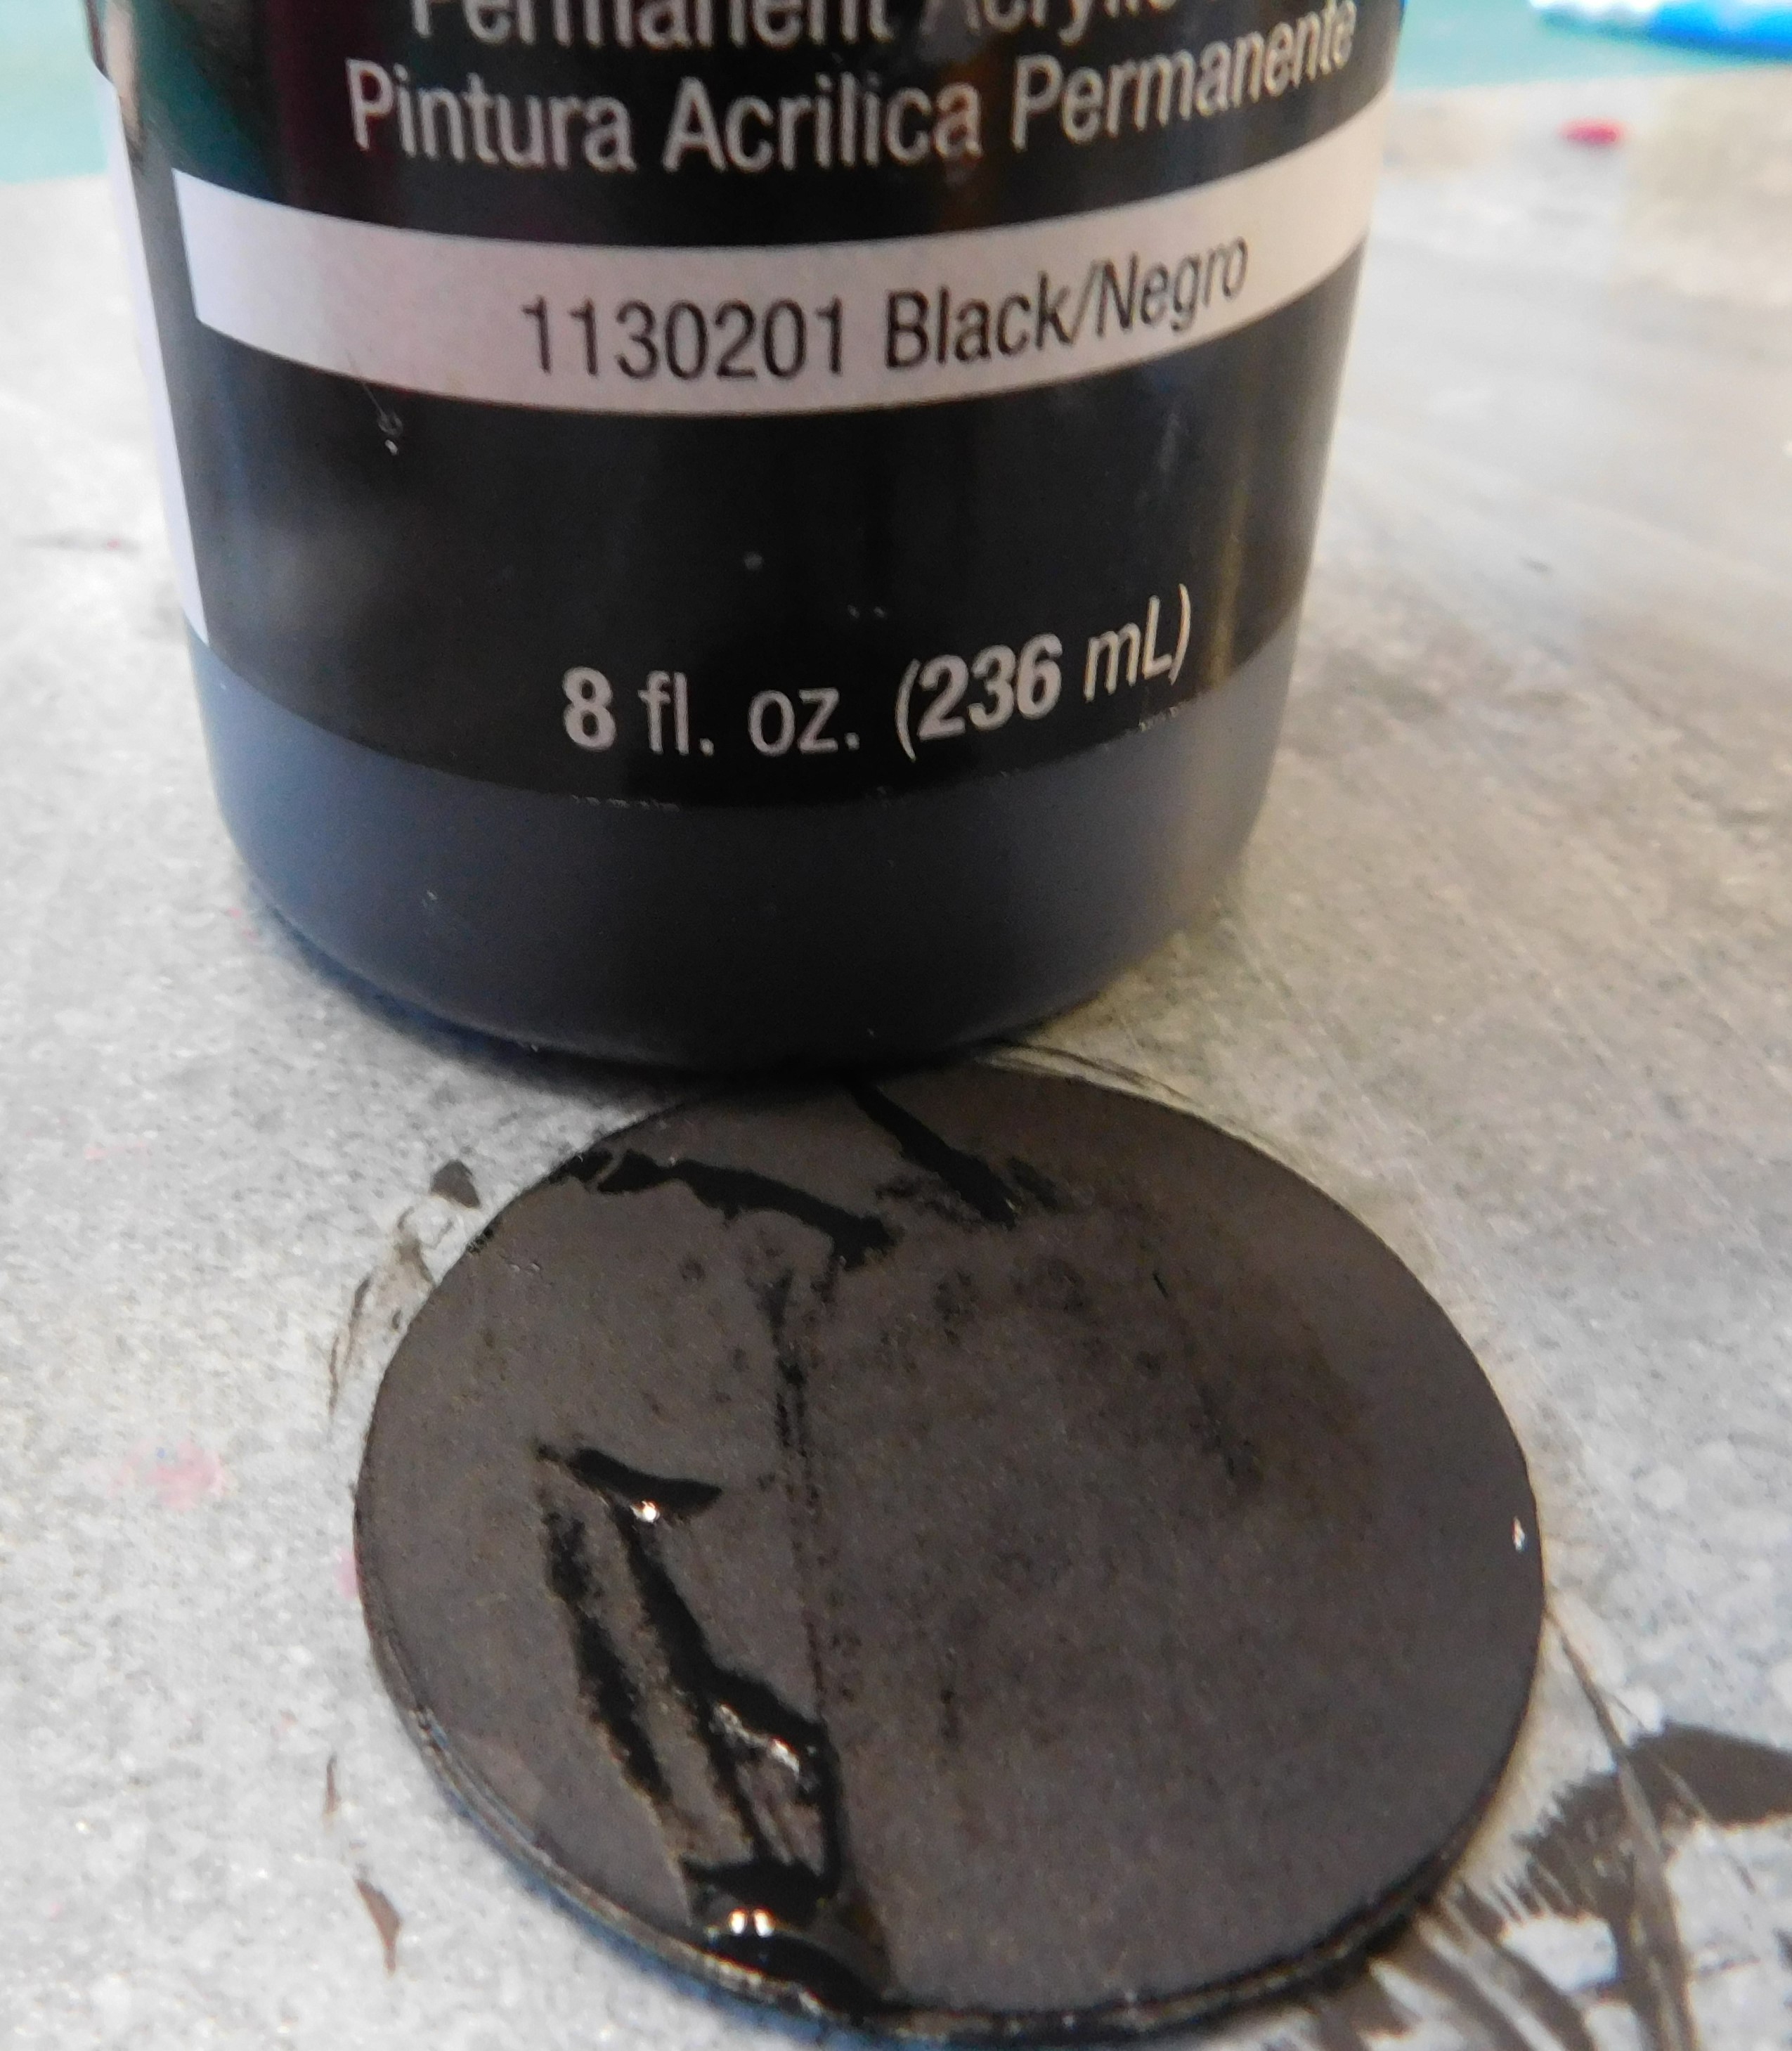
I painted the back round in black and be sure to paint both sides of it at the same time. This will be the added insurance that it stays flat.

The pieces of the bow are painted pink but could be any color really. Also a
Allow the paint to dry and check again that every thing is completely covered, it is much easier to touch up the paint now than after you glue the pieces together.

We are going to start by gluing the pieces of the bow together. They stack as shown in the video, tails, loops, and the knot on top. Just line up the oval part of each layer and they should stack nicely.

For the back glue on the word hello at the bottom center of the sign.
This is also a good time to paint on some green stems at the top of the sign. I like to put these on before the bow so they come out from under the bow.

Once the pieces we glued and painted are dry glue the bow to the top of the sign and allow to dry again.

Now using some dotting tools or the ends of paintbrush handles paint small dot flowers in the colors you want to use on and around the stems we painted on earlier.

Allow to dry again and add a coat of clear sealer, I used Satin Mod Podge. I have found it is a good idea to seal the back of the signs also because I use poster tack to put mine up and sometimes it pulls the back layer of the sign off when I remove it.
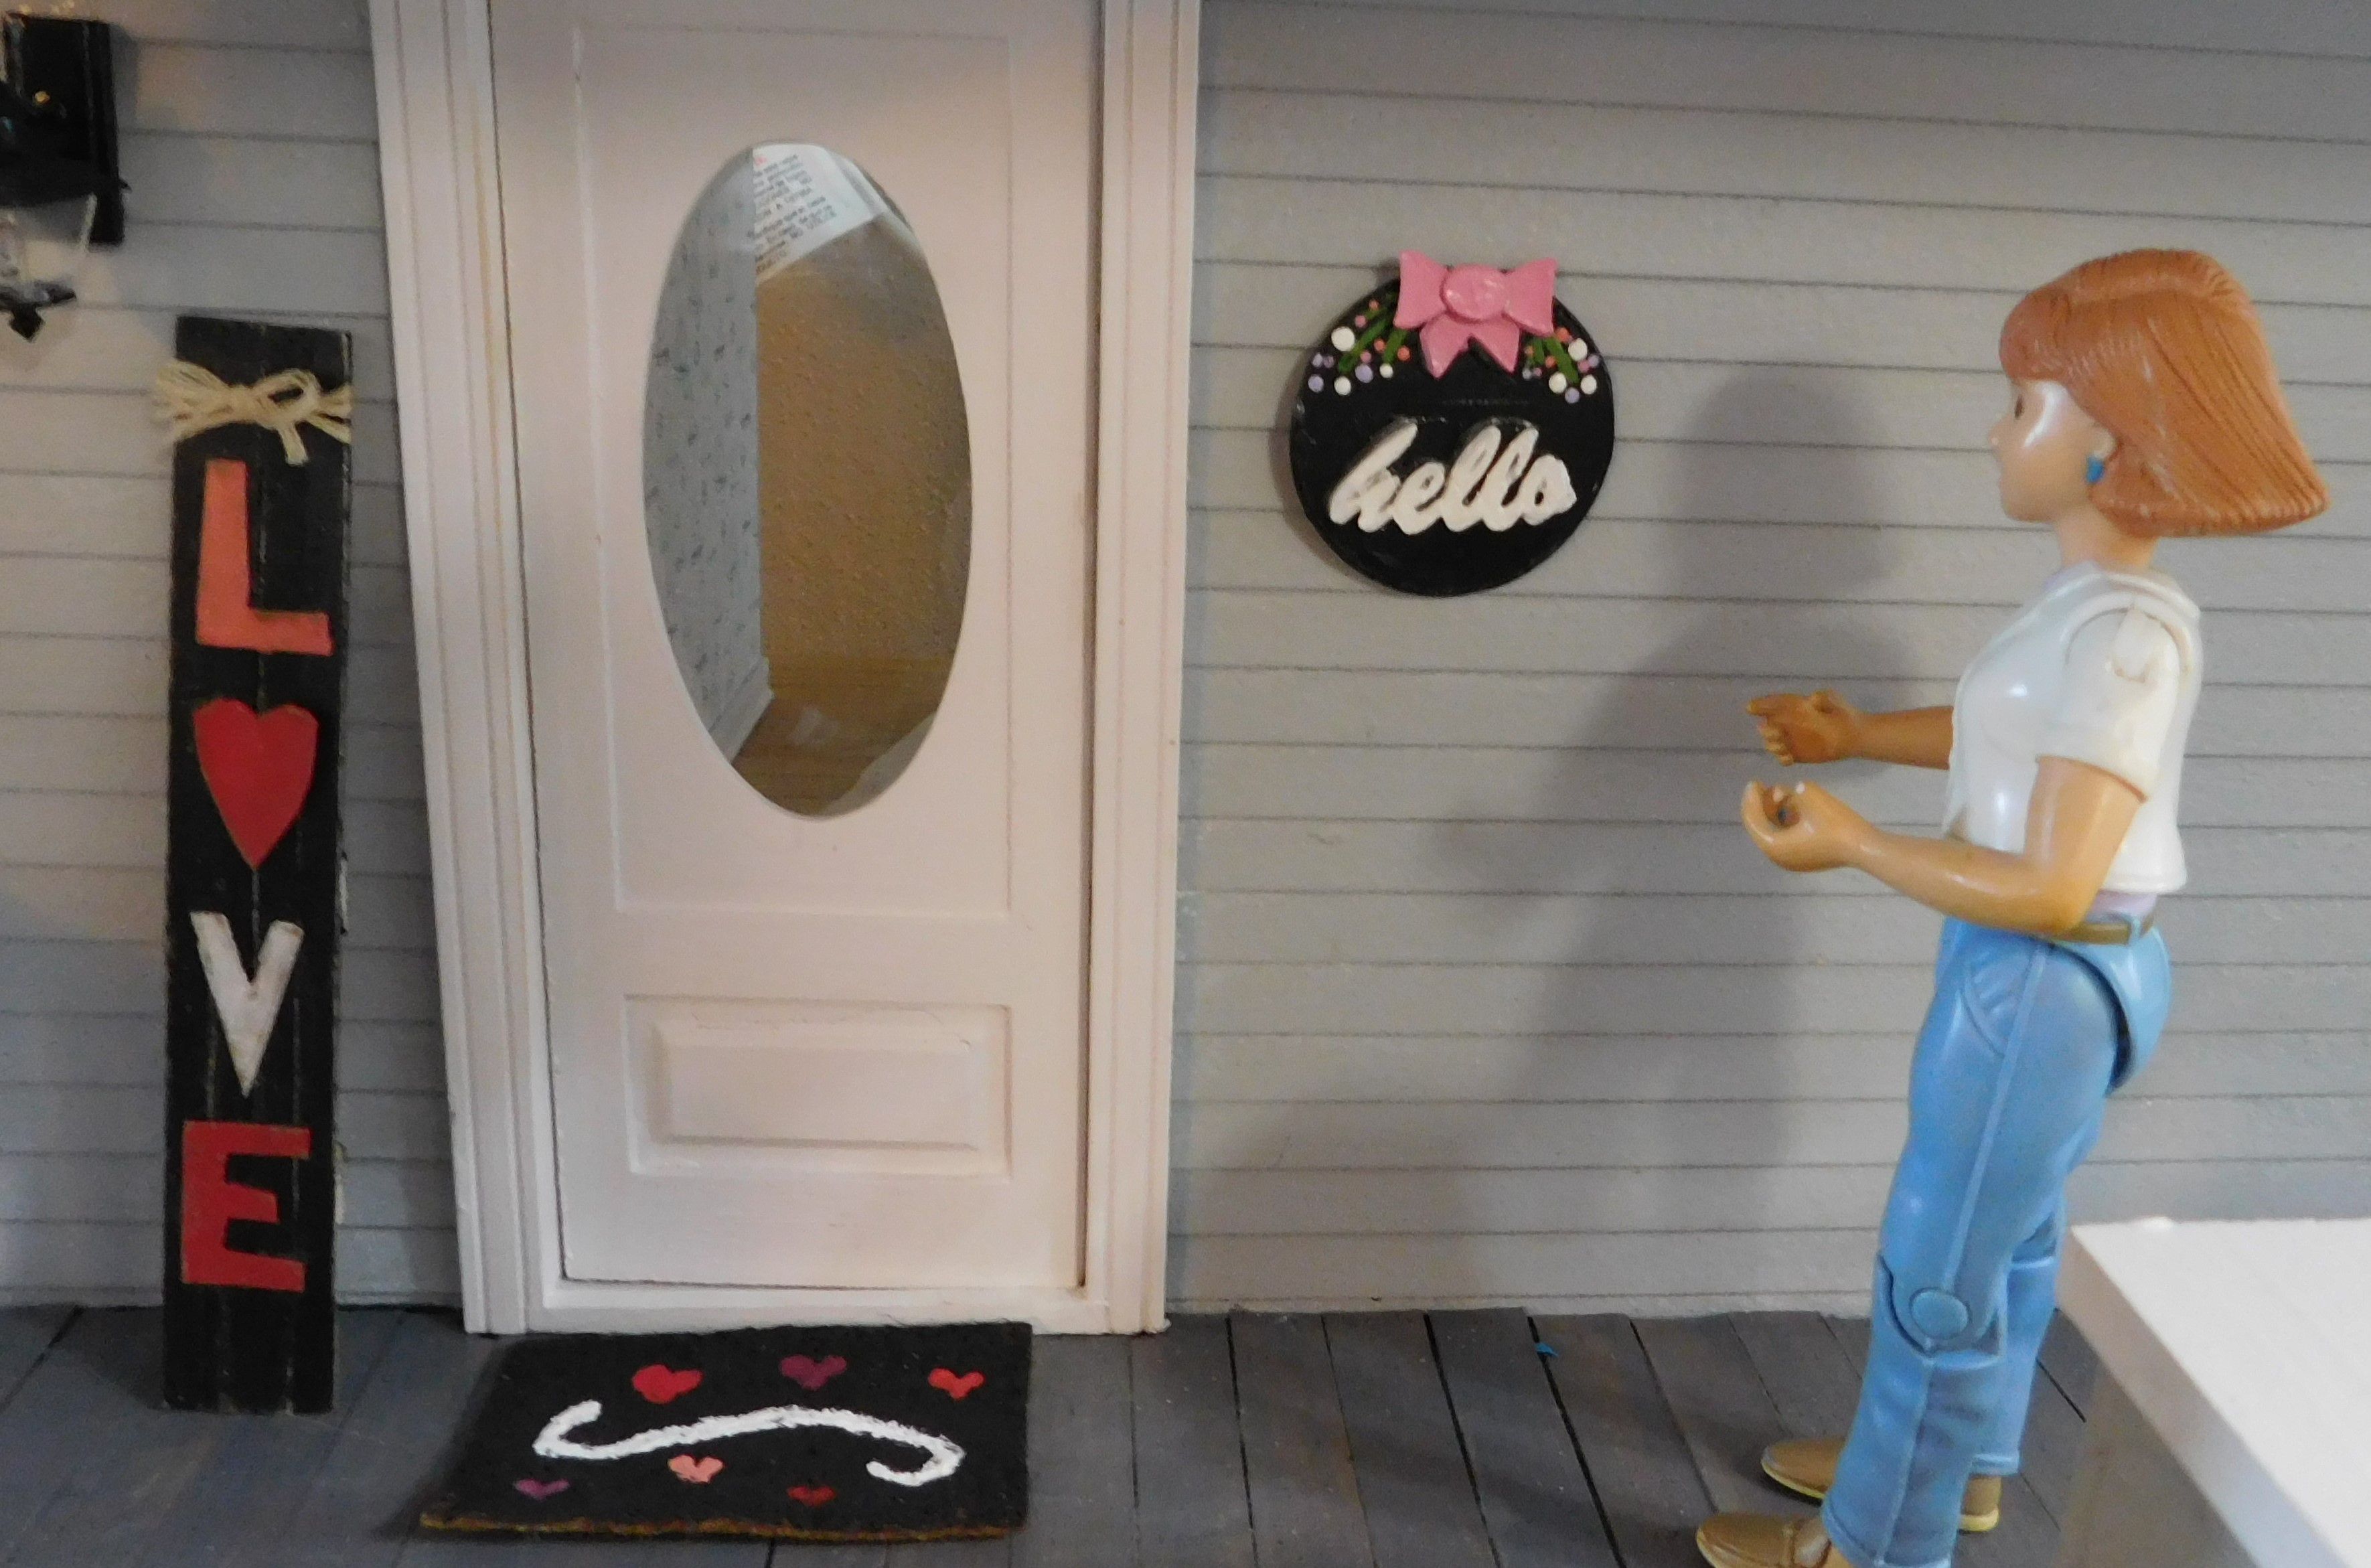
So here we have our dollhouse front porch decorated for Valentine's Day.
As always I do want to sincerely thank all of you for watching my videos and reading my blog posts. It means so much to me that you are supporting me in this way. If I could ask you all to do just a bit more by subscribing to the channel and liking the videos and leaving comments. Those help more than you can imagine. Also if you could pass the links on to your friends I would appreciate it so much.
No comments:
Post a Comment