
This week we are adding the last piece to our romantic dinner for two, the dessert. I have to admit I had a bit of trouble picking what dessert to make for this project. So many ideas came to mind. The choice to do chocolate was fairly easy, since that is what I would want to eat. But what? There are so many chocolate desserts to choose from. I did some scrolling through Google images and found myself drawn mostly to the chocolate cheesecakes. So that is what is on the menu today.
This one is pretty easy as polymer clay foods go, only three colors of clay and minimal tools required.

The clay colors are- a dark brown (I used Scupley III in Suede) any brand of black clay and any brand of white. I do suggest going with an actual white clay and not the white Original Sculpey for this though.

We start by mixing equal parts dark brown and black to make a nice dark chocolate crust color.
Then equal parts dark brown and white to make the cheesecake filling.
We will also need a small amount of the dark brown by itself to put on the top.
Using a pair of craft-sticks as guides I rolled out a nice thin sheet of our darkest color and set it to the side.
Then using thicker guides, I used sets of 2 craft-sticks that I have glued together, I rolled out the lightest color clay for the filling layer.
These were then stacked and cut with a 1” round clay cutter.
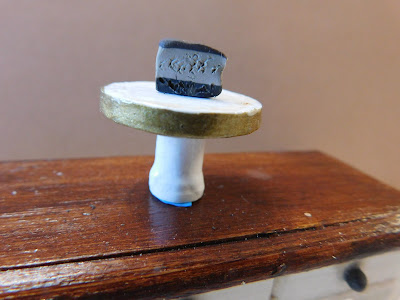
Then I took a small bit of the dark brown clay (not mixed with any other colors) and pinched it out to make the topping for our cheesecake.

This was then put into my freezer for 10 minutes to firm up. Please don't skip this step because it does make a big difference in how well your clay cuts.

Once cut, I make cut my cheesecake into 8 slices, I used a tightly crumpled piece of foil to texture the cheesecake filling.

Then
with my pointy tool I teased the surface of the crust to give a crust texture.
Once all the wedges were textured the pieces were baked at the recommended temperature for 15 minutes,
I allowed them to cool and they are now ready to place in a scene.
We will be glazing the topping a tiny bit when we plate them next week.
As always I do want to sincerely thank all of you for watching my videos and reading my blog posts. It means so much to me that you are supporting me in this way. If I could ask you all to do just a bit more by subscribing to the channel and liking the videos and leaving comments. Those help more than you can imagine. Also if you could pass the links on to your friends I would appreciate it so much.
No comments:
Post a Comment