

This week we are doing the re-paint on the cute Christmas tree that was in the blind bags I opened on the channel last week. I wanted to do this right away instead of waiting until I start some of the other Christmas projects I have planned.
So to begin with I like to make sure the item is really clean. This will help the paint I add to it stay in place much better and give a nicer finish. This time I simply wiped it off with some Isopropyl Alcohol. This removes any surface dirt, dust and oils that might be present and dries almost immediately.

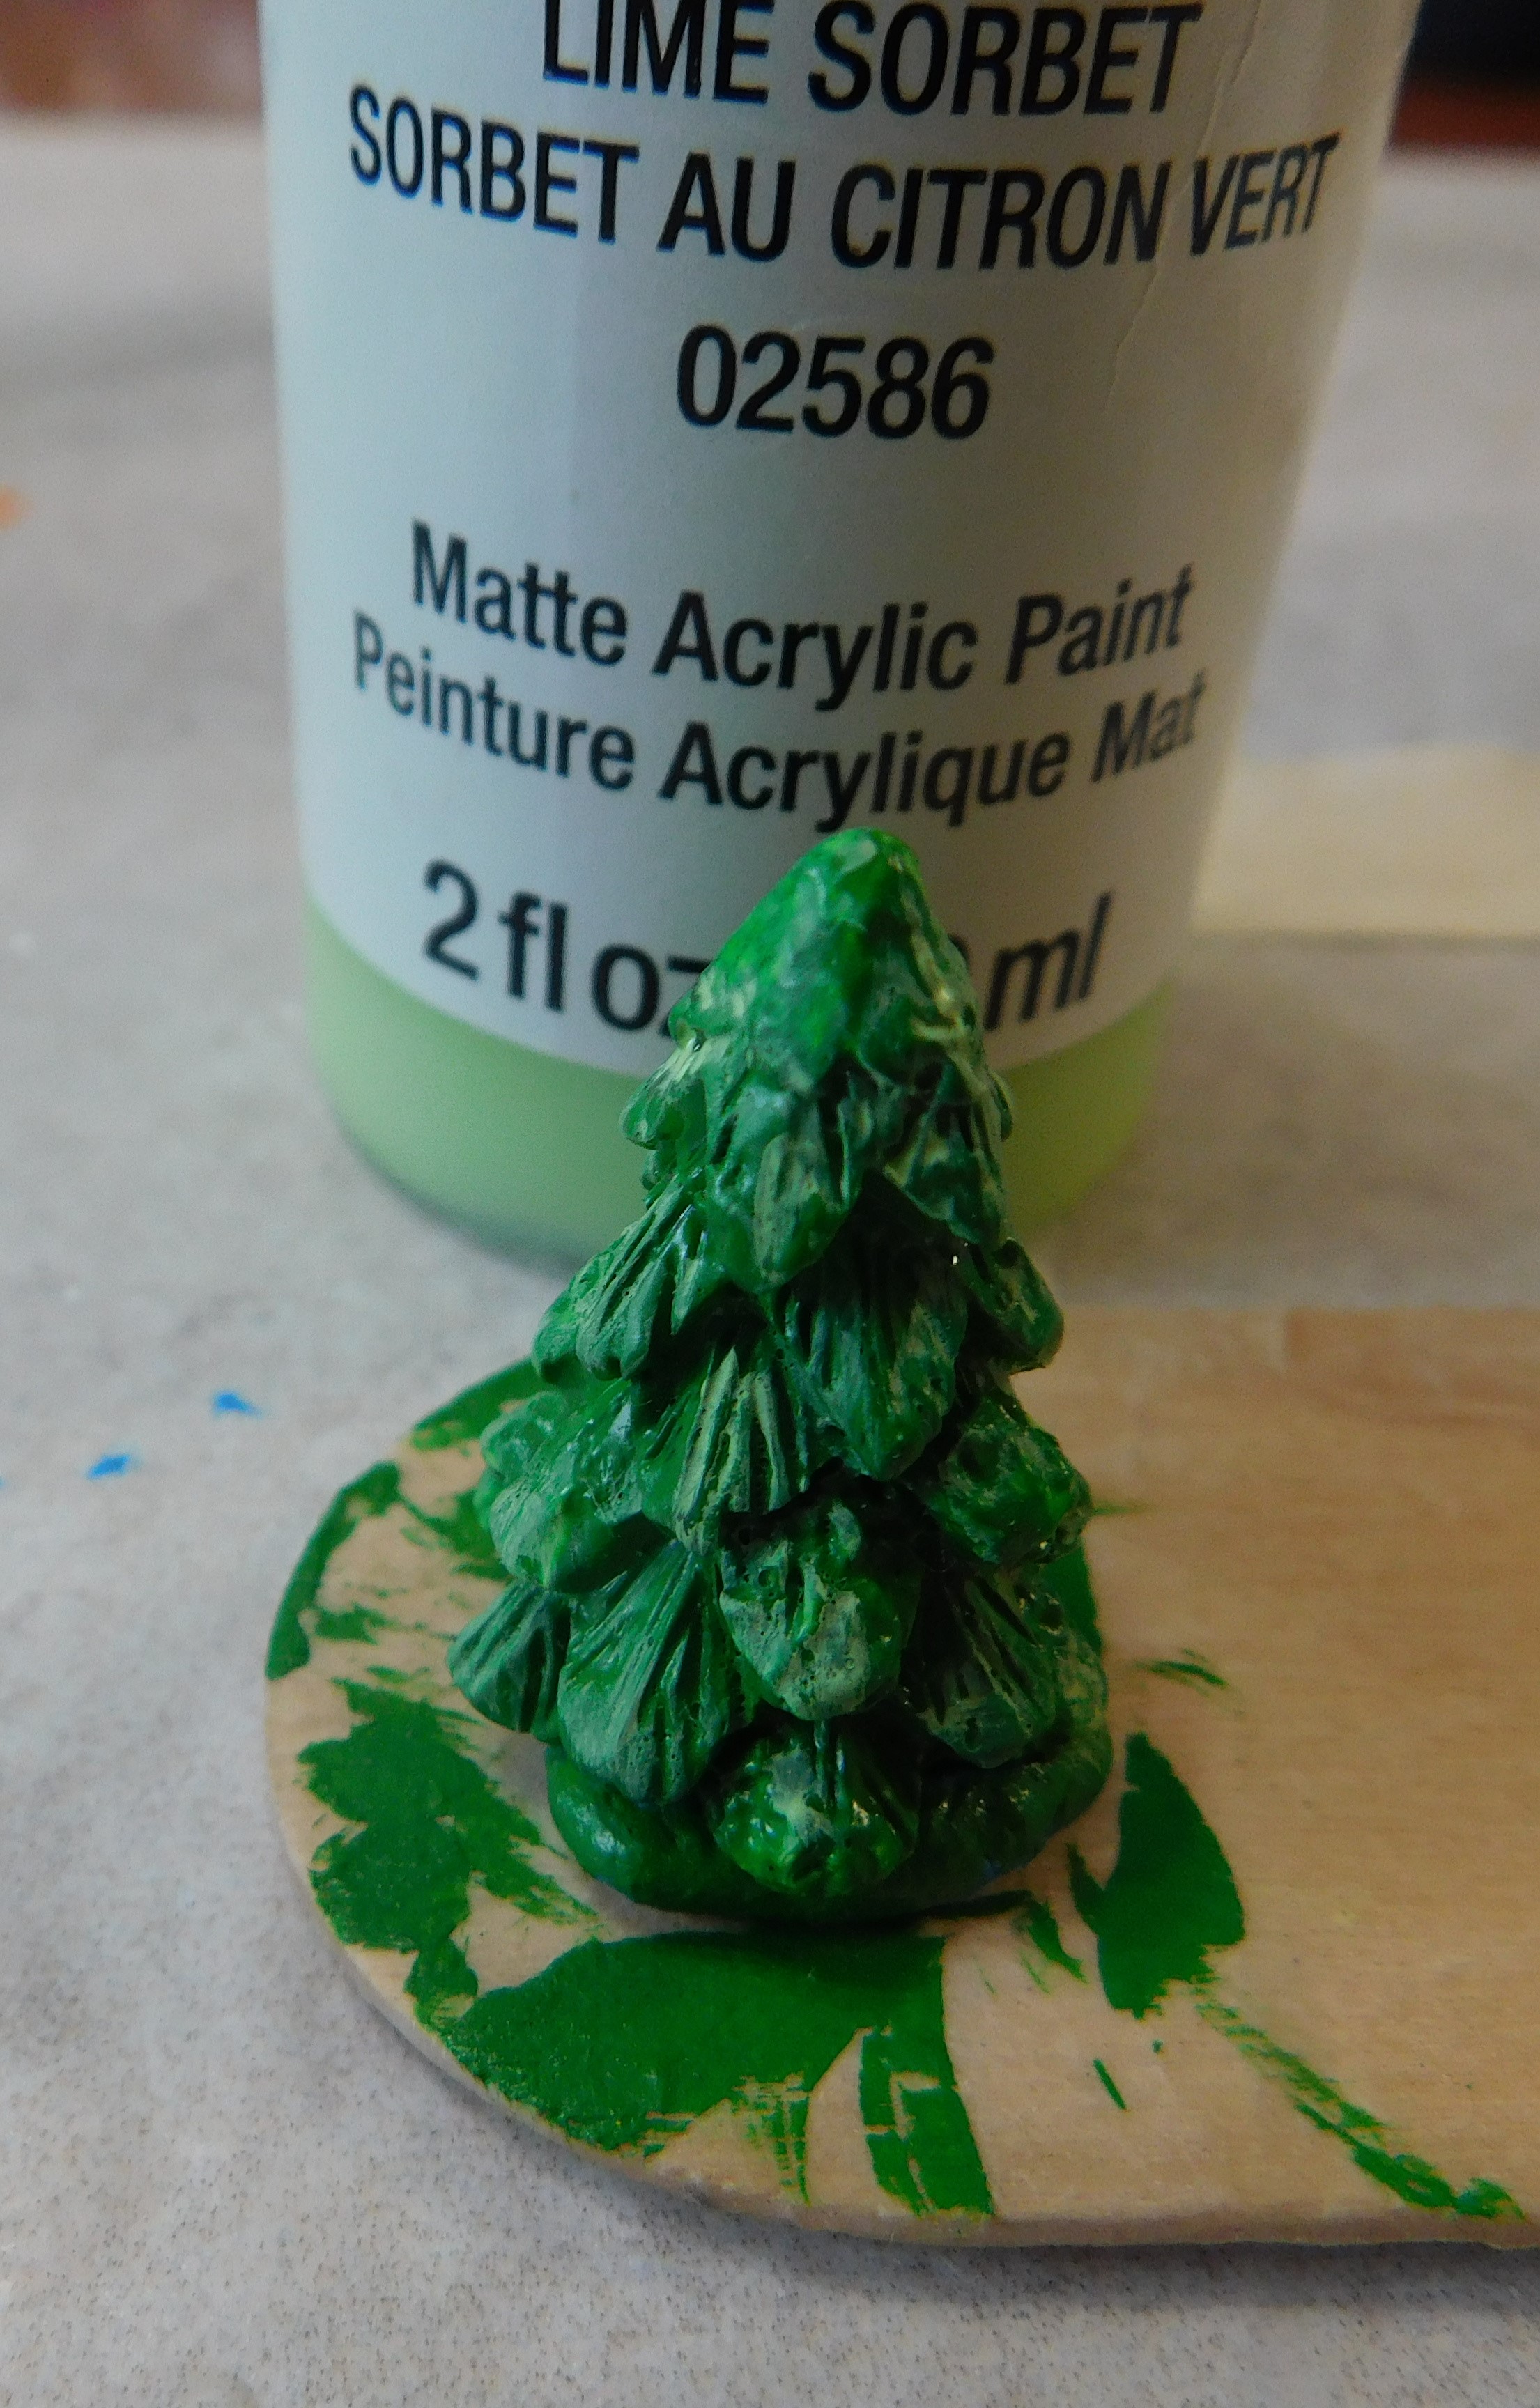
Now it was time for a coat of paint in a nice green. This covered up the huge globs of white “snow” that was painted on the tree and I like this color of green better than the original green that was on the tree. Allow this dry.
Next I used a lighter color of green and dry brushed on some highlights. This tree had some nice branch details molded in to the surface but they were hidden by the original paint color. By lightly touching just the higher areas of the branches with the lighter color they show up a lot more but look natural.

Once this dried I added just a tiny dot of white paint to the end of each branch. I can't emphasize enough to make sure they are tiny dots. Let this dry completely again. This is only the first step in the snow process.

Now it is time for a coat of Satin Mod Podge. We want to make this painted plastic tree look like a ceramic tree. Allow to dry completely.

Now take the same Satin Mod Podge and a very small brush and add a small dot of the Mod Podge on top of each of the white “snow” dots we added to the branches earlier. Now carefully sprinkle on some fine glitter. You don’t want very much, you need to stay in scale but just tiny bit on each branch will catch the light and make your tree sparkly.
That being said I will add that I actually hate glitter. I very seldom use it but when I do it has to be in a place where I think it will really make the project sing.
Now we have transformed that little tree from a very cute little decoration to a very pretty decoration and it didn’t take much time or much in the way of supplies.
As always I do want to sincerely thank all of you for watching my videos and reading my blog posts. It means so much to me that you are supporting me in this way. If I could ask you all to do just a bit more by subscribing to the channel and liking the videos and leaving comments. Those help more than you can imagine. Also if you could pass the links on to your friends I would appreciate it so much.
No comments:
Post a Comment