
This week I actually had a lot of trouble coming up with an idea of what to do for today’s tutorial. Every idea I came up with just didn’t seem like the right one. Then I remembered I had a bowl of items from Blind Bags that I wanted to do makeovers on. I decided to go through and pick something for this week. As soon as I saw the little sailboat I knew that was what I wanted to tackle for today.
I did hop online to look for some inspiration pictures and I came up with two solid ideas of what I wanted to do. The big problem, I only have one of these sailboats. So I decided to paint it like it is a model someone built and create a diorama base for ti. So that it looks like it is out on the water sailing. I did decide to keep the painting of the boat very simple. First because for this project I wanted the base to be my focus. And just as importantly I had a heck of a time getting both paint and glue to dry this week. I guess with the change in the weather going much wetter and cooler my paints and glues were affected much more that I expected. I do need to allow more drying time for the next few months I guess.
So before we go on, I thought I would mention what my other idea was. I had thought it would be fun to do a painting technique that made the sailboat look like it was carved from wood. If enough people are interested in that ti might see if I can find some kind of small plastic item to do that on in a future tutorial.
So back to today’s project.

I dug through my stash of wooden shapes and found a wooden board that if I remember correctly were just called signs on the packaging. The ones I have on hand have been painted at some time in the past, probably leftover from another tutorial on the channel years ago.
Since I wanted to paint the plastic sailboat I started by cleaning it off with some Isopropyl alcohol on a cotton ball. This removes any dirt and/or grease/oils that might be on the surface. Allow this to dry.
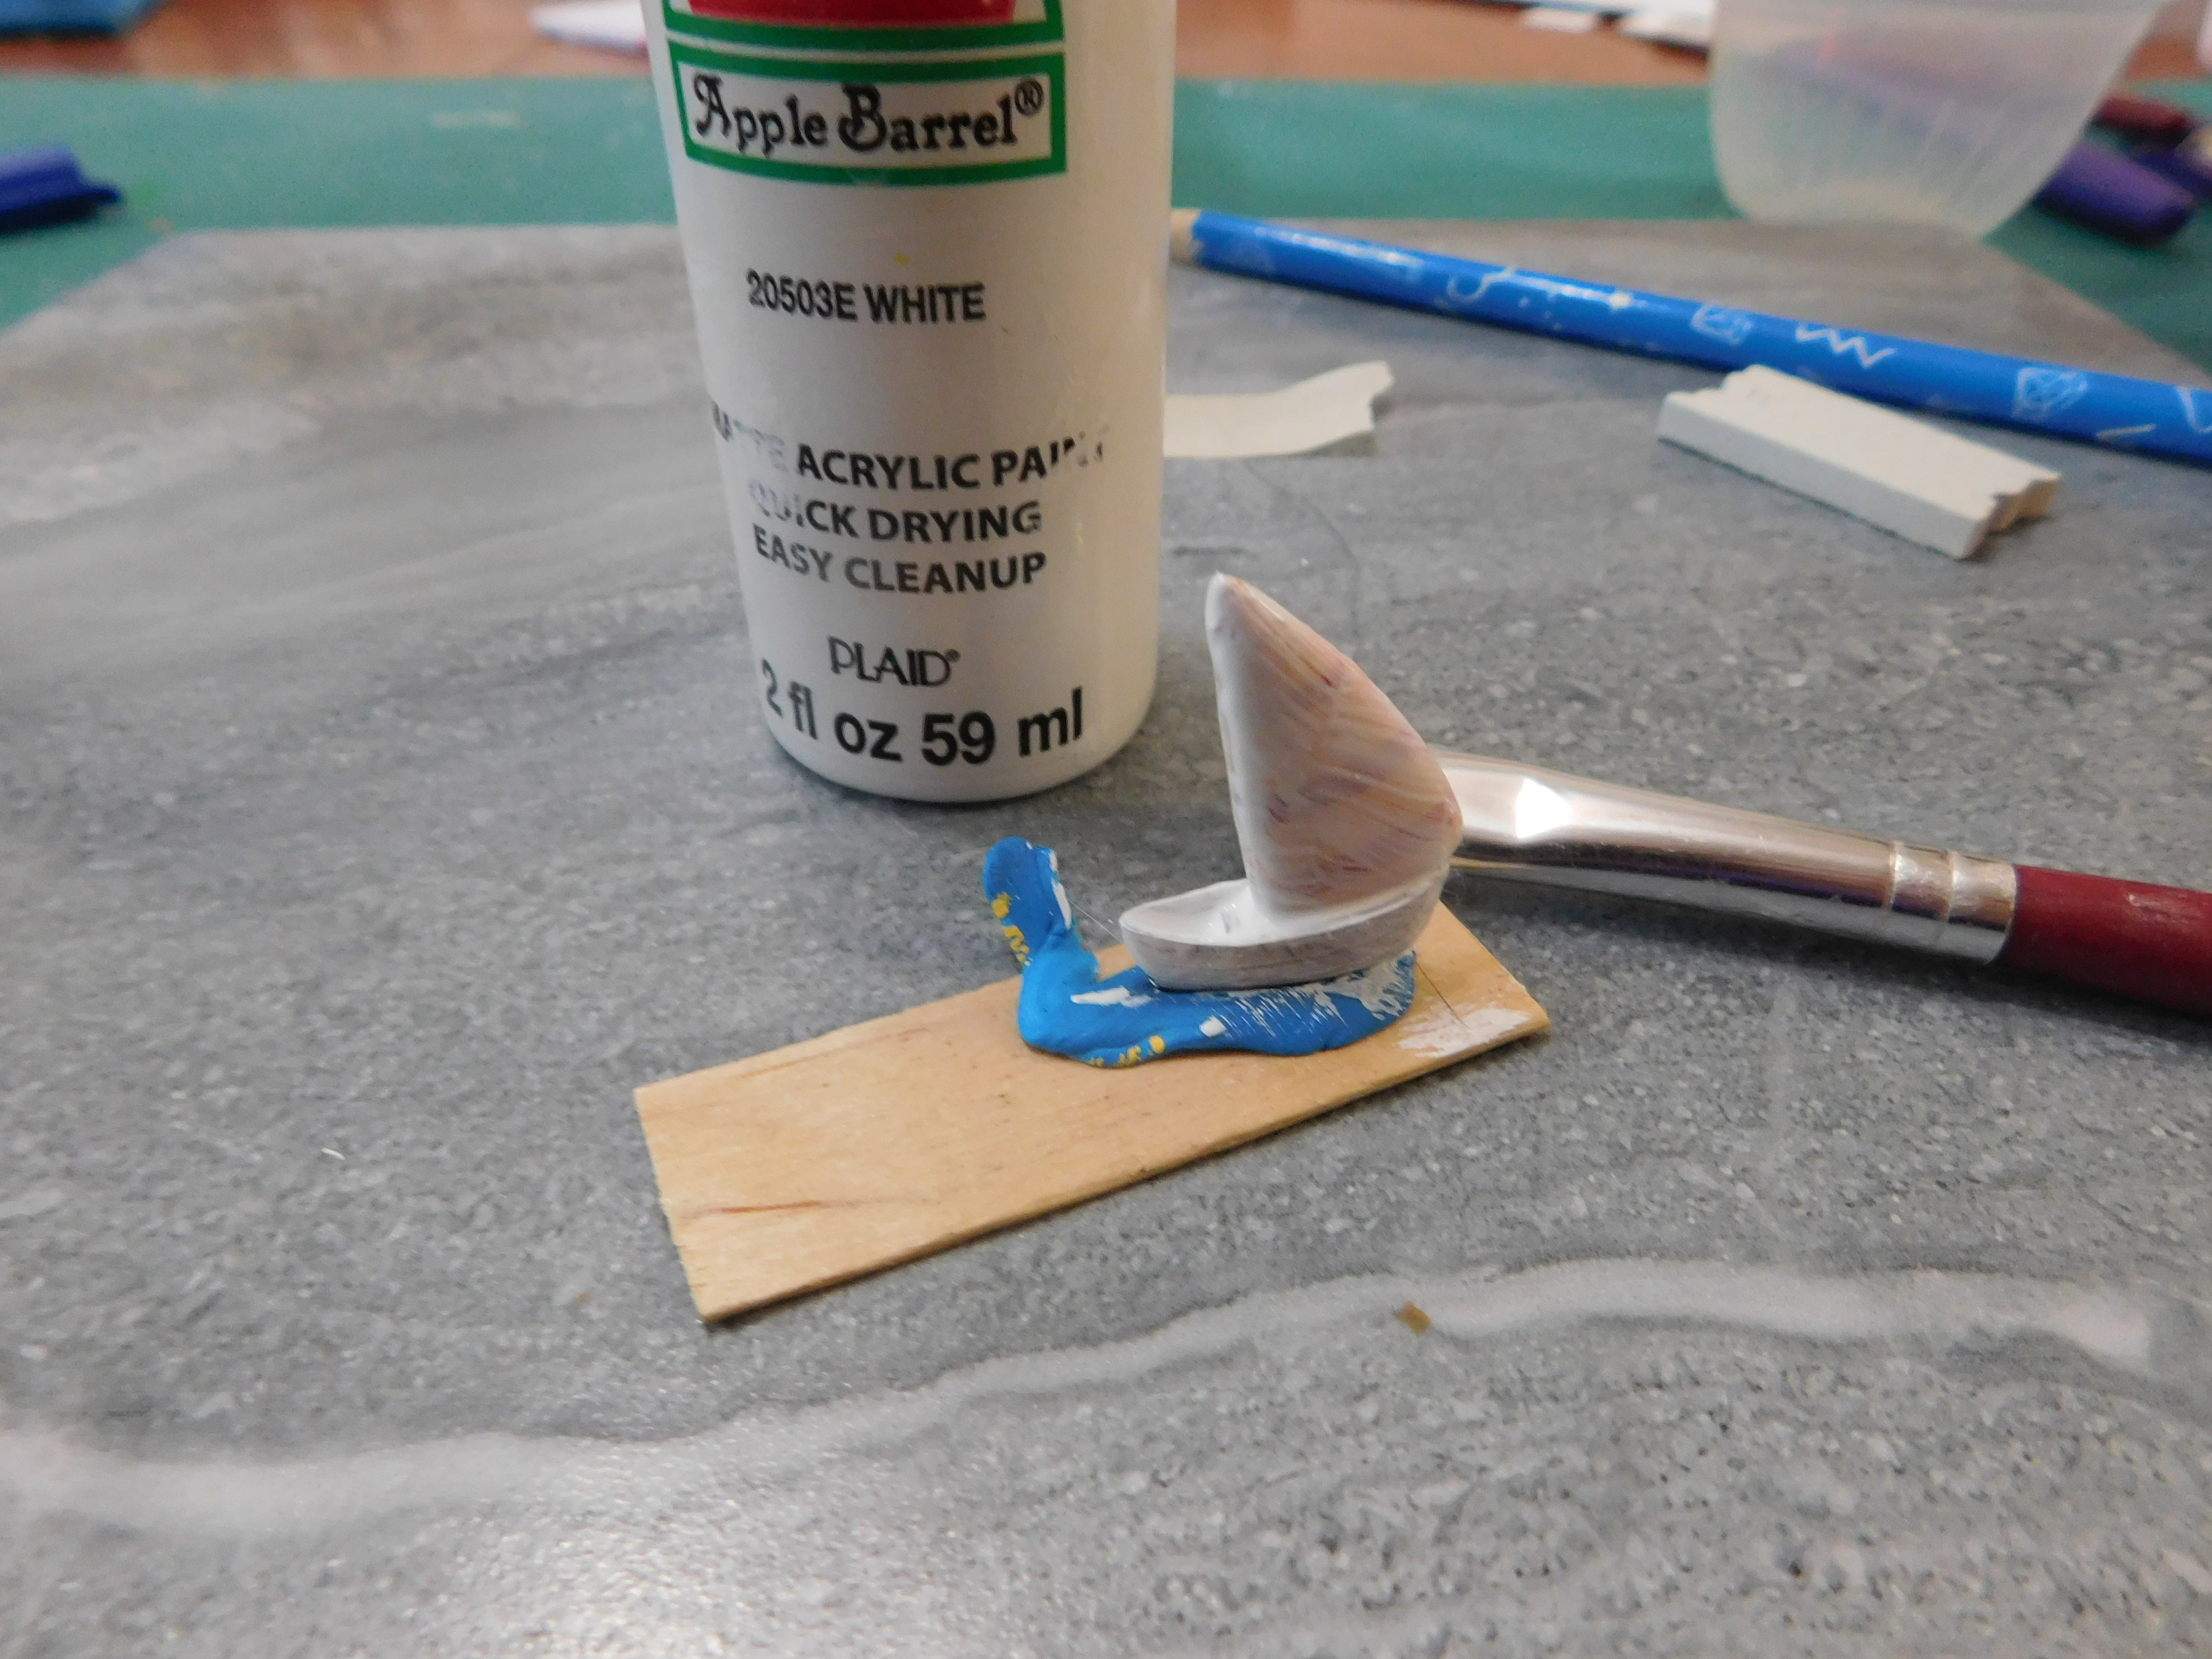
I then painted the entire boat with a couple of coats of white craft-paint and allowed to dry. (this is the step that took forever….)

Once dry I painted just the hull of the boat with some gray paint. And allowed to dry.
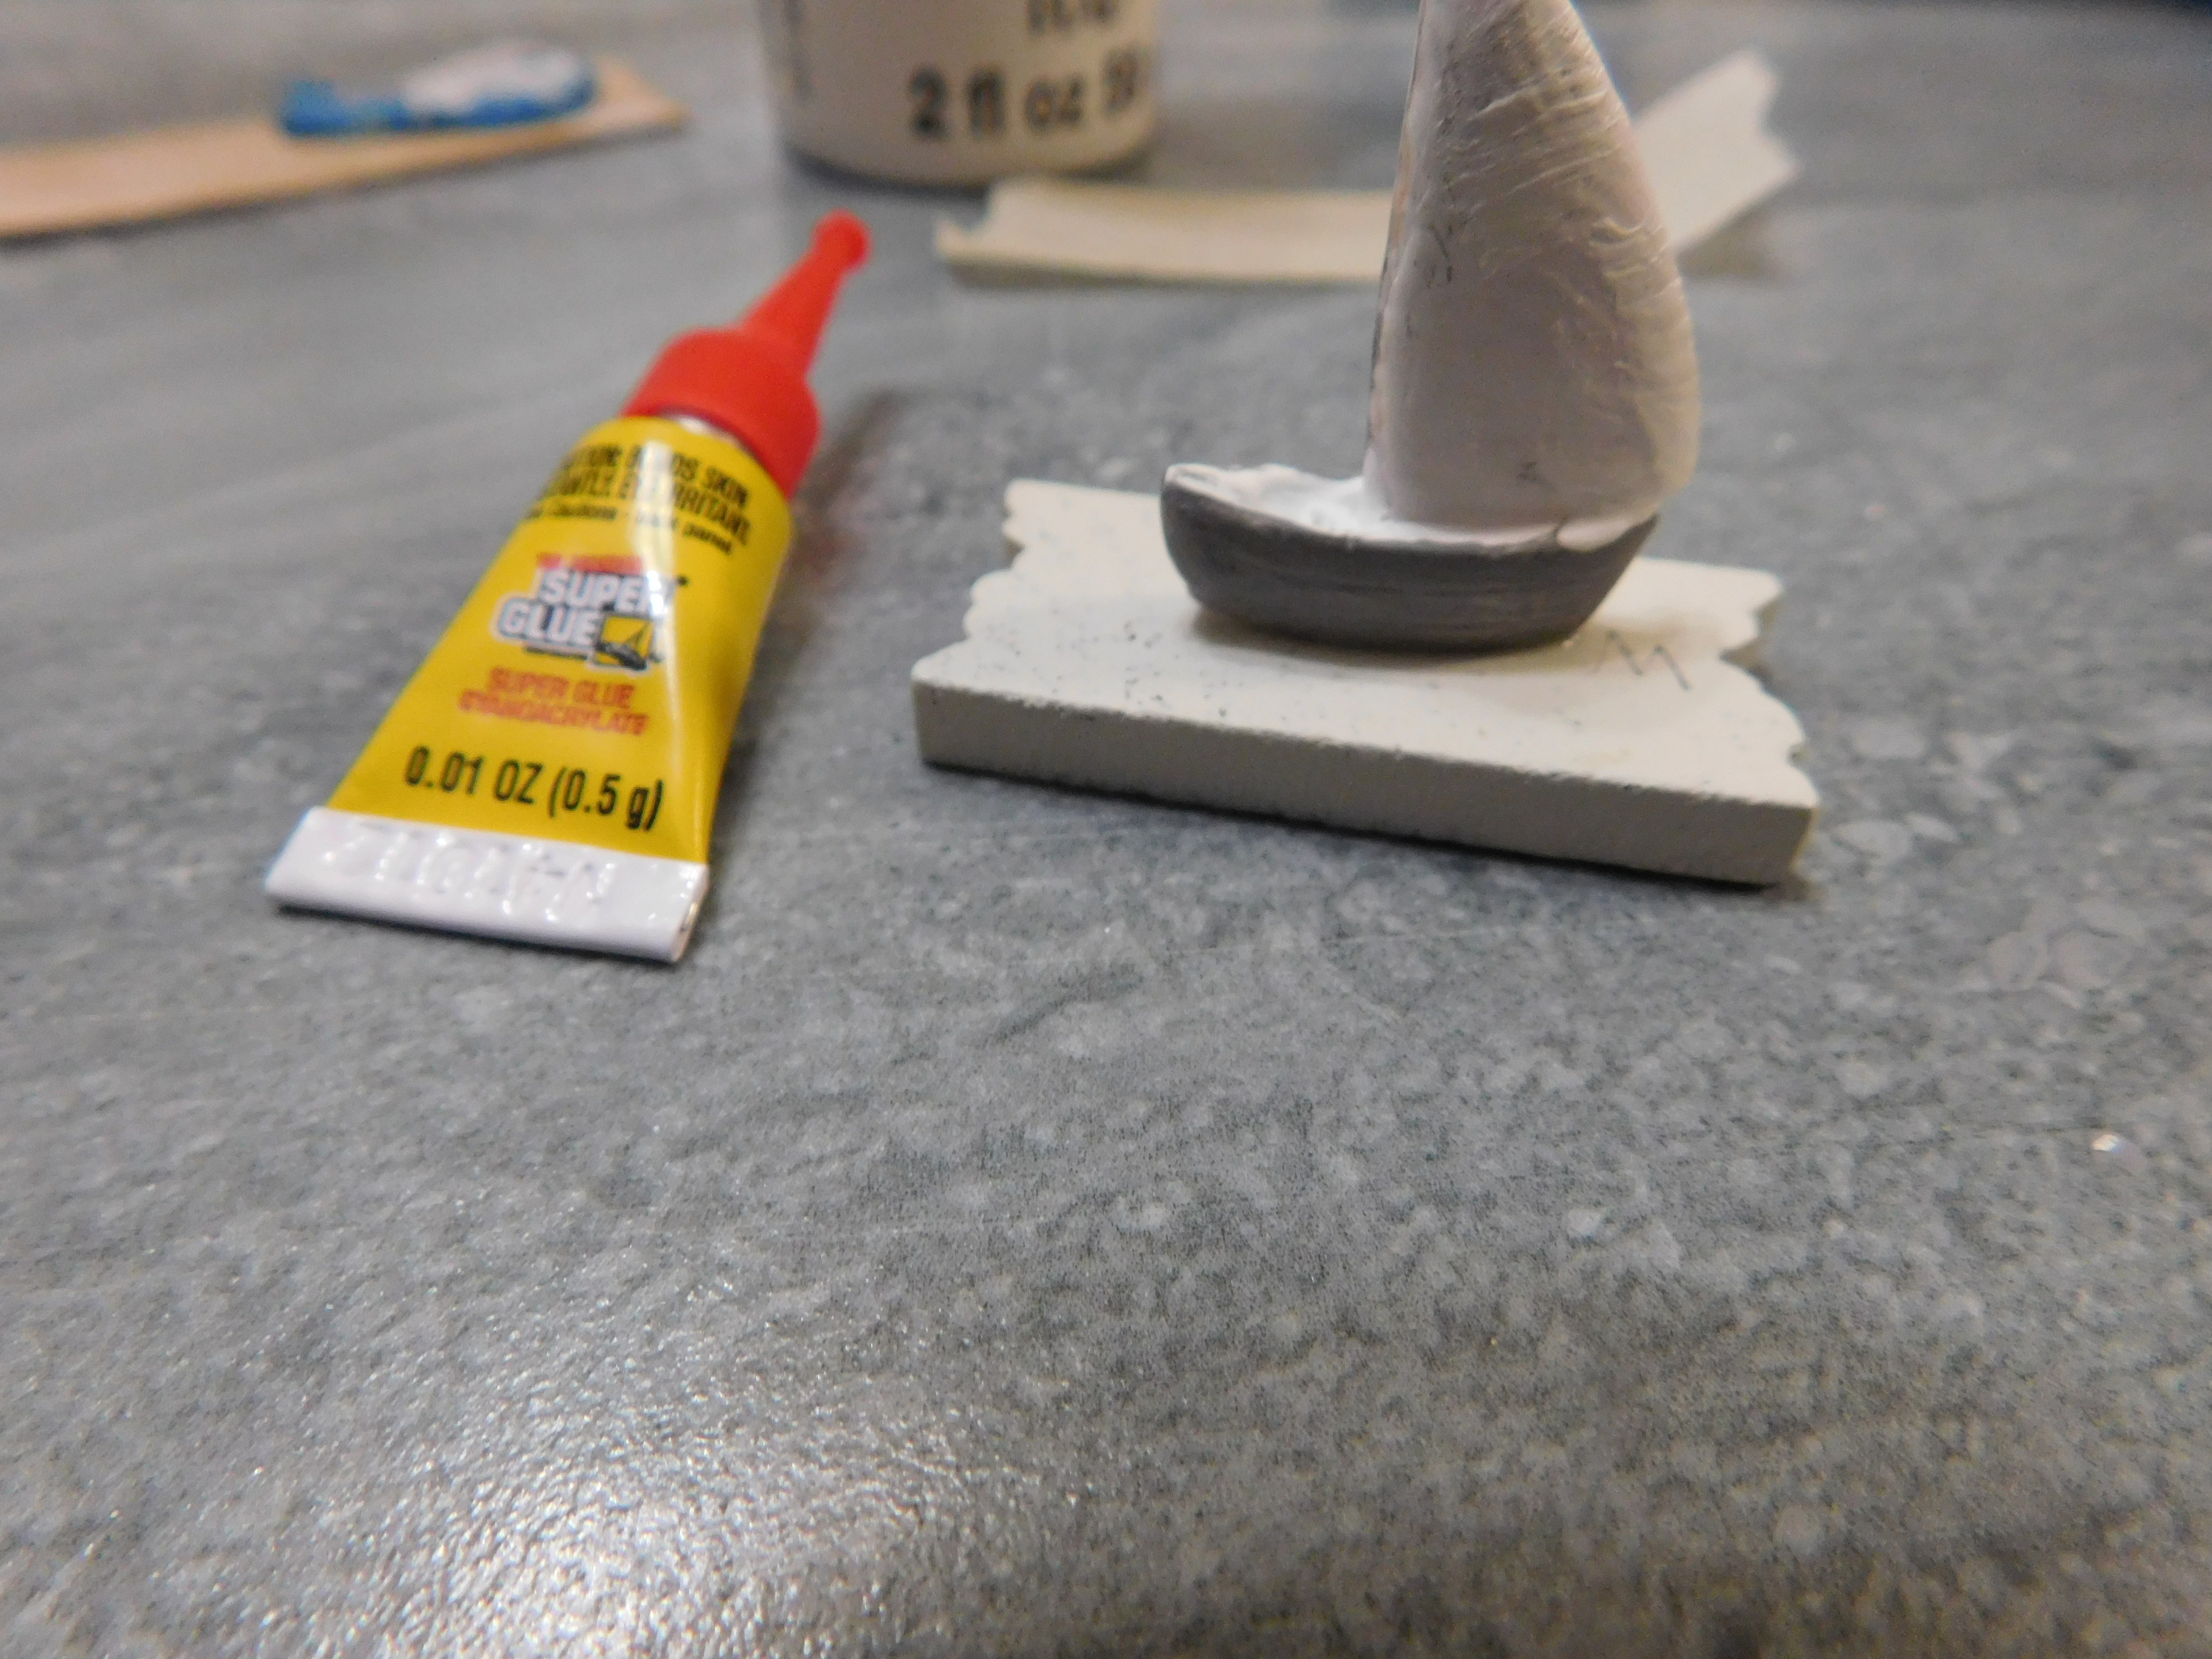
Then I glued it to the base. I purposely set the boat at an angel and off center on the surface of the board. I used some super glue (CA glue) not a product I really enjoy using but since I am trying to avoid glues that smell bad right now (headaches) and I was at this point way behind schedule it seemed the best option.

Once the glue is set up I used some paint-able caulk to the surface of what will be the water the boat is sailing in. I used just a tiny bit on a toothpick and applied it around just the very front of the boat and then behind it to look like the disturbance the boat would cause in the water. The tube of caulk I have says it can be painted in 2 hours so that was how long I let it set up before moving on.

For the first coat of paint on our “water” I used a bright blue craft paint. Try to avoid the peaks of the texture you added in the last step so it looks more realistic. Allow to dry.

Next I came in with a few more colors of craft paint in different watery looking colors, mostly blues with a blueish green added in. these were added sparingly on the surface of the “water”.

Once the water was finished I added a base coat of golden n yellow paint the edge of the base and allowed to dry.

I finished up the base painting with a coat of gold metallic paint over the golden yellow and again allow it to dry.

All that was needed now was a coat of Satin Mod Podge to give our sailboat diorama a finished look.

As always I do want to sincerely thank all of you for watching my videos and reading my blog posts. It means so much to me that you are supporting me in this way. If I could ask you all to do just a bit more by subscribing to the channel and liking the videos and leaving comments. Those help more than you can imagine. Also if you could pass the links on to your friends I would appreciate it so much.
No comments:
Post a Comment