
This week we are making a snack that I served my kids growing up, hummus and pita bread. My daughter especially loved this and she ate it for lunch many times also.
We need to start by making a bowl to serve the hummus in. For this I uses some of my pre-mixed white/translucent clay. I use this clay mixture so much that I almost always have it pre-mixed to save me time. It is simply equal parts white and translucent clays. Any brand will do for this.

Roll
this clay out into an even sheet of clay and cut with a round cutter.
I used some craft-sticks to make sure my clay was a consistent
thickness and cut with my ¾” round cutter.

Then carefully place the clay round over a marble, be careful to center it so that your bowl is nice and even. Then press the bowl down on your work surface to give it a flat bottom so it will stand nicely when you are done. Bake this at the temperature recommended for your clay for 10 minutes.

Allow it to almost cool and carefully remove the marble. This will work best if the clay is a little warm. If yours seems to be stuck put it in a warm oven for a few minutes and try again.
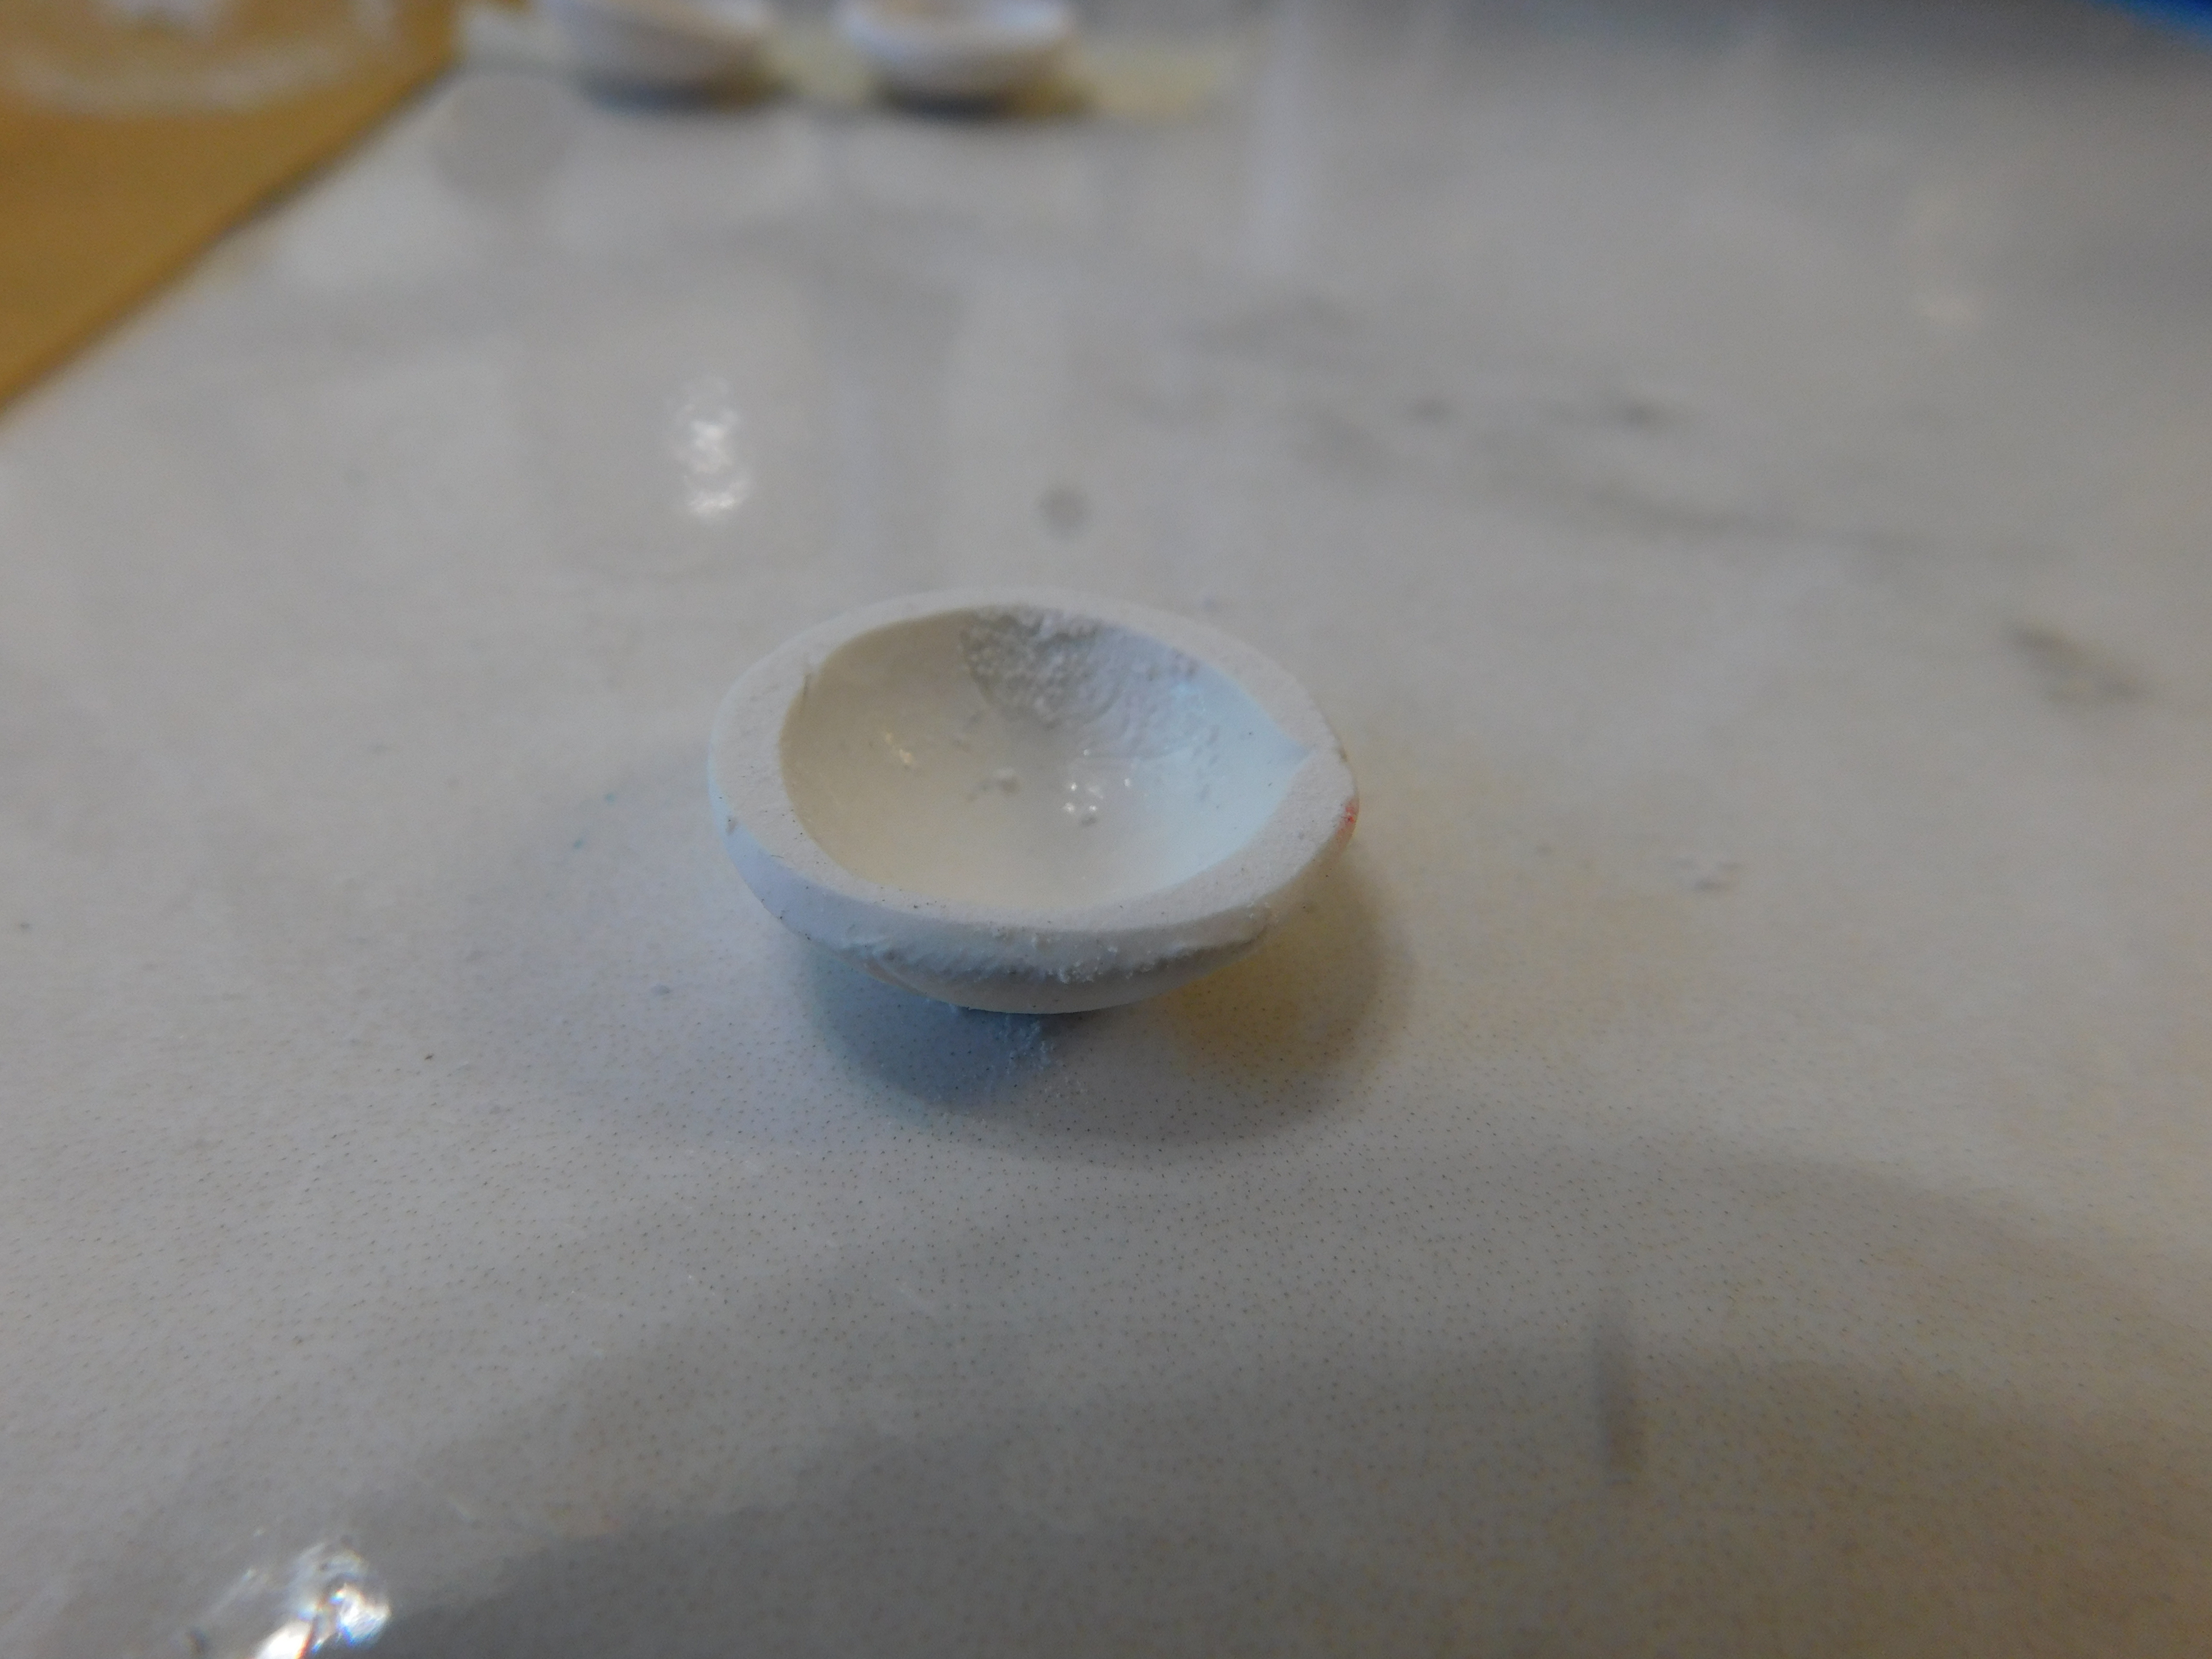
Place the bowl upside down on a piece of fine sandpaper and even out the top edges.

Now we need to make the hummus. For this we are going to start by baking off a blob of clay, I used Sculpey III in Beige. Try to get close to the color you want your finished hummus to be. Bake this piece of clay for 25 minutes to be sure it cures all the way through and cool to room temperature.

Now use something like a nutmeg grater or the grater thing from a pedicure set like I used to make a pile of clay dust from the blog of clay.
Now I have 2 ways for you to make your Hummus. The first way I really think is the best one and I know it will hold up since I have been using this method to make mashed potatoes for years. The second one uses Mod Podge in place of the TLS and I am not sure how well it will hold up over time.

The first method: Mix up some white and yellow ocher oil paint to make a creamy color and mix just a tiny bit of this into some TLS (Translucent Liquid Sculpey) then mix this mixture into some of the clay dust. I did use a bit of the beige clay to fill the bottom of my dish so I didn’t need to use quite as much of the TLS mixture. Mix in enough of the TLS mixture to make something that has about the same consistency as real hummus.

Then spread it into your bowl (or whatever serving container you wish to use). Be patient, and work with the top to make it just the way you want it. You could get really fancy with your swirls on the top. Then bake at the recommend temperature for 10 minutes.
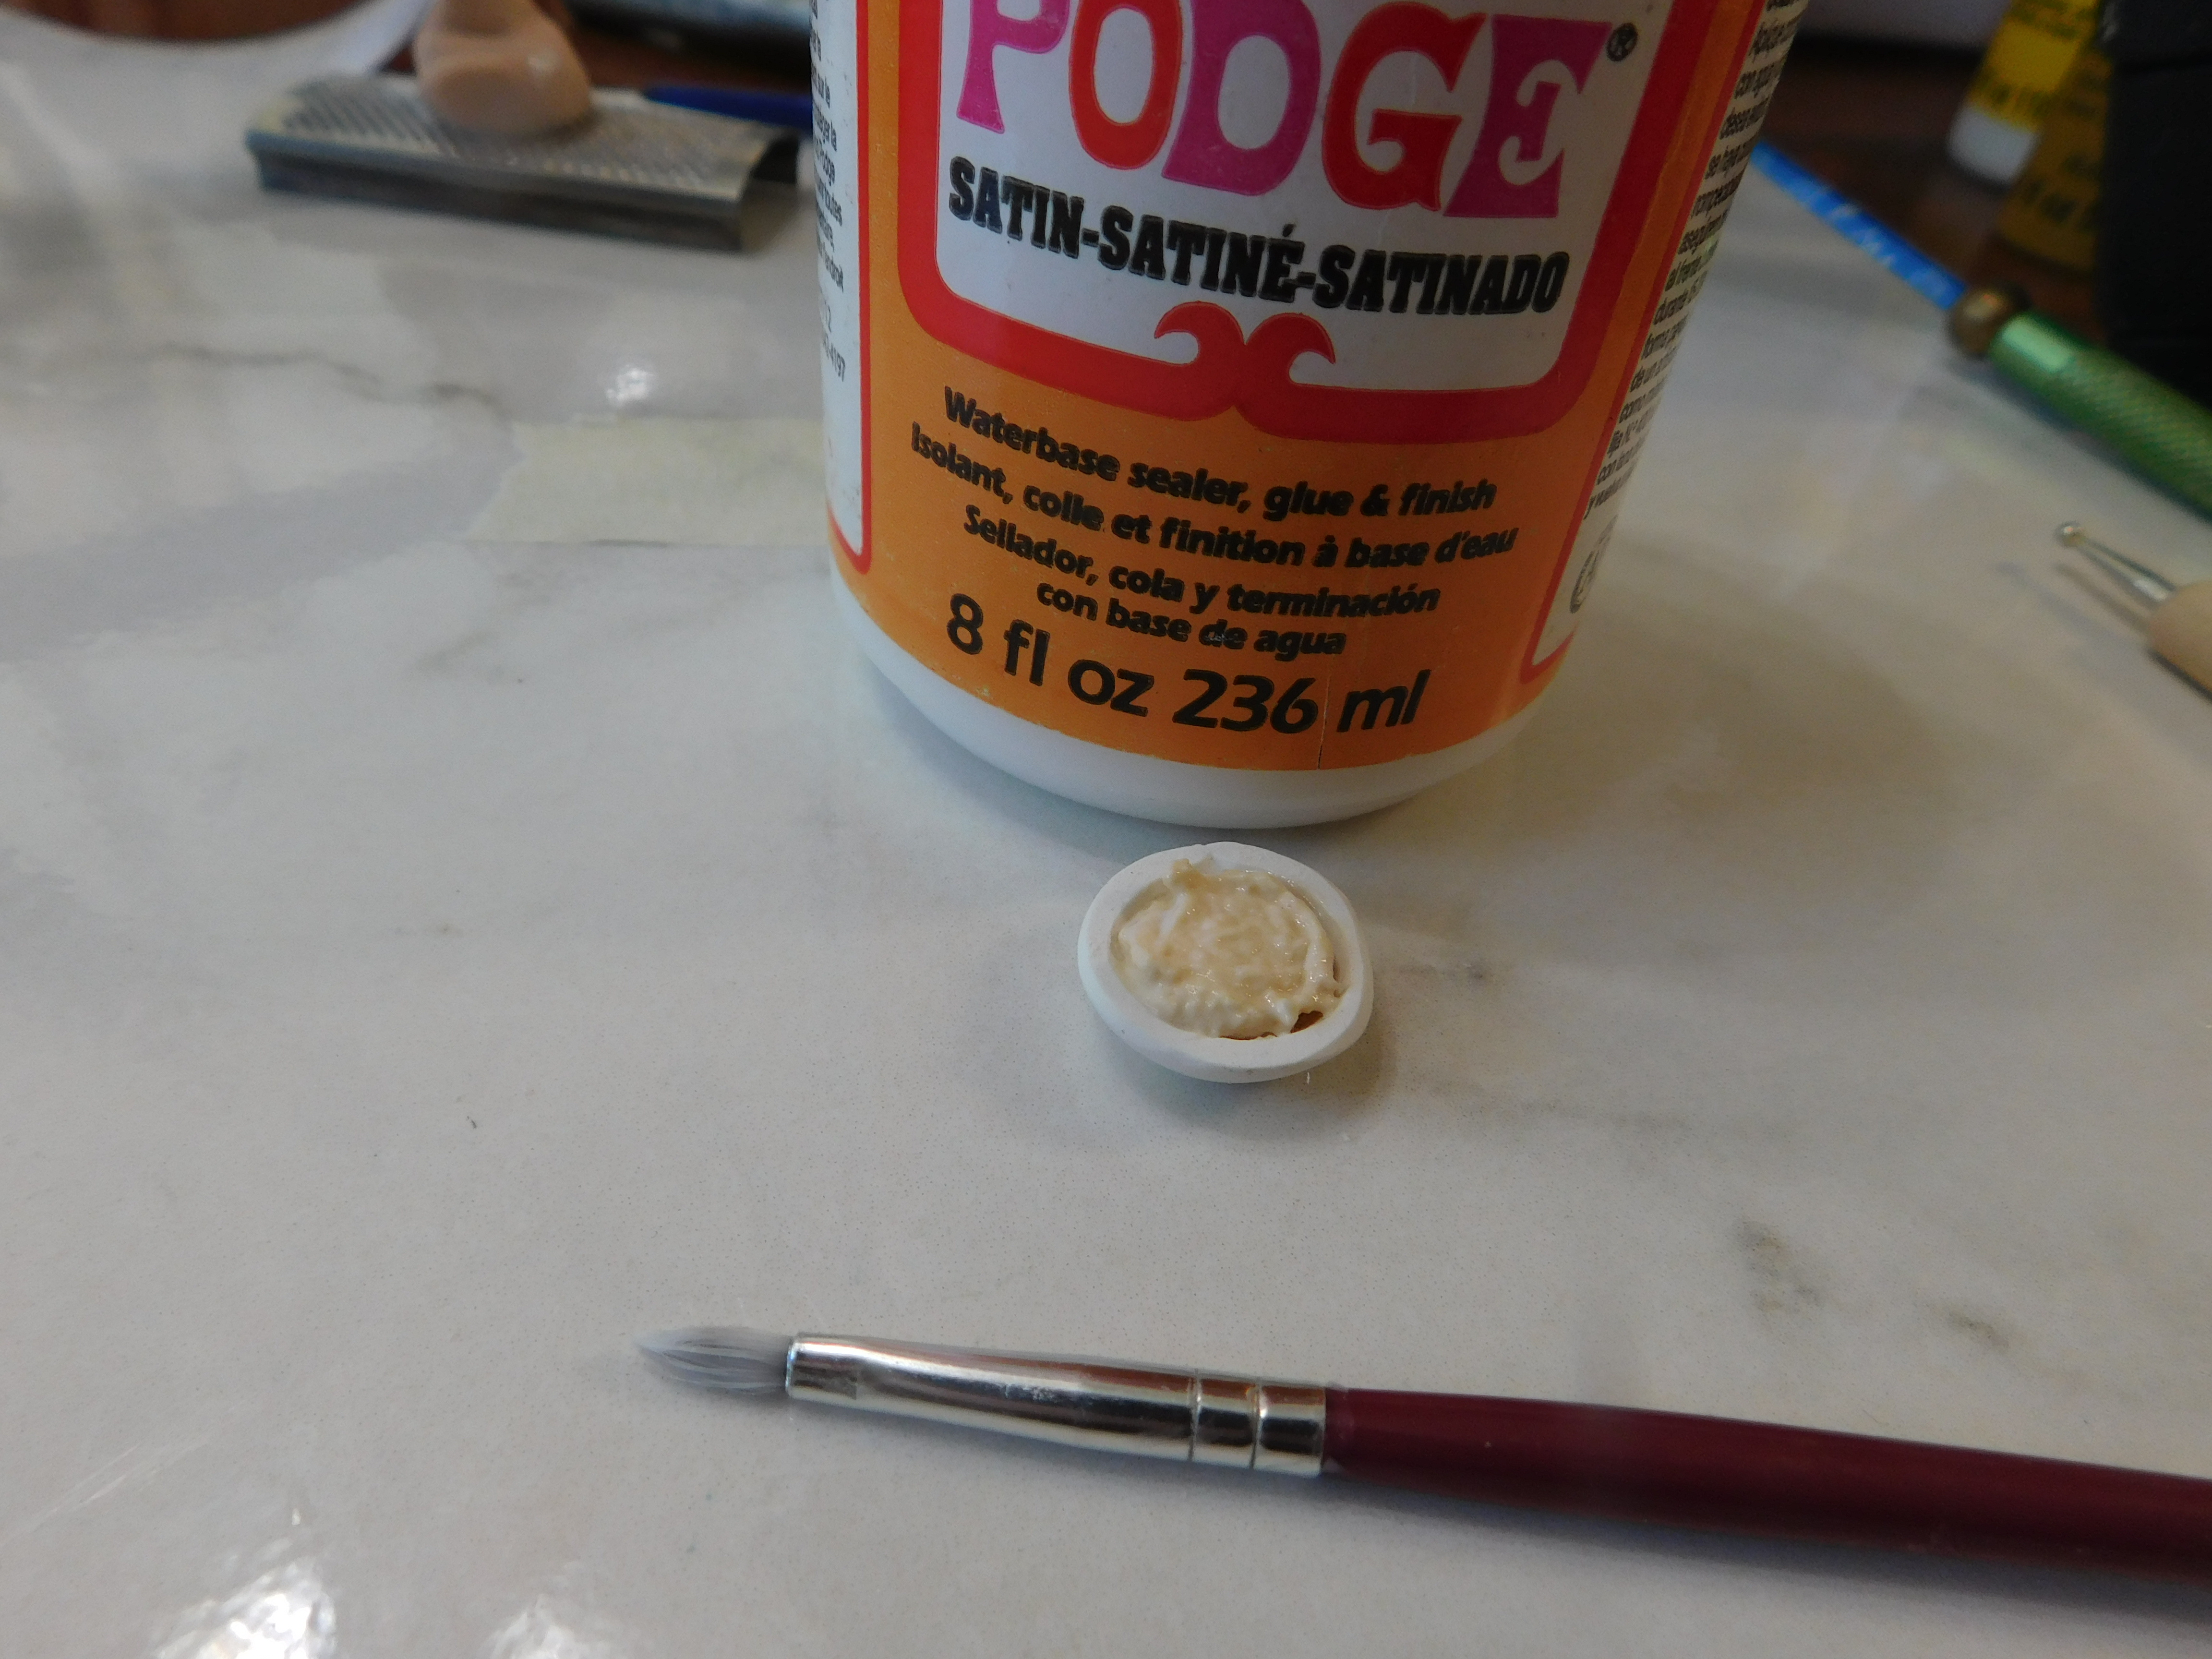
Once cooled give the top of the Hummus a thin coat of Satin Mod Podge and allow to dry.
Now lets add some olive oil to the top of our hummus. For this I am showing some thing I have been working on for a while. In years past I would have most likely used something like Gallery Glass paint or another glass paint to make the oil. Since these paints are getting so much harder to find I decided a few months ago to work on coming up with something we could use on our clay that would give us that same wonderful clear liquid look.


Now mix in some gloss Mod Podge to the alcohol mixture and add it to your project. You will need to work pretty quickly since the alcohol evaporates pretty quickly. Also the two will not want to mix together but will if you keep at it. Now just add it to your project and allow to dry. Just like with plain Mod Podge it will become clear as it dries and I love the way it looks.


Now for Method 2- for this method I mixed some cream and golden yellow craft-paint paints with some mat Mod Podge and mixed that with the clay dust. This makes a much wetter mixture that you will have to come back and work with for a while as it dries but if you don’t have TLS it is an alternative.
Follow the instructions above for the olive oil.
The bread- for this project I wanted what I usually see labeled as Greek pita bread. The kind with no pocket. This is a really simple bread. I used some Original Sculpey and it worked nicely. Even though this is a white clay it is not as white as other white clays.

Just roll the clay into a snake (about ¼” in diameter) cut into ¼” segments. Roll each one into a ball, then flatten slightly with your fingertip. Then use the soft side of some Velcro to texture the top.

Now using a mixture of yellow ocher and white chalk give the tops a light brushing, don’t try to color the entire top just part of it. Then follow up with a reddish brown chalk on a very tiny paint brush to just hit a few spots on the top of each piece of bread.
If you want to display the bread cut texture the cut side with a pointed tool but just teasing the surface lightly. Since my kids (especially my daughter) wanted the bread left whole that is how I left most of mine.
Bake the bread at the recommended temperature for your clay for 10 minutes and allow to cool.
Now all you need to do is pick how you want to display your hummus and pita bread.
As always I do want to sincerely thank all of you for watching my videos and reading my blog posts. It means so much to me that you are supporting me in this way. If I could ask you all to do just a bit more by subscribing to the channel and liking the videos and leaving comments. Those help more than you can imagine. Also if you could pass the links on to your friends I would appreciate it so much.
No comments:
Post a Comment