
I decided to celebrate the beautiful weather by making one of those planters that fit over the railing on the porch of the house. I have always thought those were really a great idea.
The planter we make today is super simple just a box that fits over the rail so it will stay put. I can imagine it with some wonderful plants in it. In real life I am horrid with plants so I love them in the dollhouse since I can't kill those.
The planter I made is small but you can size yours to any size you wish.
The first step is to determine the width of the rail on your dollhouse porch. Mine is just a tiny bit narrower than a regular craft stick. If yours is different just sub in a piece of wood the correct size for yours.
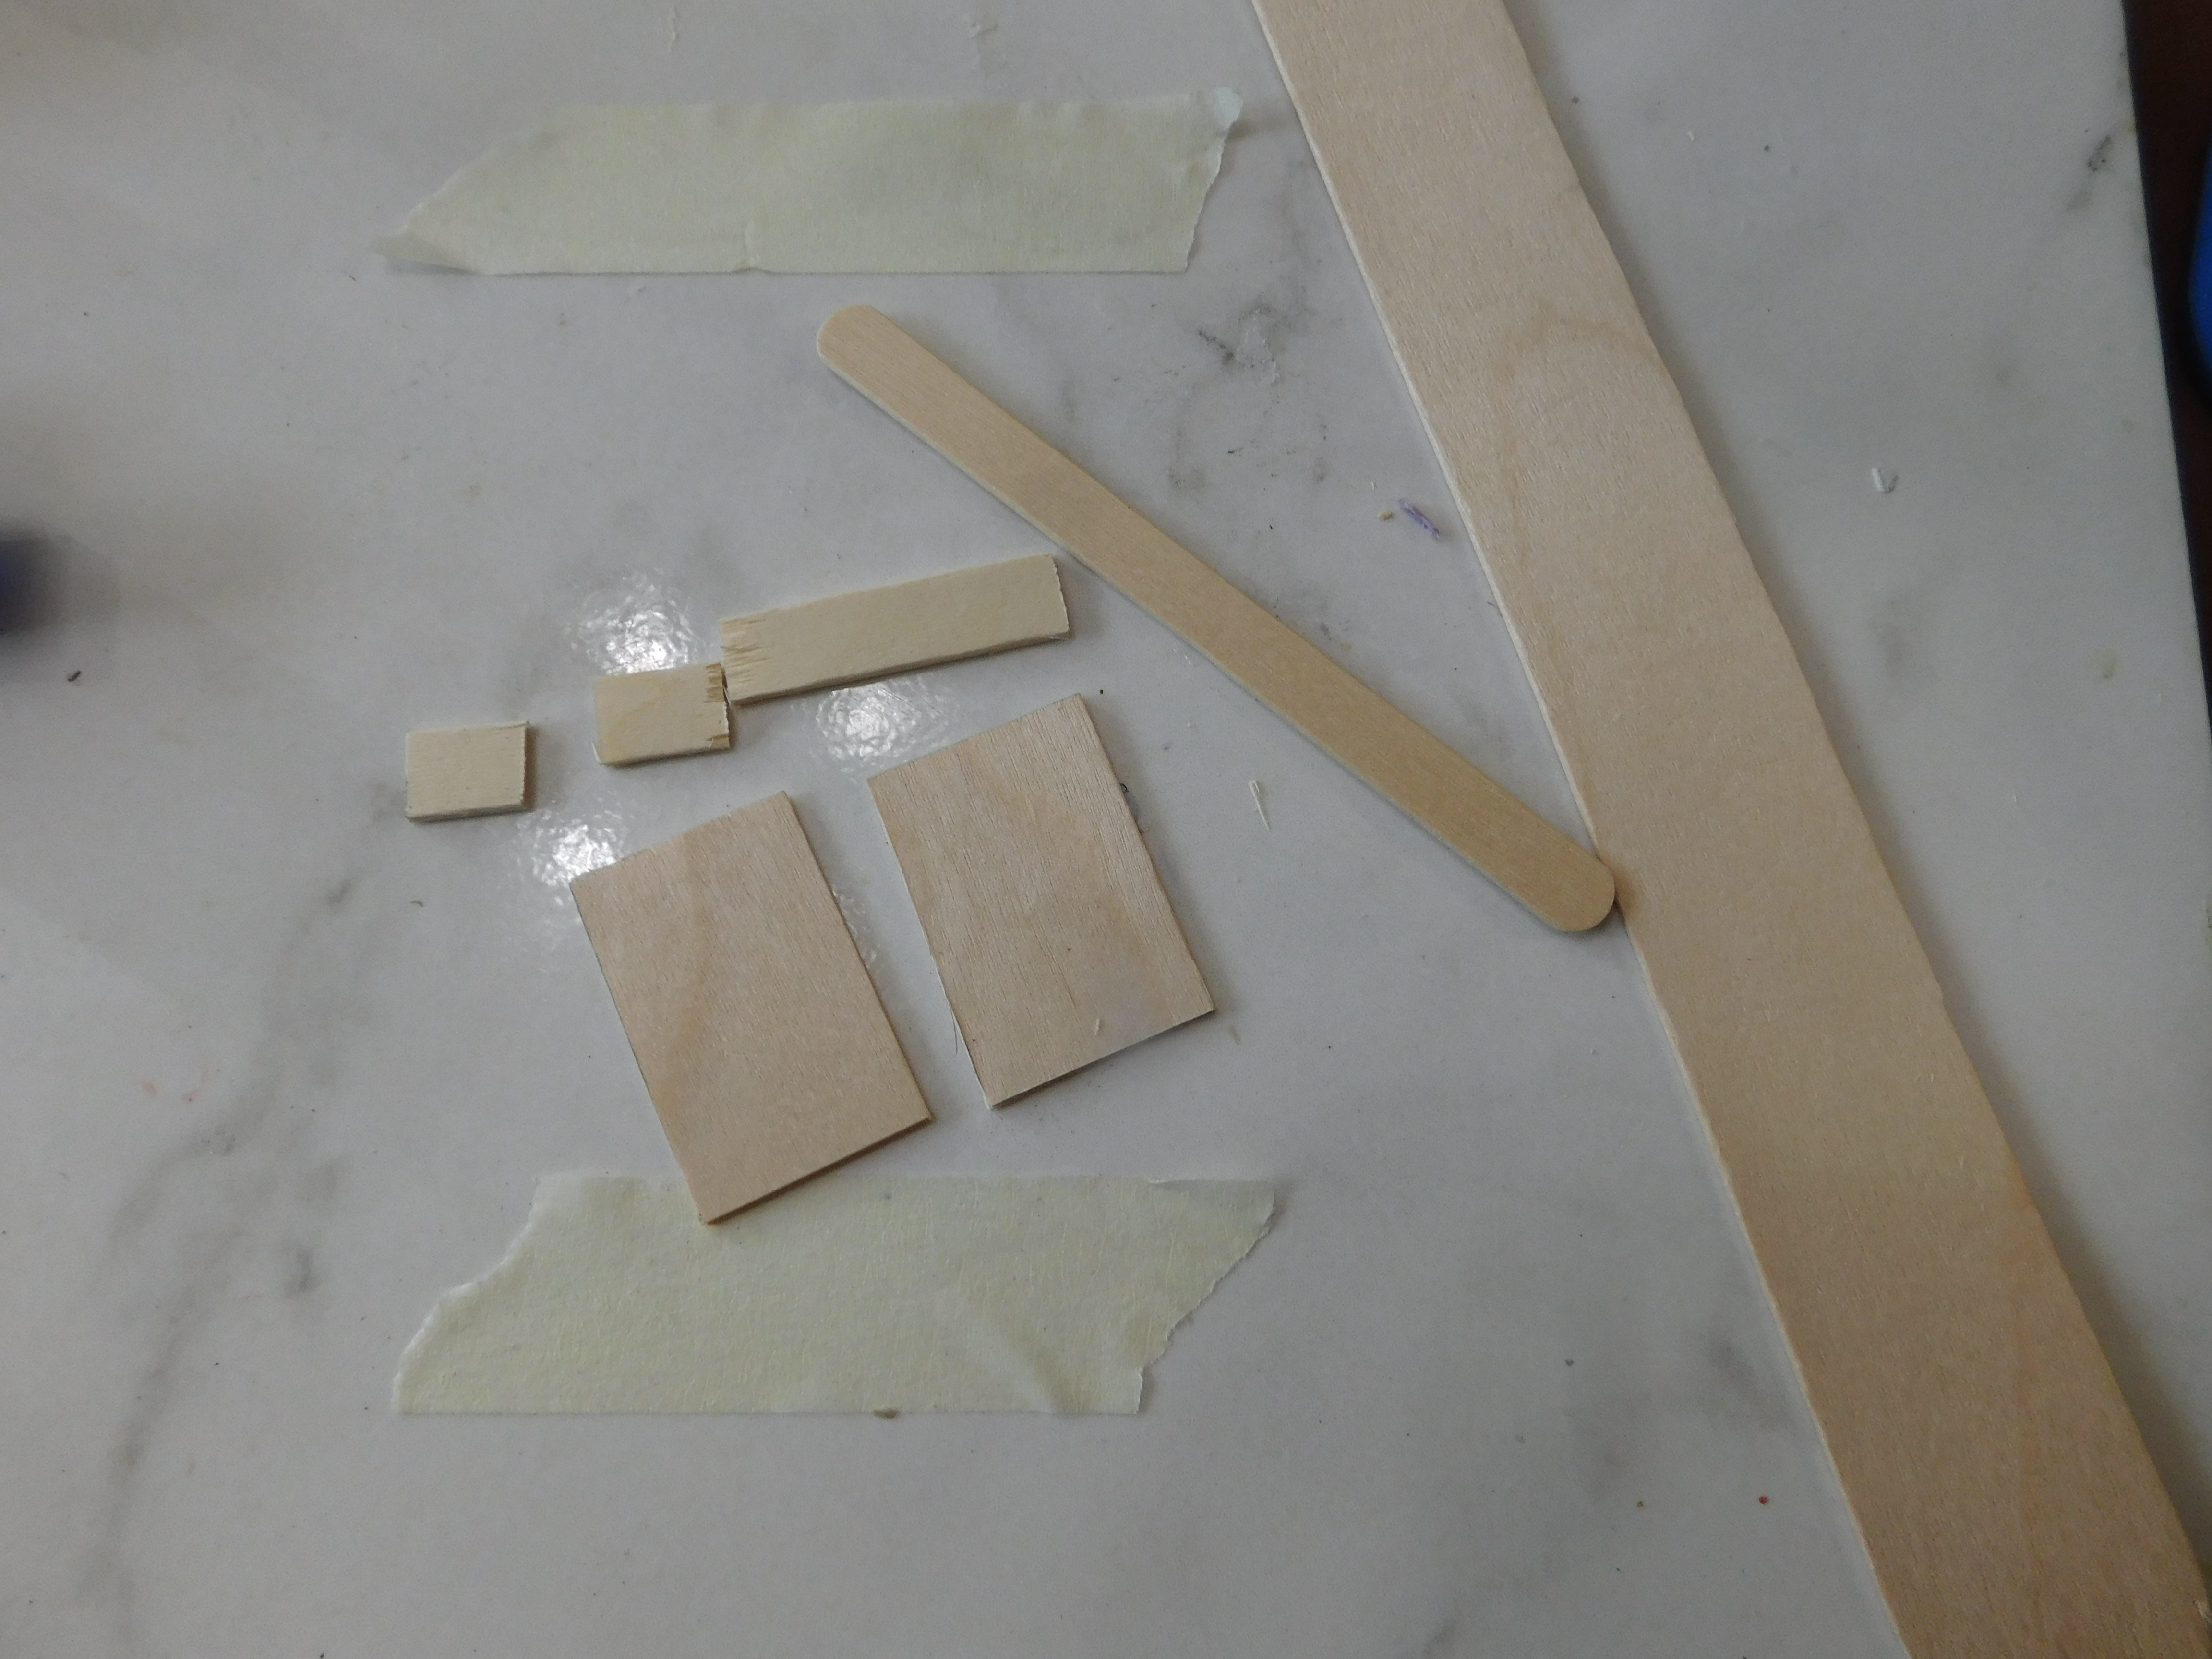
The craft stick is cut to the length of the planter in my case I made my planter 1 ½” long, so the craft stick was cut that long. You will also need two pieces that are ½ long for the two ends. For the sides of my planter I used part of one of those giant craft sticks from Walmart and cut two pieces 1 ½” long and then trimmed them to 1” wide. I felt the full width of the craft stick was just too wide to look good on the porch.

To assemble the planter first glue 1 end to the bottom of the planter, I used my Lego jig to make sure I had the angle correct.

Then add the other end.

Once the glue has dried enough to handle it add one side, lining up the box piece at the top and ends. Allow the glue to dry.

Then add the other side.

Now all you need to do I paint it as desired. I did avoid painting the parts of the planter that will be in contact with the railing just to be safe. I didn’t want to have any paint transfer onto the railing.
Once the paint dries you can add a decoration of some sort to your planter. I debated doing that but I was running out of time to get the video finished so I left mine plain.

Now all that is needed is a coat of Satin Mod Podge to seal the paint and make the planter look finished.

Now it is all ready for the dolls to plant their favorite plants to enjoy.
A huge thank you to Plaid for providing the paint, Mod Podge and brushes used in today's video.
As always I do want to sincerely thank all of you for watching my videos and reading my blog posts. It means so much to me that you are supporting me in this way. If I could ask you all to do just a bit more by subscribing to the channel and liking the videos and leaving comments. Those help more than you can imagine. Also if you could pass the links on to your friends I would appreciate it so much.
No comments:
Post a Comment