Check back often

Have you checked out all my blogs?


Dollhouse Minis: http://joannesminis.blogspot.com


18” Dolls: http://joannes18dolls.blogspot.com/


General Crafts: http://joannes-place.blogspot.com/


Cooking: http://joanne-kitchen.blogspot.com/


Also if for some reason I can't post I will try to give a head's up on the Facebook page so check there too.

Wednesday, December 7, 2022

Dollhouse Miniature Round Snowman Sign


Watch the video here.


I created another project with a downloadable pattern which you can find here. This pattern will allow you to either cut the pieces with your electronic cutting machine or by hand. The pattern (like all of mine) is created to be used with medium weight white card stock which can be found at any craft store that has card making supplies.


We start like always by cutting out the pieces to make the sign., I grouped the pieces that will be used together on the pattern in groups to make it easier to put this together.


Glue the sets of pieces together to create the units that will be used to make the sign. I like to use a nice thick tacky glue for this step. Allow the glue to dry completely.


Now we get to paint the individual units. I used a dark blue for the background, a white for the snowman, brown for his twig arms, orange for the carrot and red fro the scarf. You will probably need 2 or more coats of paint to give a really nice coverage. Allow to dry completely.
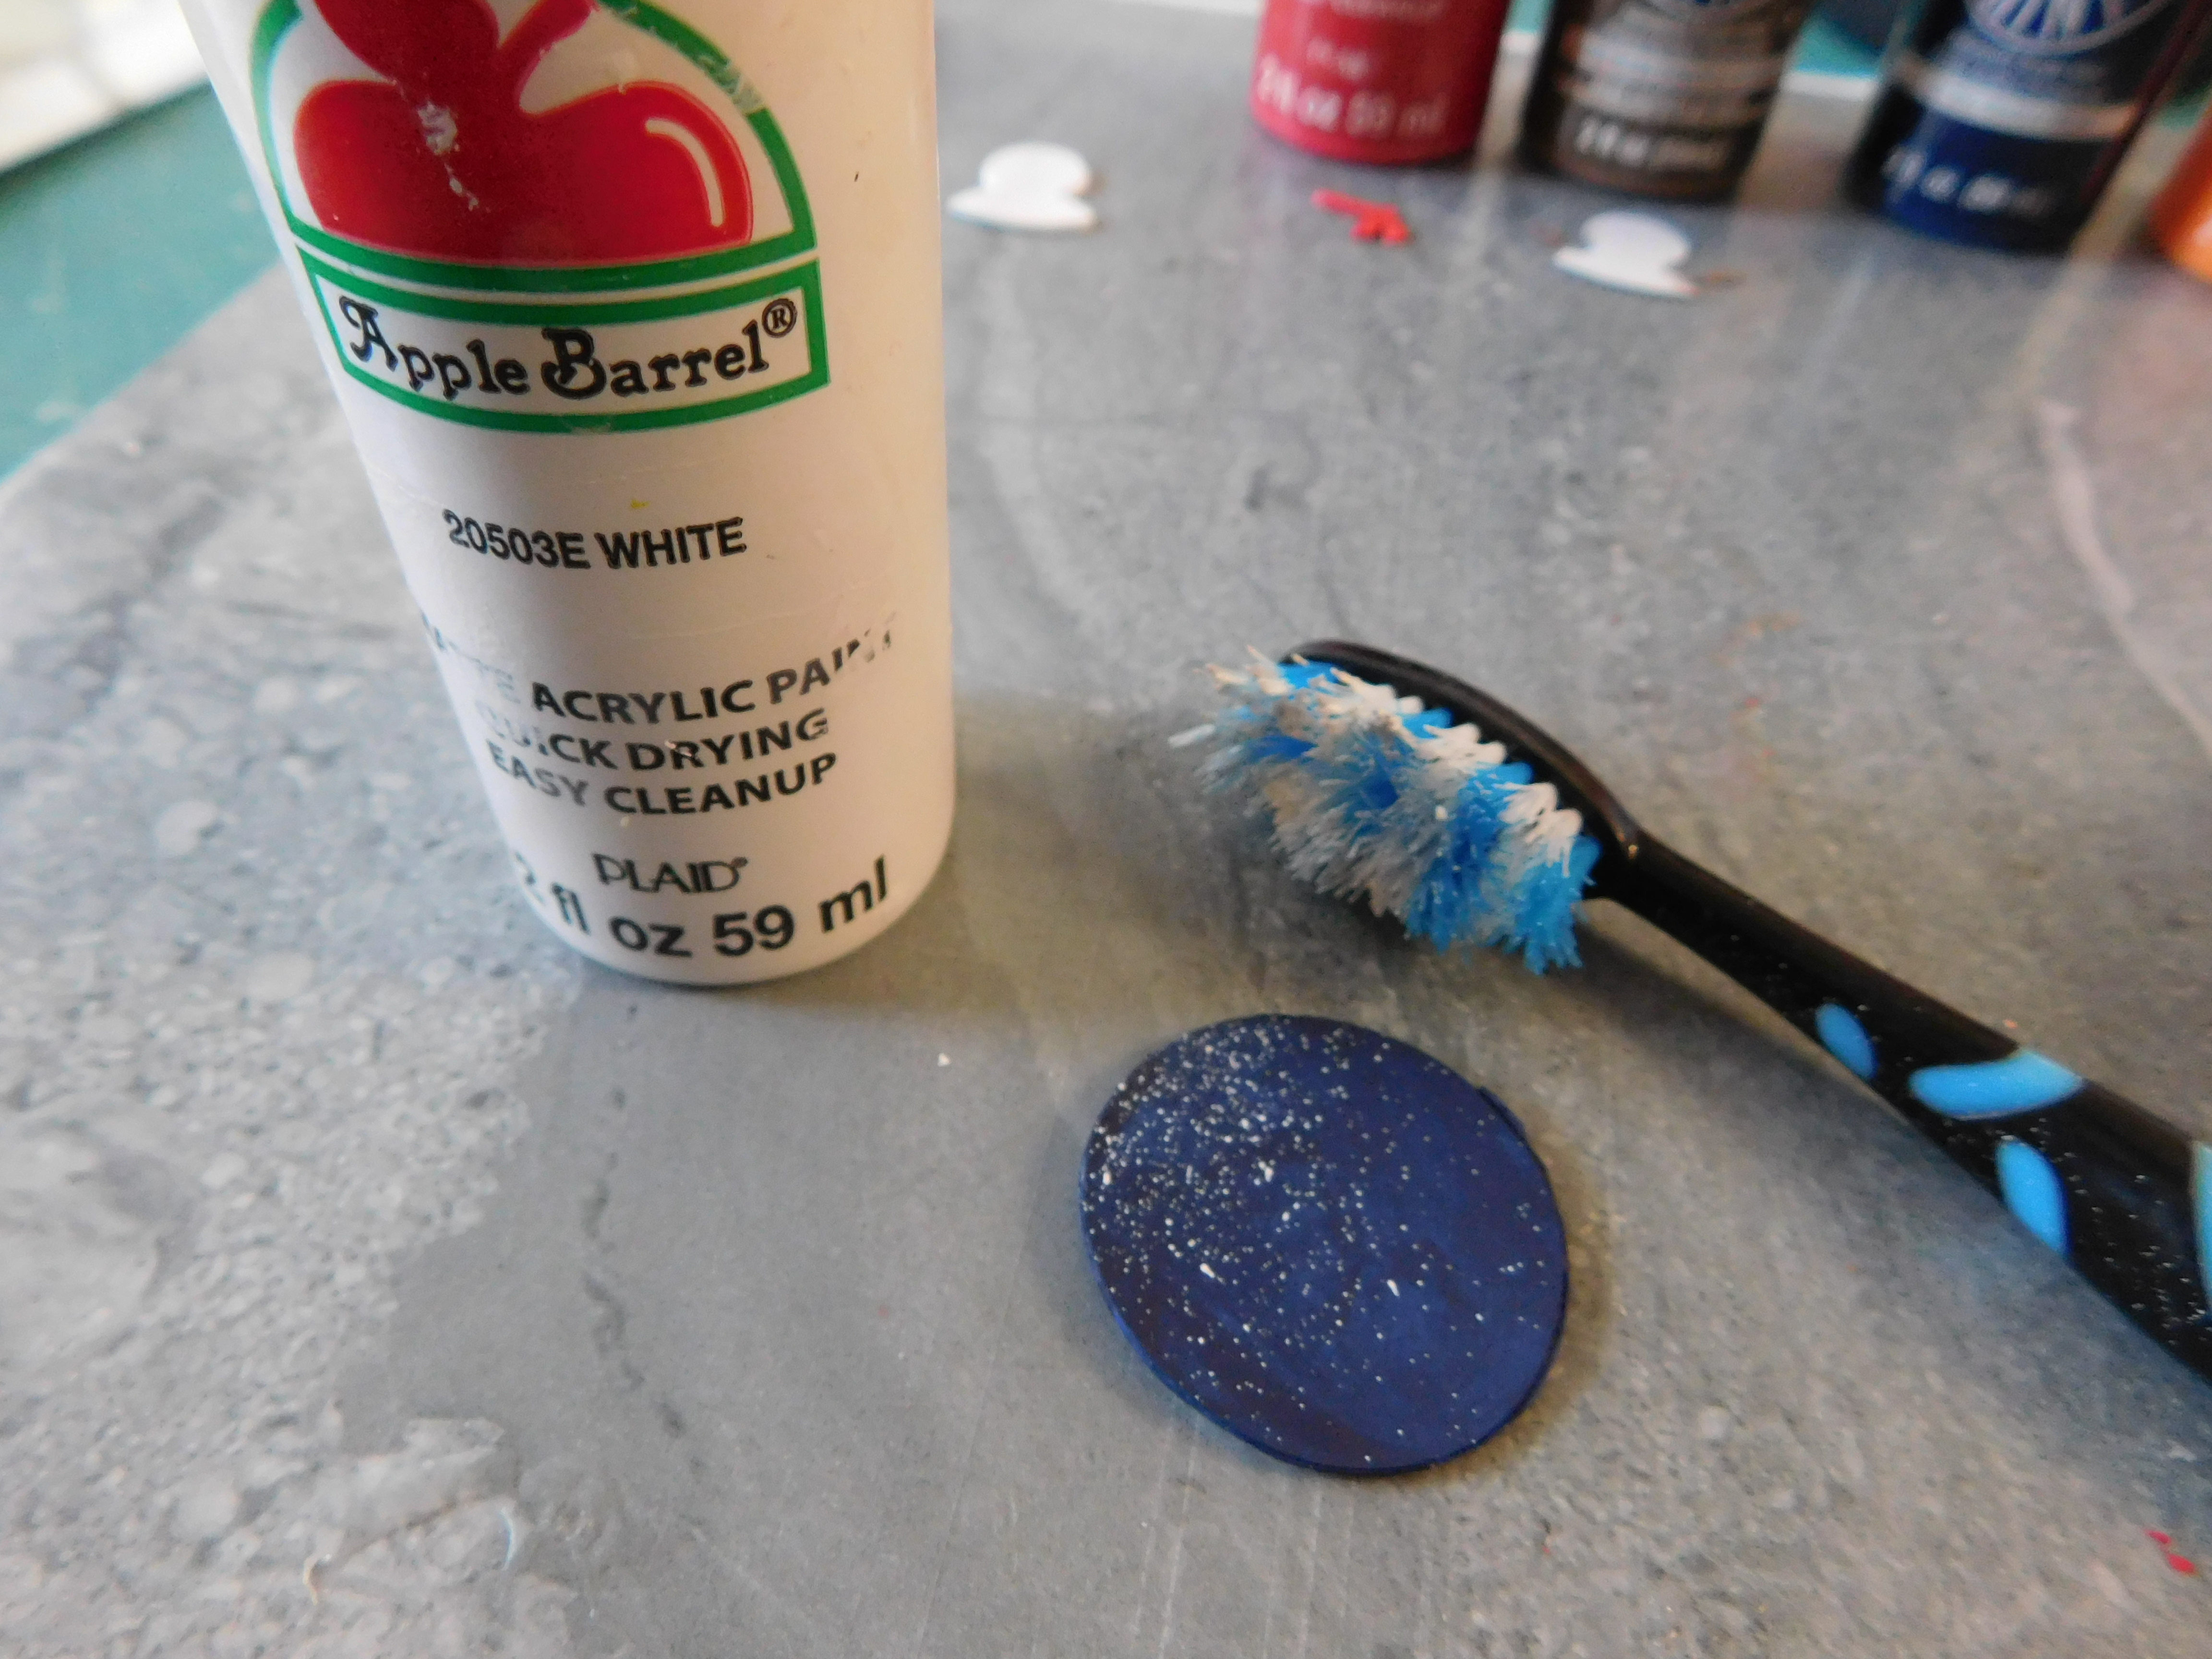


Now it is time to add some “falling snow” to the background, use a thinned out white paint and a toothbrush to splatter paint it on. Allow to dry completely.


We can also glue the pattern piece with the arms to back of the snowman unit now too.


Once all the glue and paint are dry we can glue the snowman onto the background carefully lining him up at the bottom of the sign. Allow this glue to at least set up before proceeding.


Now we can glue on the carrot nose and the scarf.


Use a dotting tool to add some coal buttons and a coal smile. Allow to dry.


Give the sign a coat of Satin Mod Podge paying extra attention to the fingers on the twig arms to seal them down to the background.


Now he is ready to display with the rest of our snowman collection.


As always I do want to sincerely thank all of you for watching my videos and reading my blog posts. It means so much to me that you are supporting me in this way. If I could ask you all to do just a bit more by subscribing to the channel and liking the videos and leaving comments. Those help more than you can imagine. Also if you could pass the links on to your friends I would appreciate it so much.


Sunday, December 4, 2022

Dollhouse Miniature Tabletop Santa’s Sleigh


Watch the video here.


I decided to make another project with a downloadable pattern for you for today. This time it is a tabletop size Santa’s Sleigh and you can find the pattern here. I have both a PDF for those that are cutting the pieces by hand and a PNG for use with an electronic cutting machine.


The pattern has all the pieces you need to make 1 sleigh. There are three of each piece except the piece that the runners attach to that one just has one piece. I grouped the pieces together to make it easier to see what goes with what so I do recommend keeping them together until you glue them.


A little note about the runners. The end that is supposed to be the front of the runner is slightly bigger than the back. Not by much but there is a difference so be careful when gluing to keep everything going the right way.


Like always after cutting the pieces from a medium weight white card-stock we are going to glue the sets of pieces together. I like to use a thick tacky glue for this since I am confident it will last. I’ve had problems with some of the glue sticks letting go after a while so I just tend to not use them.


Once all the pieces are glued together in their sets we can construct the body of the sleigh. The 3 pieces that are square/rectangles are the front, bottom, and back of the sleigh. The bottom piece is the largest of the three, the smallest is the front.


Once the glue on the body of the sleigh is dry it is time to paint. I used just a simple red for the body. 


And black for the runners. You can definitely get fancier with yours. Allow the paint to dry completely before the next step.


Now it is time to glue the runner unit to the bottom of the sleigh. Apply glue to the top of the runner unit and line it up on the bottom of the sleigh body. 


I also run a couple of beads of glue to the inside of the where the runners bend so reinforce that angle and keep everything from collapsing. Once the first set of glue dries completely add more to this area. This way your sleigh hopefully can remain standing even if you put something small in the sleigh.


Once the glue is completely dry you can touch up your paint if you need to and add any other painting to your sleigh. Then add a coat of Satin Mod Podge to your sleigh and allow to dry. Now it is ready to display in your dollhouse.


As always I do want to sincerely thank all of you for watching my videos and reading my blog posts. It means so much to me that you are supporting me in this way. If I could ask you all to do just a bit more by subscribing to the channel and liking the videos and leaving comments. Those help more than you can imagine. Also if you could pass the links on to your friends I would appreciate it so much.


Saturday, December 3, 2022

Dollhouse Miniature Elegant Holiday Cake


Watch the video here.


I have a really simple, elegant cake for you to make today. This one was inspired by the picture on the cover of a magazine I got in the mail a few days ago.


Since this will be a display cake we don’t need to have a fancy inside so just use some white(ish) clay to make that part. I used Original Sculpey rolled out using my double thick craft-sticks.


I cut 3 layers using my ¾” round clay cutter


then stacked those together and baked for 30 minutes. Allow this to cool to room temperature before moving to the next step.


Now it is time to create the simple frosting. The one of the magazine was coated in a simple layer of white frosting that has a very pretty swirl design just on the top. For this layer I used a mix of white clay and translucent clay. I had more of the white. I wasn’t trying for a translucent effect I just wanted to soften the white clay to make the swirl easier.


I rolled out a sheet of this white mix using single layer craft-sticks to guide the thickness.


I then added a bit of liquid clay to the top of my cake to act as a glue and placed the cake top down on the sheet of clay.


I added more liquid clay around the sides of the cake and brought the clay sheet up to cover the cake. I cut off the excess and smoothed the layer as much as possible.


I then used a ball tool to add the swirl to the top.


Once I was happy with it I baked it for 15 minutes and allowed it to cool to room temperature.


Now to add the final decoration, I found these tiny no hole beads in my stash. I got them a few years back at the Dollar Tree in the nail art area. They are about half the size of the no hole beads I normally use. I liked the size and I loved the color so I decided to use them.


I used a toothpick to add a very thin bead of Satin Mod Podge around the very bottom edge of the cake then dipped the cake edge in the beads.


Allow to dry, brush off any excess beads and your cake is ready to display.


Here’s a picture I took of the mini cake sitting in front of the cover of the magazine photo that inspired me. How do you think I did? Did I get the cake to look a bit like the one in the photo?


As always I do want to sincerely thank all of you for watching my videos and reading my blog posts. It means so much to me that you are supporting me in this way. If I could ask you all to do just a bit more by subscribing to the channel and liking the videos and leaving comments. Those help more than you can imagine. Also if you could pass the links on to your friends I would appreciate it so much.


Wednesday, November 30, 2022

Dollhouse Miniature Blind Bags November 2022


Watch the video here.


Fist things first I get all my blind bags from eBay and they come from China. This batch was labeled as “supermarket” and the set cost less than $3. I ordered on November 1, 2022 with an estimated arrival of between December 1 and January26. They actually arrived on November 25, so a bit faster than expected. I have a blog post complete with screen shots showing how I look for the blind bags on eBay which you can find here if you are interested.


Now let’s see what I got and then I will talk about how I feel about these items at the end of the blog.


We didn’t start out very good since both of the first two bags were the same item, these blue lollipops. Maybe they could become cakes in a bakery, I’m not sure it they would work or not. The only other thing I can think of is to use them on a sign for a mini candy shop. I think for that they might be really cute.


The third bag contained this pink Popsicle. Since it is a translucent plastic to make it into a cake it would need a good coat of paint, then it might work. Again the only other thing I can think of is a sign for a mini shop.


The fourth bag contained sandwich cookie that is way to big to be in scale for the dollhouse. It would be a really cute small cake and that will probably be how I use it eventually.


The fifth bag had this another popscile in it, this time at least it isn’t translucent and might again become a cake or go onto a sigh.


Bag number six had this little dumpling, this one looks like either a stuffed toy or a pillow to me and I think it would work well as either.


Number 7 had this another large cookie that can definitely become another cake with very little work. Of all the items this one is my second favorite this time around.


Number 8 on the other hand had my least favorite item, this odd little doughnut (?) with a tropical flower on it.


Number nine had this chocolate bar that would probably be best used on a sign or something similar.


The final bag contained my very favorite item this little cactus. I am sure I will be using in somehow with our cactus porch decor in the coming year. Not sure exactly how I will use it but I am pretty sure it will end up there.


The other thing that most of these items could be used for is some kind of funky art pieces. Maybe mounted on a board and framed to hang on a wall. Could be a cool display in a mini art gallery.


So my thoughts I wasn’t expecting much from this set and that is exactly what it delivered. I thought there would be some flat back items mixed with something else in some bags. I am pretty sure I won’t order this mix again. 


As always I do want to sincerely thank all of you for watching my videos and reading my blog posts. It means so much to me that you are supporting me in this way. If I could ask you all to do just a bit more by subscribing to the channel and liking the videos and leaving comments. Those help more than you can imagine. Also if you could pass the links on to your friends I would appreciate it so much.


Wednesday, November 23, 2022

Dollhouse Miniature Round Santa Sign


Watch the video here.


Today’s project is another that I have created a pattern for you use to make yours. You can find the download here. I have both a PNG file for use with an electronic cutting machine and also a PDF for those that are hand cutting their shapes. Also included is a text file that will give basic directions for how to use the PNG file with you cutting machine including the size to set the image at to get the correct size project.


This sign only needs 3 basic pieces- sign base, Santa’s belt, and the belt buckle. You will cut 4 of the large rounds for the back of sign and 3 of each of the other shapes.


Glue the pieces together in sets and allow to dry.


Now time to paint. I used red for the base of the sign. Since this is a bit of a bigger piece I do recommend painting both the back and the front on this piece just to minimize any warping. Black for the belt, And a golden yellow tome for the basecoat on the buckle.


For the second coat of paint use the same red and black on those pieces concentrating on any areas you might have missed with the first coat and any areas that look too light in color. For the buckle switch to a metallic gold paint and give it a good coat of that. Allow to dry completely.


Now we can glue our sign together, I do recommend doing a “dry fit” to make sure you know where the belt will line up best. Then just assemble the sign with the belt in the middle and the buckle in the middle of that. Allow the glue to dry.


Now just a quick coat of Mat Mod Podge to give our signs a more finished final appearance.


Once dry we are ready to add the sign to the dollhouse wall. You could even just lean it against the wall if you wish. 


You can find all the items on the porch (plus a few more projects) in the new playlist I created here: The Santa Collection.


A big thank you to Plaid for providing the paints, brushes and Mod Podge used in today’s tutorial.


As always I do want to sincerely thank all of you for watching my videos and reading my blog posts. It means so much to me that you are supporting me in this way. If I could ask you all to do just a bit more by subscribing to the channel and liking the videos and leaving comments. Those help more than you can imagine. Also if you could pass the links on to your friends I would appreciate it so much.