
This is a project I have had in mind for a long time to do on the channel and now just seemed like the perfect time. Where I live the snow has been falling for a couple of days and is piling up. I always refer to this time of year as “soup season” so I figured it should be the same in the dollhouse. I love a good bowl of clam chowder in real life and in a bread bowl it can’t get any better. So why not make it mini too.
We will start with the bread bowl, for that we will need a small ball of the “bread mix” clay we have been using on out different mini bread projects. That is simply 4 parts white polymer clay mixed with 1 part Sahara by Fimo. This makes the perfect bread color.

For each bread bowl you only need a ball that is about 3/8” in diameter. Make as many as you feel you need for your dollhouse this winter season. Since it is a very small amount of clay and these are easy to make you might as well make a lot.

Now
we need to add a baked bread texture to our bread bowls. To do this
roll the ball of clay on a piece of aluminum foil that has been
wadded up into a tight ball then flattened out. You want to have a
lot of texture to the foil so just un-crump
le it, don’t smooth it
too much. Then just roll the clay ball on the foil so it picks up
some texture.

Now we need to make the bread look baked, by adding our normal 3 tomes of artist chalk- yellow ocher, rust, and brown.

First coat the entire outside of the clay ball with the yellow ocher color using an eye shadow brush.

Now repeat with the rust, using slightly less of the rust color.
Now finish off with just the tiniest touch of the brown if desired.
Now we need to firm up the clay by putting it in the freezer for 15 minutes. This will allow us to cut off the top of the bread bowl without distorting the shape. Once you take it out of the freezer work quickly (but carefully) to cut off the round top from each ball of clay. This will reveal the pale bread color interior with the baked crust.

Next use a small blade (I used my x-acto type knife) to take out some of the interior of the ball leaving a place to put the chowder.
Now use a piece of sandpaper to do a simple texture on the cut surfaces of the clay.
Once you are happy with the way your bread bowls look set them aside to bake and we can move onto the bits that will go into the chowder.
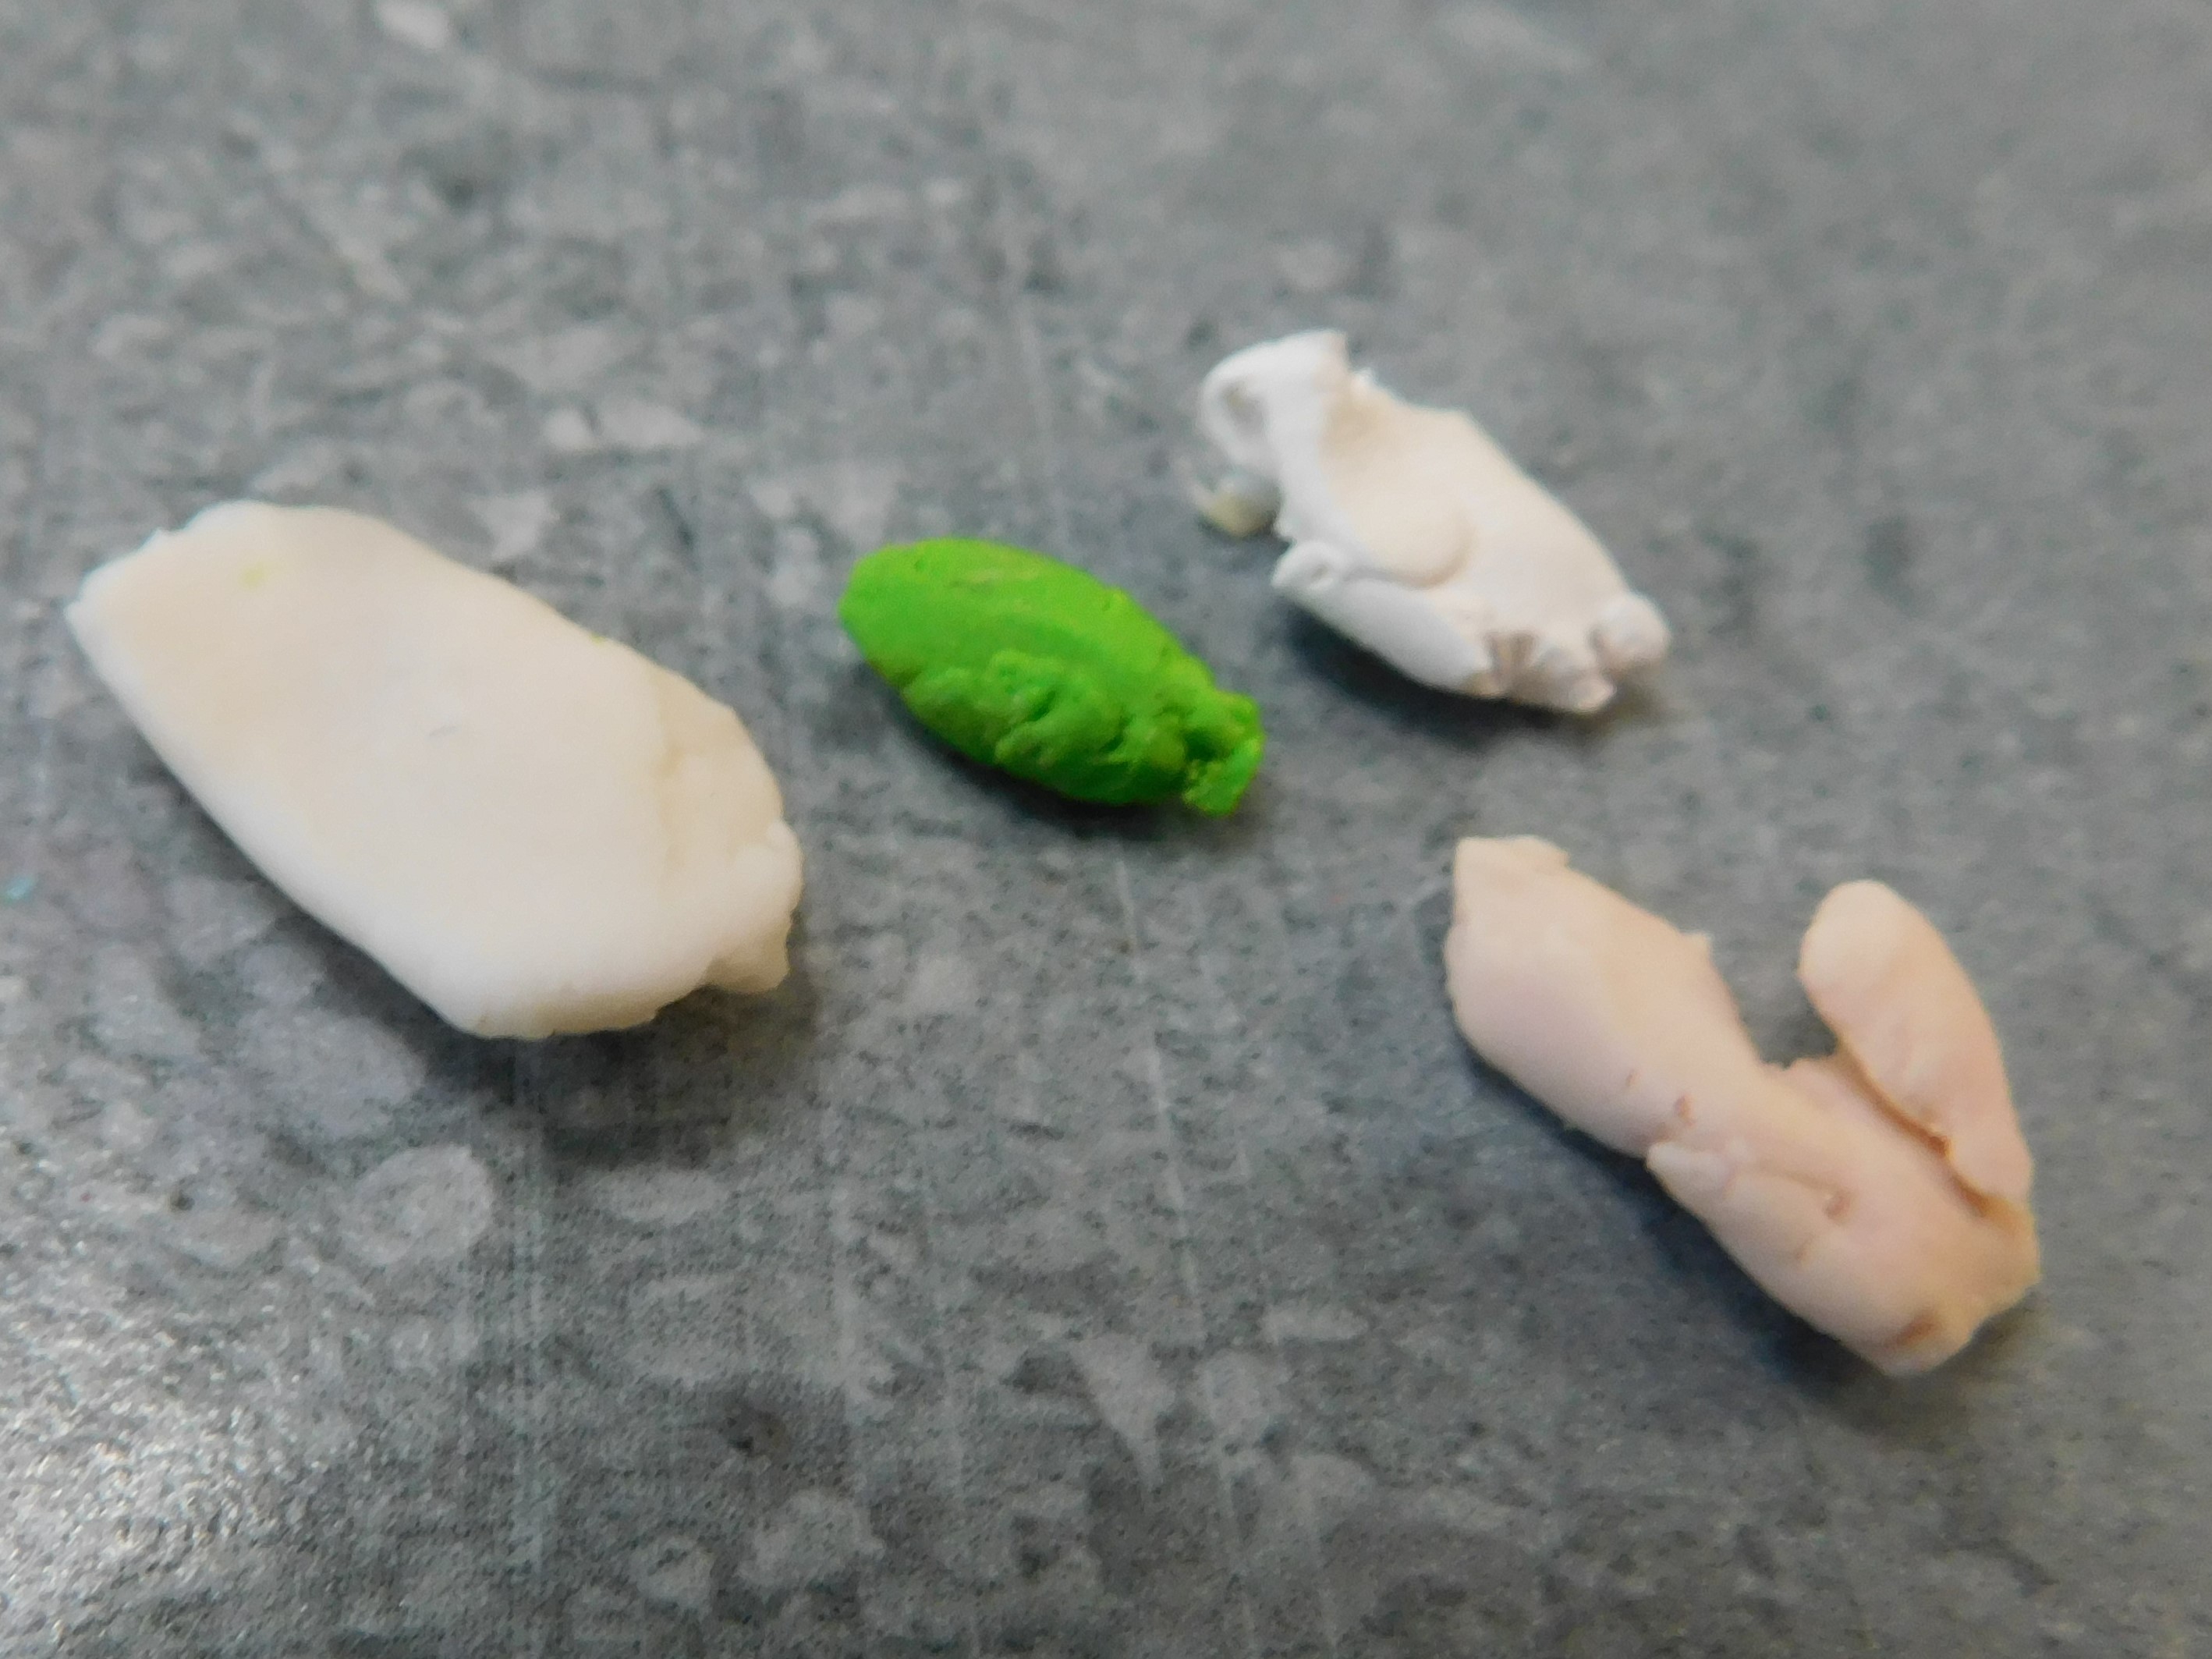
For our “bits” use mostly translucent clay, a small amount of white clay, a small amount of a light green clay (I used Fimo’s Apple Green) and a small amount of a pink beige (I used the one from Sculpey)/

First mix about 1 part white with about 3 parts translucent and divide this mixture into 3 parts. Set one aside. Mix one part with a tiny about of the green about (3:1) and the last part with the beige (again about 3:1)
Roll these colors out very thin and cut into tiny bits.
Bake all the clay items for 10 minutes at the temperature suggested for your clay and allow to cool to room temperature.
Now we will make the broth portion of the chowder. For this first mix a tiny bit of yellow ocher oil paint into a tiny amount of white oil paint. Just enough to warm up the white so it looks more creamy. Now use a very tiny amount of this color to mix into your liquid polymer clay.
Use a toothpick (or something similar to fill the bread bowls with the liquid clay mixture.
Now mix some of the bits of clay we made earlier into this mixture and add just a few peeking out of the chowder. You want it to look like the celery, potatoes, and clams that would be in the chowder. You can also add some drips of the liquid clay down the sides of the bread bowls to look like you overfilled them.
When you are happy with the look bake them a final time at the recommended temperature for another 10 minutes.
Once cooled they are ready to display in your favorite mini scene.
As always I do want to sincerely thank all of you for watching my videos and reading my blog posts. It means so much to me that you are supporting me in this way. If I could ask you all to do just a bit more by subscribing to the channel and liking the videos and leaving comments. Those help more than you can imagine. Also if you could pass the links on to your friends I would appreciate it so much.
No comments:
Post a Comment