Check back often

Have you checked out all my blogs?


Dollhouse Minis: http://joannesminis.blogspot.com


18” Dolls: http://joannes18dolls.blogspot.com/


General Crafts: http://joannes-place.blogspot.com/


Cooking: http://joanne-kitchen.blogspot.com/


Also if for some reason I can't post I will try to give a head's up on the Facebook page so check there too.

Showing posts with label Dollar Tree Dollhouse furniture. furniture flip. Show all posts

Wednesday, August 7, 2024

Dollhouse Miniature Dresser Makeover


Watch the video here.


I have another Dollar Tree furniture makeover for you this week. This time I am using the tall dresser, but this project will work with any of the cheap dressers on the market, it works especially well on the ones that have the fake drawers like this one.


For this project we will need the dresser and some scrap book/ card making paper that has a tiny (in scale) design. We will also need the normal supplies of glue, Mod Podge, paint, etc.


As always we start with a bit of prep work, mainly to remove the drawer pulls and any excess glue. Both of these tasks required me to dig out my heat gun but once the heat was applied everything went smoothly (except a bit of darkening of the wood near on pull that did not want to come off)


Now its time to give the entire dresser a base coat of white craft paint. This will give a nice surface to work on and it will seal the wood. Let the paint dry.


Once the paint dries go over the dresser with some sandpaper to remove any bumps and lumps and just to smooth everything out. After sanding it wipe it down with a dry paper towel to remove the dust. Then give the dresser another coat of craft paint. I used the same white for this coat. Allow to dry.


At this point I knew I had to do something with about the fact the top of my dresser was on in the wrong place. I had debated between removing the top and gluing it in the correct place or just cutting it flush on the side that extended out. I decided to remove it and place it correctly. For this I just heated the glue with my heat gun and then used a knife to pry it off.

 Measure to find the center of both the top and the body of the dresser and glue it back in place. Allow the glue to dry.


Now we can add the paper to the drawer fronts. I cut a piece of my paper that was as exactly the height of the drawer area and a tiny bit wider. I then carefully applied some Mod Podge to just the drawer fronts. Keep it out of the spaces between the drawer fronts because we will be removing the paper in those areas later. Now smooth the paper in place being careful to have the paper oriented correctly. Allow the Mod Podge to dry completely.


Now we can remove the excess paper, I started with any paper that was hanging off the sides. I used a clean emery board and basically sanded the edge of the paper away. This will give a nice crisp line at the edge of the wood and remove the extra paper.


Now very carefully line something like a dotting tool with the crevice between the drawer fronts and slowly (in a couple of passes) break through the paper in that area. Then follow up with the emery board to neaten the line. Repeat this as needed.


I did decide to let the top drawer be just one drawer instead of the original three. I felt it would look too busy with the third drawer and third drawer pull up there.


Once you are happy with the way the paper looks go over it and if needed add some more Mod Podge in any areas where the edges of the paper are not stuck down.


At this point I used some white paint on a tiny brush and painted over the line between the drawers to sharpen it up and make it look better.

Then if desired pick a couple of colors from the paper and paint parts of the dresser. I decided to paint the bottom of the dresser with a light green and the top with a pale blue. I did my best to match the colors in the paper.


Then paint the drawer pulls to to coordinate with the dresser. I picked the pink from the paper for these.


Use a ball tool to find where the drawer pulls were on the drawer fronts and get the holes started. I came back to this task later when my paint was dried to finish it.


Before we can put the drawer pulls back on the dresser the holes will need to be cleaned out really well. I ended up using a combination of dotting tools, my knife and some tweezers to get this done.


I do recommend dry fitting each pull before in the hole where you plan to place it just before you do glue it. Do this one at a time do any additional cleaning up then dip the flat end in some glue and place it in the hole in drawer front. Let the glue dry.


Now follow up with a thin even coat of Satin Mod Podge and allow to dry.


And there we have a really pretty dresser to use in our next mini scene.


As always I do want to sincerely thank all of you for watching my videos and reading my blog posts. It means so much to me that you are supporting me in this way. If I could ask you all to do just a bit more by subscribing to the channel and liking the videos and leaving comments. Those help more than you can imagine. Also if you could pass the links on to your friends I would appreciate it so much.


Sunday, August 4, 2024

Dollhouse Miniature Succulent Chair Part 2


Watch the video here.


This week we are finishing the Succulent Chair and I have to say I love how it turned out. To think we started with that off kilter Dollar Tree mini chair and we ended up with this gorgeous decorative chair.


If you haven’t seen last week’s tutorial where we aged the chair and got it prepped to plant it you can find that tutorial here.


This week I dug out the floral stems I picked up at Dollar Tree a few months ago to use in some other mini projects on the channel. I did purchase 1 additional stem to add to those. We’ll talk more about these in a minute.


I also had a rock I wanted to use. I channeled my “inner-child” and found a pretty rock in a parking lot when I was out for a walk.


Like a lot of rocks this one is much prettier when it is wet so I coated it with some clear nail polish. Since the floral stems tend to shed a lot I waited until the mail polish was dry completely before I tackled those. I really didn’t want any of the bits that were sure to float off the floral pieces embedded in my clear coat.


Next I cut tiny pieces of some of my florals, remembering that the plants we want this to look like are pretty tiny in real life so very small end pieces. I also cut a few long thin pieces that could climb up the back of the chair. Remember at this point I had no idea how this was all going to be arranged.


Now we can tackle what we are planting our plants into. I am using some of the foam from the dollar store. You just need a thin piece that fits the chair seat. It will be the mound of soil you are going to plant into. The foam should be a bit thicker in the center and the back and taper down on the sides and front like soil would in real life. Tacky glue should hold this just fine so glue the foam in place and allow to dry.


After the glue dries it is time to paint the foam with some dark brown paint (I somehow missed taking a picture of this step, sorry) once the foam is painted brown let the paint dry.


Now the fun part time to assemble!


First step is to add the “soil” and like always I am using well dried, used coffee grounds. Coat the entire surface of the foam with glue. I am using some Elmer’s School glue today because the thinner glue is a bit easier to spread and get good coverage. Do be careful to cover the entire surface that shows on the foam.


Working on a piece of paper add the coffee grounds to the glue on the foam and dump off any excess. Using the sheet of paper dump the excess coffee grounds back in your container to use next time.


Now while the glue is still wet we need to add the plants to the soil. Use a toothpick to make holes and insert the stems of the floral pieces you cut earlier.


Then simply tuck the stems of the pieces into the holes. I work one piece at a time. On the tall pieces that went up the back of the chair I did add a dot of super glue to hold them in place. I also used super glue to hold the rock in place.


Allow the glue to dry completely and your chair is ready to use in your next mini scene.


As always I do want to sincerely thank all of you for watching my videos and reading my blog posts. It means so much to me that you are supporting me in this way. If I could ask you all to do just a bit more by subscribing to the channel and liking the videos and leaving comments. Those help more than you can imagine. Also if you could pass the links on to your friends I would appreciate it so much.


Sunday, May 5, 2024

Dollhouse Miniature Pool Table Makeover pt 1


Watch the video here.


The next couple of weeks we are going to be working on this pool table makeover. I know this is a really big item and not everyone will have room for it but I hope it will be interesting anyway.


So the reason I am doing this is because one of my YouTube viewers had reached out for some ideas on how to make a pool table. They told me about the project they are currently working on and I knew I had to figure out a way to do it.


So their project is a man cave that is housed in a freestanding garage. They have the building built and some of the interior done as well as a small portion of the “stuff” that will be needed.


The project is being done in memory of a good friend of theirs who unfortunately passed away recently. He had always wanted to convert his garage into a man cave and have a pool table, a bar, big screen TV, and a juke box as well as a lot of other things. Since he never got to have it this mini many cave will be a wonderful way to remember him and to fulfill his dream in a way.


So after I read the messages about the project and looked at the pictures I was sent I started thinking. I mean I had to, I wanted to be able to help in anyway I could.


It just happened that I walked over to the new Dollar Tree near me. As I was wondering the aisles I happened to see this pool table game in with the part games. I thought it sure looked like it was in scale so I grabbed it.


I knew I would need to pick up something to use as legs though. I searched for either dowels or the “tumbling block” game and found neither in the store. I was just about to give up on finding legs at the dollar store when I looked at the package of foam brushes. That was it! There were 6 foam brushes and the handles were basically just dowels. Perfect!


When I got home I checked for the size of pool tables and according to my google search a regulation pool table is 4 ½’ by 9’ and about 30” tall. The pool table in the package measures 4 ½” by 8 ½” so I am happy with that.


To create the legs I used my X-acto miter box and saw to cut 1 ½” of handle from 4 of the brushes.


Next I washed the plastic table top (after removing the cardboard insert) with hot soapy water. I let it dry and the wiped it with white vinegar and let that dry. This step will remove any oil that might have transferred to the plastic from being handled.


Then the table top and the legs got a good coat of black craft paint. I did go back and touch up any areas the I missed once the paint dried.


Once the black paint had dried I went in with some dark brown paint and did a light coat, wiping off some of it to try and get the start of a wood grain look. I am trying to get the look of faux walnut. So it will be very dark. This is just the first layer of the painting technique, I will probably do more once the table is put together. I wanted to make sure I had everywhere that might show covered with a light coat of the brown and then if I can’t get into some of the tight areas later it won’t matter so much.


Once the paint was dry I needed to glue the legs to the bottom of the table at the corners. For this I decided to try the Fix-all Adhesive that Dollar Tree sells. I have never used this before and I wanted to try it out. The instructions say to apply some to both surfaces and allow it to set for 10 minutes then put the surfaces together. The first thing I can say is this has to be the worst smelling glue I have ever used!! IT STINKS!!! I had to open a window and even then it gave me a headache in just a few minutes and it smelt bad hours later.


After the glue had it’s 10 minutes I added the legs to their spots on the bottom of the table. I wish I had thought to grab a new bottle of regular super glue because a few dots of that would have made getting the legs to stay in position a lot easier. As it was I did end up adding a lot more glue to some of the legs and it I had to keep checking on the legs for a couple of hours to make sure they were going to stay where I wanted them.


So my first impressions of this glue is not very favorable at all.


Since the glue does say it needs to cure for 24 hours that will be the end of this week’s video. Next week we will probably add to the paint to get the look I am after and work on the “felt” top also. Then I might do a 3rd video of some of the accessories for the pool table like the cues, the triangle thing that holds the balls (can you tell I don’t play pool??) and probably some balls that are a better size. Maybe even a rack for the cues to be placed in.


As always I do want to sincerely thank all of you for watching my videos and reading my blog posts. It means so much to me that you are supporting me in this way. If I could ask you all to do just a bit more by subscribing to the channel and liking the videos and leaving comments. Those help more than you can imagine. Also if you could pass the links on to your friends I would appreciate it so much.


Sunday, October 2, 2022

Dollhouse Miniature Rainbow Dresser


Watch the video here.


I have another Dollar Store Dollhouse Furniture flip for today’s tutorial. I love doing these they are so much fun and since the piece of furniture is so cheap I can get creative. This time I have one of the tall dressers. It just begged me to bring it home and do a rainbow paint job on it.


I will be honest I actually changed my mind on the final outcome multiple times during the painting of this. When I started I had a look in mind but by the end ii was a dramatically different look. In the beginning I was planning to do a paint blending technique on the drawers and I might pick up another dresser to do that some day. Then I saw a dresser online (real size) that had the drawers each a color of the rainbow and I decided to change direction and do that. Initially both of these choices were going to have silver drawer pulls. Then I say yet another dresser that had the pulls painted to match the drawers and I liked that a lot better so I shifted direction yet again.


The first step was to remove the drawer pulls, this is normally pretty easy just hit it with a heat gun then carefully use a twisting motion with a pair of pliers to remove them. This does have to be done quickly but it is easy to do. On most of these dressers anyway. Once in a while I get one that is stubborn. Even though in the end I put the pulls back on before painting I would still take them out since it is a lot easier to sand the piece with them out of the way. Also since one of my pulls was damaged I was able to put in where I wanted it to be to be less noticeable.

Do a really good job of sanding the dresser at this point. Mine had a lot of rough areas and I spent a good amount of time doing this step.

Since we are painting the pulls the same color as their drawers I would recommend adding them back at this point then proceeding with the painting. Since I didn’t decide to paint mine to match the drawers until later I added mine later. Whenever you add them back just use a tiny drop of thick tacky glue and allow to dry before going to the next step.


This is a good time to do any repairs you to do to your dresser. Mine was in good shape this time so none were needed but sometimes they can have damage.


Now give the entire dresser a coat of white craft paint. This will be finish color for the case part of the dresser and the base for the drawer colors. I used 2 or 3 coats of white craft paint. Allow to dry.


Now my insurance policy, a coat of mat Mod Podge. I am really glad I did this which you saw in the video, more about that in a second. Just gibe the white paint a light coat of the mat finish and allow to dry. This makes cleaning up mistakes so much easier.


Now for the mistake. Yes, I really did paint the drawer the wrong color. I didn't even notice until I was sitting on the couch an looked across the room at the dresser and realized the orange should have been the middle drawer. Since the paint was partly dry I grabbed a wet wipe and cleaned it up before I turned on the camera. I was so happy the paint wiped away almost completely. If not for the Mod Podge that would not have been the case. And yes, I could have just edited out my error but I wanted you all to see that
1) I do make mistakes and 2) they can be fixed.


Once I had the orange paint cleaned off I added the yellow to the drawer and let the first three colors dry. It did take multiple coats of each of the paint colors to get nice solid coverage. Jut work at it until you are happy.


Next up I painted the orange and purple drawers, adding as many coats at needed.


Once the orange was dry I was able to paint the green. This was the drawer I am most unhappy with, I don’t feel like the paint coated very well and I was messier with it. I was running out of time to get this video done so I am going to blame that.


Once all the drawer colors are dry go back in the the white and touch up any areas where you go messy. I find a dotting tool is much easier to use between the drawer fronts than a brush.


I also added a hint of silver paint to the bottom shaped edge of the dresser front base. Totally not a needed step just for fun.


Once all paint is dry and you are happy with your dresser add a light coat of Satin Mod Podge and allow to dry.


Here are all the paints I used in the project, all but the purple were provided by Plaid as were the Mod Podge and most of the brushes I used. 


As always I do want to sincerely thank all of you for watching my videos and reading my blog posts. It means so much to me that you are supporting me in this way. If I could ask you all to do just a bit more by subscribing to the channel and liking the videos and leaving comments. Those help more than you can imagine. Also if you could pass the links on to your friends I would appreciate it so much.


Sunday, October 10, 2021

Dollar Tree Furniture Flip-Table 2.0


Watch the video here.


Everyone seems to enjoy watching these Dollar Store furniture flips as much as I enjoy doing them so I have another one for you today. This time I am making some alterations to the little table to make the correct height to use as a kitchen of dining room table in the dollhouse.


I had been looking at this little table in my stash for a while trying to think of what to use for the legs that would be cheap and easy to find. Then it hit me, chopsticks! I don't know why it took me so long to figure out the obvious but it did. So here we have it a way to easily make taller but nice looking legs for that table.


The first step is to remove the legs, like with most Dollar Tree pieces this was pretty easy. I do suggest you support the table top because mine was flexing a bit as I removed the first leg. After the first one I sat the table upside down on my work tile to help support the thin table top.


Since I found that the pieces that I was leaving were a bit loose I added a touch of glue where it won't be seen when the table is finished to help make it a bit stronger.


Now we need to cut those chopsticks down to 2 ½” form the narrow end. This makes a good finished height for your table.


Then it is just a matter of gluing the legs in place. This is probably the biggest challenge in this project is making sure your legs are straight and your table sits correctly. I do recommend that you check how the table stands as soon as the glue is set up enough to move it. Then place it back upside down to finish drying. You might need to check and adjust a couple of times.


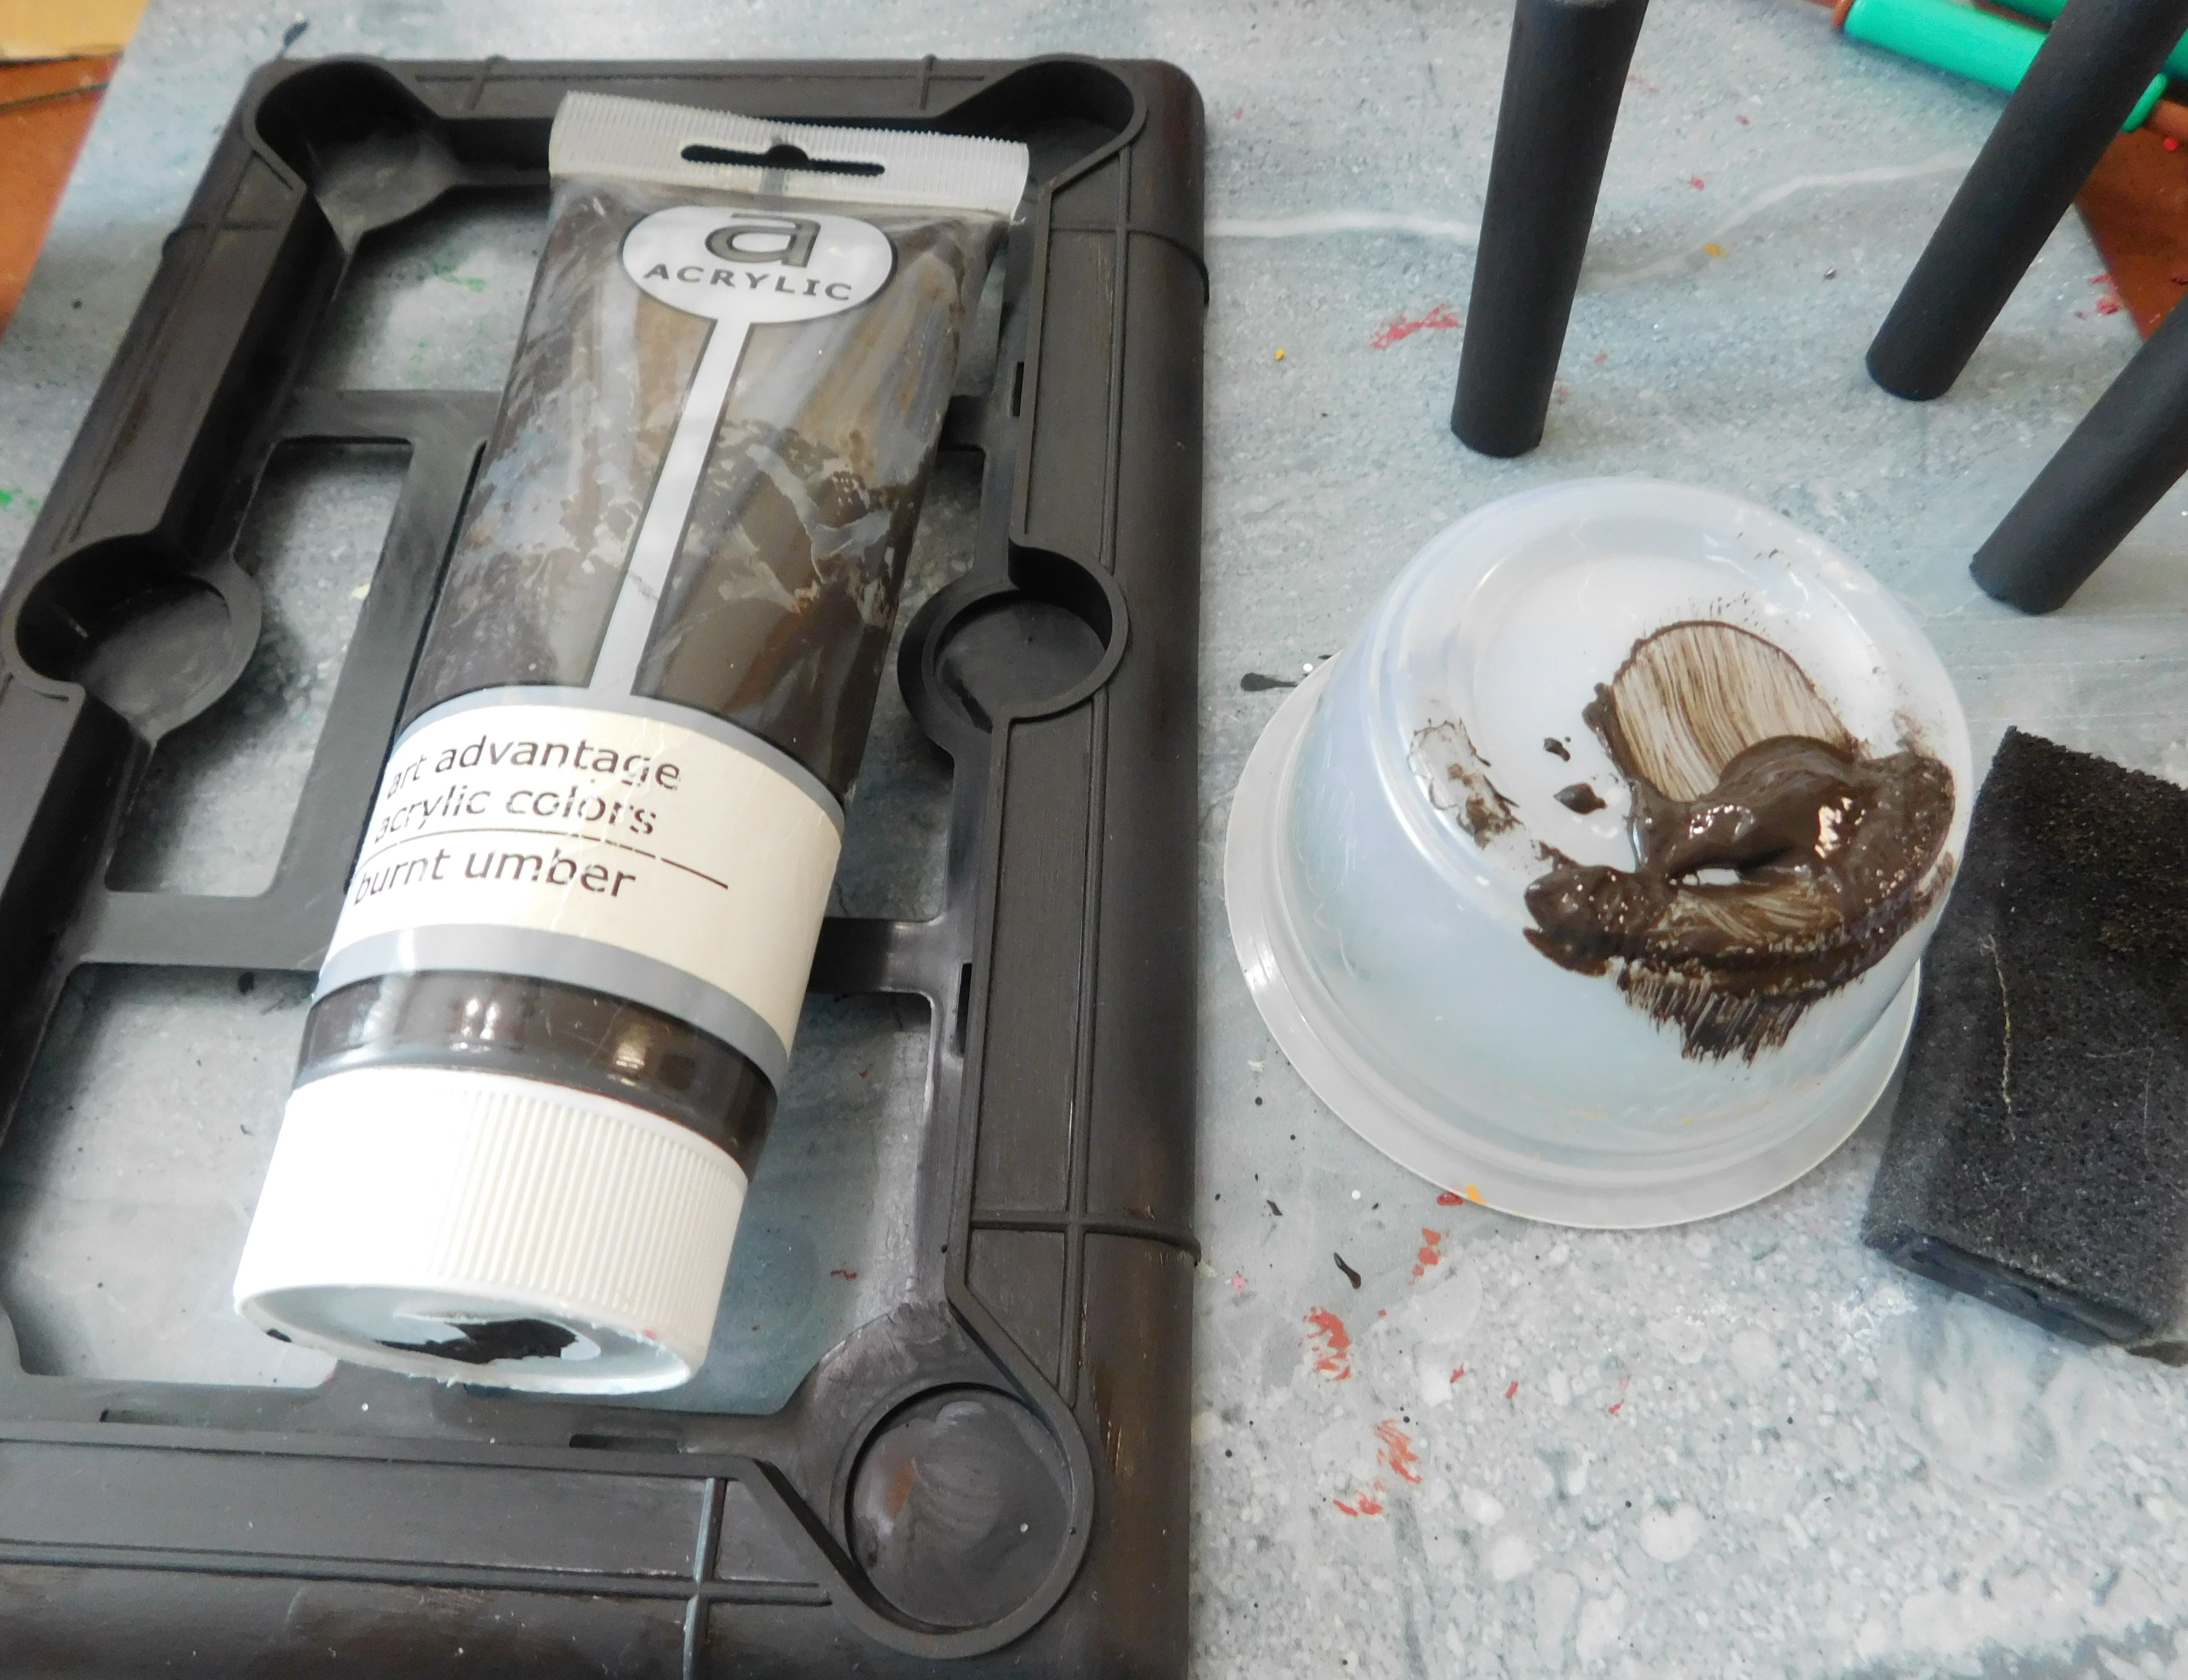
Once the glue dries paint or finish the table however you wish. I just painted with some Raw Umber paint that I have on hand.


Once the paint is dry add a sealer, in my case I used Satin Mod Podge.


And with those simple steps your table is finished.


As always I do want to sincerely thank all of you for watching my videos and reading my blog posts. It means so much to me that you are supporting me in this way. If I could ask you all to do just a bit more by subscribing to the channel and liking the videos and leaving comments. Those help more than you can imagine. Also if you could pass the links on to your friends I would appreciate it so much.


Sunday, August 1, 2021

Dollar Tree Furniture Flip-Dresser 2.0


Watch the video here.


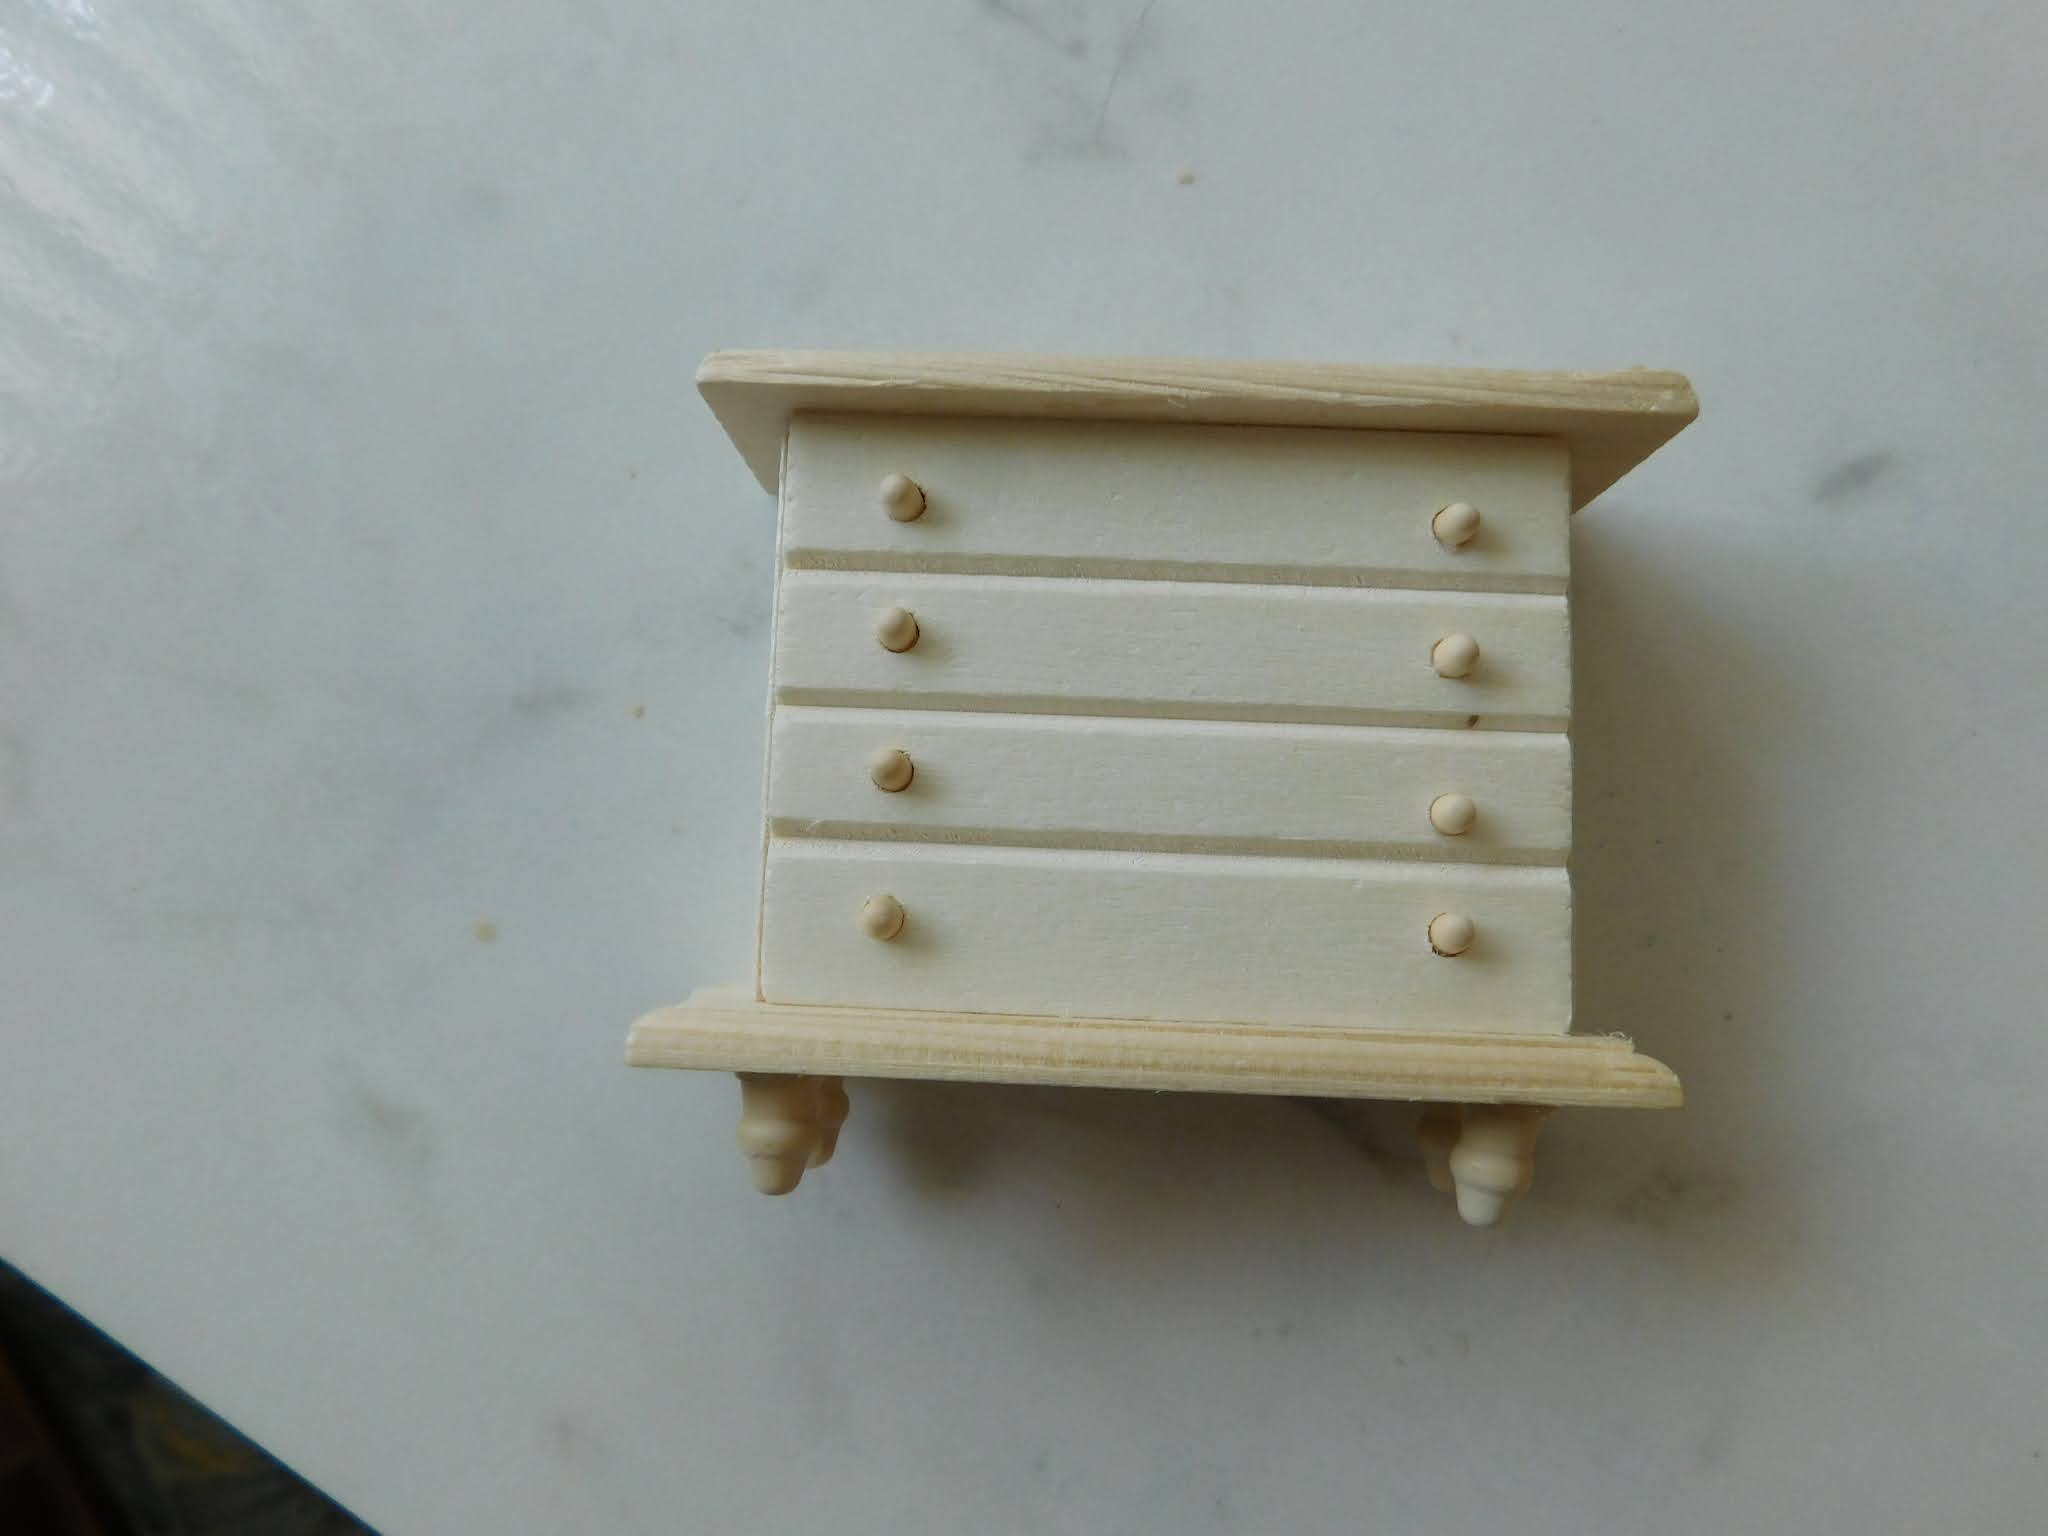
I had so much fun doing the last Dollar Tree dollhouse furniture flip with the tall dresser I decided to do another flip with the shorter dresser that they carry.


My inspiration this time was some photos online of some mid-century furniture that I was looking at. While this piece is not a direct copy of any one of the pieces I saw online it was inspired by several.


The dresser is not a bad size to begin with, just a bit clunky because of the top and bottom being a bit large for the scale. I am happy that the dressers they carry do seem to be sized really nicely for dollhouse scale.


As normal before we can proceed with the flip we need to do some dis-assembly first. This piece co-operated fairly well with the process. I was able to just briefly heat each drawer pull with my heat tool and they came out very nicely with a pair of jewelry pliers. Do be sure to put these in a safe place we will need them again later.


The top and bottom both needed to come off since I felt they were way too big as well as too thick for the scale. By heating with my heat tool and then cutting at the seam line a bit with my knife they came off really easily.


After a bit of sanding to smooth the rough edges I replaced both the top and bottom with pieces I cut from some giant craft sticks. I cut these to be just a hair longer that the width of the dresser body. For the bottom I trimmed the length of the piece to match up with the depth (front to back) of the dresser body. I left the top to give a nice overhang on the front.


After this glue dried I added new legs cut from bamboo skewers, the ones you find in the kitchen. Mine are about an ⅛” in diameter. I cut the legs to be about the same height as the legs that had originally been on the dresser.


The best tool I have ever found to use when cutting any small round wood is a set of the nail clippers that are made to use on dog and cat claws. They will cut the round shape without flattening it like other tools do. If you look for ones meant for large dogs they are really durable too.


I glued the legs as close to the corners as I could manage. As the glue dried I added a bit more in layers with a toothpick to give it a bit more durability. The legs are not perfect but pretty close.


Next I went on to painting the dresser. I wanted to have that dark warm looking stained look of a lot of the furniture of this period. I however did not want to stain the dresser. I don't think the woods used in this piece would have taken the stain evenly. So I used a painting technique that replicates the stained look with paint.


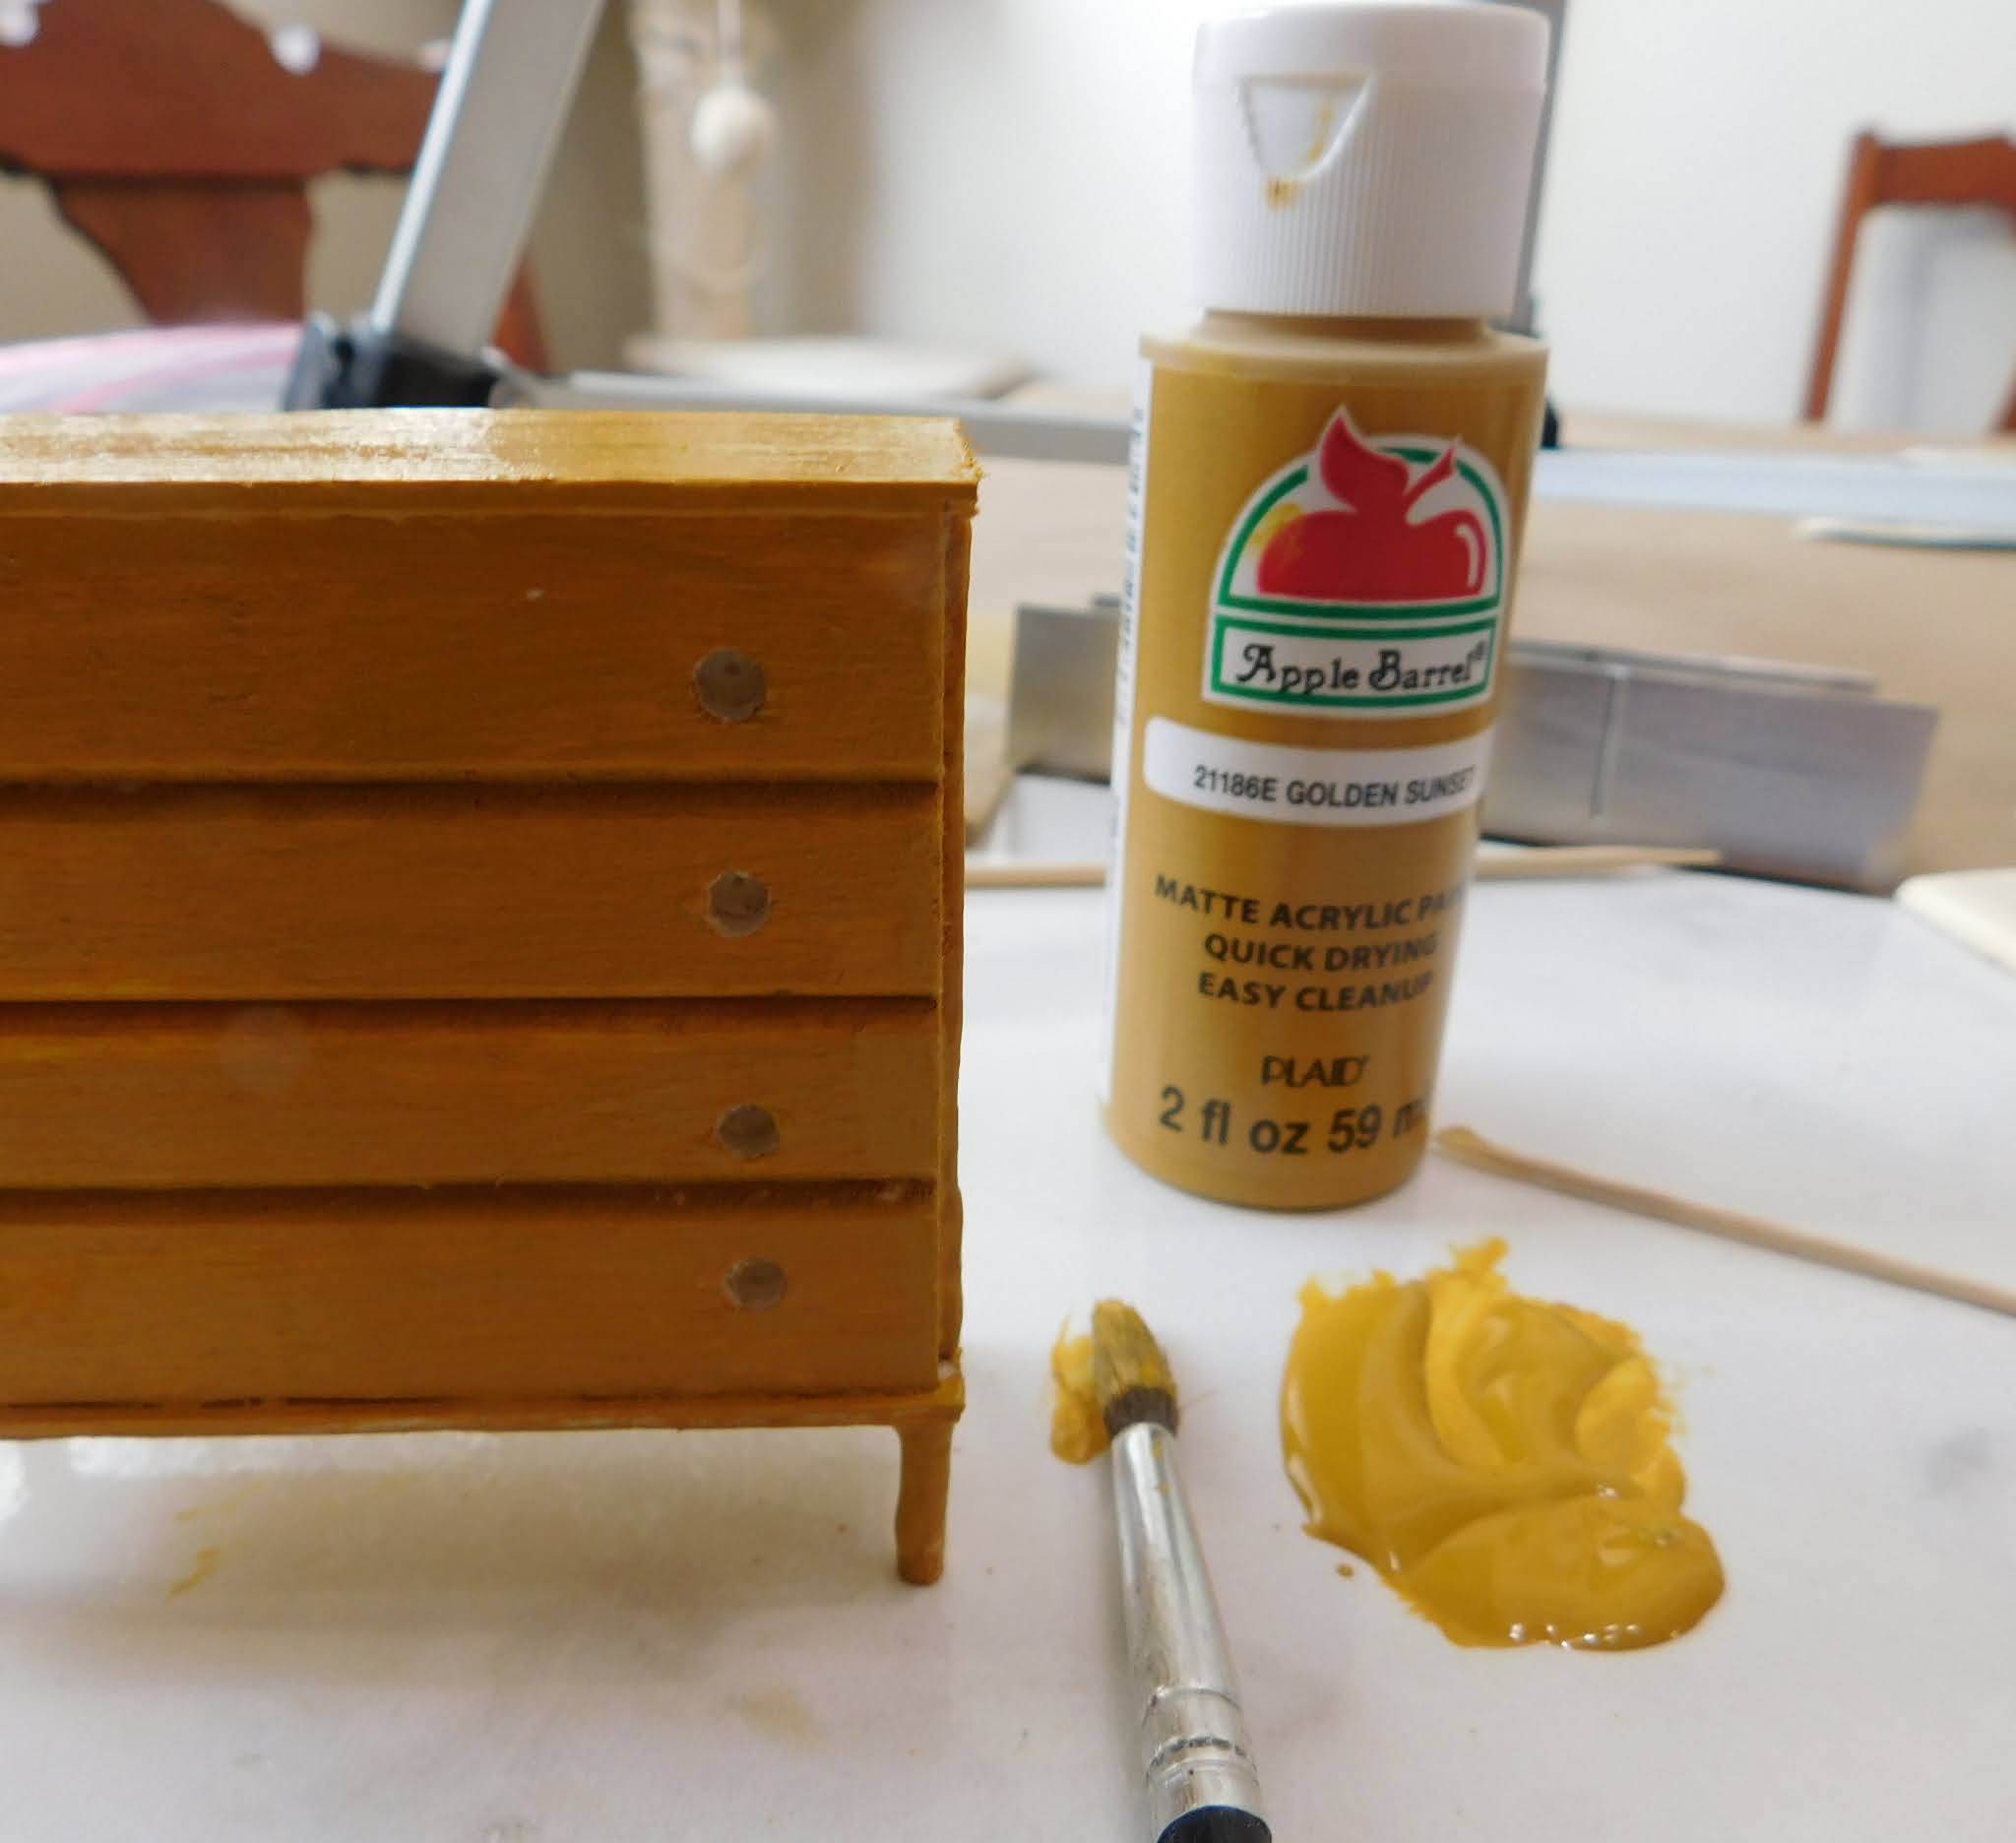
I started with a base layer of Golden Sunset by Apple Barrel, any yellow ochre color would do for this layer.


Then to top that off I mixed some Raw Umber from Liquitex Basics with some Pumpkin from Apple Barrel. I wish in hindsight that I had added a touch of water, I think it would have wiped easier and mixed better if I had. The idea with this layer is to coat the surface and then wipe it away just like you would if you were using a stain. The lines from wiping coupled with the yellow base-coat combine to give the impression of a stained piece of furniture.


I decided to re-use the drawer pulls from the piece. I had damaged one of them but I had several in my stash from some of the other pieces I have flipped lately so it was easy to come up with 8 that were fine.


For these I just gave them a nice coat of Metallic 14K Gold from Ceramcoat.


Gluing the drawer pulls back onto the dresser was an easy step.


Then just a quick coat of Satin Mod Podge and the transformation was complete.


As always I do want to sincerely thank all of you for watching my videos and reading my blog posts. It means so much to me that you are supporting me in this way. If I could ask you all to do just a bit more by subscribing to the channel and liking the videos and leaving comments. Those help more than you can imagine. Also if you could pass the links on to your friends I would appreciate it so much.