
The next couple of weeks we are going to be working on this pool table makeover. I know this is a really big item and not everyone will have room for it but I hope it will be interesting anyway.
So the reason I am doing this is because one of my YouTube viewers had reached out for some ideas on how to make a pool table. They told me about the project they are currently working on and I knew I had to figure out a way to do it.
So their project is a man cave that is housed in a freestanding garage. They have the building built and some of the interior done as well as a small portion of the “stuff” that will be needed.
The project is being done in memory of a good friend of theirs who unfortunately passed away recently. He had always wanted to convert his garage into a man cave and have a pool table, a bar, big screen TV, and a juke box as well as a lot of other things. Since he never got to have it this mini many cave will be a wonderful way to remember him and to fulfill his dream in a way.
So after I read the messages about the project and looked at the pictures I was sent I started thinking. I mean I had to, I wanted to be able to help in anyway I could.

It just happened that I walked over to the new Dollar Tree near me. As I was wondering the aisles I happened to see this pool table game in with the part games. I thought it sure looked like it was in scale so I grabbed it.
I knew I would need to pick up something to use as legs though. I searched for either dowels or the “tumbling block” game and found neither in the store. I was just about to give up on finding legs at the dollar store when I looked at the package of foam brushes. That was it! There were 6 foam brushes and the handles were basically just dowels. Perfect!
When I got home I checked for the size of pool tables and according to my google search a regulation pool table is 4 ½’ by 9’ and about 30” tall. The pool table in the package measures 4 ½” by 8 ½” so I am happy with that.

To create the legs I used my X-acto miter box and saw to cut 1 ½” of handle from 4 of the brushes.
Next I washed the plastic table top (after removing the cardboard insert) with hot soapy water. I let it dry and the wiped it with white vinegar and let that dry. This step will remove any oil that might have transferred to the plastic from being handled.

Then the table top and the legs got a good coat of black craft paint. I did go back and touch up any areas the I missed once the paint dried.
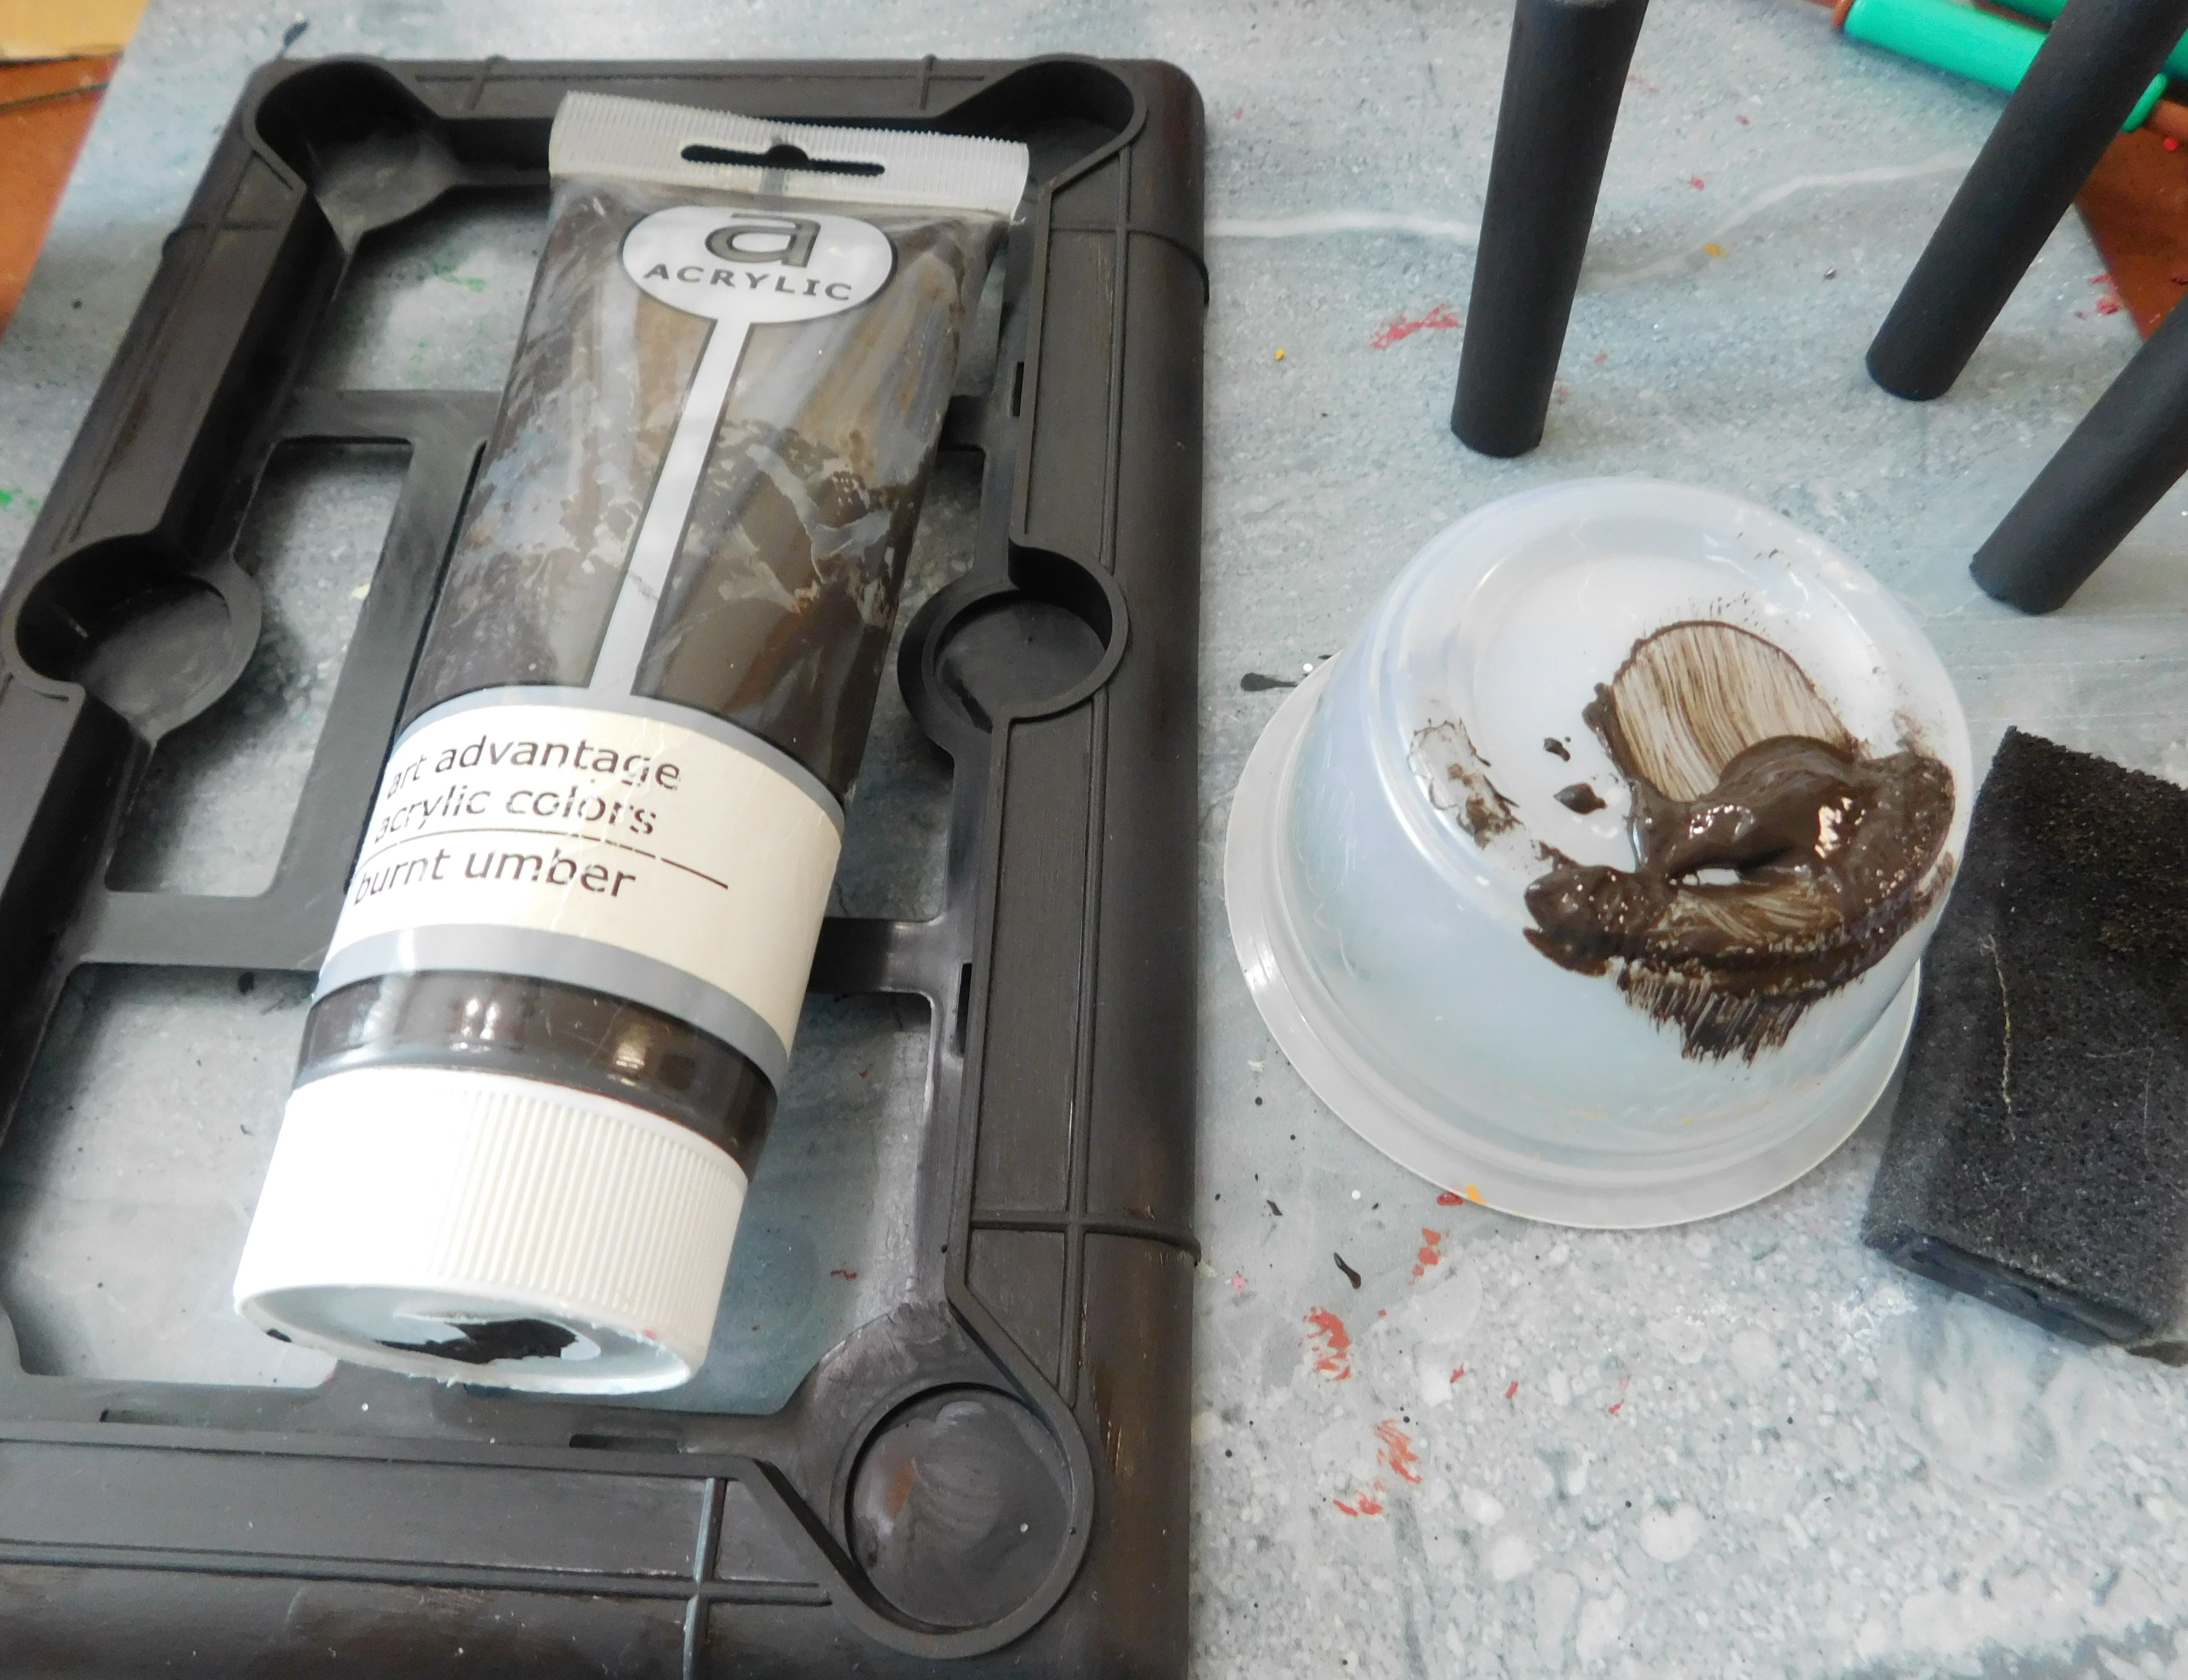
Once the black paint had dried I went in with some dark brown paint and did a light coat, wiping off some of it to try and get the start of a wood grain look. I am trying to get the look of faux walnut. So it will be very dark. This is just the first layer of the painting technique, I will probably do more once the table is put together. I wanted to make sure I had everywhere that might show covered with a light coat of the brown and then if I can’t get into some of the tight areas later it won’t matter so much.

Once the paint was dry I needed to glue the legs to the bottom of the table at the corners. For this I decided to try the Fix-all Adhesive that Dollar Tree sells. I have never used this before and I wanted to try it out. The instructions say to apply some to both surfaces and allow it to set for 10 minutes then put the surfaces together. The first thing I can say is this has to be the worst smelling glue I have ever used!! IT STINKS!!! I had to open a window and even then it gave me a headache in just a few minutes and it smelt bad hours later.

After the glue had it’s 10 minutes I added the legs to their spots on the bottom of the table. I wish I had thought to grab a new bottle of regular super glue because a few dots of that would have made getting the legs to stay in position a lot easier. As it was I did end up adding a lot more glue to some of the legs and it I had to keep checking on the legs for a couple of hours to make sure they were going to stay where I wanted them.
So my first impressions of this glue is not very favorable at all.
Since the glue does say it needs to cure for 24 hours that will be the end of this week’s video. Next week we will probably add to the paint to get the look I am after and work on the “felt” top also. Then I might do a 3rd video of some of the accessories for the pool table like the cues, the triangle thing that holds the balls (can you tell I don’t play pool??) and probably some balls that are a better size. Maybe even a rack for the cues to be placed in.
As always I do want to sincerely thank all of you for watching my videos and reading my blog posts. It means so much to me that you are supporting me in this way. If I could ask you all to do just a bit more by subscribing to the channel and liking the videos and leaving comments. Those help more than you can imagine. Also if you could pass the links on to your friends I would appreciate it so much.
No comments:
Post a Comment