
This week we will be starting to work on some accessories for the pool table we created over the last two weeks. I had originally planned to get more done this week but due to things out of my control I didn’t get as much time to work on the project as I had wanted. So we will be making the cue sticks this week and next week we will be working on the pool balls and the triangle rack for them.
For the pool cue sticks (or whatever the correct term is) I did debate over a couple of things to use. I decided that bamboo skewers would be the easiest to use and also probably the easiest for most of you to be able to find.

The first thing I wanted to do was cut off the sharp point on the end of each one. You can use any tool that is safe to use to cut them (please don’t even think about using scissors) I used a pair of pet claw trimmers. I like these because they are designed to cut things that are round in shape and hard (claws) so they cut safely and don’t distort the shape of the skewer.
Next measure 5” from the end you just trimmed off and make a mark. I used a Sharpie pen for this because I would be able to see it even with a coat of paint over it. I am going to cut these so that the mark is cut off.
I also wanted to use some sandpaper to make the cue stick have a more gradual taper than the wooden skewer had. I did find that by looking at the skewers I had on hand some of them were more tapered than others so if you are lucky there won’t be much work to get a more gradual taper.
Now on to the fun part painting. I do recommend looking online at pictures of the real thing. Some of them are absolutely beautiful. I tried to pick ones to inspire me that were simple to replicate for the video.
You will need a way to keep these standing up while they dry. I found that my small clamps from Dollar Tree worked great for this.
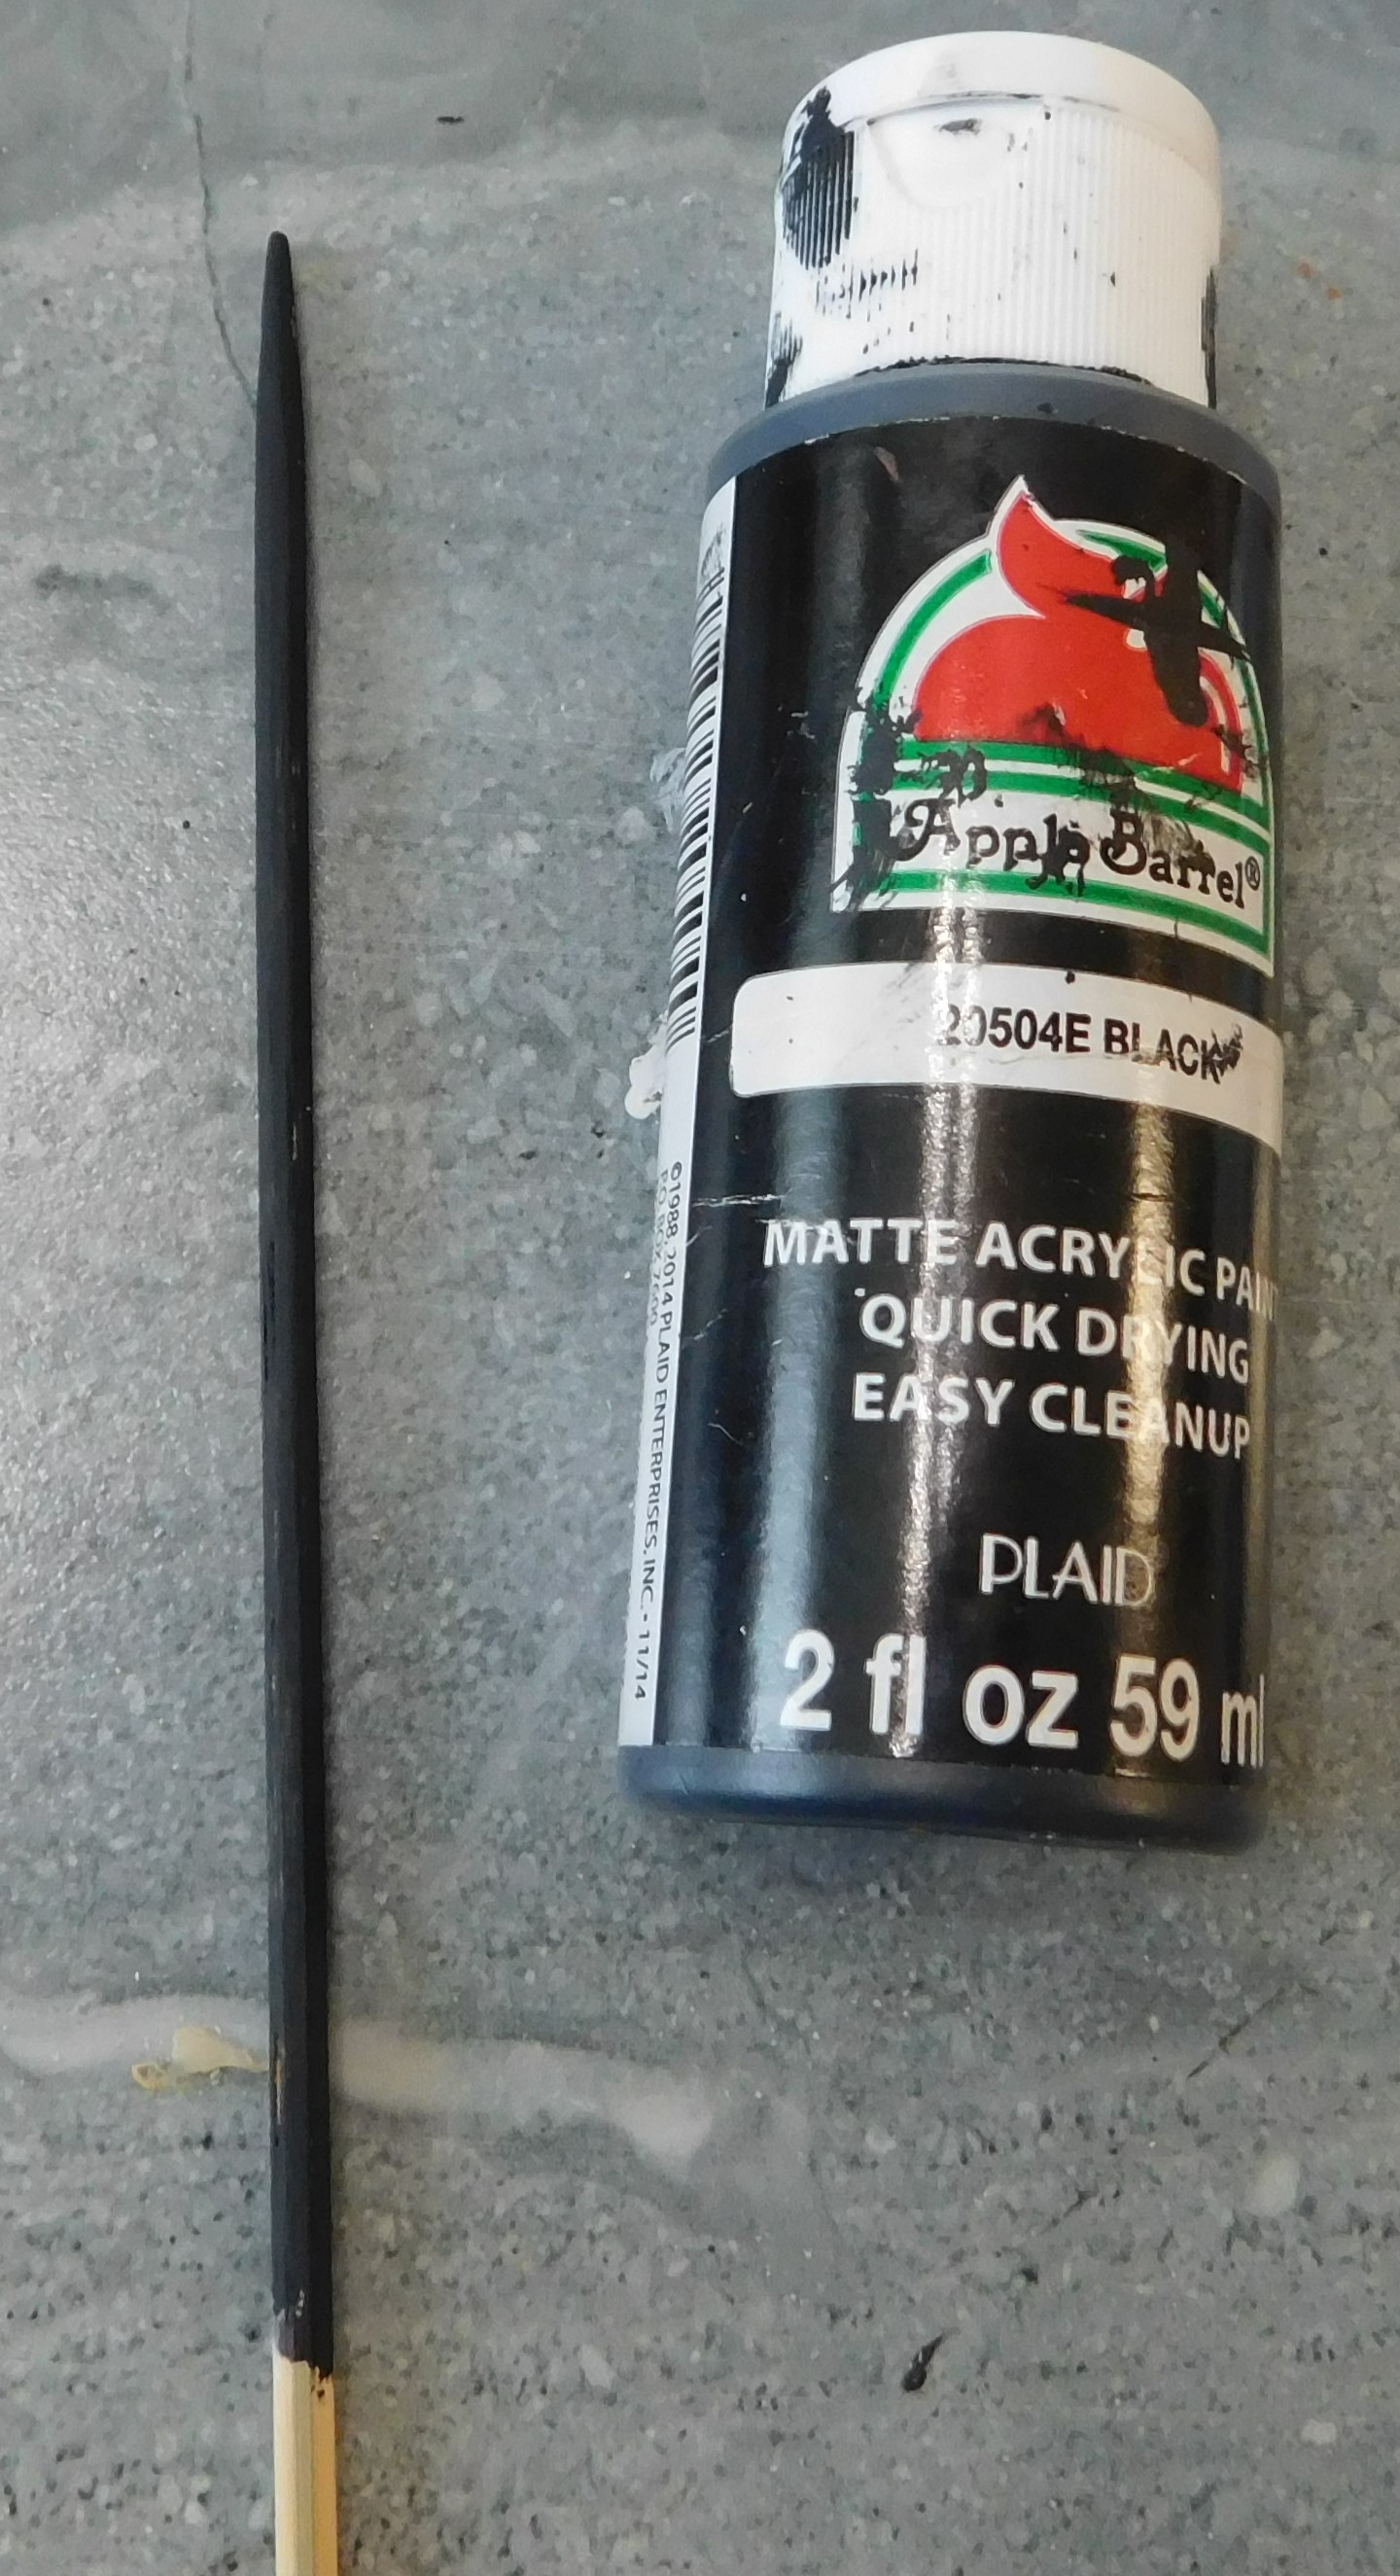
For the first one I just gave it a solid coat of black craft paint. You could use any solid color you wanted to of course.

For the second one I just used some fairly dark brown paint like a wood stain again just a simple design (sorry I was off camera while doing this one)

For the third one I wanted to replicate one I saw online. That one had a dark brown wood stain at one end then it gradually changed to an off white color at the tip end. Not sure if I got it exactly right but I like how it turned out.

I did the fourth one off camera (mainly because I had totally forgotten about it when I was grabbing paint in the other room) I decided to do something kind of the like the third one except with a plum color paint at the tip end and black at the other end. I love how this one looks in person but the camera is not really picking up the color shift.
Once you are happy with the colors go ahead and give them a coat of Satin Mod Podge or a similar clear finish.

Once dry go ahead a trim at the point you marked earlier. Then smooth the cut end with sandpaper and touch up the paint. Once the paint dries touch up the clear finish and when that dries you are finished.
As always I do want to sincerely thank all of you for watching my videos and reading my blog posts. It means so much to me that you are supporting me in this way. If I could ask you all to do just a bit more by subscribing to the channel and liking the videos and leaving comments. Those help more than you can imagine. Also if you could pass the links on to your friends I would appreciate it so much.
No comments:
Post a Comment