
As you might remember I purchased some UV resin a while back and I have been using it the last month or so. I am in love with it and I think we are going to be able to some really cool stuff with it. At the same time I purchased some bottles of pigment ink (I am assuming they are pigment ink, they just say pigment on the label) And I have to admit until this week they had sat in the box they came in untouched. I think I was a bit intimidated by them. Remember the entire UV resin world is new to me. So I decided it was time to dive into those little bottles and see what I have.
Since I really prefer to work from actual swatches over trying to guess colors that are contained in bottles I decided I wanted to create some swatch cards. I did have to try a couple of ideas in order to come up with what I think is a good option. To be absolutely honest, this is the 2nd version of the swatch cards, I filmed another idea yesterday and as I was finishing up figured out his much better method. So this morning I started from scratch.
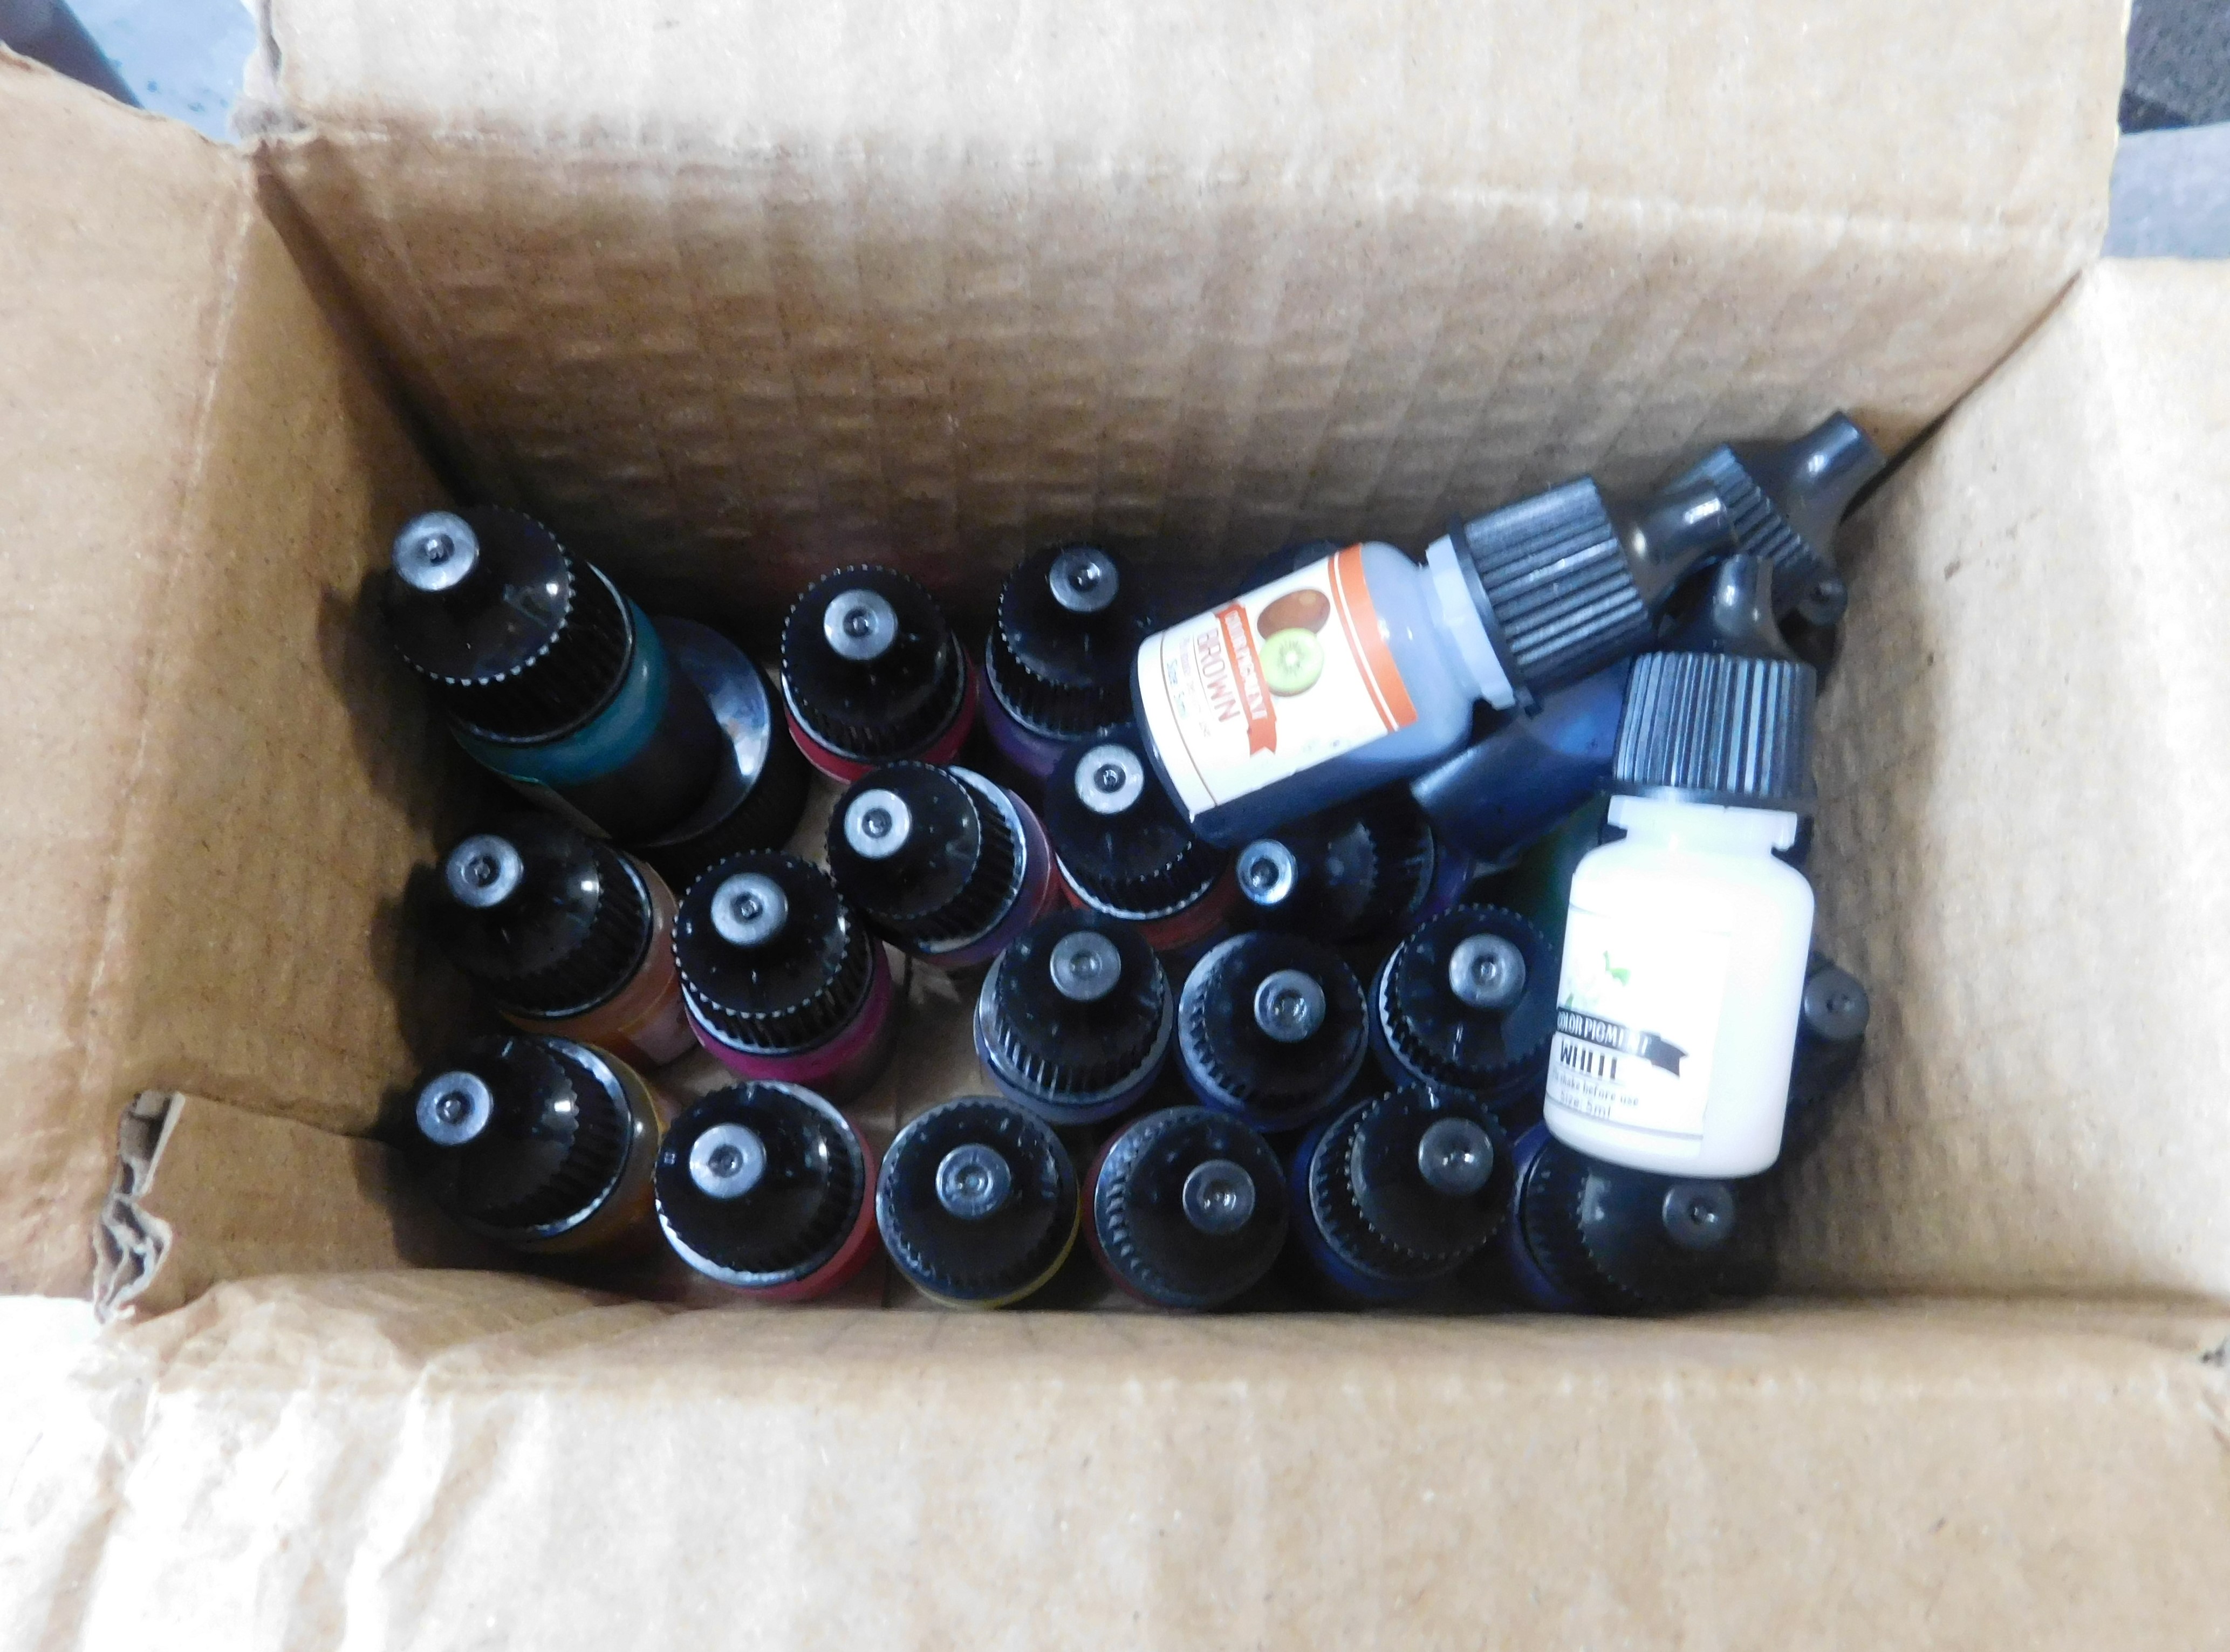
In order to get ready I did open all the ink bottles off camera. This was a tedious process but I watched a couple of videos and got them all opened. If you get similar inks you will need a pin of some kind to pierce the top.
I have 24 colors of the inks, and since I decided to use some index cards as the base for the swatch cards I could easily get up to 10 swatches on each card. So I needed to create 3 cards.
I sorted the inks by color and decided to make the following groups.
Card
1- reds, oranges, and yellows.

Card 3- black, gray, white and browns.
To create each swatch-
I am working on aluminum foil because neither the ink or the resin will soak into it. Also be sure to wear your gloves while working with resin.

First step was to put out a small amount of resin on my foil. This I made sure to keep covered with a cup whenever I wasn’t dipping into it so it would stay workable.

Next I put out a dot of the ink on the foil. Be sure to shake the ink in the bottle before using it.

Now a single dot of UV resin on my swatch card.

I dipped a toothpick into the first amount of resin to pick up just a bit.
I mixed this small amount of resin into my drop of ink.

Then I carefully mixed this combination into the drop of resin on my swatch card.

This was then cured with my UV light.

I wrote the color name next to the color swatch.
The process I am describing is what worked the best for me, feel free to try doing it differently if this doesn’t feel like it is working for you.
I did find that once I got my system down I was able to do about 3 swatches and cure them all at one time. This saved a lot of time. More than 3 and I found that the color bled a bit into the card at the edge of the swatch.
I
did want to show you something I found interesting about the inks in
the bottles. I guess it goes with the whole you get what you pay for
adage. I noticed that the bottles of ink were not all full. I took
pictures of each group of bottles from the back to show you the
variation in fill levels. Keep in mind at most I have used 3 drops
from each bottle. Most have just had 2 drops taken out. So they were
definitely not all full when they arrived.

As always I do want to sincerely thank all of you for watching my videos and reading my blog posts. It means so much to me that you are supporting me in this way. If I could ask you all to do just a bit more by subscribing to the channel and liking the videos and leaving comments. Those help more than you can imagine. Also if you could pass the links on to your friends I would appreciate it so much.
No comments:
Post a Comment