Check back often

Have you checked out all my blogs?


Dollhouse Minis: http://joannesminis.blogspot.com


18” Dolls: http://joannes18dolls.blogspot.com/


General Crafts: http://joannes-place.blogspot.com/


Cooking: http://joanne-kitchen.blogspot.com/


Also if for some reason I can't post I will try to give a head's up on the Facebook page so check there too.

Showing posts with label UV resin. Show all posts

Wednesday, July 24, 2024

Dollhouse Miniature- Ink Swatch Cards


Watch the video here.


As you might remember I purchased some UV resin a while back and I have been using it the last month or so. I am in love with it and I think we are going to be able to some really cool stuff with it. At the same time I purchased some bottles of pigment ink (I am assuming they are pigment ink, they just say pigment on the label) And I have to admit until this week they had sat in the box they came in untouched. I think I was a bit intimidated by them. Remember the entire UV resin world is new to me. So I decided it was time to dive into those little bottles and see what I have.


Since I really prefer to work from actual swatches over trying to guess colors that are contained in bottles I decided I wanted to create some swatch cards. I did have to try a couple of ideas in order to come up with what I think is a good option. To be absolutely honest, this is the 2nd version of the swatch cards, I filmed another idea yesterday and as I was finishing up figured out his much better method. So this morning I started from scratch.


In order to get ready I did open all the ink bottles off camera. This was a tedious process but I watched a couple of videos and got them all opened. If you get similar inks you will need a pin of some kind to pierce the top.


I have 24 colors of the inks, and since I decided to use some index cards as the base for the swatch cards I could easily get up to 10 swatches on each card. So I needed to create 3 cards.


I sorted the inks by color and decided to make the following groups.


Card 1- reds, oranges, and yellows.

Card 2- greens, blues, and purples.

Card 3- black, gray, white and browns.


To create each swatch-


I am working on aluminum foil because neither the ink or the resin will soak into it. Also be sure to wear your gloves while working with resin.


First step was to put out a small amount of resin on my foil. This I made sure to keep covered with a cup whenever I wasn’t dipping into it so it would stay workable.


Next I put out a dot of the ink on the foil. Be sure to shake the ink in the bottle before using it.


Now a single dot of UV resin on my swatch card.


I dipped a toothpick into the first amount of resin to pick up just a bit.

I mixed this small amount of resin into my drop of ink.


Then I carefully mixed this combination into the drop of resin on my swatch card.


This was then cured with my UV light.


I wrote the color name next to the color swatch.


The process I am describing is what worked the best for me, feel free to try doing it differently if this doesn’t feel like it is working for you.


I did find that once I got my system down I was able to do about 3 swatches and cure them all at one time. This saved a lot of time. More than 3 and I found that the color bled a bit into the card at the edge of the swatch.


I did want to show you something I found interesting about the inks in the bottles. I guess it goes with the whole you get what you pay for adage. I noticed that the bottles of ink were not all full. I took pictures of each group of bottles from the back to show you the variation in fill levels. Keep in mind at most I have used 3 drops from each bottle. Most have just had 2 drops taken out. So they were definitely not all full when they arrived.


As always I do want to sincerely thank all of you for watching my videos and reading my blog posts. It means so much to me that you are supporting me in this way. If I could ask you all to do just a bit more by subscribing to the channel and liking the videos and leaving comments. Those help more than you can imagine. Also if you could pass the links on to your friends I would appreciate it so much.


Sunday, July 14, 2024

Dollhouse Miniature Birdbath


Watch the video here.


I have been wanting to make a new birdbath for a while and just didn’t find any pieces to use to inspire me. Then a few days ago I was looking through my stash of misc things I have horded over the years. I came across the two pieces you see in the picture a bottle cap and a toothpaste cap. Those got me to thinking about this project and when I put them together I liked the shape I got. It really looked a lot like a couple of the birdbaths I had been inspired by.


The next task was to find my glue. For whatever reason I could not locate my either of my tubes of e6000 that I know I have. However, I did find my tube of Shoe Goop and decided to use it. In the end it worked great and since I have it I really want to use it up before it all dries in the tube.


So connect the two pieces together with an appropriate glue and allow the glue to cure according to the package directions. These types of glues tend to need plenty of time to cure, also be sure to open a window or otherwise ventilate the area because the fumes are not good for anyone to breathe.


Once the glue cured I used some Mat Mod Podge to act as a glue and attached small pieces of white tissue paper, the kind you get near the gift wrap at the dollar store. I did just small areas at a time and then allowed the glue to dry a bit. If you try to do too much at a time it just moves around and doesn’t give as good of a coverage. Be patient and just keep coming back and doing little areas.


Once you have covered the original texture of the parts and they are looking like a cohesive unit it is time to paint.


Since  the top portion of my birdbath looked a lot darker in color than the bottom I decided to do a base coat of an opaque white craft paint to make an even colored base to work on. Once this is dry we can do the fun painting part.


I chose 3 colors of craft paint tones of gray and a very gray-blue color. That’s a combination I really like right now for items with this type of texture. I put just a bit of each color out on a work surface and used a flat stencil (?) brush to apply the paint colors by stippling them on.


 I did have to come back with a cotton swab to get into tight areas. In the end I think I used a lot more of the blue than the grays but it looks very gray. By using three (or more colors) I feel the texture really comes to life. The birdbath almost looks like it was made from stone and not bits from my stash.


Allow the paint to dry completely before going to the next step.


Now it is time to add the water to the birdbath. I am using my UV resin for this. I decided to add a rock to the birdbath to give the mini birds a place to sit to enjoy their birdbath so that was the first step.


For that place your tiny rock about where you want it in the birdbath basin and add just a bit of the UV resin around it. I did use a toothpick to move the rock around to try to make sure no air was trapped under it. Then use the UV light to cure the resin following the time recommendations for the brand of resin you are using.


Once cured add thin layers of resin to build up the “water” level that looks right to you. Be sure the final layer is smooth before using the light to cure it any bumps in surface will become permanent when cured.


As always I do want to sincerely thank all of you for watching my videos and reading my blog posts. It means so much to me that you are supporting me in this way. If I could ask you all to do just a bit more by subscribing to the channel and liking the videos and leaving comments. Those help more than you can imagine. Also if you could pass the links on to your friends I would appreciate it so much.


Wednesday, July 3, 2024

Dollhouse Miniature Trash to Treasure Fountain


Watch the video here.


This week I have a really fun Trash to Treasure project for you guys. The trash part is one of those cover thingies that is on the top of stick deodorant. You know the thing I mean, right? The shape has intrigued me for the longest time and I kept thinking I should be able to come up with a mini project of some kind to use it. Then it hit me a couple of days ago, its perfect for the base of a fountain. So here we have a trash to treasure project for the this week’s midweek tutorial.


We need to start by building a base for our fountain to sit on since the bottom of the plastic piece is not flat. For that I cut 2 pieces of a regular width craft stick to 2” and also a wider craft stick to 2” long. I placed the two skinnier ones on a piece of tape that is taped down sticky side up on my work tile with a small space between them. (I used a scrap of craft stick as a spacer) Then I glued the wider craft stick piece on top, trying my best to have it centered side to side and all the ends even. Let the glue dry. I do suggest adding a weight to the top of this while it dries to prevent warping.


N
ow we need to add our fountain basin to the base. Since I am gluing together a plastic piece to the wooden base I would normally have to dig out my e6000 or something similar to make that work. We all know that those types of glue smell really bad and take a while to dry. Since I am going to be using my UV resin for the water in the project I decided to use it as the glue for this part also. Since my basin piece is clear it will allow the light to reach the resin to cure it just fine. So put a bead of the UV resin in that space you left on the base add the basin and place under the UV light for the time your resin requires.


Next I gave the entire fountain a base coat of black craft paint. This will be the final color for the base but just a base color for the bowl. If you feel it needs it give the fountain 2 or more coats until you happy with the coverage.


F
or the bowl of my fountain I wanted a copper color but I don’t have any copper color paint (or nail polish, which would have also worked here) so I mixed craft paint to get a color I liked. I started with some gold and pumpkin colored paint but after the first coat of paint dried I decided it needed a bit of an adjustment so I added just a touch of a bight red and it turned out perfect. I did need 2 full coats to get both the color and coverage I wanted.


Now onto the fountain part of our fountain. I had to make a quick run to Dollar Tree and of course I had to check out the craft aisle. They had these black beads and I thought this would be the perfect piece for the fountain. The only down side is they have a huge hole in them, I needed to fill in that hole and at the same time add the little bit that comes out the top for the water to come out of. For this I grabbed a wooden skewer and painted a portion black. Once the paint dried I cut a piece of the skewer that was just a bit longer than the diameter of the bead. The bead is about ½” in diameter and I cut the skewer to just under 5/8” long. I then wrapped a few layers of black paper around the base of the skewer to help fill that hole a bit better. You will have to play around with yours to get the right amount of paper to fill the hole and still fit in there.
Allow the glue to dry.


Off camera I took a small container to the parking lot and found a small pile of sand that would work for rocks in my fountain. I then took those home and washed them and allowed them to dry completely. Remember sand in real scale is the size of small rocks in mini.


For the first layer in the fountain I wanted just a thin layer of the “rocks” along with some resin to make a level base to set the bead part on top of.


Next add just a thin layer of resin and set the bead in place. Do be careful that it sits straight up and down and cure as directed on your resin.


Next I added another thin layer of rocks followed by a very thin layer of resin and cured it again. You can add as many layers as you want to get the look you want. I did leave mine so that the very top surface of the larger rocks are just peeking out of the top of the resin.


N
ow it is time to add the water coming out of the top of the bead. I have no idea what that part is called, maybe the spout or bubbler (???) I have no idea. But anyway start by adding just a drop of resin the top of that skewer that sticks out of the top of the bead and cure it. Keep repeating this until the water stands up on top to form a what looks like the water coming out of the top of the fountain.


Now we can add some water running down the sides of the bead into the basin of the fountain. I like the look of this with more areas of the bead dry and just a few streams of water going down but make yours the way you like best. Just work with a small amount of resin at a time and cure it often. Remember gravity is a thing and will pull that carefully placed resin down until you cure it.


As always I do want to sincerely thank all of you for watching my videos and reading my blog posts. It means so much to me that you are supporting me in this way. If I could ask you all to do just a bit more by subscribing to the channel and liking the videos and leaving comments. Those help more than you can imagine. Also if you could pass the links on to your friends I would appreciate it so much.


Wednesday, April 24, 2024

Dollhouse Miniature Flowers in a Vase


Watch the video here.


This week for our Midweek Tutorial I decided to use some of the small flowers and leaves from the Dollar Tree Floral stems I showed last week as well as the UV resin I got a while back and a large glass from one of the Blind Bags and make a vase of flowers.

I had planned to get a chance to play with the resin off camera but I never got around to it. I have to admit I was finding the entire idea of using the UV resin to be a bit intimidating. I have been looking at the bottle ever since I did the video when I showed it to you all. I just couldn’t seem to get over that fear of the unknown so I kept putting it off.


When I was looking at the flowers on those floral stems I decided it was time to bite the bullet and just do this.

Since I also have amassed a rather large collection from the blind bags of things I decided to pick something out of there to use as the vase.

To begin I cut some of the flowers and leaves free from the stems and kind of played around with them off camera to see what I thought would be the best arrangement. Once I had something I thought would work I turned on the camera so I could show what I was going to do.


I will say I am less than happy with the UV light I purchased and if I decide to really get into UV resin I will look for a different one. In the meantime this one is alright.


I decided to use the light lying on it’s side to cure the resin since I didn’t think the UV rays would be able to get through the flowers. The bottle said to cure for 2 to 4 minutes under a light. I left the light on for 4 minutes on one side of the vase then flipped it to the other side for another 2 just to be sure it was going to actually cure for me.


I am really pleased with how this turned out and now I am really excited to do more with the resin.


As always I do want to sincerely thank all of you for watching my videos and reading my blog posts. It means so much to me that you are supporting me in this way. If I could ask you all to do just a bit more by subscribing to the channel and liking the videos and leaving comments. Those help more than you can imagine. Also if you could pass the links on to your friends I would appreciate it so much.


Wednesday, February 14, 2024

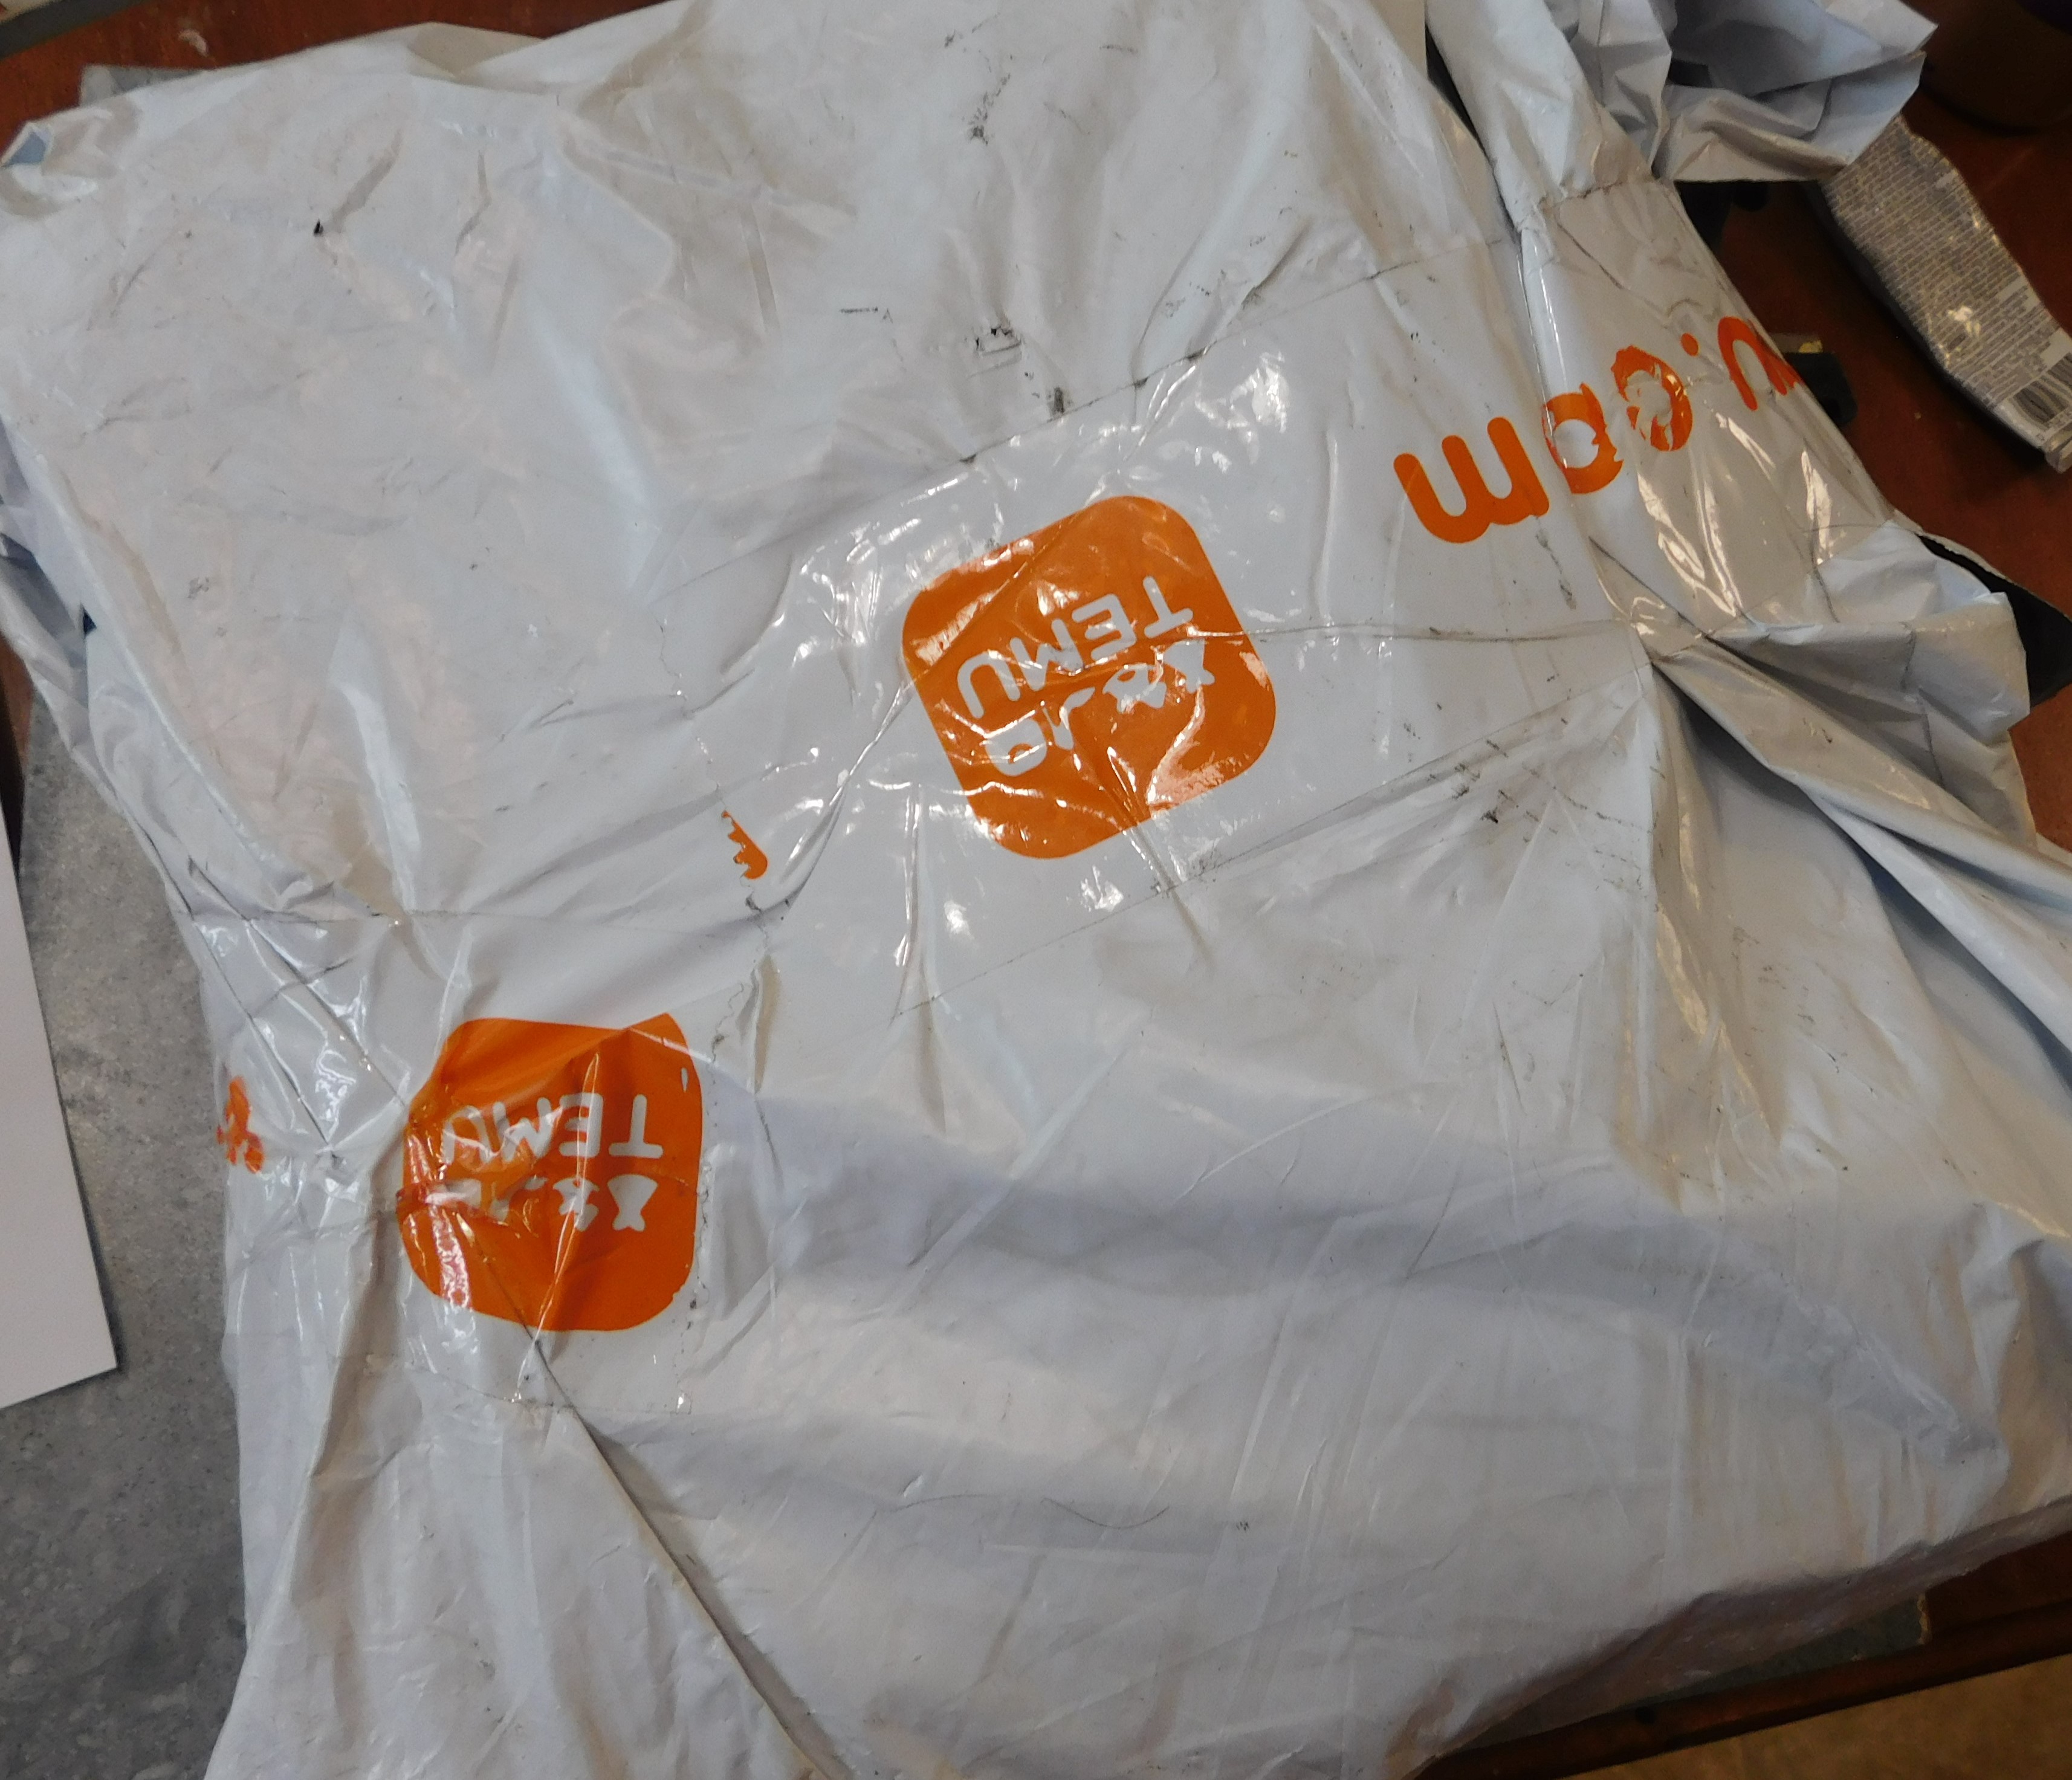
Dollhouse Miniature Temu Haul


Watch the video here.


I really wasn’t sure I would get this video up this week. It took forever to get shipped and then it sat after it cleared customs for longer than I have seen packages sit in the past. Then according the tracking it took a really round-about trip to get to me. Then it reached Fargo where I live and tracking stopped. UPS said they had turned it over to the USPS. Meanwhile the USPS tracking said that UPS still had it. Then out of nowhere I got several messages from the various tracking systems that it had been delivered. Now the made dash to film and edit and upload this so you can all see what I got.


So I have been thinking about getting into UV Resin for several months and I decided that it was time to just dive in.


So what did I get??


The UV Resin itself, I got a smallish bottle since I am not sure what I want and how it works or if I will like using it. The bottle I got is 100 g and cost around $6.75. This one says it is crystal clear, non-yellowing and fast cure. I guess as we use it we will find out if those things are true or not. It also says it is odorless, again I guess we will discover that for sure soon.


The light, the other important element of this adventure. I do know in a pinch you can cure UV resin with sunlight but I have heard that takes a very long time. I picked a small light that is charged with a USB cable so I don’t have to plug it in while I am using it. I paid $2.19 for the light. Is this a good light. I have no idea at all. Again this is all new to me and I am going to learn as I go. I figured to start I would get this one and if I find it necessary I will upgrade later when and if I feel the need to.


The gloves, anytime you are working with any kind of resin you should be wearing gloves. I decided to try this set to see how they fit and what the quality is like. As you saw in the video I tried one on and it fits exactly like I hoped it would. I did get a size medium in case you are curious. I paid $1.48 for a package of 10 gloves (5 pair) but now that I know I like them I will definitely be getting a much larger package. And yes they are food safe so the same gloves for in the kitchen and the craft-room is a nice thing.


The tweezers, these are not really part of the resin haul other than I ordered them at the same time. I needed a new pair of tweezers and I happened to see these and just ordered them. They come in 3 colors- the purple, a pink, blue, and white. They cost was only $1.48 so I wasn’t sure how they would be but so far they seem really good. They feel good in my hand and they spring back really nicely.


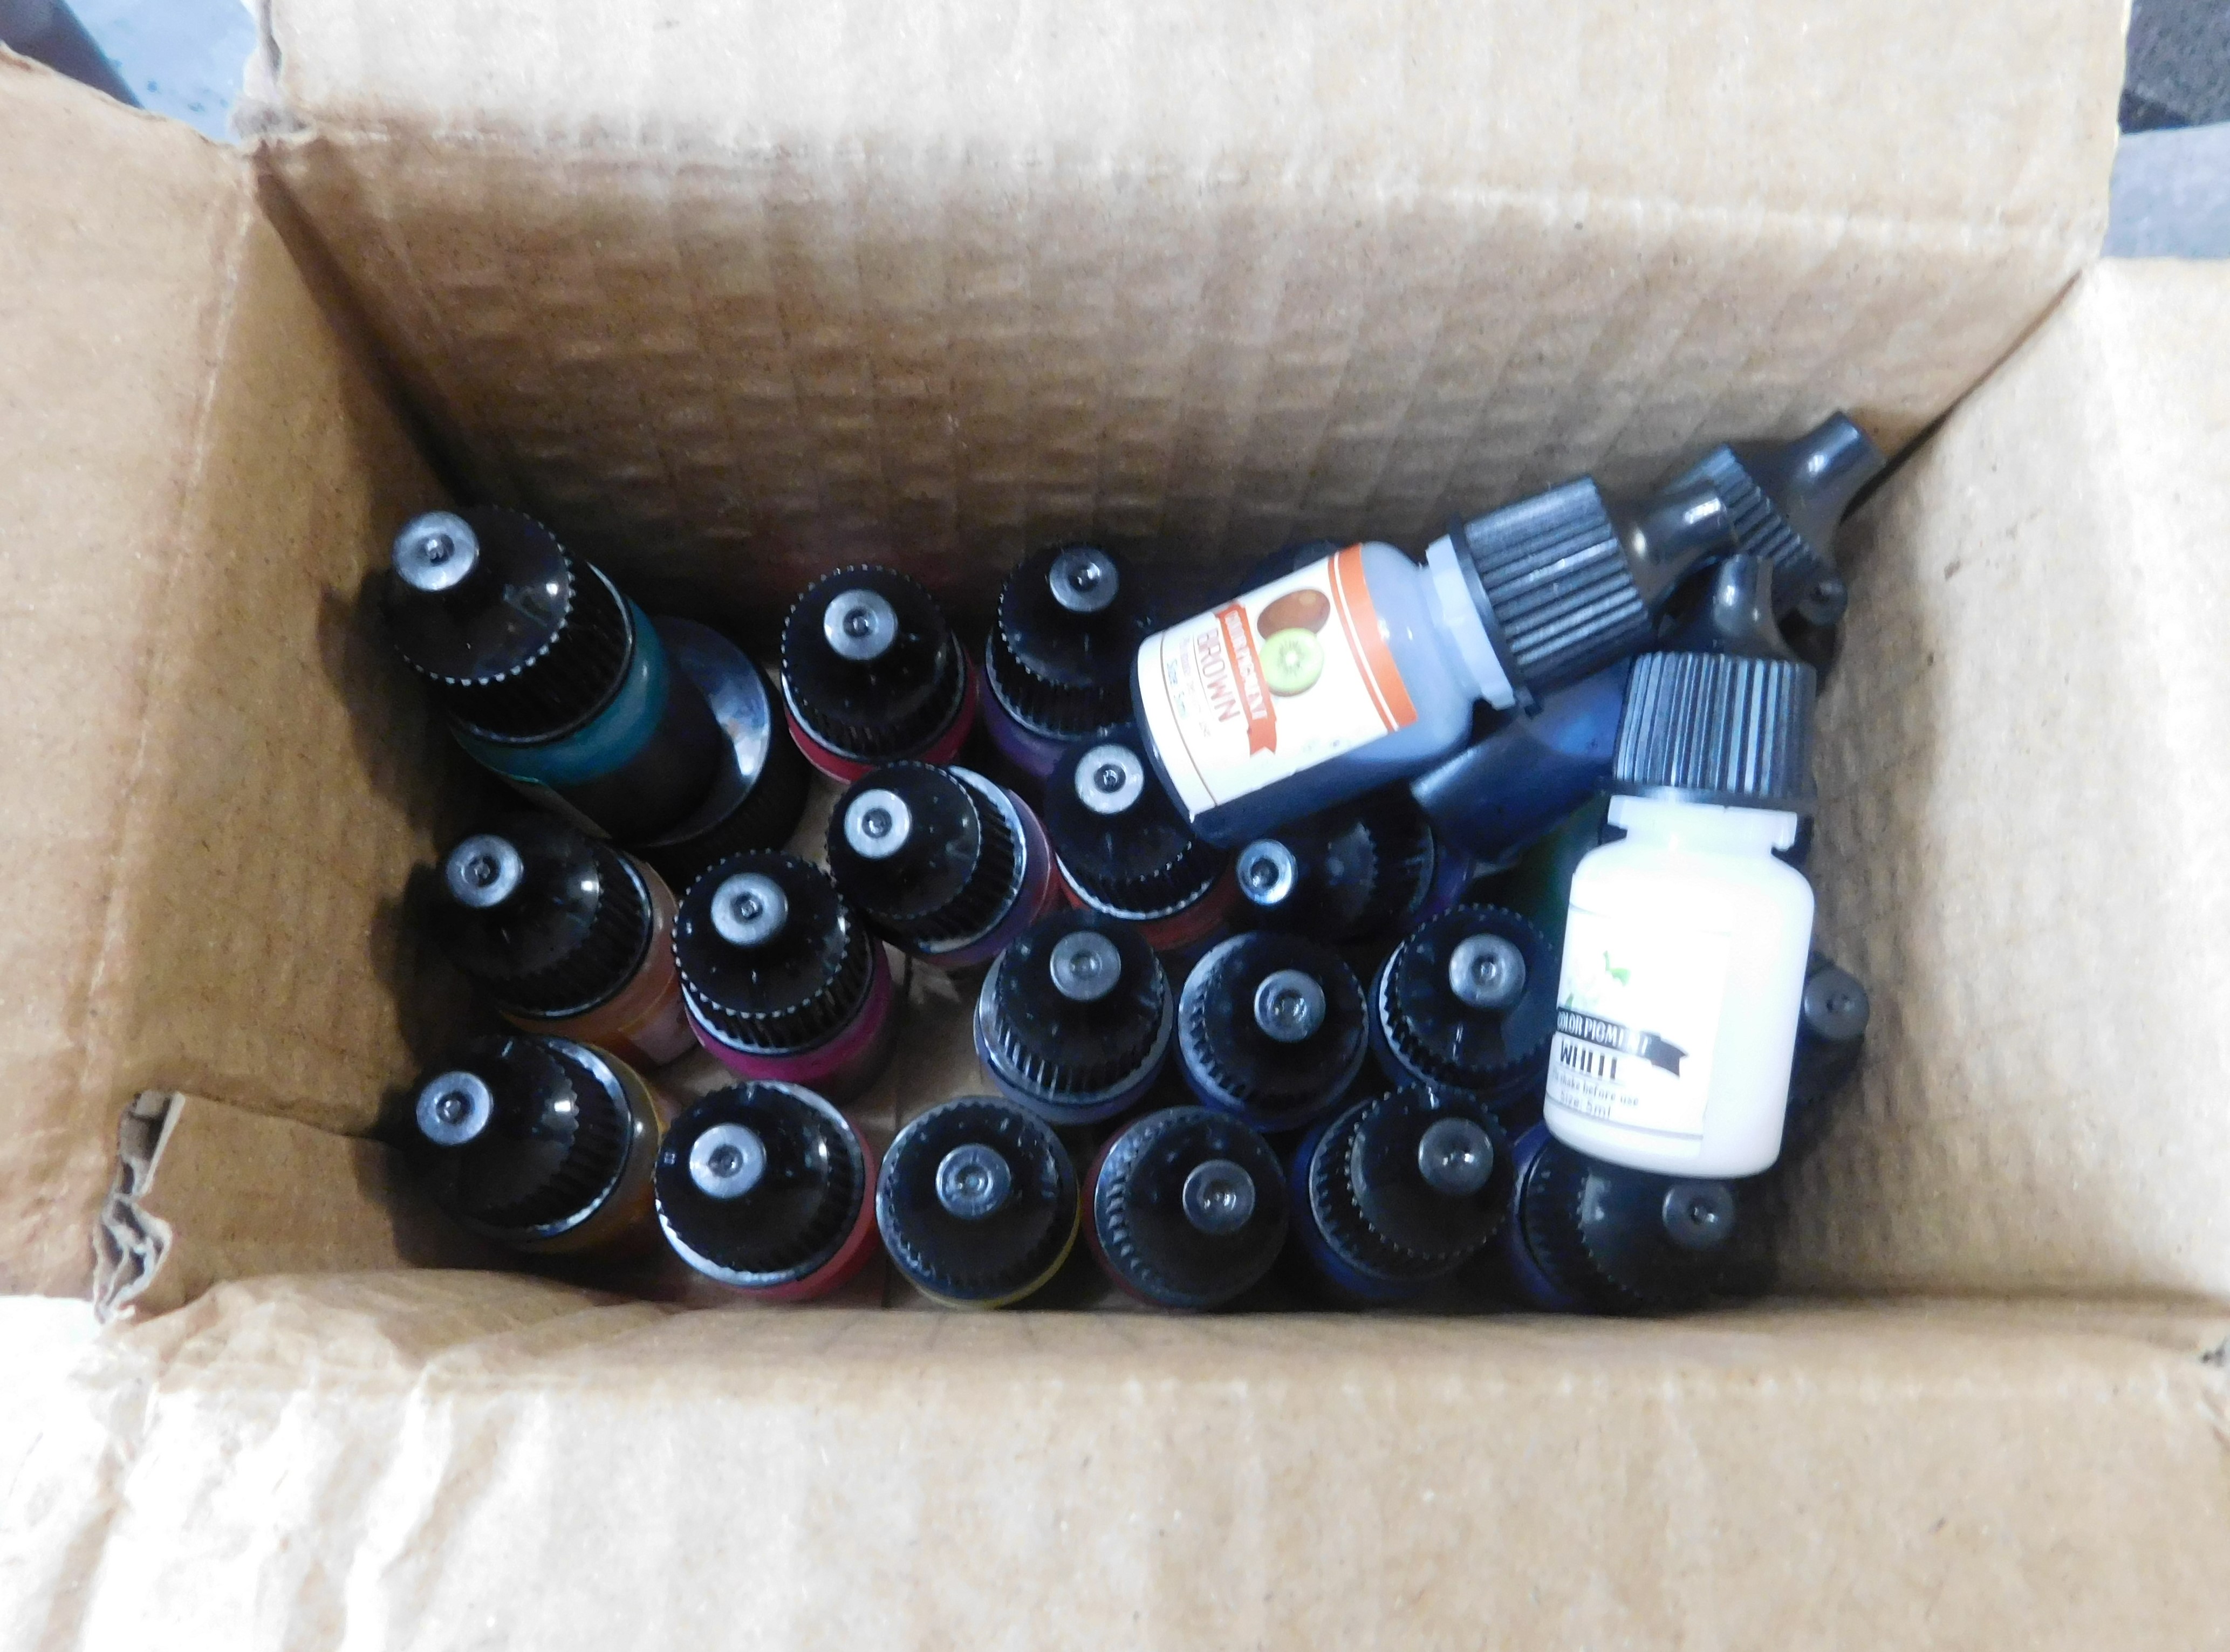
And the last item the resin pigments I got a set that has 24 colors hoping that I will be able to make anything we decide the dolls need. The bottles are tiny about 5ml each and I have no idea how long they will last. But again this is all new to me and I need to learn more to even know what I need to get. The cost of this set was $5.39.


I decided to take pictures of the bottles grouped by color so you could see what I got.


The neutrals-


The yellows and oranges.


The greens.


The purples.


The reds.


And the blues.


So I am super excited for this purchase and I hope to be getting some food tutorials up on the channel soon. I was hoping that I would get started with those in January but life happens and the best plans don’t always work out.


So let me know if there are specific foods you want to see.


As always I do want to sincerely thank all of you for watching my videos and reading my blog posts. It means so much to me that you are supporting me in this way. If I could ask you all to do just a bit more by subscribing to the channel and liking the videos and leaving comments. Those help more than you can imagine. Also if you could pass the links on to your friends I would appreciate it so much.