
This week we start by creating the legs that will support the BBQ Grill. For this we will need:

4 pieces of printer paper 4” by 1 ¼”
4 slim sticks cut 3” long
2 slim sticks cut 2 ¾” long
2 slim sticks cut 1” long.

Then using some thick tacky glue adhere the slim stick pieces to the paper pieces as shown. Be careful that the ones using the shorter pieces are an opposite pair so they will fit on the grill correctly. Use a scrap piece of the same slim sticks to act as a spacer between your pieces so that the legs will be able to fold around the grill. Allow the glue to dry.

Once the glue is dry we can fold the paper around the sticks as shown and trim. It is best if you have some space down the middle of the pieces when you get the paper glued down. This will make the legs fold easier when we put them onto the grill and therefore look much better. Allow to dry.

Now we are going to add a frame around the bottom half of the grill. This is the half that we added the ledge for the rack to. For this step we will need more of that heavy weight cards-stock we used last week. This time we need 2 pieces that are cut 3” by 1” and 2 that are 2 ½” by 1”. Use a tool to score ¼” from one end of the each of the 2 ½” pieces then use your grill to mark a second score spot of each one. This way it will fit your grill just right. Now glue these two pieces to each end just using a line of glue across the top edge. Wrap those scored parts around to the front and back of the grill. I was sure I had taken a picture of this step but I discovered when I was all done with filming this week that I missed this one.

Now
we can add the two 3’ pieces gluing one to the front and one to the
back of the grill. Just add glue to the top edge and the ends. Allow
the glue on this step to dry.

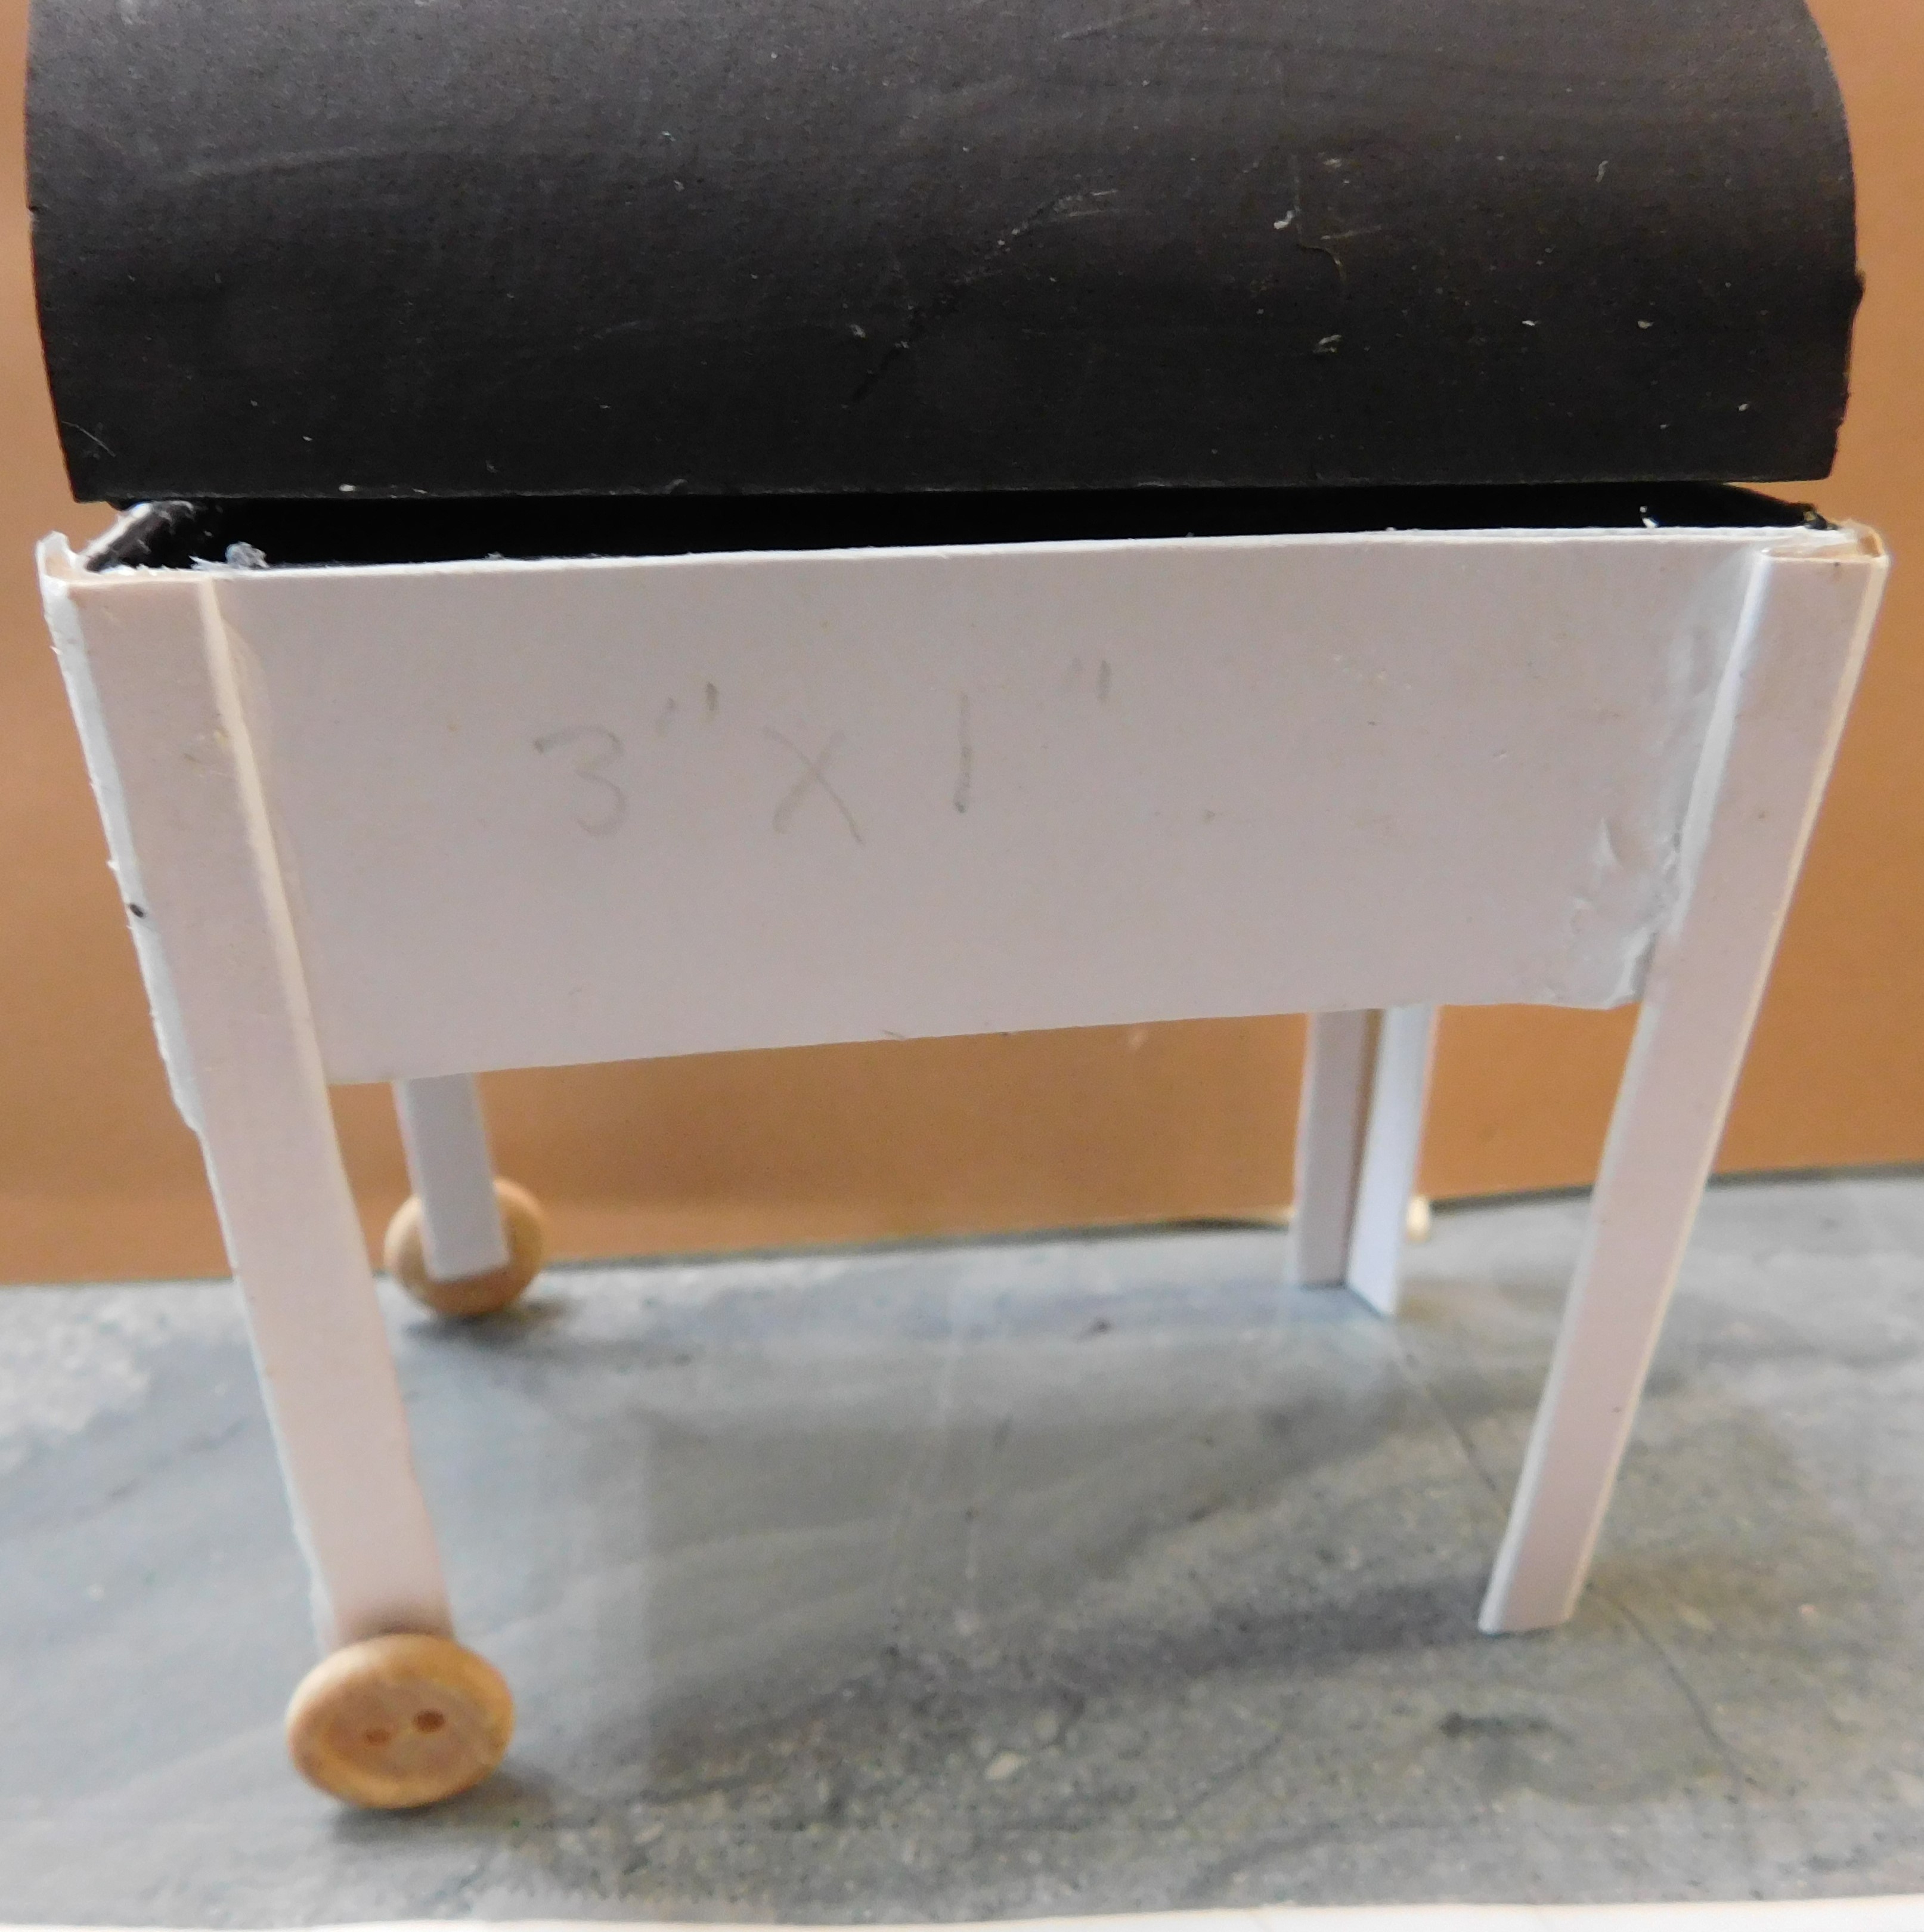
While that glue is drying we can add the wheels to the shorter set of legs we made earlier. I used some wooden ½” buttons from my stash but any button of the same size would work. If you use a plastic button use a glue that will hold plastic like e6000.

Line the holes of the button up with the end of the leg and clamp until dry. Be very careful to line the buttons up the same on both legs and to also make sure you have the leg pieces right side up so you still have legs that will wrap about the grill correctly. Allow this glue to dry completely.

Next we are going to add the legs to the grill. We start with on leg with a wheel and one plain one. Fit the legs in place without glue first so you know where you need to place them so the other side of the leg will fold around to the end. Be sure that the short side of the leg with the wheel on it is on the end of the grill. Add the glue and just glue the parts to the front of the grill making sure you will be able to fold the rest over to the ends in the next step. Allow the glue to dry enough that the legs will not move when you glue the next step. You can add a clamp to help hold the leg in place while glue dries if you wish.

Add glue to the ends of the grill and fold the rest of the leg around and glue in place. Clamp if you feel you need to.
Repeat with the other two legs on the back side of the grill being careful to add the leg with the wheel at the same end on the back as on the front. Allow the glue to dry.

Now we can make a shelf to add to the bottom of the grill. This shelf will not only add some storage to the grill but it will also make the entire grill a lot more stable. I used the rack I made last week for my measurements. I cut 2 regular size craft-sticks (the ones from the dollar store) the same length as the rack and 3 the same size as the width of the rack. I used the same tape covered graph paper that I used last week to make the rack to line up my shelf pieces. Since the craft-sticks are thicker I did use an extra stick to help the short pieces glue on flat to the long piece. Allow to dry.

Once dry add the other long piece to the shelf frame and allow the glue to dry.

Once dry flip the frame over so the long pieces are now on top. I found that 3 craft sticks were just a tiny bit too wide to fit between my long pieces so I sanded one of my pieces down to fit perfectly. If you use different craft sticks you might need to adjust the number that will fill this space on your shelf. My sticks are cut the same length as the long sticks already in place. Just glue in the number of sticks you need to fill the area between the long ones. Clamp and allow to dry.

Trim any pieces that were cut too long and sand if needed.

I found the easiest way to make sure my shelf glued in place level was to use something under the shelf to hold it in place. I used one of the little containers I have on my table to put paint/glue onto. Anything that is just under 1” tall will work. Add glue to the legs and put the shelf in place as level as possible with whatever you are using as a brace to help hold it until the glue dries. Once the glue dries add just a bit more glue to the joints and allow that to dry also.
Now it is time to paint the parts we added this week with the same black craft paint we have been using all along. It will probably take two coats. Just make sure you cover all the paper and wood that show on the grill and allow it to dry.

Next week we will add some details to our grill.
As always I do want to sincerely thank all of you for watching my videos and reading my blog posts. It means so much to me that you are supporting me in this way. If I could ask you all to do just a bit more by subscribing to the channel and liking the videos and leaving comments. Those help more than you can imagine. Also if you could pass the links on to your friends I would appreciate it so much.
No comments:
Post a Comment