Check back often

Have you checked out all my blogs?


Dollhouse Minis: http://joannesminis.blogspot.com


18” Dolls: http://joannes18dolls.blogspot.com/


General Crafts: http://joannes-place.blogspot.com/


Cooking: http://joanne-kitchen.blogspot.com/


Also if for some reason I can't post I will try to give a head's up on the Facebook page so check there too.

Sunday, May 26, 2024

Dollhouse Miniature Pool Table Accessories pt 2


Watch the video here.


This week we are starting out making the balls for the pool table. I know the toy did come with some but they were very large and way out of scale. I went through my stash and pulled out my bag of Seed beads that I purchased at Walmart many years ago. I measured them and they are approximately 4 mm in diameter and at leas to me look to be a good scale.


I did the painting on the beads/balls in two sets. I started with the cue ball and all 7 of the striped balls. The first step was to firmly stick each bead onto a round toothpick. This gives us a handle making painting and finishing them a lot easier. It will also fill the hole in the bead so that won’t show. 


Once they were on the toothpick I simply coated all 8 of them with white paint. I did use my finger to help make sure the paint coat was fairly even. Place these in a safe place to dry where they won’t bump into each other or anything else.


Once the white paint dried I added the stripe to each of the 7 balls. I decided to use some of the disposable micro brushes I purchased on eBay a while back. Those have a really nice firm tiny tip and it really made getting the strip onto the balls pretty easy.


Once those have dried set them aside and put 8 more of the beads onto round toothpicks. This time we will be painting the solid color balls using the same colors of paint we used for the stripes as well as black. This time I just dipped them like I did with the white and used my fingertip to smooth the paint on each one.


Once the paint dries use a micro brush (or the end of a paint brush handle) to add a white dot to each of the balls.


If you want to add numbers to the balls you can do that once the white dots are dry. I decided that I don’t need to have numbers on mine. That tiny of a detail is not something I really want to tackle but if you do go for it.


Now it is time to add a nice shiny clear finish and I decided to use clear nail polish for this step. I chose this step because it was easy to apply and I know it will dry to a nice hard shiny finish that will not be sticky. I am using just a cheap clear polish from dollar tree.


Once the clear coat is dry it is time to safely remove the excess portion of the toothpicks. For this I like to use pet claw trimmers. They are designed to cut things that are round(ish) and hard. I love that I never have issues with round items getting misshapen when using these. Cut as close to the bead as possible.


Now since I am going to be gluing all but the cue ball (the white one) into the triangle rack I am not going to finish off the cut area. If are planning to display yours in a different way you will need to touch up the paint and clear finish where you cut them away from the toothpicks.


Now onto the triangle shaped rack. I decided to make my balls a permanent part of the rack so mine has a bottom that matches the outside of the rack and also then forms the slight rim at the bottom. I picked a light tan color card-stock for mine.


I started by drawing a short pencil line (less than 1” long) to line up the first row of balls against. I looked through my glues and decided that from the ones I have on hand that a CA type super glue was my best bet. I know it is not the best for paper but I think it will be my best choice to hold the plastic beads/balls in place.


I simply added the glue to a small area and using tweezers I added the balls to one row at a time. I then let each row sit for a minute or two to allow the glue to set up before adding the next row. Do your best to get the rows of balls tight against each other and make sure that the area where they were cut free from the toothpicks is hidden.


Once the super glue is dry cut a strip of the same paper you glued the balls to that is 1/8” wide by around 4” long. Then wrap the strip around the balls to form the triangle rack. Trim as needed so that the there is an overlap at the bottom of the rack.


I added a tiny drop of super glue to the 3 corner balls where they will touch the strip of paper then I added a coat of Tacky glue to one side of the paper strip and to one edge. Then with the glue against the bead/balls and the glued edge against the sheet of paper wrap the strip in place to for the rack. Allow the glue to dry.


Now carefully cut the rack with the balls away from the rest of the paper leaving just a tiny bit of paper past the sides of the rack.


And that is all there is to that part of the project.


And after last week’s video where we made the pool sticks one of you pointed out that I had missed something. And I am so glad to be able to fix that. I missed the little bit of a blue end where the cue stick has been chalked. So I looked online and found some photos of the ends of cue sticks and this week we are fixing that.


So since a lot of the photos of the high end cue sticks looked like they had a bit of a gold metal part at the end then the bit that is chalked at the end of that I decided to first dip the end of each one into my gold paint and allow that to dry. You just want a very tiny bit of the gold to show maybe a 1/16” or so.


Once dry I then spread some blue paint out on a scrap of paper to make just a thin layer and dipped the end of each one in this to make just the very tip blue. I wasn’t really sure exactly what color blue to use I just picked the one that looked closest to what I was seeing online.


And there have the project. I think this is one of my favorite things I have made lately because I needed to do some research and I learned a lot of new things which is what brought me to the miniature world in the first place.


I think the dolls look like they are having a lot of fun around the pool table don’t you?


As always I do want to sincerely thank all of you for watching my videos and reading my blog posts. It means so much to me that you are supporting me in this way. If I could ask you all to do just a bit more by subscribing to the channel and liking the videos and leaving comments. Those help more than you can imagine. Also if you could pass the links on to your friends I would appreciate it so much.


Wednesday, May 22, 2024

Dollhouse Miniature Wallpaper 101(revisited)


Watch the video here.


One of the subjects I get a lot of questions about on a regular basis is wallpaper for the dollhouse. I did do a wallpaper 101 video almost 10 years ago. A lot of the information here was in that one also but some things have changed (mainly what to use as a wallpaper adhesive) so I decided to do this video today. If you have questions about wallpaper that I don’t cover be sure to ask and I will do my best to answer them. If there are enough I will do a follow up video where I answer those questions.


So our first subject is glue. What is the best thing to put wallpaper onto the walls of the dollhouse. My all time favorite will probably always be Yes! Paste, but I have not been able to find a good source for that product for many years. Also the places online I can find it is extremely expensive. I have tried several different brands of adhesives that are marketed to dollhouse miniaturists. The brand I like the best is New Creations Wallpaper Gel. It goes on well and I have had very few issues with it. It is also available online from several places (including Amazon) and the price seems to range from around $5 to $10. so it is not terribly expensive.


Another product I have used in the past with mostly success is the adhesive that is sold to put wallpaper borders in real size homes. This is not the paste for the actual paper but specifically for wallpaper boarders. I am not sure what the difference is but I have read in the past not to use the regular wallpaper paste for dollhouses but I am not sure of the reason now.


Stay away from any adhesives that are thin (like Mod Podge) because they are very hard to work with on the larger areas that we are applying wallpaper.


The next thing we need to talk about is what to use as wallpaper. There are wallpapers sold for use in the dollhouse. They are normally large sheets about 12” by 18” depending on the manufacturer. They are a bit heavier than regular scrapbook paper but not by much. The designs are scaled for use in the dollhouse so they will look correct as far as size goes. Also the designs usually have fairly regular repeats across the sheet to make matching seams in the paper a lot easier.

The down side is depending on the style of your project you might have problems finding what you are looking for. There are only a few companies that make these papers so the choices can seem limiting sometimes.


Scrapbook papers come in many more styles/designs and are easy to find. Almost every craft store has at least 1 aisle in the store devoted to papers with designs printed on them. These however are not always going to be in scale for your project. You will have to use you “mini” eyes to gauge scale. Also the sheets are smaller generally (in the US anyway) either 8 ½” by 11” or 12” by 12” so you are more apt to need to have a seem in the paper on a larger wall. Also since this is not what they are designed for they generally are very difficult to match the pattern if you do end up with a seam. This can be worked around by being careful about placement though. I just want you to be aware.


Also these papers vary a lot in the weight of the paper they are printed on. They can be about the same as the mini wallpapers or very thin lightweight paper all the way up to cards stock weight. Depending on where in the dollhouse you are using them may or may not be an issue.


In most of the miniature rooms I have created over the 30+ years I have been doing this I tend to use more solid colors to create rooms that look like they are painted drywall like most of the rooms in the real homes I am familiar with. I prefer painted walls in real as well as mini homes. To me too much wallpaper with designs on it is over powering and I looks to busy. I tend to use patterned wallpaper on accent walls in both my mini rooms and real rooms. To do this I had figure out how to successfully replicate the look of painted dry wall. You can’t just paint the walls of the mini room and have it look right. I spent some time looking at the papers available in the craft stores/art stores and found the option in my opinion is to use the papers that intended for artists that use colored pencils and chalks. The paper I like the best is made by the company Canson and is called Mi-Tintes Art Paper. This comes in large sheets (19” by 25”) and in many solid colors. It is mostly smooth with just a hint of texture that looks like drywall in scale. I love this stuff. Over the years I have used this many many times and always been very happy with the results. I use it for both walls and ceilings.


One aspect of dollhouse wallpaper that I get asked about a lot is the question of which is better to add the wallpaper before or after the room/dollhouse is constructed. I have always wallpapered after construction, I prefer the look.


I know a lot of people do like to wallpaper before construction when everything is flat and easier to reach. They don’t have to worry about reaching into a small space and smoothing the wallpaper. And if that works for you great. I don’t like to do it this way and I will talk about why.


I do agree that it would be easier to apply the paper to the flat panels rather than reaching into the awkward spaces that the small rooms can become.


However I one thing I don’t like about this is that there will always be a line where the side walls meet the back wall of the room. When I look into a room that has been papered that way that usually is one of the first things I notice (unless you can hide with furniture or something) and that distracts me totally from enjoying the rest of the room.


To avoid this I usually wrap the paper on the corners to hide the seams so I am able to hide them better.


Also, I tend to not always put the walls dividing up the interior of a dollhouse exactly where the instructions might say to. Sometimes when I get ready to assemble oi decide to move a way a little bit one way or another. If I had wallpapered before assembly this would be much harder.


Another thing I always want to do is to add my lines of tape wire to all of my dollhouses, even if I am not planning to add lights right away. And this tape wire needs to go on the walls under the paper.


So in the end it is up to you when you wallpaper and do what works for you but those are my reasons for doing it when I do.


If you have any more questions be sure to ask and I will do my best to answer them.


As always I do want to sincerely thank all of you for watching my videos and reading my blog posts. It means so much to me that you are supporting me in this way. If I could ask you all to do just a bit more by subscribing to the channel and liking the videos and leaving comments. Those help more than you can imagine. Also if you could pass the links on to your friends I would appreciate it so much.

Sunday, May 19, 2024

Dollhouse Miniature Pool Table Accessories pt 1


Watch the video here.


This week we will be starting to work on some accessories for the pool table we created over the last two weeks. I had originally planned to get more done this week but due to things out of my control I didn’t get as much time to work on the project as I had wanted. So we will be making the cue sticks this week and next week we will be working on the pool balls and the triangle rack for them.


For the pool cue sticks (or whatever the correct term is) I did debate over a couple of things to use. I decided that bamboo skewers would be the easiest to use and also probably the easiest for most of you to be able to find.


The first thing I wanted to do was cut off the sharp point on the end of each one. You can use any tool that is safe to use to cut them (please don’t even think about using scissors) I used a pair of pet claw trimmers. I like these because they are designed to cut things that are round in shape and hard (claws) so they cut safely and don’t distort the shape of the skewer.

Next measure 5” from the end you just trimmed off and make a mark. I used a Sharpie pen for this because I would be able to see it even with a coat of paint over it. I am going to cut these so that the mark is cut off.

I also wanted to use some sandpaper to make the cue stick have a more gradual taper than the wooden skewer had. I did find that by looking at the skewers I had on hand some of them were more tapered than others so if you are lucky there won’t be much work to get a more gradual taper.


Now on to the fun part painting. I do recommend looking online at pictures of the real thing. Some of them are absolutely beautiful. I tried to pick ones to inspire me that were simple to replicate for the video.


You will need a way to keep these standing up while they dry. I found that my small clamps from Dollar Tree worked great for this.


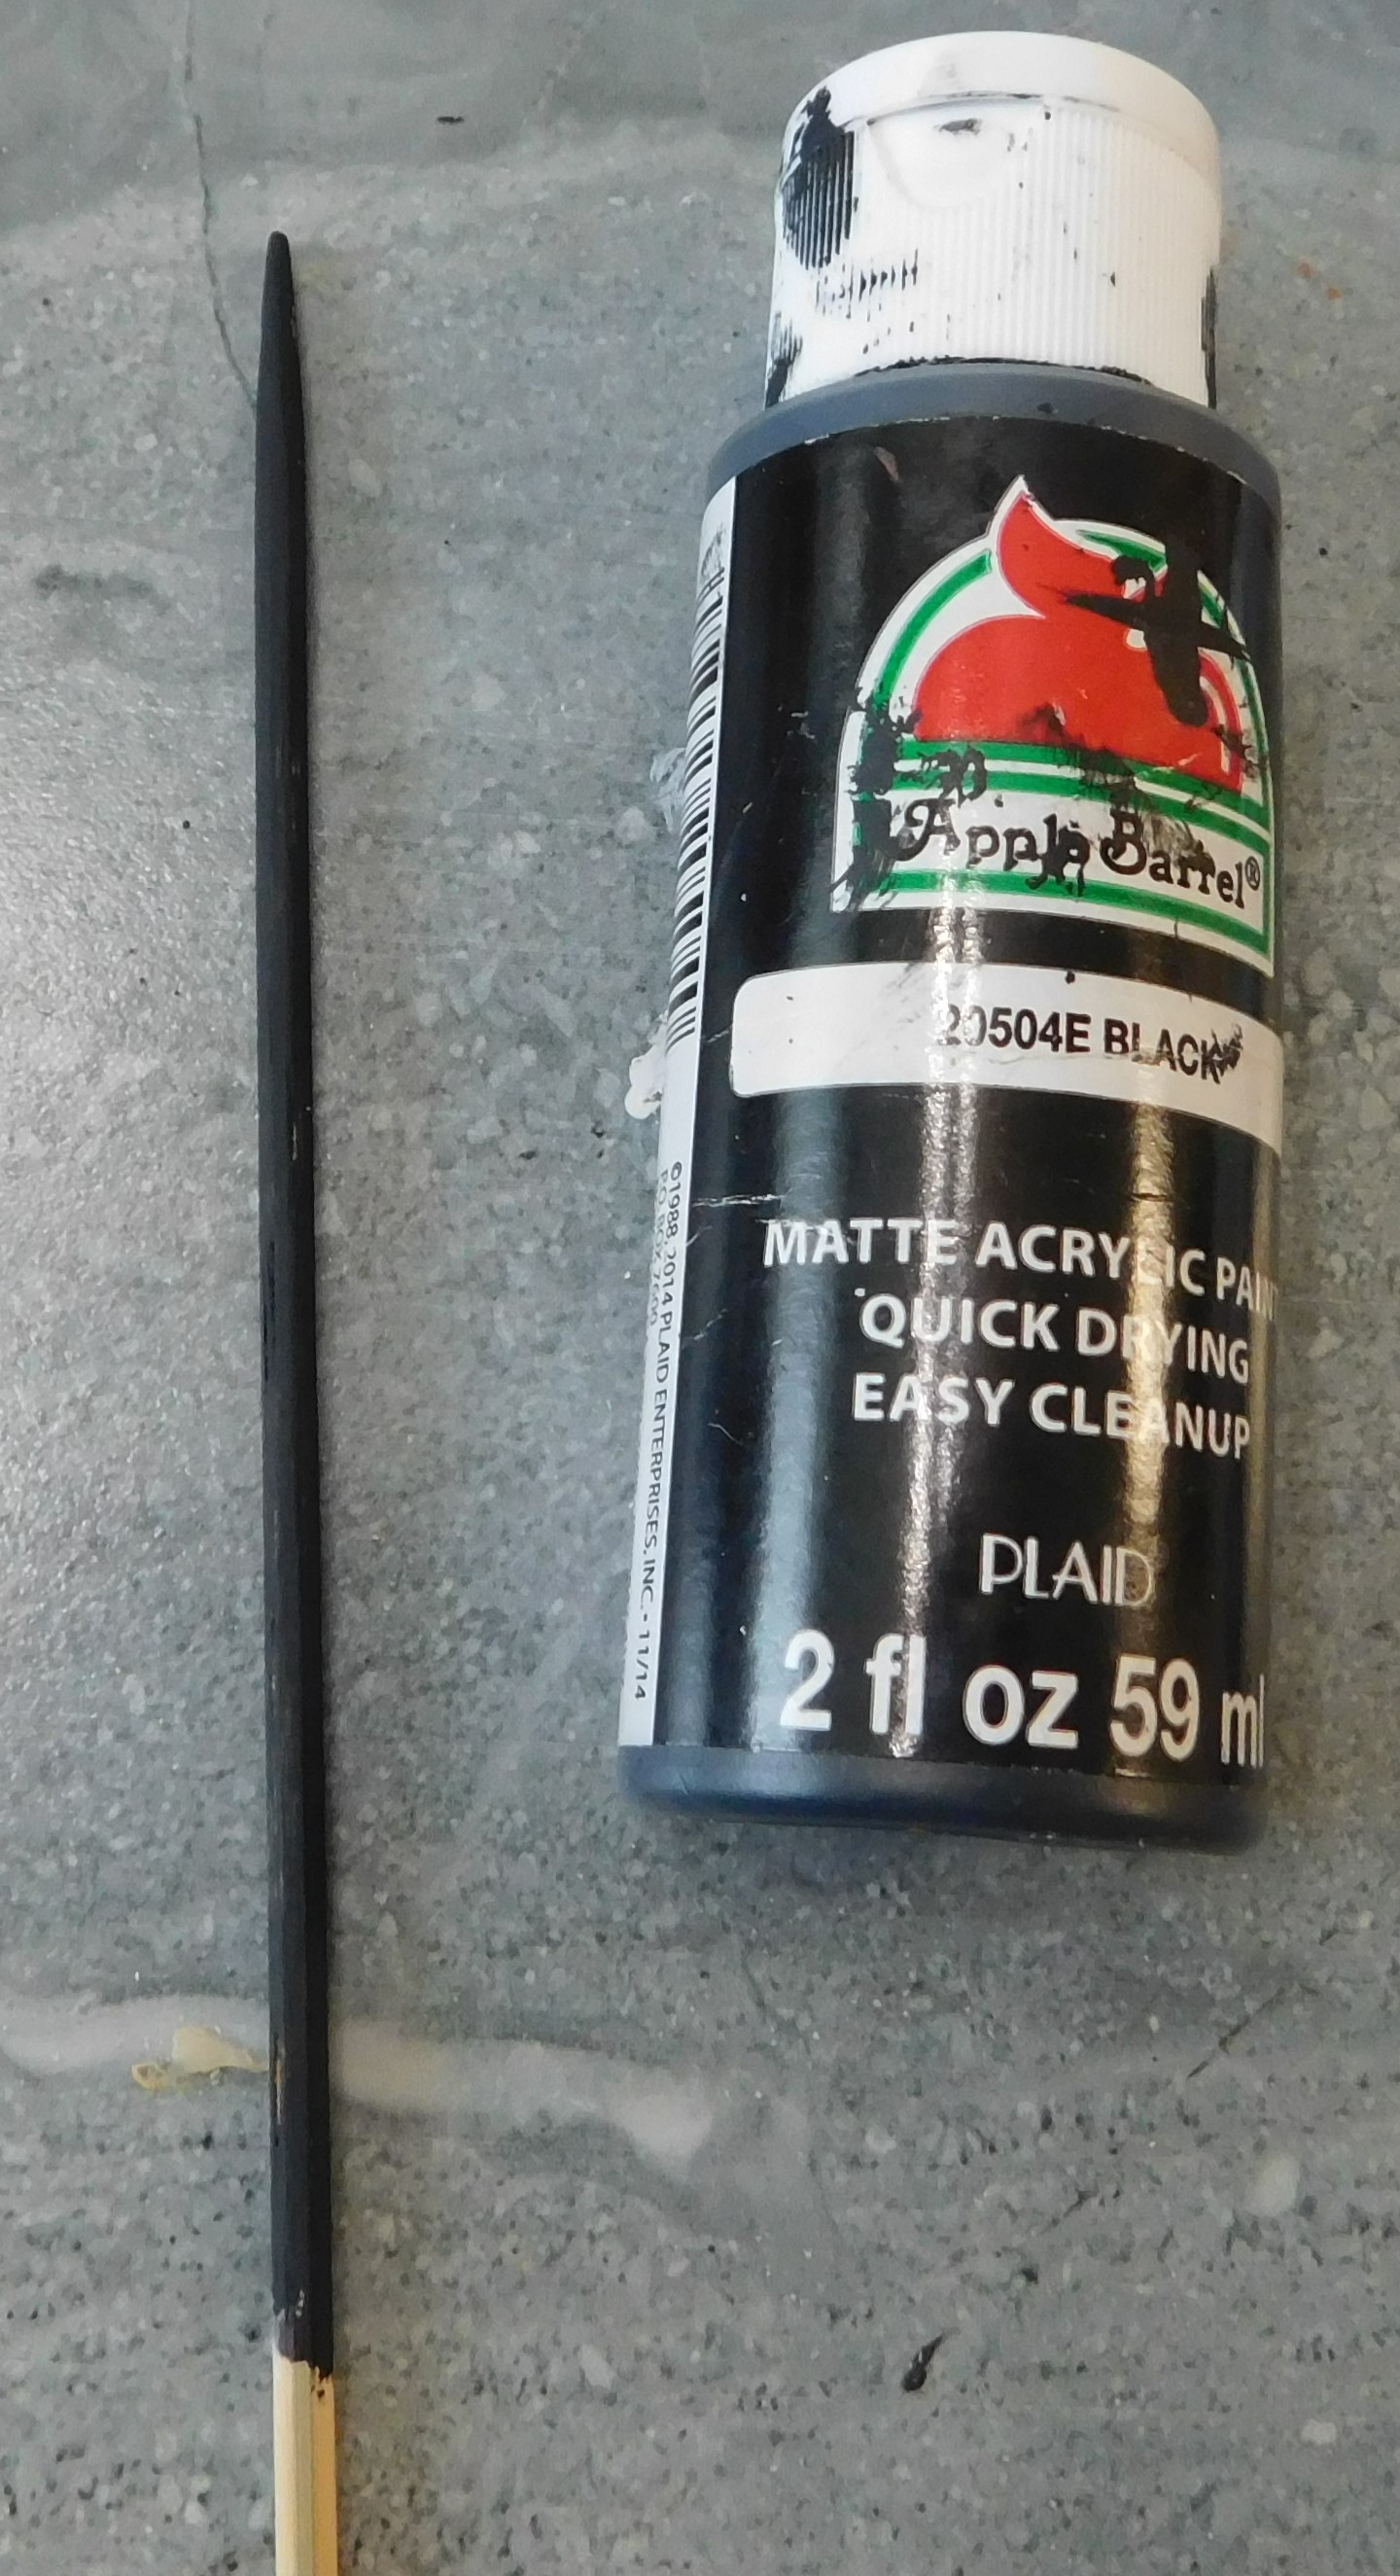
For the first one I just gave it a solid coat of black craft paint. You could use any solid color you wanted to of course.


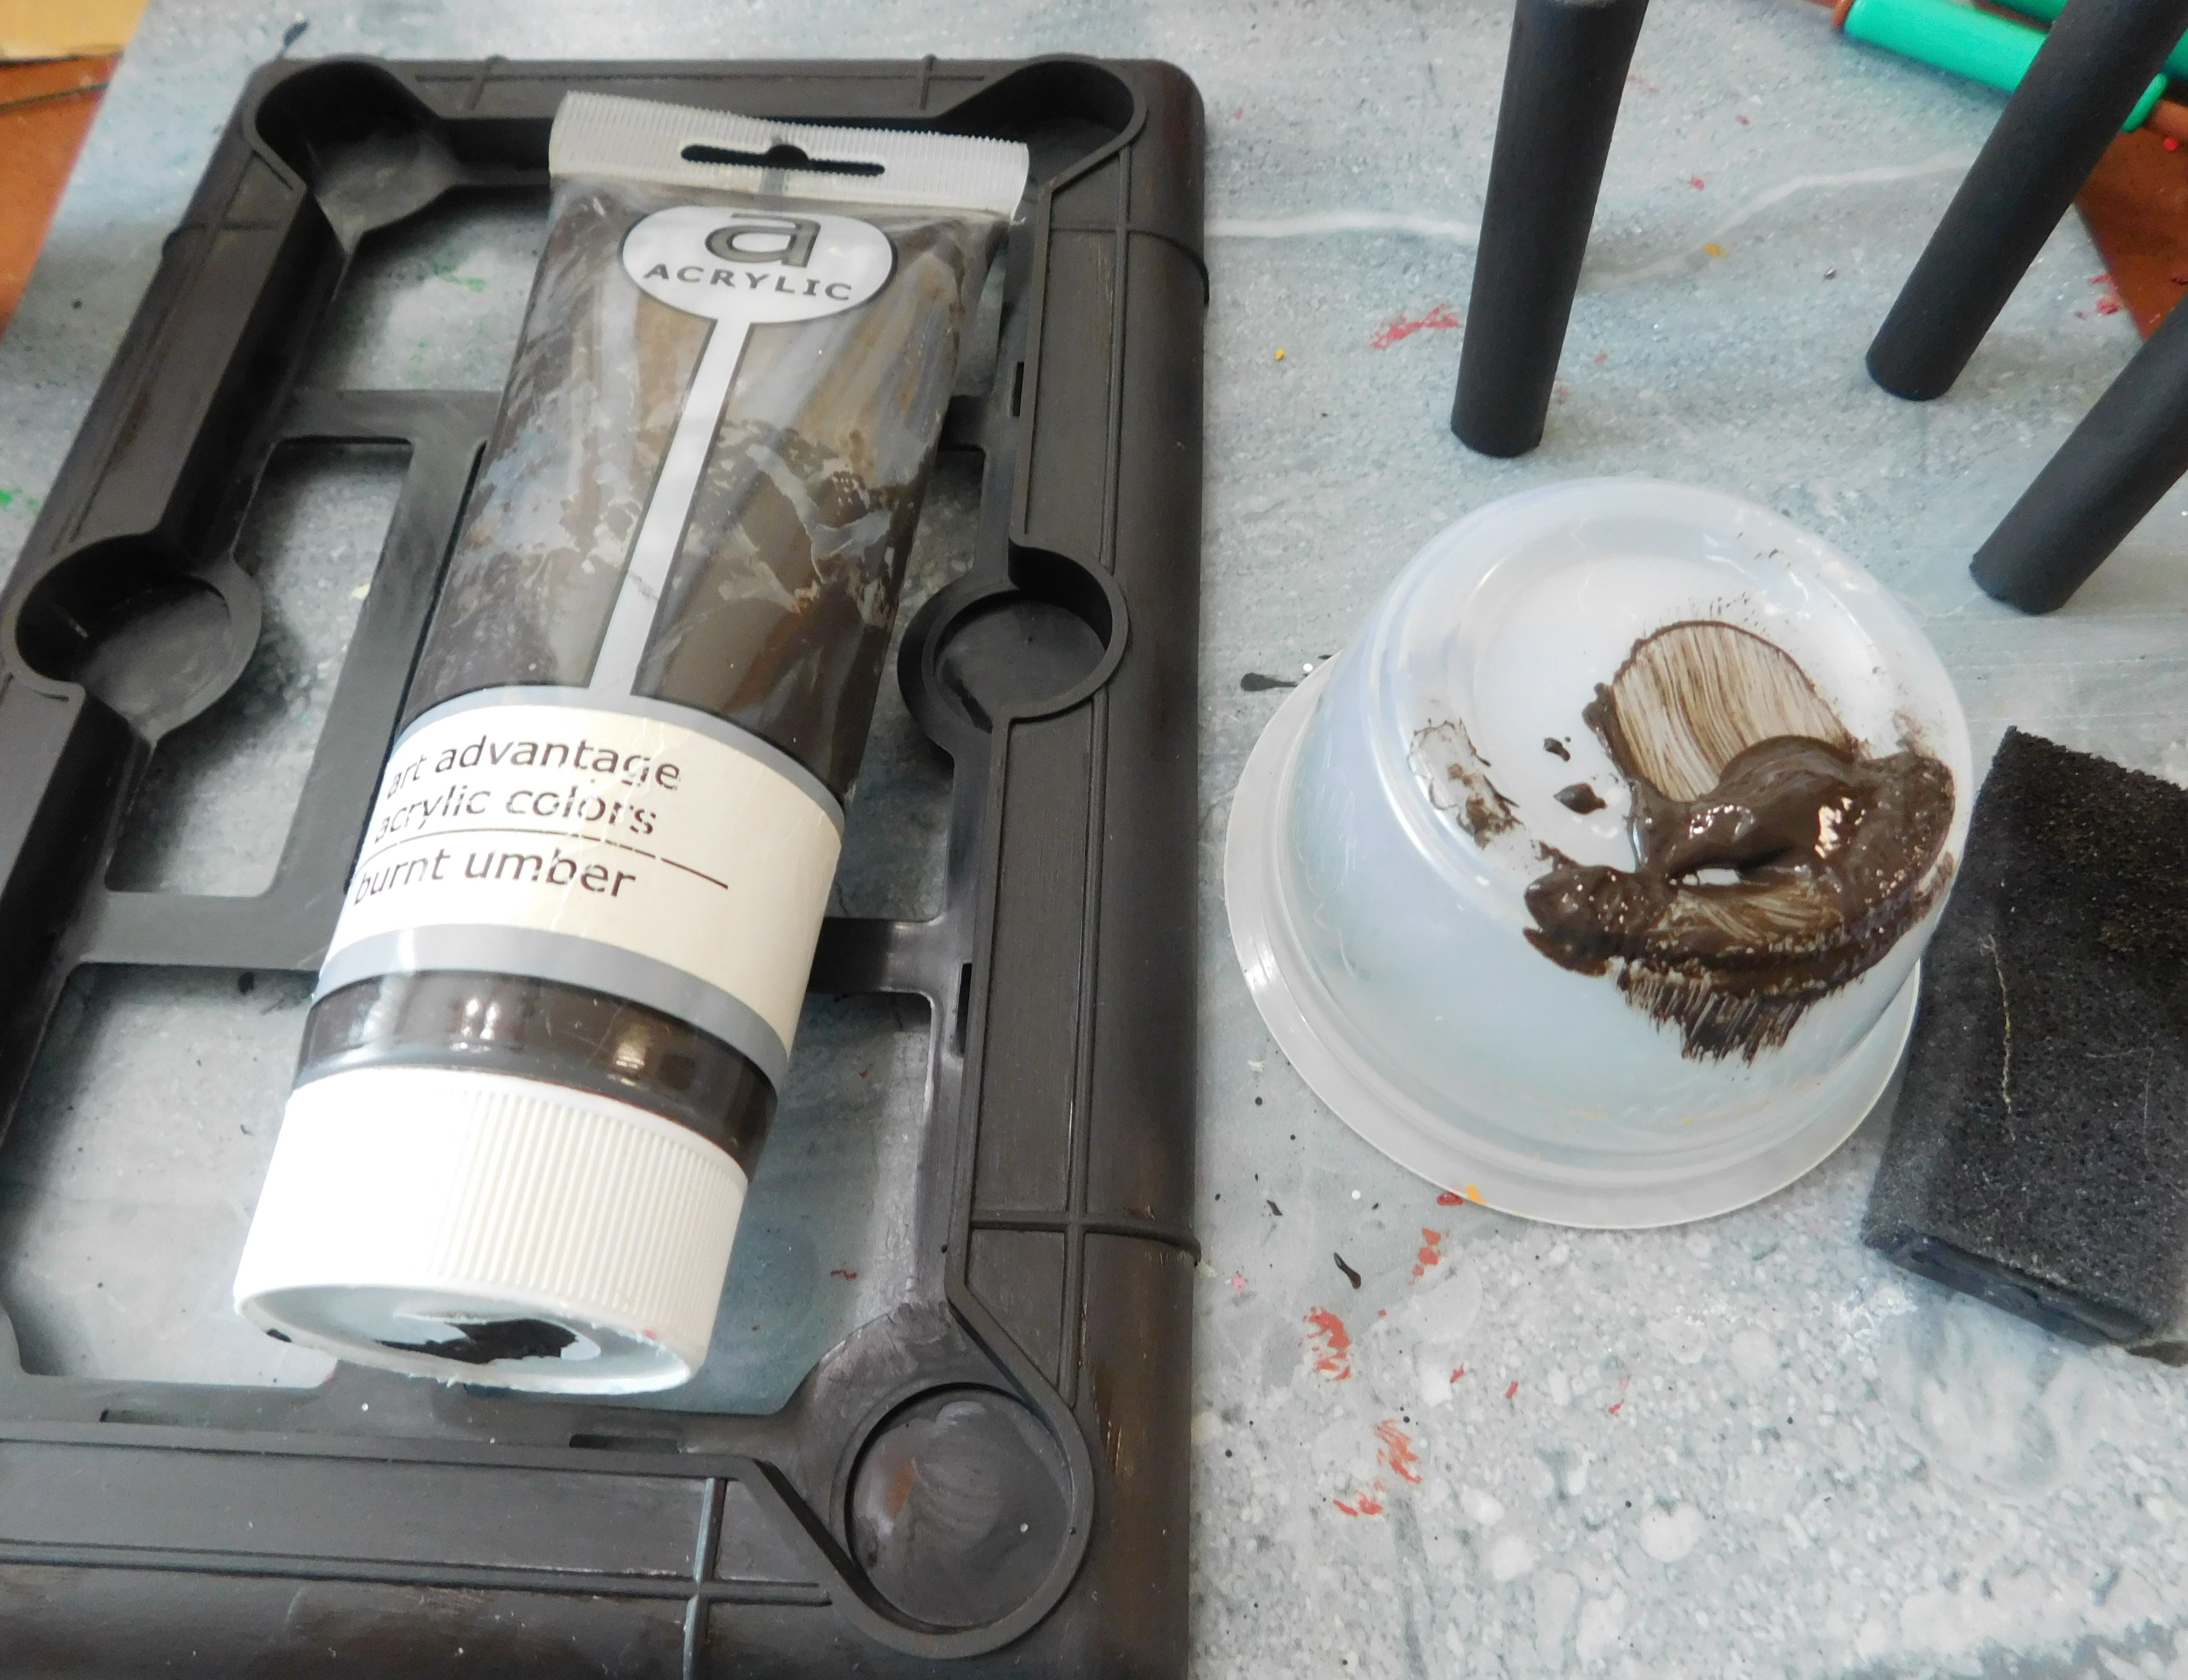
For the second one I just used some fairly dark brown paint like a wood stain again just a simple design (sorry I was off camera while doing this one)


For the third one I wanted to replicate one I saw online. That one had a dark brown wood stain at one end then it gradually changed to an off white color at the tip end. Not sure if I got it exactly right but I like how it turned out.


I did the fourth one off camera (mainly because I had totally forgotten about it when I was grabbing paint in the other room) I decided to do something kind of the like the third one except with a plum color paint at the tip end and black at the other end. I love how this one looks in person but the camera is not really picking up the color shift.


Once you are happy with the colors go ahead and give them a coat of Satin Mod Podge or a similar clear finish.


Once dry go ahead a trim at the point you marked earlier. Then smooth the cut end with sandpaper and touch up the paint. Once the paint dries touch up the clear finish and when that dries you are finished.


As always I do want to sincerely thank all of you for watching my videos and reading my blog posts. It means so much to me that you are supporting me in this way. If I could ask you all to do just a bit more by subscribing to the channel and liking the videos and leaving comments. Those help more than you can imagine. Also if you could pass the links on to your friends I would appreciate it so much.

Sunday, May 12, 2024

Dollhouse Miniature Pool Table Makeover pt 2


Watch the video here.


This week we are starting where we left off on the pool table project. (If you missed that video you can find it here)


I did have to add more glue to a couple of the legs to get them to stay where I wanted them. Also although the package on that dollar store glue said it would cure in 24 hours I found it was closer to 48 hours before the legs really felt like they would stay where I put them.


Today I started off by adding an additional coat of the same dark brown paint to the pool table. I have decided to give up on getting a wood grain look on this and am just going to have it be dark brown instead.


Now I was on to the step where I had to figure out the “felt” for the top of the table. I actually have been thinking about this since I started the project. In the end I decided that a sheet of cold press water color paper (140 lb weight) was the best choice of what I had on hand to work with.


 I cut a rectangle that was the same size as the top insert that came with the toy pool table as well as 3 strips that were ¼” wide by the length of the paper (12”) 


These I painted with a bright green craft paint, I did debate with myself what color I wanted to use and just went with the standard green although I saw online that pool table felt can be many colors.


After the paint was completely dry (mine sat overnight) I set up to glue first the strips that would be on the edges of the table. I decided to use e6000 for this since I needed something that would adhere to the plastic of the pool table. I really was not happy with the dollar tree glue I used on the legs so that was why I made the decision I did.


Initially I thought I would need to clamp the strips in order for them to stay but happily I found the glue soaked into the paper really well and held without having to clamp. This was really good because I could only find 2 of my big clamps so it would have been a very slow process if I had to do all the strips with only the two clamps.


I trimmed all the ends of all the strips so they all ended at a consistent spot on the holes. I then glued them in place. I did have to hold a bit longer on these spots and some super glue would have been handy to help hold them in place but I got everything to stick with a bit of patience.


Once the side edges were finished I checked the fit of the rectangle, I did find I had to take off just a tiny sliver of one long side to make it fit. Instead of making holes at the corners and on the sides I decided to just angle the corners if I were to do this again I would probably make extensions on the rectangle that would go part way into the area for the hole then use a hole punch to make about a ¼” to ½” hole at those spots. Then I added e6000 to the flat areas of the top of the table and to the edges of the rectangle. I carefully put the piece in place and smoothed it down so I would stick together.


Once all the green pieces were glued in place the glue had time to set up I coated the green areas with mat Mod Podge.


After the mat Mod Podge had time to dry I added a coat of satin Mod Podge to the brown areas.


And once that dries the pool table is ready for the man cave or another mini scene, maybe a bar or a pool hall would be a fun project for this to live.


As always I do want to sincerely thank all of you for watching my videos and reading my blog posts. It means so much to me that you are supporting me in this way. If I could ask you all to do just a bit more by subscribing to the channel and liking the videos and leaving comments. Those help more than you can imagine. Also if you could pass the links on to your friends I would appreciate it so much.


Wednesday, May 8, 2024

Dollhouse Miniature Dollar Tree Paint Test


Watch the video here.


Have you ever looked at the craft paints in the Crafter’s Square aisle of your local Dollar Tree and wondered if they were any good. I know I have so I decided we should put them to the test this week.


I am almost out of white craft paint and I need to get more soon. So I have been really tempted by the craft paints at Dollar Tree, I mean I’m already there if they are any good it would save me money and also I wouldn’t have to go to the craft store across town. So I decided to test those paints so we can all see if we can get decent craft paint for only $1.25.


I purchased three of the paints offered by my Dollar Tree. I left the one marked as “washable” behind as well as the Ceramic Paint. The ones I got were the Acryology Premium Acrylic, Crafter’s Square Tempera Paint, and Prang Ready-to-Use Tempera Paint. All brands in white. In the test I am using my Anita’s Acrylic Paint as my control to compare the others against.


I made up a test card for each brand on the cards were strips of 3 colors of card-stock (tan, red, and black) to paint over to test for opacity of the paints. I gave myself room to do see how opaque the paint was with 1,2, and 3 layers of paint.


I decided to also add a stripe of Mod Podge over the part with 3 layers to see how it affected the color, finish, and to see if it lifted or smeared the dried paints.


I think most of us in my generation remember painting with tempera paints in grade school. I remember my teachers had to mix the paint powder with water before we had art class each time. Other than that I really didn’t know a lot about tempera paint so I did some research when I got home today.


According to Google tempera paint should be vibrant and opaque and quick drying. On the other hand it washes off (both from clothes and your project) and is not flexible.


Acrylic paints are more durable, have a smoother finish and are flexible.


So lets look at the test and how the paints did in the test.


I set up the paints with their cards on my work tile. I dedicated a wide brush to each sample and kept the brushes wrapped with wet wipes during drying periods. I did shake the liquid paints before getting the working sample out of each bottle and the working samples were kept covered during the drying periods as well.


On the first step of the test I painted 3 stripes of the paint on the corresponding cards. I did my best to use the same amount of paint on each card and on each stroke of the brush. After the this first layer the only card that really had much coverage was the one for the Anita’s paint. The rest were very translucent. I set the cards to dry but I did end up using my heat gun to speed up drying since I needed to get the video finished in time to post it.


For the second step I added two more stripes of paint to each card. At this point I expected the paint to look fairly opaque on the cards but this was not the case at all.


The third step was another repeat of the steps giving each card the final stripe of color. I was surprised that the coverage was a terrible on most of the cards as it was. I mean I wasn’t expecting this to be great paint but for some of these there was so little coverage.


Once all the paints were dry I added a stripe of Mod Podge down the center of each 3 layer sample. I wanted to see if the Mod Podge would lift the paint so I wiped the brush off on a piece of the red card-stock after each one. I also used a different brush for each sample because I was afraid some of the paints might come off onto the brush. I was pleasantly surprised that at least there was no lifting of the paint.


So here are the each of the brands of paint with its test card so you can see for yourself how the coverage looks.


Acryology- I had high hopes for this one before I purchased it. However as you can see the coverage is pretty dismal at best. I think I will play around with this one and see just how many coats it would take to get coverage.


Crafter’s Square- this one has the worst coverage of the batch. I’m not sure if it has any uses.


Prang- this is another one I might play around with to see if it can be used as a base coat to seal porous materials before painting them with something else.


Anita’s- my control sample card looks just the way I knew it would.


As always I do want to sincerely thank all of you for watching my videos and reading my blog posts. It means so much to me that you are supporting me in this way. If I could ask you all to do just a bit more by subscribing to the channel and liking the videos and leaving comments. Those help more than you can imagine. Also if you could pass the links on to your friends I would appreciate it so much.

Sunday, May 5, 2024

Dollhouse Miniature Pool Table Makeover pt 1


Watch the video here.


The next couple of weeks we are going to be working on this pool table makeover. I know this is a really big item and not everyone will have room for it but I hope it will be interesting anyway.


So the reason I am doing this is because one of my YouTube viewers had reached out for some ideas on how to make a pool table. They told me about the project they are currently working on and I knew I had to figure out a way to do it.


So their project is a man cave that is housed in a freestanding garage. They have the building built and some of the interior done as well as a small portion of the “stuff” that will be needed.


The project is being done in memory of a good friend of theirs who unfortunately passed away recently. He had always wanted to convert his garage into a man cave and have a pool table, a bar, big screen TV, and a juke box as well as a lot of other things. Since he never got to have it this mini many cave will be a wonderful way to remember him and to fulfill his dream in a way.


So after I read the messages about the project and looked at the pictures I was sent I started thinking. I mean I had to, I wanted to be able to help in anyway I could.


It just happened that I walked over to the new Dollar Tree near me. As I was wondering the aisles I happened to see this pool table game in with the part games. I thought it sure looked like it was in scale so I grabbed it.


I knew I would need to pick up something to use as legs though. I searched for either dowels or the “tumbling block” game and found neither in the store. I was just about to give up on finding legs at the dollar store when I looked at the package of foam brushes. That was it! There were 6 foam brushes and the handles were basically just dowels. Perfect!


When I got home I checked for the size of pool tables and according to my google search a regulation pool table is 4 ½’ by 9’ and about 30” tall. The pool table in the package measures 4 ½” by 8 ½” so I am happy with that.


To create the legs I used my X-acto miter box and saw to cut 1 ½” of handle from 4 of the brushes.


Next I washed the plastic table top (after removing the cardboard insert) with hot soapy water. I let it dry and the wiped it with white vinegar and let that dry. This step will remove any oil that might have transferred to the plastic from being handled.


Then the table top and the legs got a good coat of black craft paint. I did go back and touch up any areas the I missed once the paint dried.


Once the black paint had dried I went in with some dark brown paint and did a light coat, wiping off some of it to try and get the start of a wood grain look. I am trying to get the look of faux walnut. So it will be very dark. This is just the first layer of the painting technique, I will probably do more once the table is put together. I wanted to make sure I had everywhere that might show covered with a light coat of the brown and then if I can’t get into some of the tight areas later it won’t matter so much.


Once the paint was dry I needed to glue the legs to the bottom of the table at the corners. For this I decided to try the Fix-all Adhesive that Dollar Tree sells. I have never used this before and I wanted to try it out. The instructions say to apply some to both surfaces and allow it to set for 10 minutes then put the surfaces together. The first thing I can say is this has to be the worst smelling glue I have ever used!! IT STINKS!!! I had to open a window and even then it gave me a headache in just a few minutes and it smelt bad hours later.


After the glue had it’s 10 minutes I added the legs to their spots on the bottom of the table. I wish I had thought to grab a new bottle of regular super glue because a few dots of that would have made getting the legs to stay in position a lot easier. As it was I did end up adding a lot more glue to some of the legs and it I had to keep checking on the legs for a couple of hours to make sure they were going to stay where I wanted them.


So my first impressions of this glue is not very favorable at all.


Since the glue does say it needs to cure for 24 hours that will be the end of this week’s video. Next week we will probably add to the paint to get the look I am after and work on the “felt” top also. Then I might do a 3rd video of some of the accessories for the pool table like the cues, the triangle thing that holds the balls (can you tell I don’t play pool??) and probably some balls that are a better size. Maybe even a rack for the cues to be placed in.


As always I do want to sincerely thank all of you for watching my videos and reading my blog posts. It means so much to me that you are supporting me in this way. If I could ask you all to do just a bit more by subscribing to the channel and liking the videos and leaving comments. Those help more than you can imagine. Also if you could pass the links on to your friends I would appreciate it so much.