
I could have titled this tutorial “the tutorial that almost didn’t happen” because the first day I tried to film this I had a really bad clay day. It happens to all of us so it you have a day when things just aren’t turning out don’t be too hard on yourself. For a little insight I have been struggling with my depression for a couple of weeks and it makes it hard to concentrate even on things I love. So if you are in the same boat know that I am here for you and I understand. Now on to the project.
I found the inspiration pic for this cake a couple of weeks ago. Actually it is a combo of a several cakes I found online. The one this is closest to had some very intricate piping on the top which I felt would not translate well to mini. Also I love the more simple look that I got in the final cake design.

To begin our cake we need to make the base or core of the display cake. For this I am using some Original Sculpey. I rolled out a sheet of clay using my double craft-sticks and cut 3 rounds using my ¾” round cutter.

These were then stacked carefully to make a nice straight tall cake. This was baked for 25 minutes to make sure it was cured all the way to the middle. This is the only really long bake for the project the rest will be only the normal 10 minutes. For the core since it will not be seen you could use any clay, if I wasn’t doing a video for you I would probably use some scrap clay but I am always afraid that will be distracting on the video.
Once baked and cooled to room temperature it is time to decorate the cake.
I haven’t had an excess to do a Skinner Blend in a long time and it was a lot of fun to do it for this project. Although in all honesty I think I would call this a “modified Skinner Blend” since I offset the ends a lot to keep more of the original colors at each edge and I didn’t take it as far as normal.

I wanted to use a green and white for the blend so I picked Sculpey III in Emerald Green and white. These were rolled into sheets using my set of single craft sticks as a thickness guide. Cut the two colors in identical rectangles. Then split the rectangles diagonally to form the pieces we will use for the blend.
Put the two cut pieces of clay side by side and smooth them where they meet to make them stick together on the seam.
Start rolling and folding as shown in the video. Being careful to always fold the same way to preserve the blend that is forming. I have a tutorial on the Skinner Blend that can be found here if you are not familiar with the technique.

Here are a couple of pictures of the blend as it progressed. This first picture was taken just after I turned the video camera off.

This one part way through.

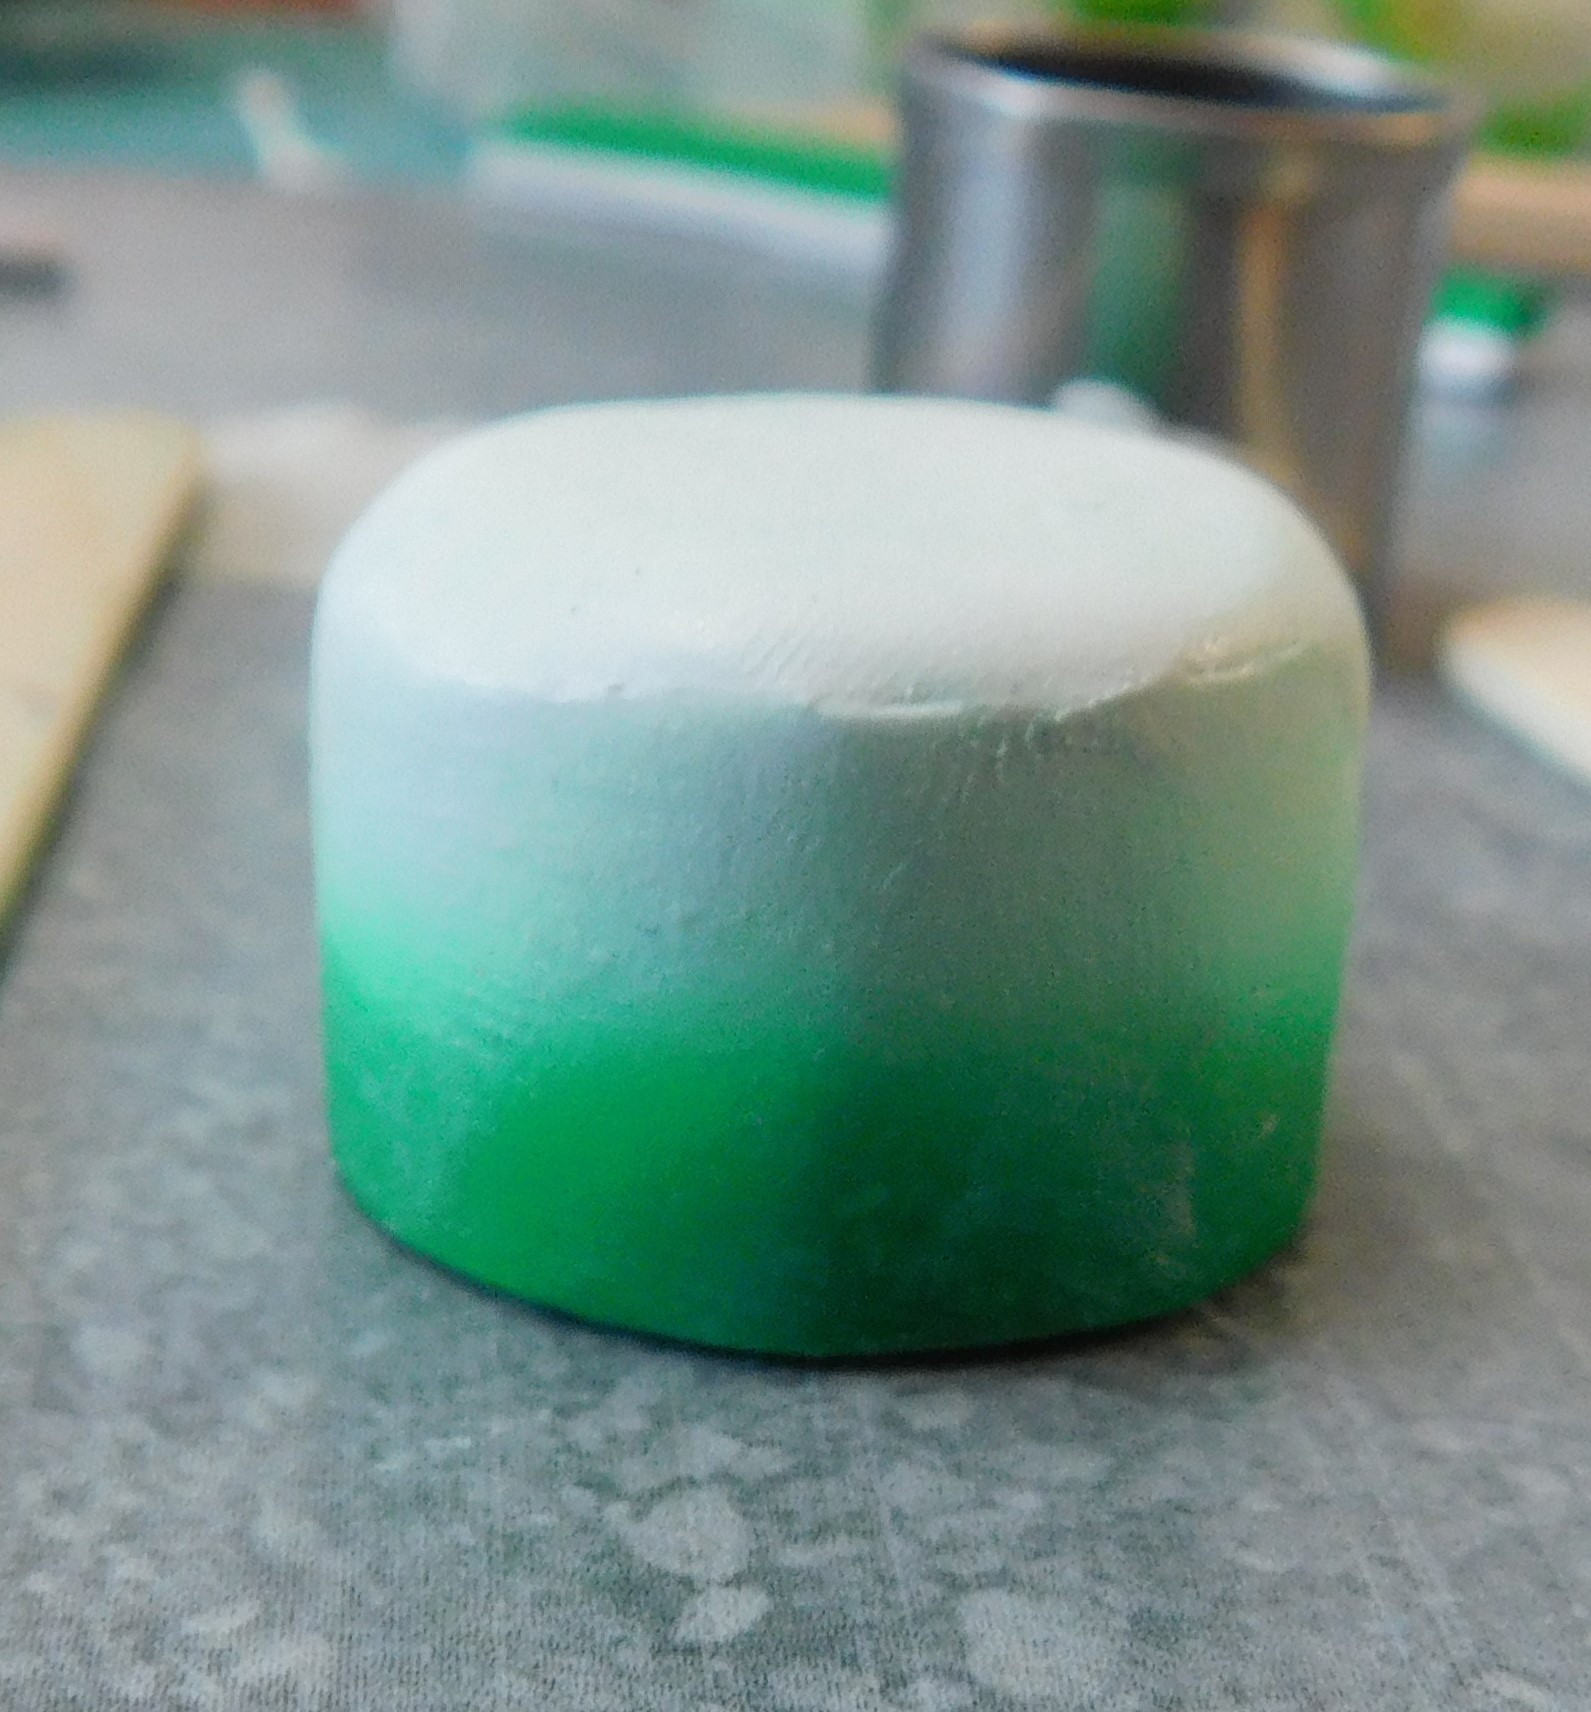
And this final one when I decided I had the blend to point I wanted it for this project.
I was very careful to keep compressing the width of the blend every time I folded to that the final piece was still the shape I needed it to be. If I had just let it go it would have become a square and I wouldn’t have had the colors I wanted in the area I needed them to be.

Cut one green edge straight. Apply some liquid clay to the cake base and lining up the bottom of the cake with the straight edge cover the lace with the blend. Trim and neaten up as needed.
Now bake this to set the sides of the cake. Bake for 10 minutes and allow to cool to room temperature.
Now we can cover the top of the cake. Since the top edge of the clay on the cake sides had a bit of green I mixed the bit I had trimmed when I covered the sides of the cake with some more of the white clay. This gave me a slight tint to the clay so it would look like it belonged on the top of the cake. If I had used plain white the color difference would have been obvious. Roll this tinted clay out using the single craft sticks as a thickness guide and cut it with the same ¾” round cutter we used earlier. This will result in a top that is smaller than the finished cake.
Coat the top of the cake with some more liquid clay and add the round you just cut. Use your thumb to work the clay and blend it into the baked sides of the cake. Take your time and get it just the way you want it. Then bake for 10 minutes at recommended temperature and allow to cool.
Now you have a cake ready for the dolls to enjoy in March for Saint Patrick’s Day.
As always I do want to sincerely thank all of you for watching my videos and reading my blog posts. It means so much to me that you are supporting me in this way. If I could ask you all to do just a bit more by subscribing to the channel and liking the videos and leaving comments. Those help more than you can imagine. Also if you could pass the links on to your friends I would appreciate it so much.
No comments:
Post a Comment