
For our Sunday tutorial this time I thought I would add another gnome to the dollhouse decor. This time in a Saint Patrick’s Day theme. I love these little guys so much both in mini and in real life decorating. Once again I have created a pattern that is free for youto download here. You will find both a PNG file to use with an electronic cutting machine and a PDF that can be used to hand cut the project. If you are using the PNG be sure to check the text file for the sizing of the file and any other hints I have included.
As I was looking online at the Saint Patrick’s Day gnomes I found about half of them were wearing a top hat so that is what I decided to go with also. I think he is so cute.
When you are painting yours you might want to make his beard a red color, I debated but decided to go with the white beard this time.
For this pattern I decided to include a piece to allow the gnome to stand up instead of having to lean against a wall. Let me know which you prefer for future projects. If I do include it in future projects I will be making a couple of changes to make it work a bit better. Of course you can leave it off entirely and just lean your gnome against a wall.

We will start like we do with most of these projects by cutting the pieces out of a medium weight white card-stock. Most of the pattern pieces are meant to be glued together in sets of 3. The exceptions being the main body and the stand piece, both of those have 4 pieces to make them a bit stronger. When gluing the beard be sure to watch the edges since that piece is not symmetrical. Also watch the hand pieces

and make sure you have them lined up. Note you should have two sets of the hand pieces and two sets of the feet/shoe pieces when you glue them. There are 6 individual pieces of each of those.
To glue use a thick glue and I suggest putting something flat on top of at least the bigger pieces to keep them from curling up as they dry.

Once dry add the triangle shaped stand to the back of the main body piece attaching with glue and being careful to line up the bottom edge so it will stand up straight. If you are off a bit you can trim as needed once the glue is dry.
Allow all the glue plenty of time to dry before going to the next step.
Once the pieces are dry lay them out to paint them. I like to put mine on a piece of masking tape on my work tile. I rub the tape against my jeans to de-stick it a bit and then use 2 small pieces of tape to tape it down to my work tile. Then I can place the pieces in groups according to the color I am going to paint them. The only piece I didn’t add to the tape this time was my main body piece with the stand since it would sit nicely on its own.

Now pick your colors and paint as desired. Here are the colors I used this time. Since I still don’t have a flesh colored paint (I really need to get out to the craft store soon) I mixed some from white, pale pink and pale yellow. Since I wanted the buckle on the hat band to be gold I first painted it with a very warm yellow for the first coat, then a coat of the gold will look much better.

Allow the paint to completely dry before starting the assembly of the gnome.
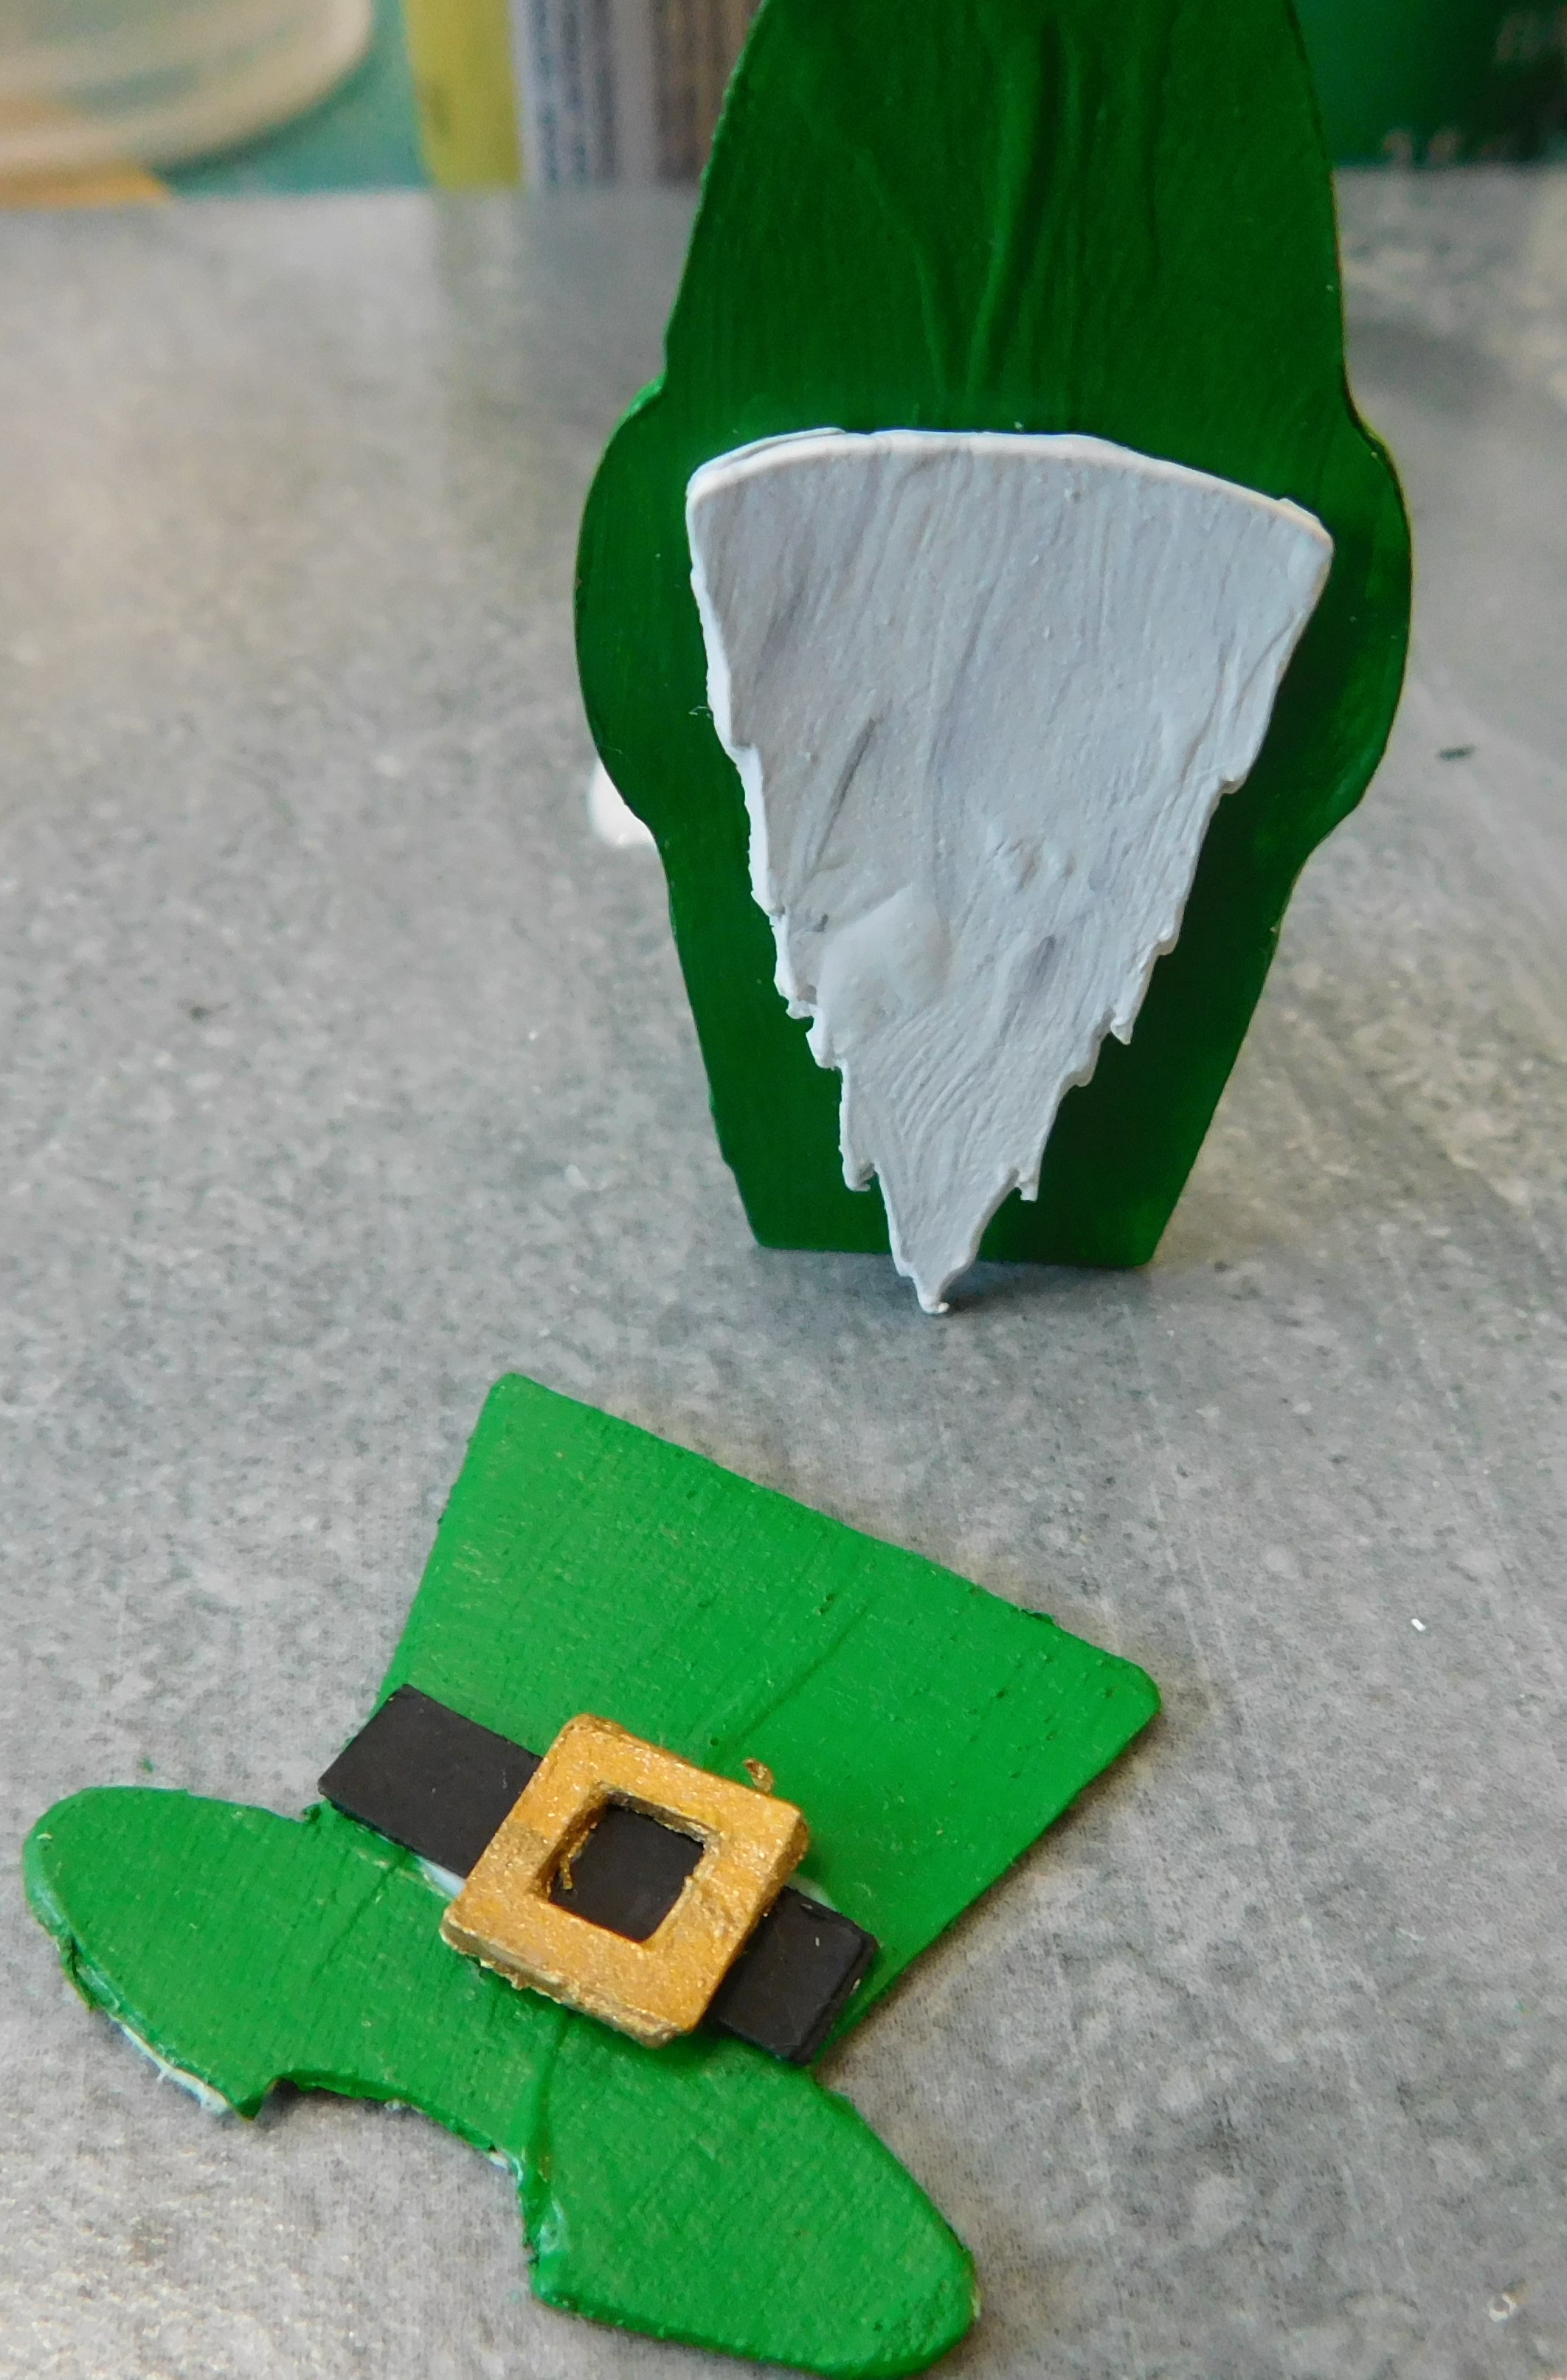
The first step is to attach the beard since everything else is placed around it. Try to line up the bottom tip of the beard at the bottom of the gnome and center it as much as possible side to side. Allow the glue to set up before moving on. Now is also the time to add the hat band and buckle to the hat so it will be ready to add to the gnome next.

Next add the hat to your gnome. It is designed to overlap the beard slightly and to lay at a slight angle from the beard to the top of the gnome back piece. Glue and allow the glue to set up.

Now add the shoes/feet to the bottom being careful to have the flat edge at the bottom edge of the gnome body. Add the nose just below the hat in the cut out area of the hat. And add the shamrock to the front of the gnome wherever you want it. Allow the glue to set up.

Now just add the hands to each side of the shamrock so it looks like he is holding it in front of himself. All the glue to completely dry before moving forward. I like to let it dry at least a few hours, overnight is even better.

Now just a coat of Satin Mod Podge needs to be added.
Now he is ready to join the rest of our Saint Patrick’s Day decor items on the porch or anywhere in the dollhouse for the season.

Now he is ready to join the rest of our Saint Patrick’s Day decor items on the porch or anywhere in the dollhouse for the season.
As always I do want to sincerely thank all of you for watching my videos and reading my blog posts. It means so much to me that you are supporting me in this way. If I could ask you all to do just a bit more by subscribing to the channel and liking the videos and leaving comments. Those help more than you can imagine. Also if you could pass the links on to your friends I would appreciate it so much.
No comments:
Post a Comment