
Today we are making a fun little wreath covered in shamrocks for the dollhouse. It is kind of funny this was not the project I had planned to do today. I had something in mind and decided to do an image search to help me finalize my idea. That was when I ran across this cute little gem. It seemed like everywhere I looked a similar shamrock wreath showed up and I couldn’t resist, I had to make one for the dollhouse.
This is another project that I have created a free downloadable pattern for you to use. You can find the pattern here. You will be able to download both a PNG file to be used with an electronic cutting machine (be sure to consult the text file in the download for specific instructions on using the file) as well as a PDF for hand cutting of the pattern. All I ask is that you don’t pass the pattern or pattern pieces along directly but instead send others to the video/blog post so they can download their own copy.

Once again I am using just a plain medium weight white card stock to cut the pieces.
Once we have the pieces all cut out glue them into sets. This time the 4 large rings are one set, the 3 kettles are a set, and the 24 shamrocks are to be glued in pairs to make 12 finished shamrocks.

I like to use a thick tacky glue for this step because that is the glue I have the best luck with.

Once the glue dries all the way we can paint the pieces. I like to set up a painting area with masking tape sticky side up (I first press the tape to my clothing to take away a bit of the sticky) to hold all those small pieces.

I do recommend using 3 or 4 colors of green paint for the shamrocks to make the wreath more interesting to look at. I did make a switch from the paints I showed initially in the video. I had missed my better green color on my first look through my paint bin.
This time I am going to paint both sides of the pieces to make it easier to put the wreath together.

Once the paint dries it is time to assemble the wreath. Try to place the shamrocks with the colors spaced out on the wreath and be sure to leave a space at the bottom of the wreath for the pot of gold to be placed. I didn’t notice until I was editing the video that I had lost a couple of my shamrocks before I glued them onto the wreath (oops) I was wondering why I didn’t have the even spread of color…..
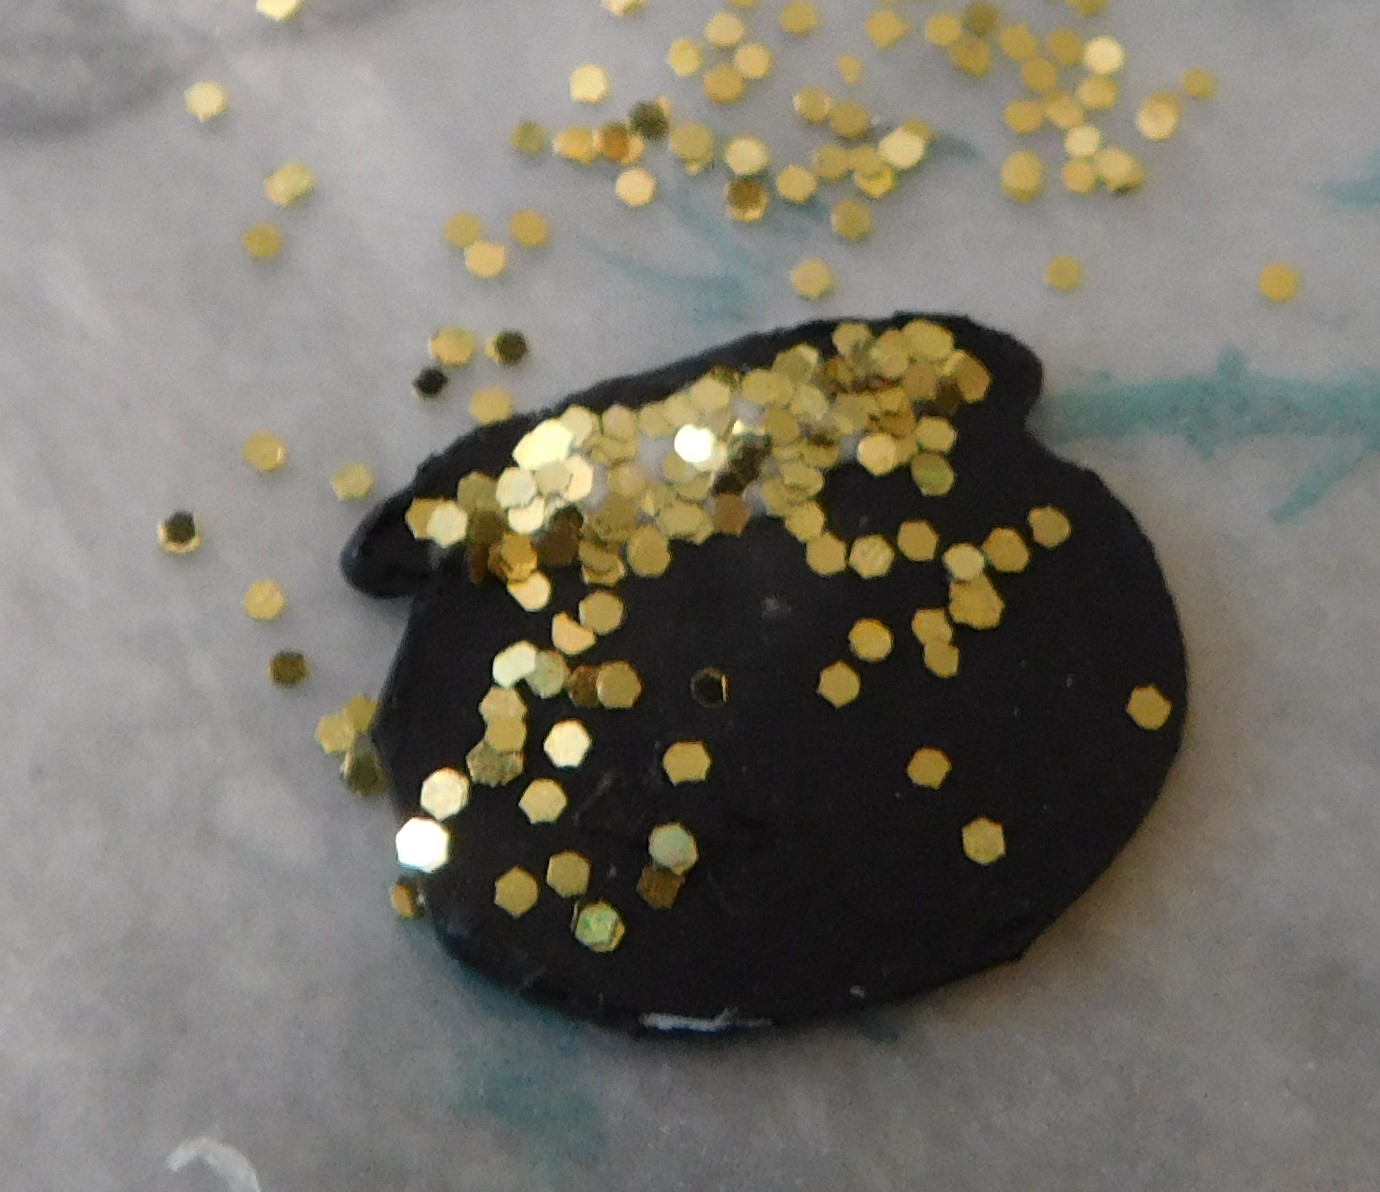
While the shamrocks are drying we can add a bit of gold to our pot of gold, for this just a touch of glue and a sprinkle of gold glitter will do the trick.

Once the glue dries shake off the excess glitter and glue the pot of gold in place at the bottom of the wreath and allow the glue to completely dry.
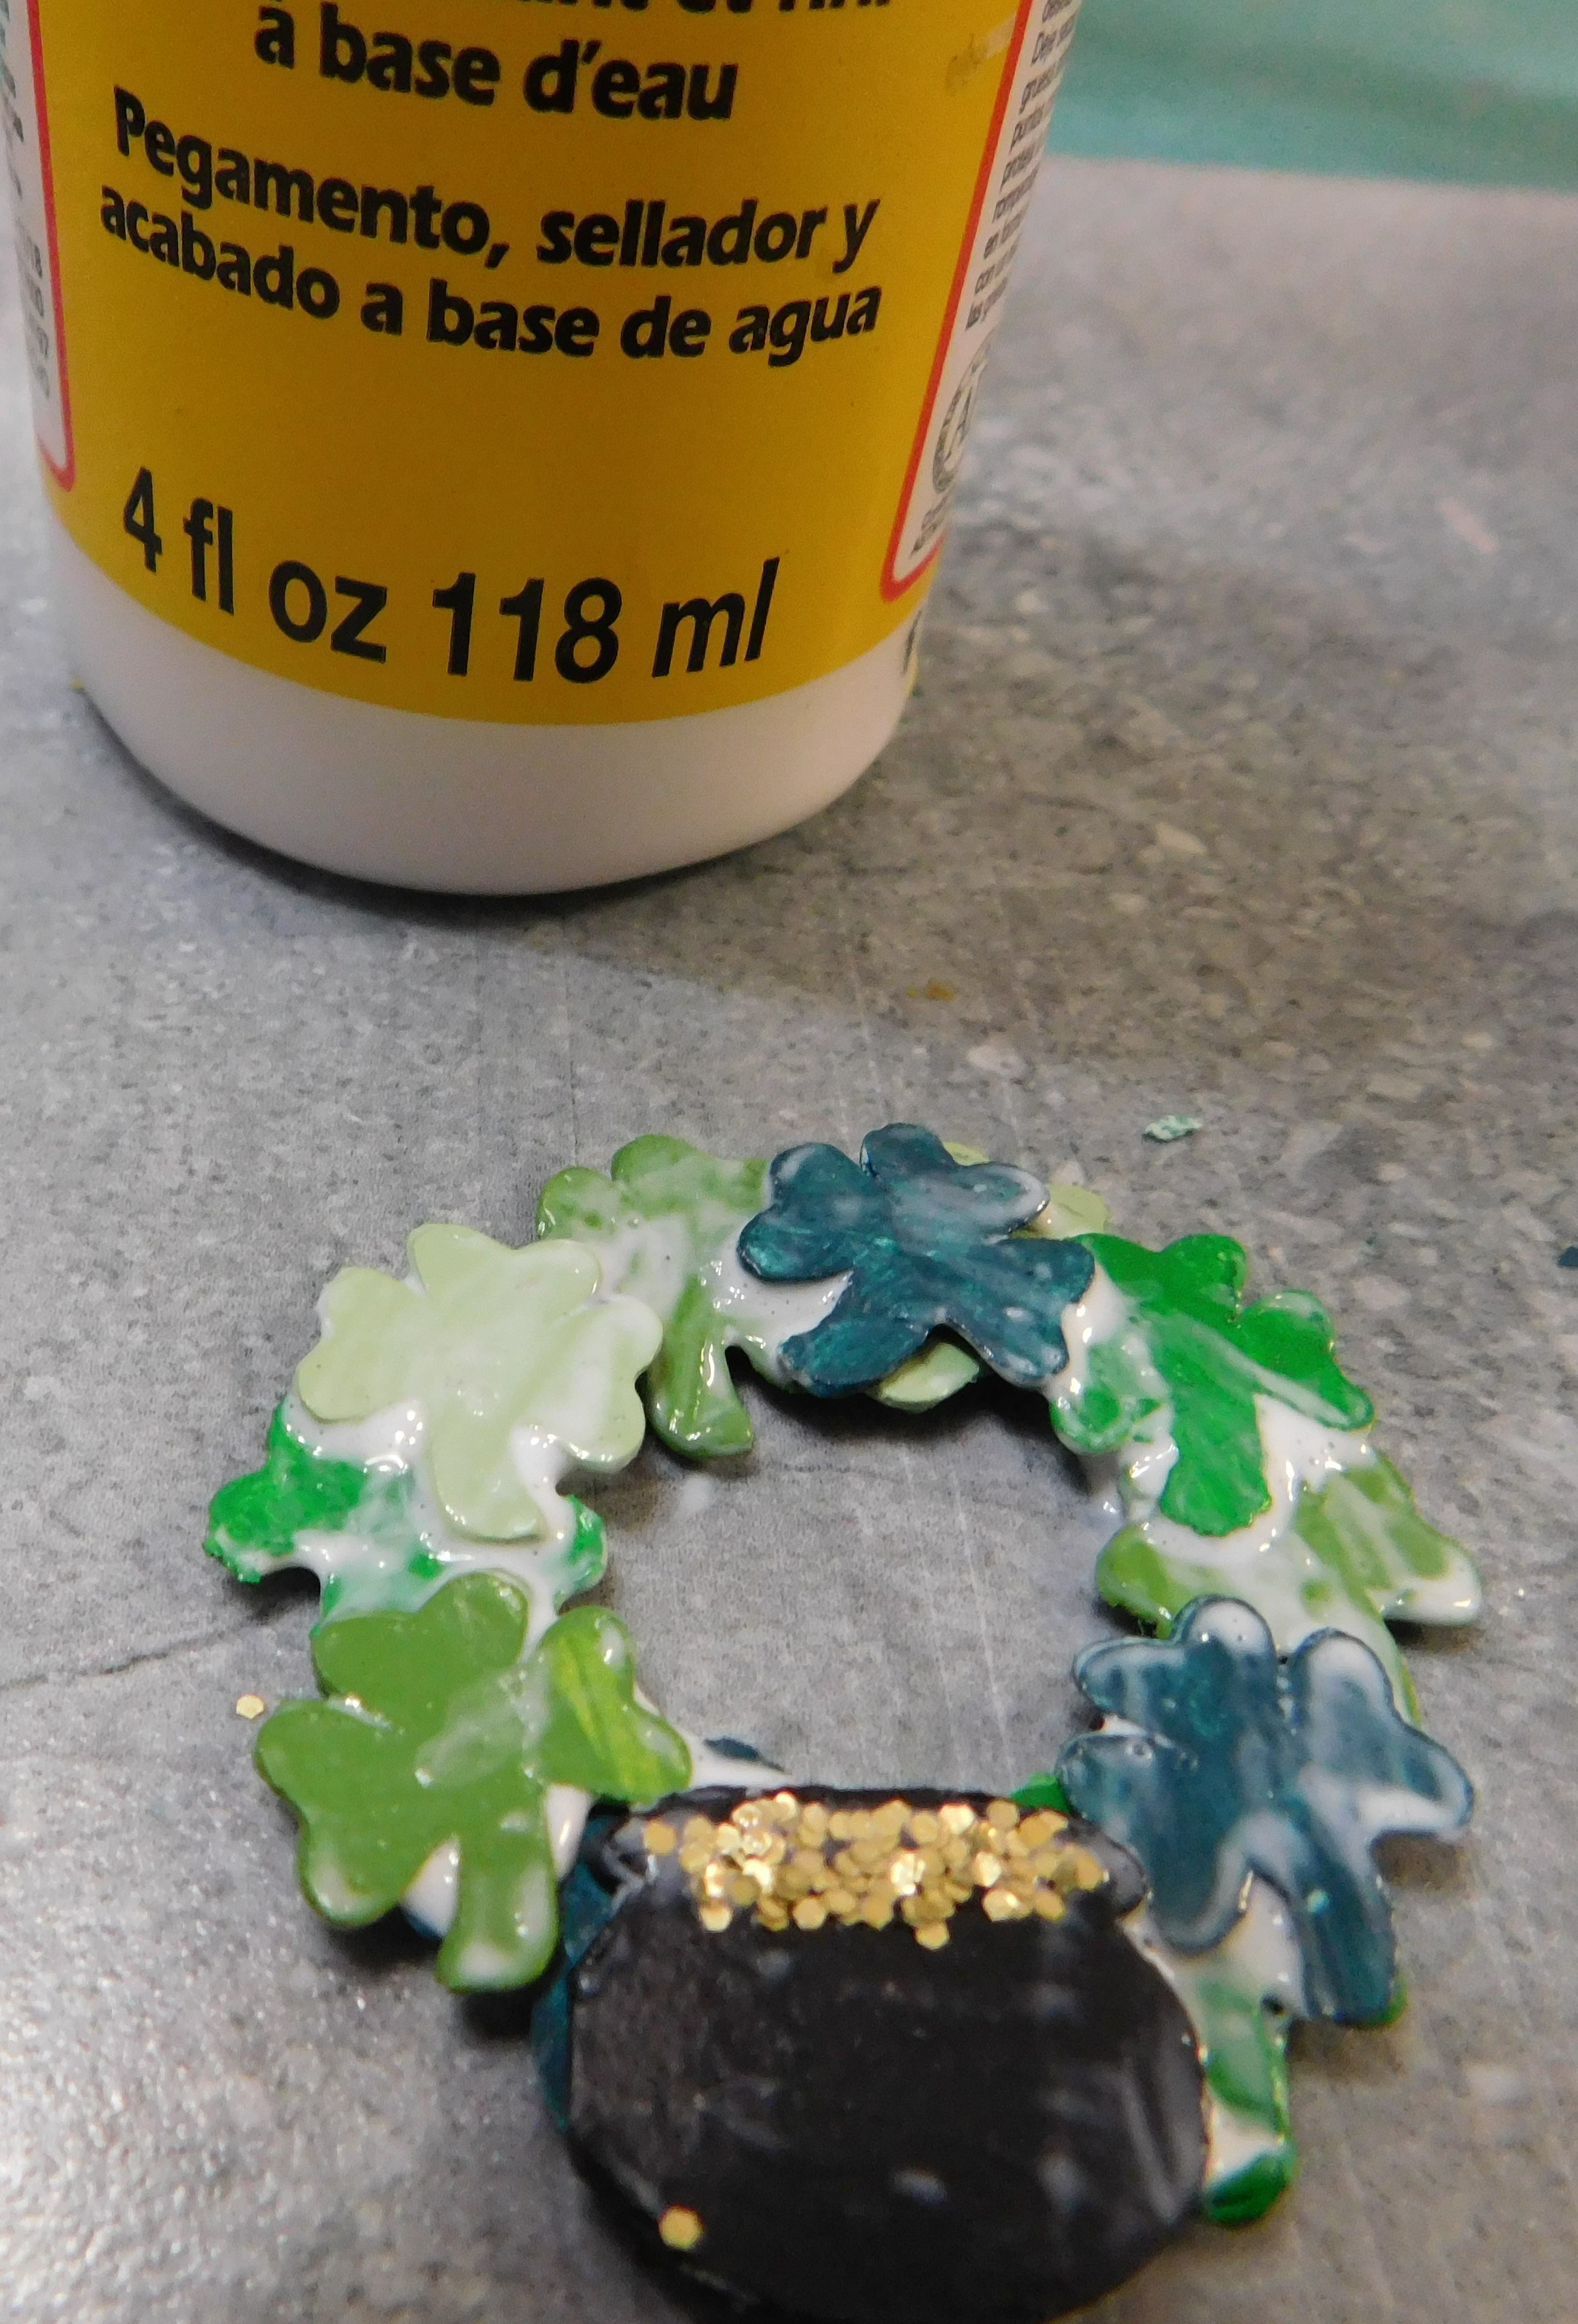
To finish the wreath add a coat of Mat Mod Podge to both the back and front of the wreath being sure to dry completely between.

As a fun finishing touch I added a simple bow tied from two colors of embroidery floss (a green and a white) 3 strands of each. Make the bow as small as you can and then attach to the wreath with a drop or two of tacky glue. I also added a couple of drops of Mod Podge to the top of the bow at the knot to make sure it stayed just the way I wanted it.

Once dry you can trim he long ends on the bow.

Now your wreath is ready to display either inside or outside your dollhouse for Saint Patrick’s Day.
As always I do want to sincerely thank all of you for watching my videos and reading my blog posts. It means so much to me that you are supporting me in this way. If I could ask you all to do just a bit more by subscribing to the channel and liking the videos and leaving comments. Those help more than you can imagine. Also if you could pass the links on to your friends I would appreciate it so much.
Thanks for the files - I enjoy coming to your blog and watching your videos.
ReplyDelete