
This week we are working on one of the kitchen cabinet kits I recently purchased. This one is the 3” wide base cabinet that has a spot to put either a sink or cook-top into.
The front has 2 fake drawers at the top just like a real cabinet would and it has 2 doors with shelves.
I do want to say again how much I love this set. I do wish there were more informative instructions in addition to the diagram but I still got this done easily. I did have to make one correction (I initially placed the fake drawer fronts upside down) It was an easy fix since I figured it out before the glue had time to set.
As with any kit I recommend you sit down with the instruction sheet, all the pieces included and a pencil. Go through each piece and figure out what every one of them are. Then with the pencil on the backside of the pieces label each one with its number. This will make putting the kit (any kit) so much easier.
Also dry fit every step before you put any glue on anything. Even if I don't show this step I always do it. You will prevent a lot of mistakes by simply dry fitting the parts.


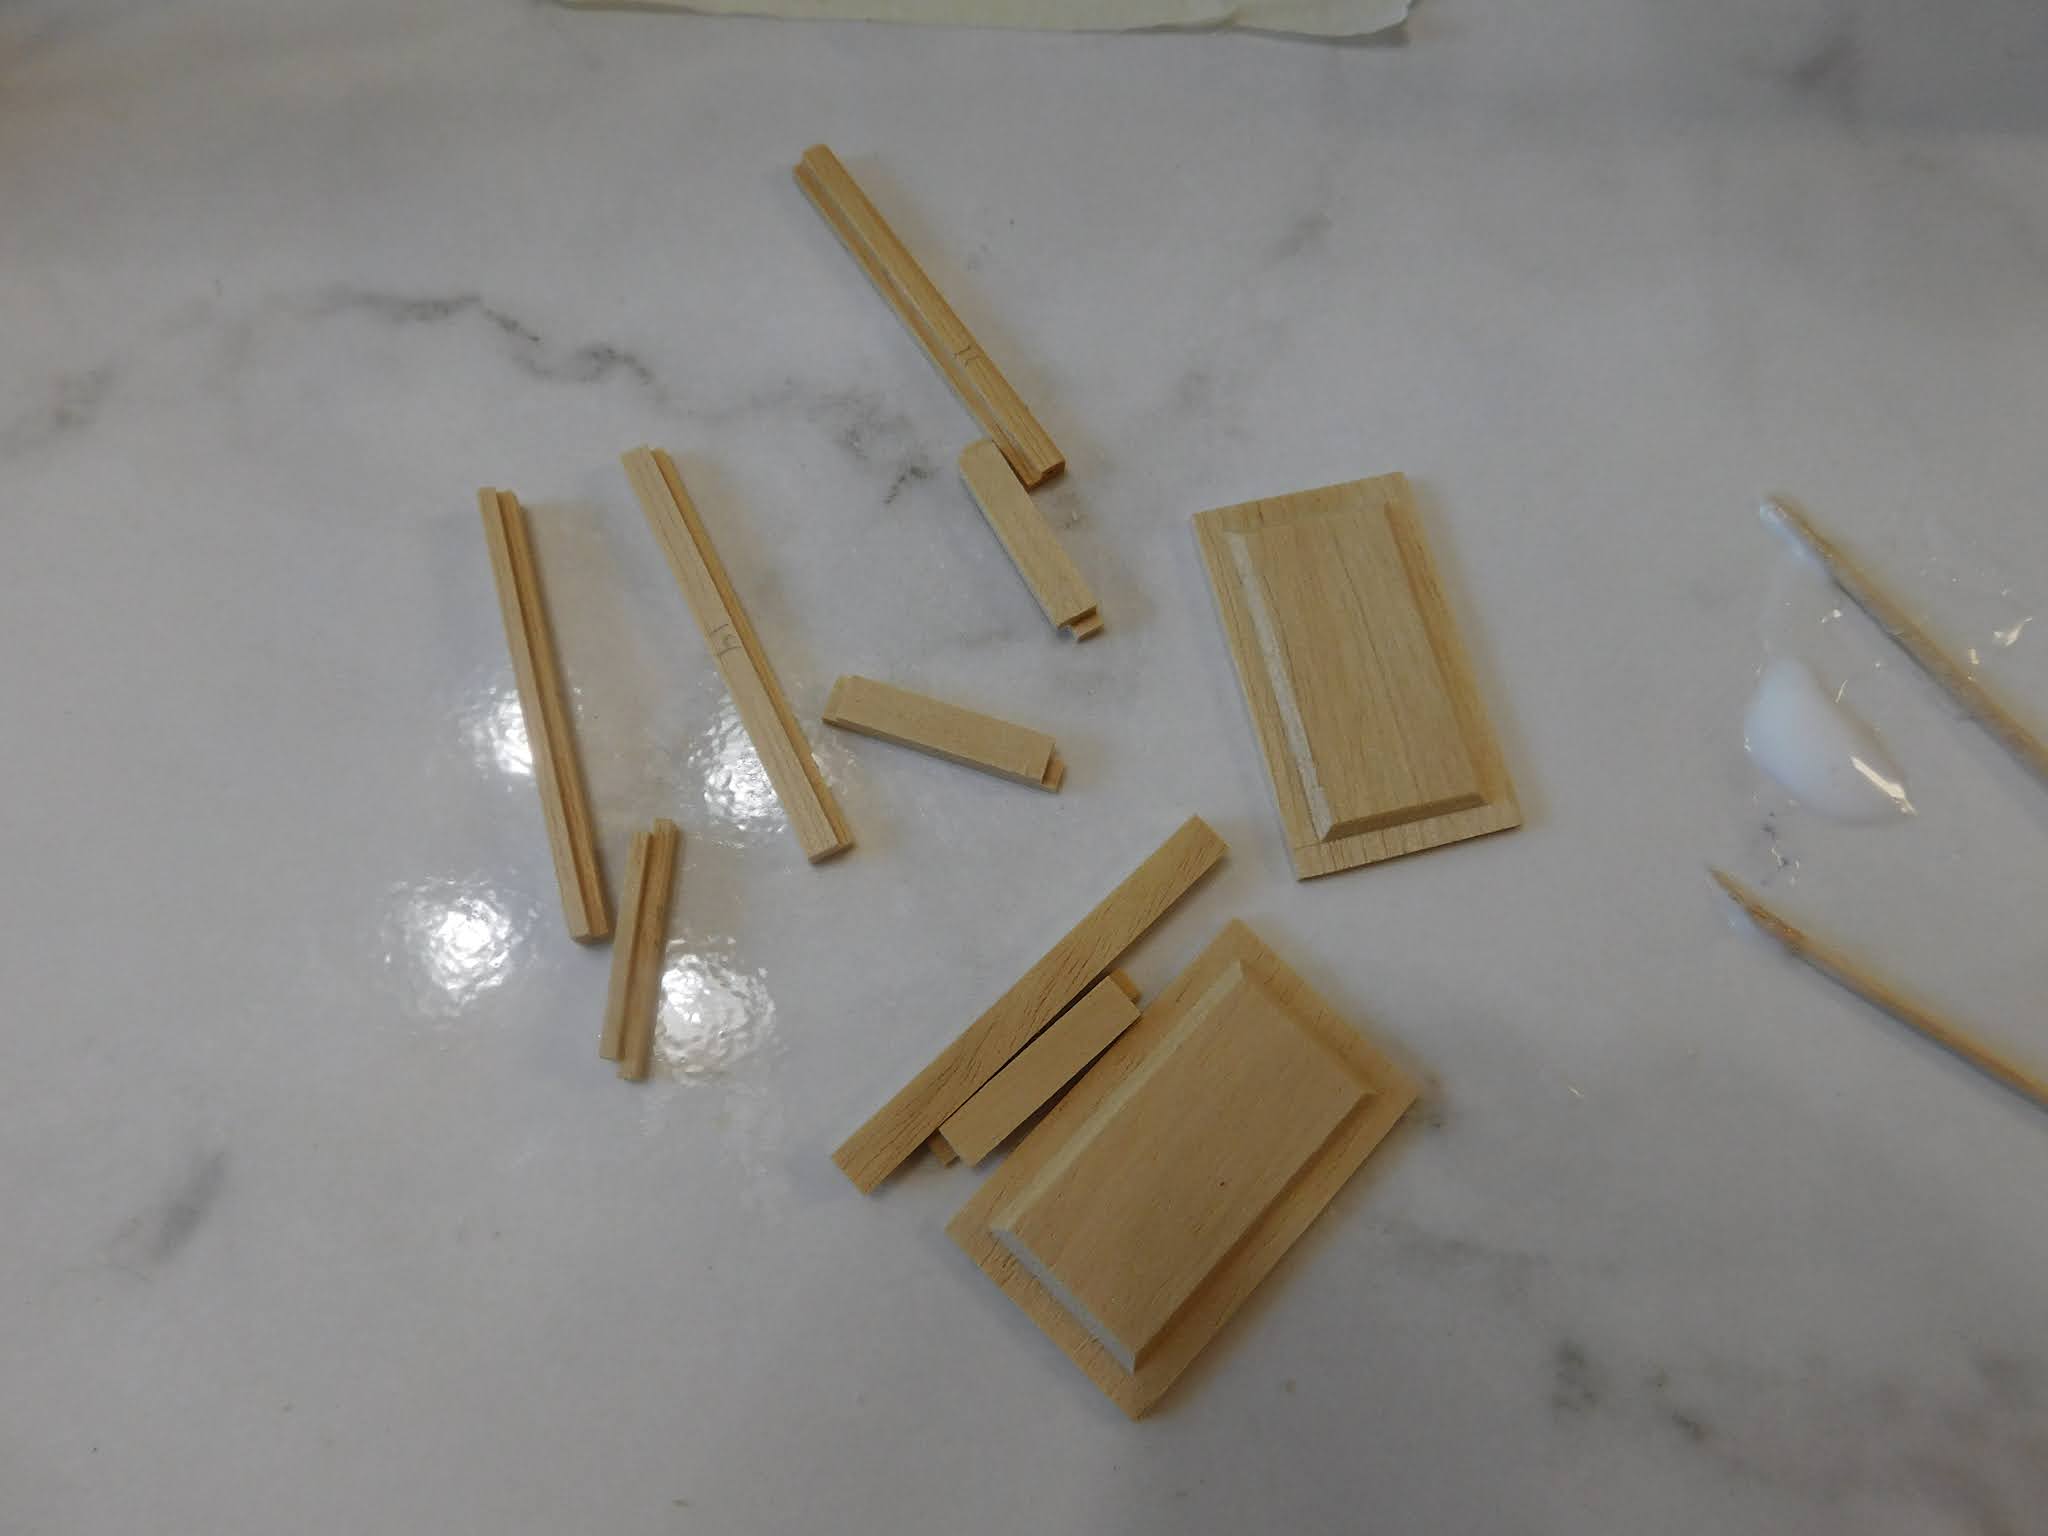
Now
we add the drawer fronts, and the pieces that will frame the doors.
Work carefully and make sure (again) that everything is in the
correct location.


That is as far as we a going to go on this piece this week. I am going to construct at least all the kits I already have before I start painting them.

Next week we will do another base cabinet kit.
As always I do want to sincerely thank all of you for watching my videos and reading my blog posts. It means so much to me that you are supporting me in this way. If I could ask you all to do just a bit more by subscribing to the channel and liking the videos and leaving comments. Those help more than you can imagine. Also if you could pass the links on to your friends I would appreciate it so much.
No comments:
Post a Comment