
This week I am taking you all along with me as I tackle a project. First I have

several paint brushes that are very neglected and in desperate need cleaning. They all have some paint dried at the base of the bristles where the bristles come out of the ferrule. I know that paint should never get up there but things happen, especially when I am filming videos or otherwise distracted. So I either needed to clean these up at least a bit so they would be usable again or throw them out and replace them. I really wanted to rescue them since for the most part they are my favorite brushes.
I looked online and found several articles/videos on the subject. The three products that seemed to be most common to use to try to fix paint brushes were- nail polish remover (acetone type), Isopropyl alcohol, and distilled vinegar. Since these are all things I have on hand normally and use often I decided to try those. For the most part the instructions for all three products were the same. Immerse the brush bristles (up to the ferrule but no further) in the liquid and let it sit for a day. Pretty simple and I was hopeful that at least on of the methods would work. I took a “day” to mean around 24 hours and one of the articles I read stated 24 hours. I set up the experiment in an area where I could keep an eye on it and it was protected from bumping and being knocked over.

The Isopropyl alcohol started removing paint in just a few hours. This was easy to see since the liquid became very cloudy. The rest of the containers looked unchanged for most of the day.
I let my experiment set for about 20 hours and I am very impressed by the Isopropyl alcohol one. That brush looks and feels so much better. I took most of the paint out and the brush is now soft once again. It is a bit “fluffier: that it used to be but I am just happy to have it usable again.
The one in acetate was slightly better. Some o the paint was definitely removed and it is usable again just not as clean as the other one.
The brush that soaked in the vinegar feels pretty much exactly like it did when I started still stiff and full of dried paint.
So at least in my opinion the Isopropyl alcohol did the job well enough and that will be my “go to” from now on.

Now onto the organizing of my craft paint stash. As you can see from the picture it is a mess. Before I moved I had a dresser in my craft room and it had a drawer dedicated to my craft paint. I didn’t have room in the moving truck to bring that dresser nor would it have fit in my apartment. So for the last 4 years since I moved here I have just been keeping my paints in couple of boxes. One is a plastic storage box and then when I out grew that I just started putting some paints into a cardboard box that I had on hand.
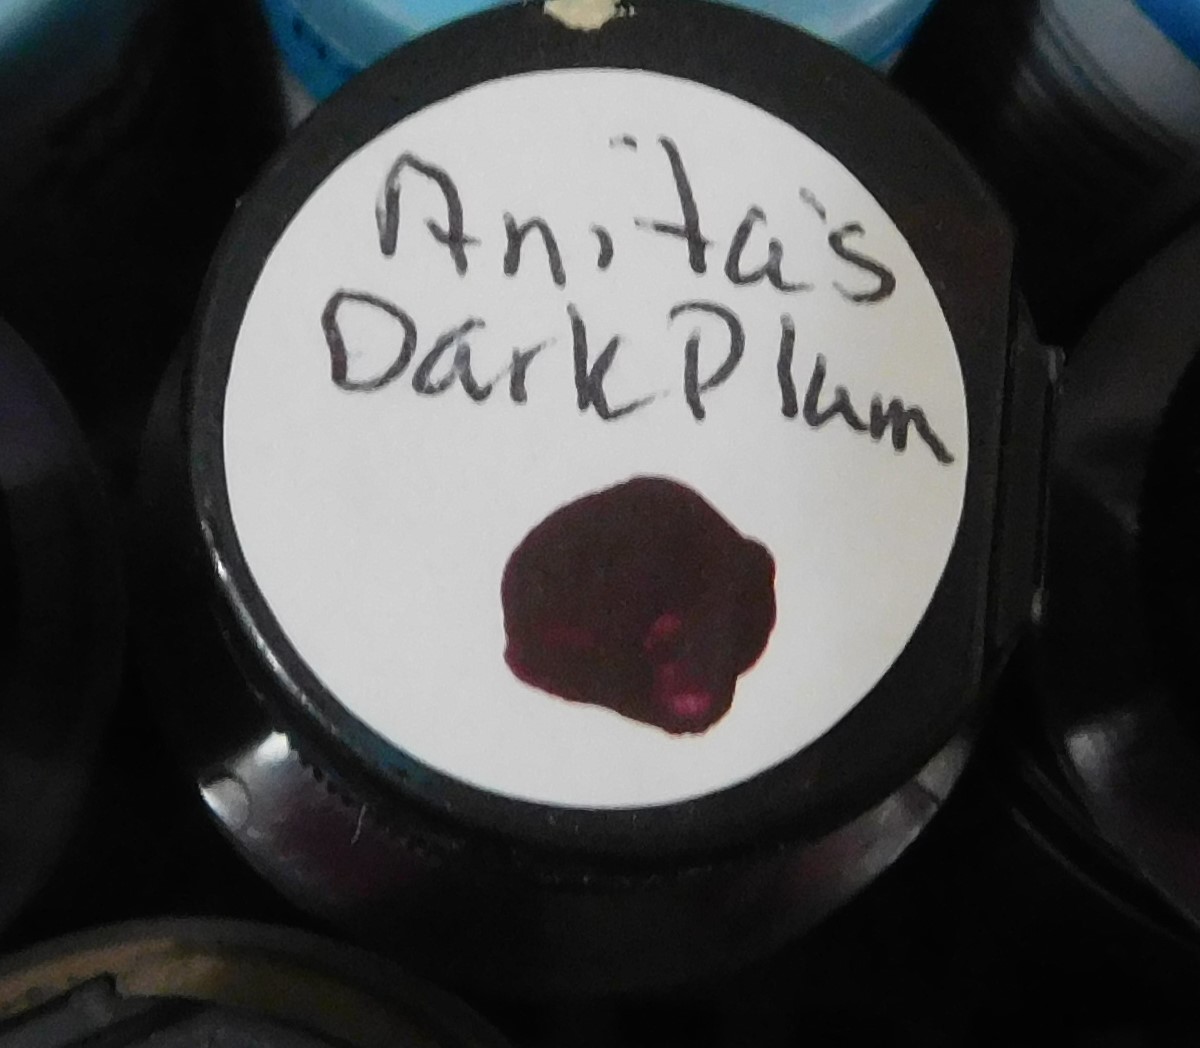
I have been pretty good about labeling the bottles with a round sticker that I put on the lid of each bottle and smear some paint on so I can see exactly what is in each bottle.
But as you can see this system (and I use the term “system” loosely here) just isn’t working. I hate looking for paints lately because I can never find the ones I am looking for.
This mess has to change so today is the day to do just that.
Since most of the bottles of paint are also covered in paint and messy that will also be fixed by the end.
To prep I gathered all my paints (at least all I could find) I also grabbed a new roll of paper towels, some cotton swabs, some toothpicks, a bowl of soapy water with a stained cleaning rag in it, and a towel for my lap that is also already stained.
I also cut a sheet of round stickers on my Cricut that are about 7/8” in diameter to use for labeling each bottle. I also have a pen, a paint brush with a really fat handle and some music waiting to be turned on as soon as the camera is turned off.
The first step in this process was to start the label that will go onto the lid. I wrote the brand name of the paint (most were abbreviated) then the color name leaving room to add a paint sample to the label.
The next step to clean the outside of each paint bottle. For some bottles this was just a quick wipe with a paper towel. For others that were really messy I used the wet cleaning rag to wipe them as best I could.
Next I flipped up the top of the bottle and cleaned out any dried paint from that area. One of my pet peeves is when I squeeze out paint and that dried blog from around the opening drops onto my project.
Next I took off the lid off and made sure the threads on the bottle as well as the top edge were free of dried paint. Again on some this was a simple wipe with the paper towel and others required a good scrub with the soapy water.
At this point I used the handle of the paint brush to get a sample of the paint and set it aside.
Now onto the inside of the lid. Again I cleaned out any dried paint from each one.
Now the lid went back on the bottle. The label was added and the paint sample added the label. I then set the bottle off to the side and repeated this process about 60 more times.

I know this seems like a lot of work, and it was. It took me most of the afternoon to complete this. I used about half the roll of paper towels, a bunch of cotton swabs, many toothpicks and 3 changes of the soapy water. However, I think it was worth it. I love having the paints all in one basket. I love that I have the bottles all cleaned up and the labels make finding what I have so much easier. I am actually looking forward to grabbing paints for the next project where I need them instead of dreading it. LOL
I can also see what colors I have and more importantly I can see what colors I need to shop for. I have some room to add more bottles to the basket and I have a lot more labels left.
I did not label my two oversize bottles of paint since I can see those easily and there are only 2 colors (black and white) I buy in the big bottles. Also I did not label either the few paints I have in tubes instead of bottles or the ones I picked up from Dollar Tree. All of these paints will probably go into a storage container with my Mod Podge and glues now.
As always I do want to sincerely thank all of you for watching my videos and reading my blog posts. It means so much to me that you are supporting me in this way. If I could ask you all to do just a bit more by subscribing to the channel and liking the videos and leaving comments. Those help more than you can imagine. Also if you could pass the links on to your friends I would appreciate it so much.
No comments:
Post a Comment