
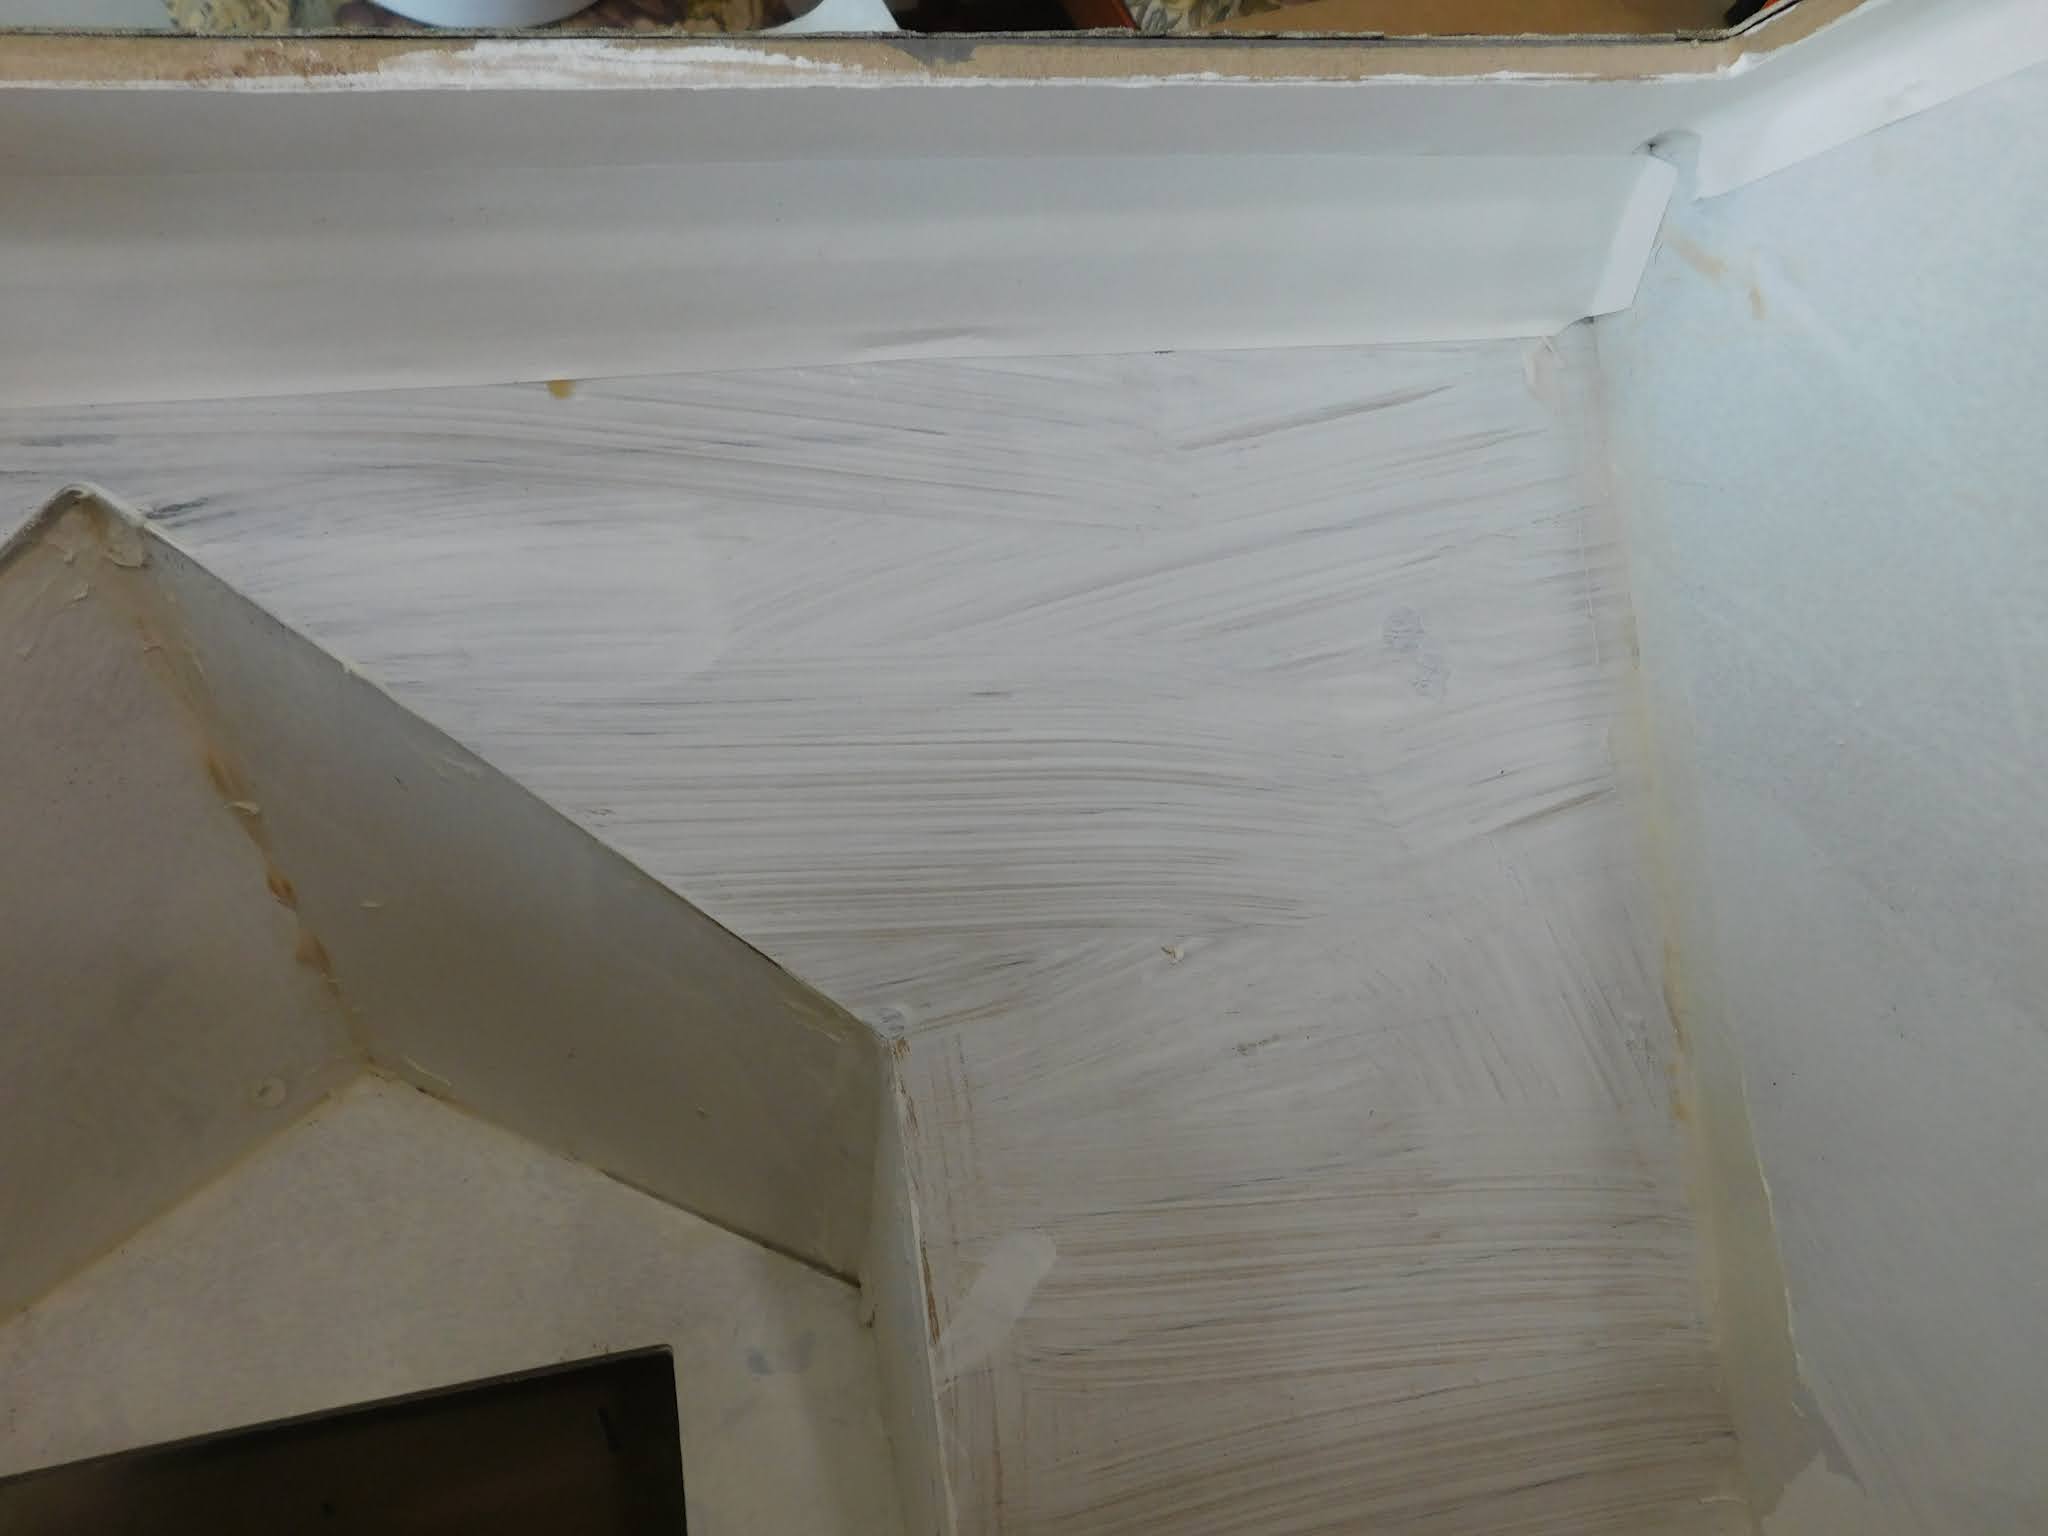
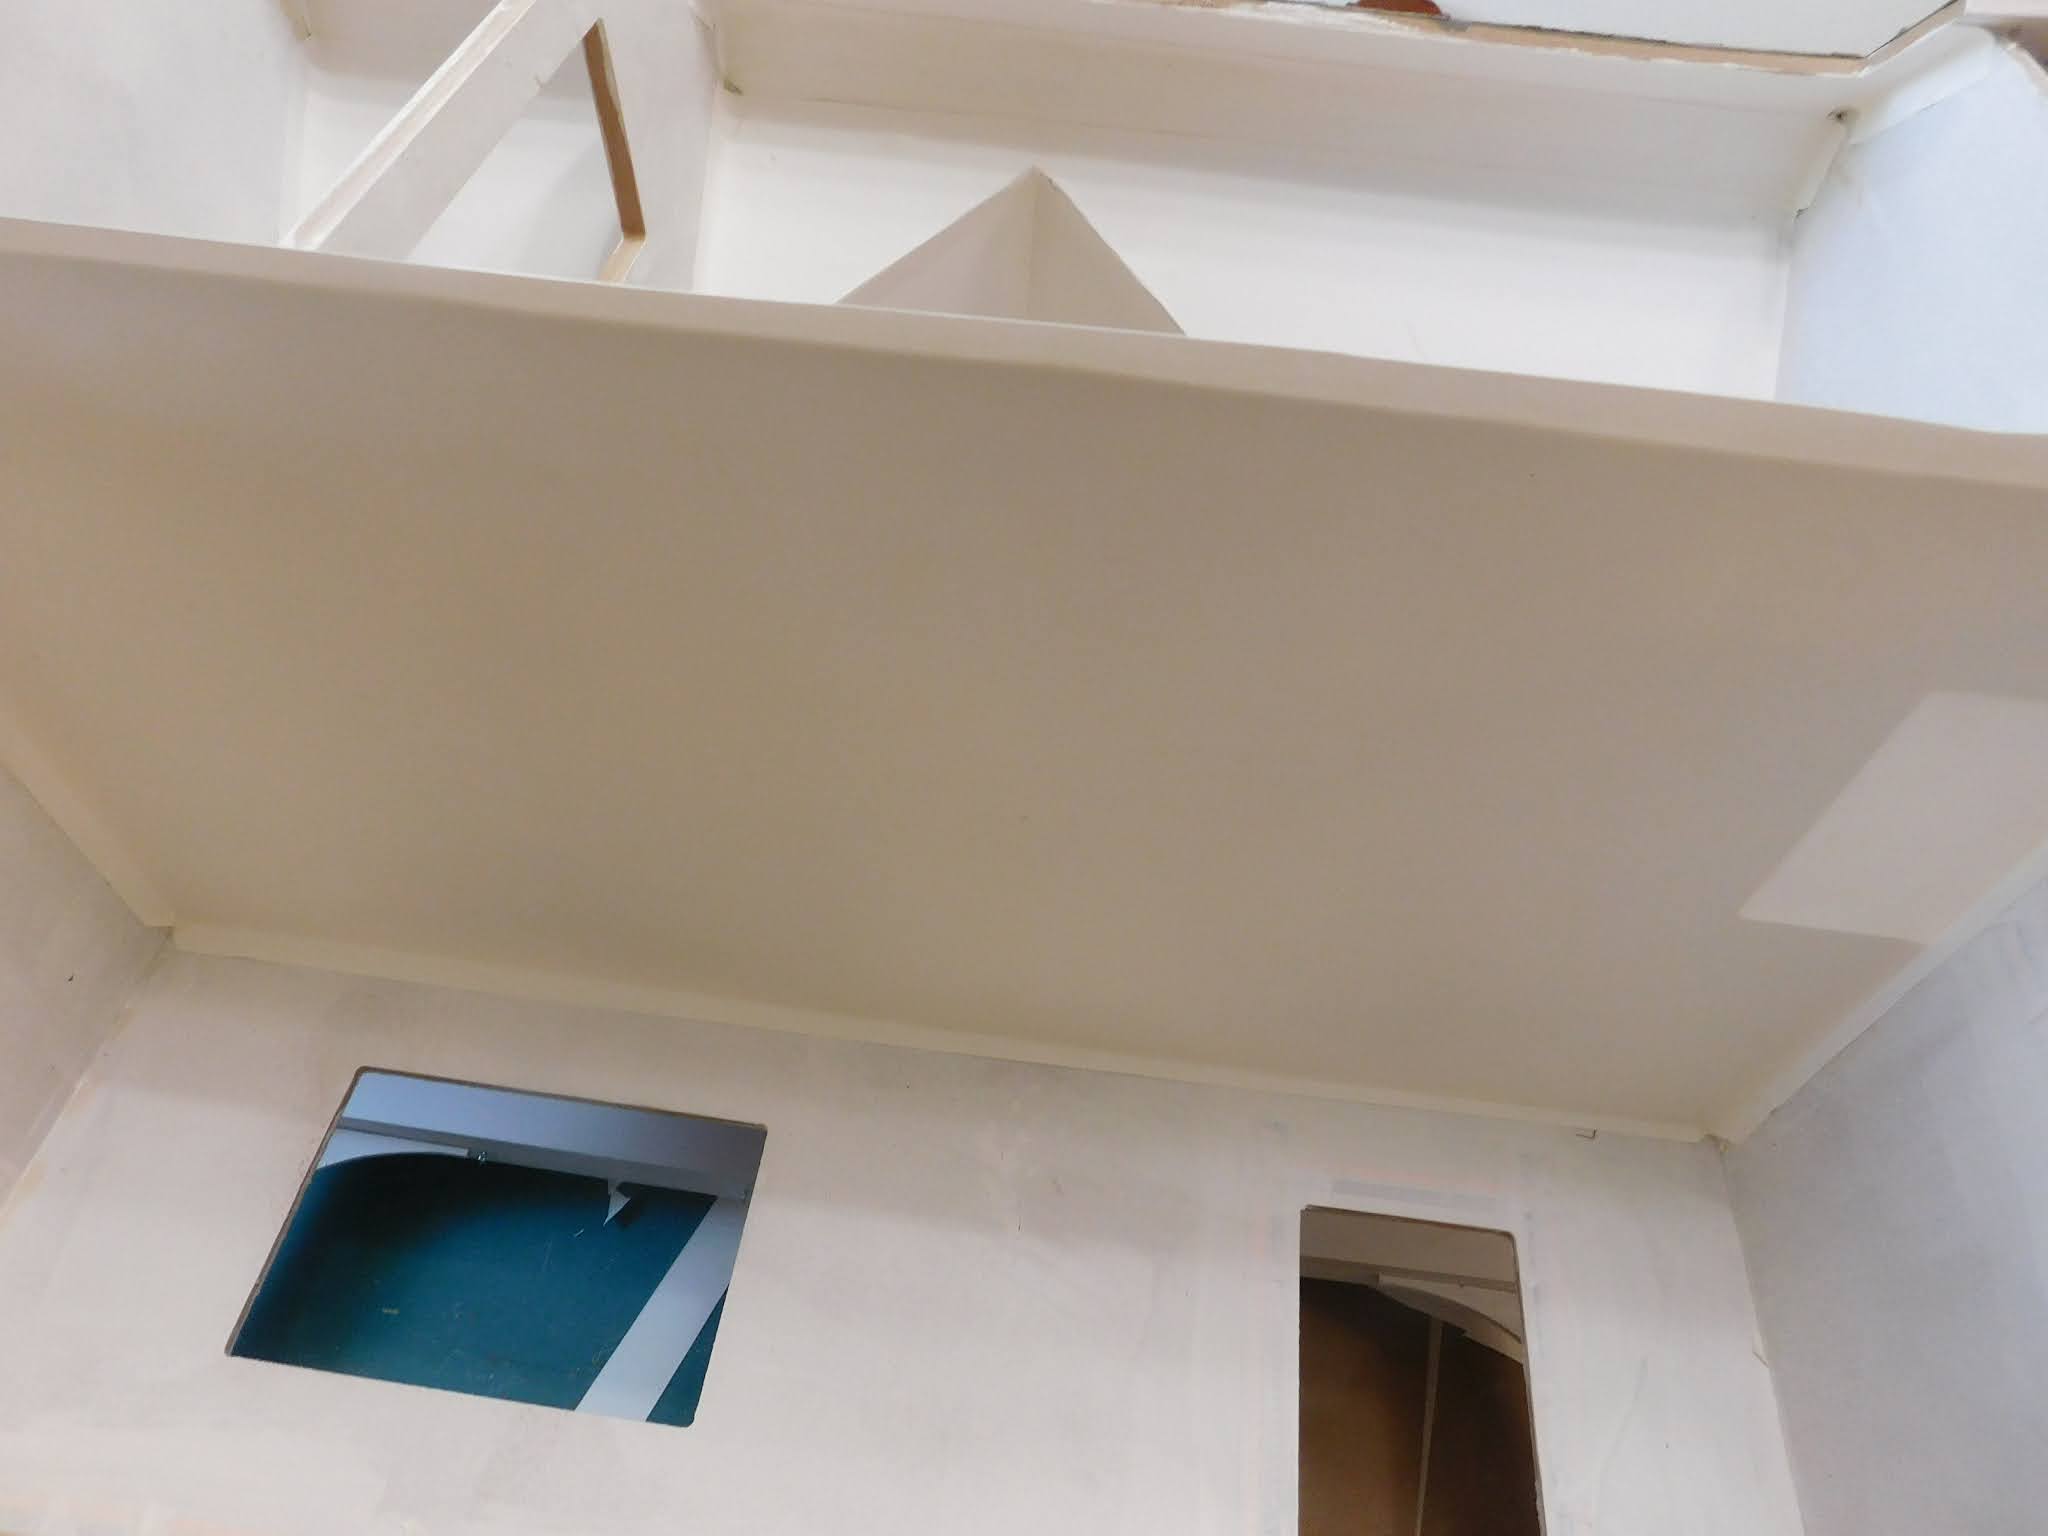
This week we are putting up all of the ceiling paper in the dollhouse. When I do the interior finishes I like to start at the top and move down each wall. So first the ceiling gets finished then the walls then the floors. This way I can wrap around each area where 2 pieces of paper meet. In this case the lines between the ceiling areas and the areas where the ceiling and walls meet. This way we are insuring that the corner will be covered and we won't see the wood structure under the paper or a crack between the pieces of wood.
Before I started I did go through and did some filling with some Spackle and caulk. I used both and picked what seemed to be easier in each place.
Now some of you might be wondering why I am not just leaving the painted wood. After all this paper is supposed to replicate a plain painted ceiling. Just painting it would definitely be a lot easier and quicker. And if this was a house that was going to be played with by a small child I would do just that. But because I want this to look more realistic I need to create the look of a finished ceiling. (and next week finished walls) The wood that the house shell is made of is just not the correct texture or scale to look convincing. The art paper I am using for white painted drywall pulls off the trick of looking like painted drywall. It has just a light texture and in scale looks a lot like the texture we are all used to seeing in our real homes.
piece.
I then work forward toward the front of the house and down. This way any edges that are rolled over the edge of the surface will be covered by the piece of paper that goes next to it. We will be doing a very similar pattern with the wallpaper next time. The last pieces to go in will cover the edges next to them with a straight edge. The most finished looking area will be at the front of the house where you will see it more as you look at the interior of the dollhouse from the open back. If this sounds a bit confusing I think it will make more sense when we work on the wallpaper.

To
make the more tricky cuts I like to make a pattern to use in cutting
my papers. I use whatever paper I have on hand, this time I am using
some of the Kraft paper I have for covering my table. I always have
some odd pieces left at the end of the roll and they come in handy
for all sorts of stuff. Instead of doing a lot of complicated
measurements and drawing out a pattern for each piece, I use small
pieces of paper that line up with the edges of the area I need the
pattern for. By building it up in place from small pieces I can make
a fairly accurate template (or pattern) easily. I have shown this
method before on the channel and I am sure it will crop up in future
videos also.

As
with pretty much everything else I dry fit the pieces before I apply
the glue. That way I can make any adjustments before I have glue
covering everything. 
dry fit


When you applying papers, both ceiling and wallpaper you will probably have some bubbling while the paper is wet. Do your best to smooth out any air and any excess paste. Most of the other bubbling will shrink out as the paper dries. Do be sure to apply the paste to both the wood surface and the back of the paper. This way not only do you get better coverage of the paste but also you can gently slide the paper into place. Just be very gentle so you don't tear the paper.
 |
| just for fun |
I have used over half the container of wallpaper gel that I purchased so I will be placing an order for more before the weekend. Hopefully it will arrive before I run out while putting up the wallpaper. I do like the product and I will probably do an actual review of it later on in the summer.
As always I do want to sincerely thank all of you for watching my videos and reading my blog posts. It means so much to me that you are supporting me in this way. If I could ask you all to do just a bit more by subscribing to the channel and liking the videos and leaving comments. Those help more than you can imagine. Also if you could pass the links on to your friends I would appreciate it so much.
No comments:
Post a Comment