

A few months ago I got this cute potted cactus plant as part of a blind bag. I told you all then that I would repaint it as a tutorial when we got to the month when I am doing some of the cactus themed items.
I know you probably won’t have the same little item but the techniques I am showing you can be used on any similar item. I admit I do this slightly differently each time I repaint one of these plastic items. Partly because I have done this many times and I have an idea what will work in each and partly because different supplies are within reach when I sit down to do the project.
When re-painting one of these little plastic pieces the first step is always to clean it. Off camera I did do a quick wash with soap and water and let it dry completely.

Next I almost always wipe the item down with either rubbing alcohol of with white distilled vinegar. Since I had the vinegar out to use for some real size cleaning the day I filmed this I used that.
Since this little pot is fairly small and I didn’t want to get any oils from my skin on it after I spent time cleaning it I used some poster tack to attach it to a craft-stick to make it easier to work with.
Allow what ever you use to clean the item dry completely before moving on to the next step.

Once dry I gave the entire piece a coat of mat Mod Podge to act as a primer for my paint. I am not completely sure this works but I almost always do this step and so far I have had good results when I do.

Next I worked from the bottom up with my painting. I figured the pot was the biggest part of the piece so that seemed like a good place to start. I used a terracotta color craft-paint and gave the pot 2 coats to cover the bright blue completely. Allow to dry.

Next I gave the cactus plants each a coat of green paint. I decided to use three colors of green since there were three individual plants in the pot. You could use all one color or use more like I did. I painted the entire plants including the flowers on the tops. This way if I miss a bit with the flower color later it won’t matter as much. Allow the green to dry.

Now it was time to paint the flowers on the tops of the plants. Again I decided to paint each one a different color. That way you know at a glance this is a pot with 3 plants in it. Since the flowers are pretty small and close together use the smallest brushes you have for this step and allow to dry.

Now I added some dried coffee grounds to the top of the soil area in the pot. This gives a nice texture and looks nicer than just the flat paint the pot had before. Just paint on a bit of tacky glue and add the coffee grounds. Allow the glue to dry and brush off any loose coffee grounds.
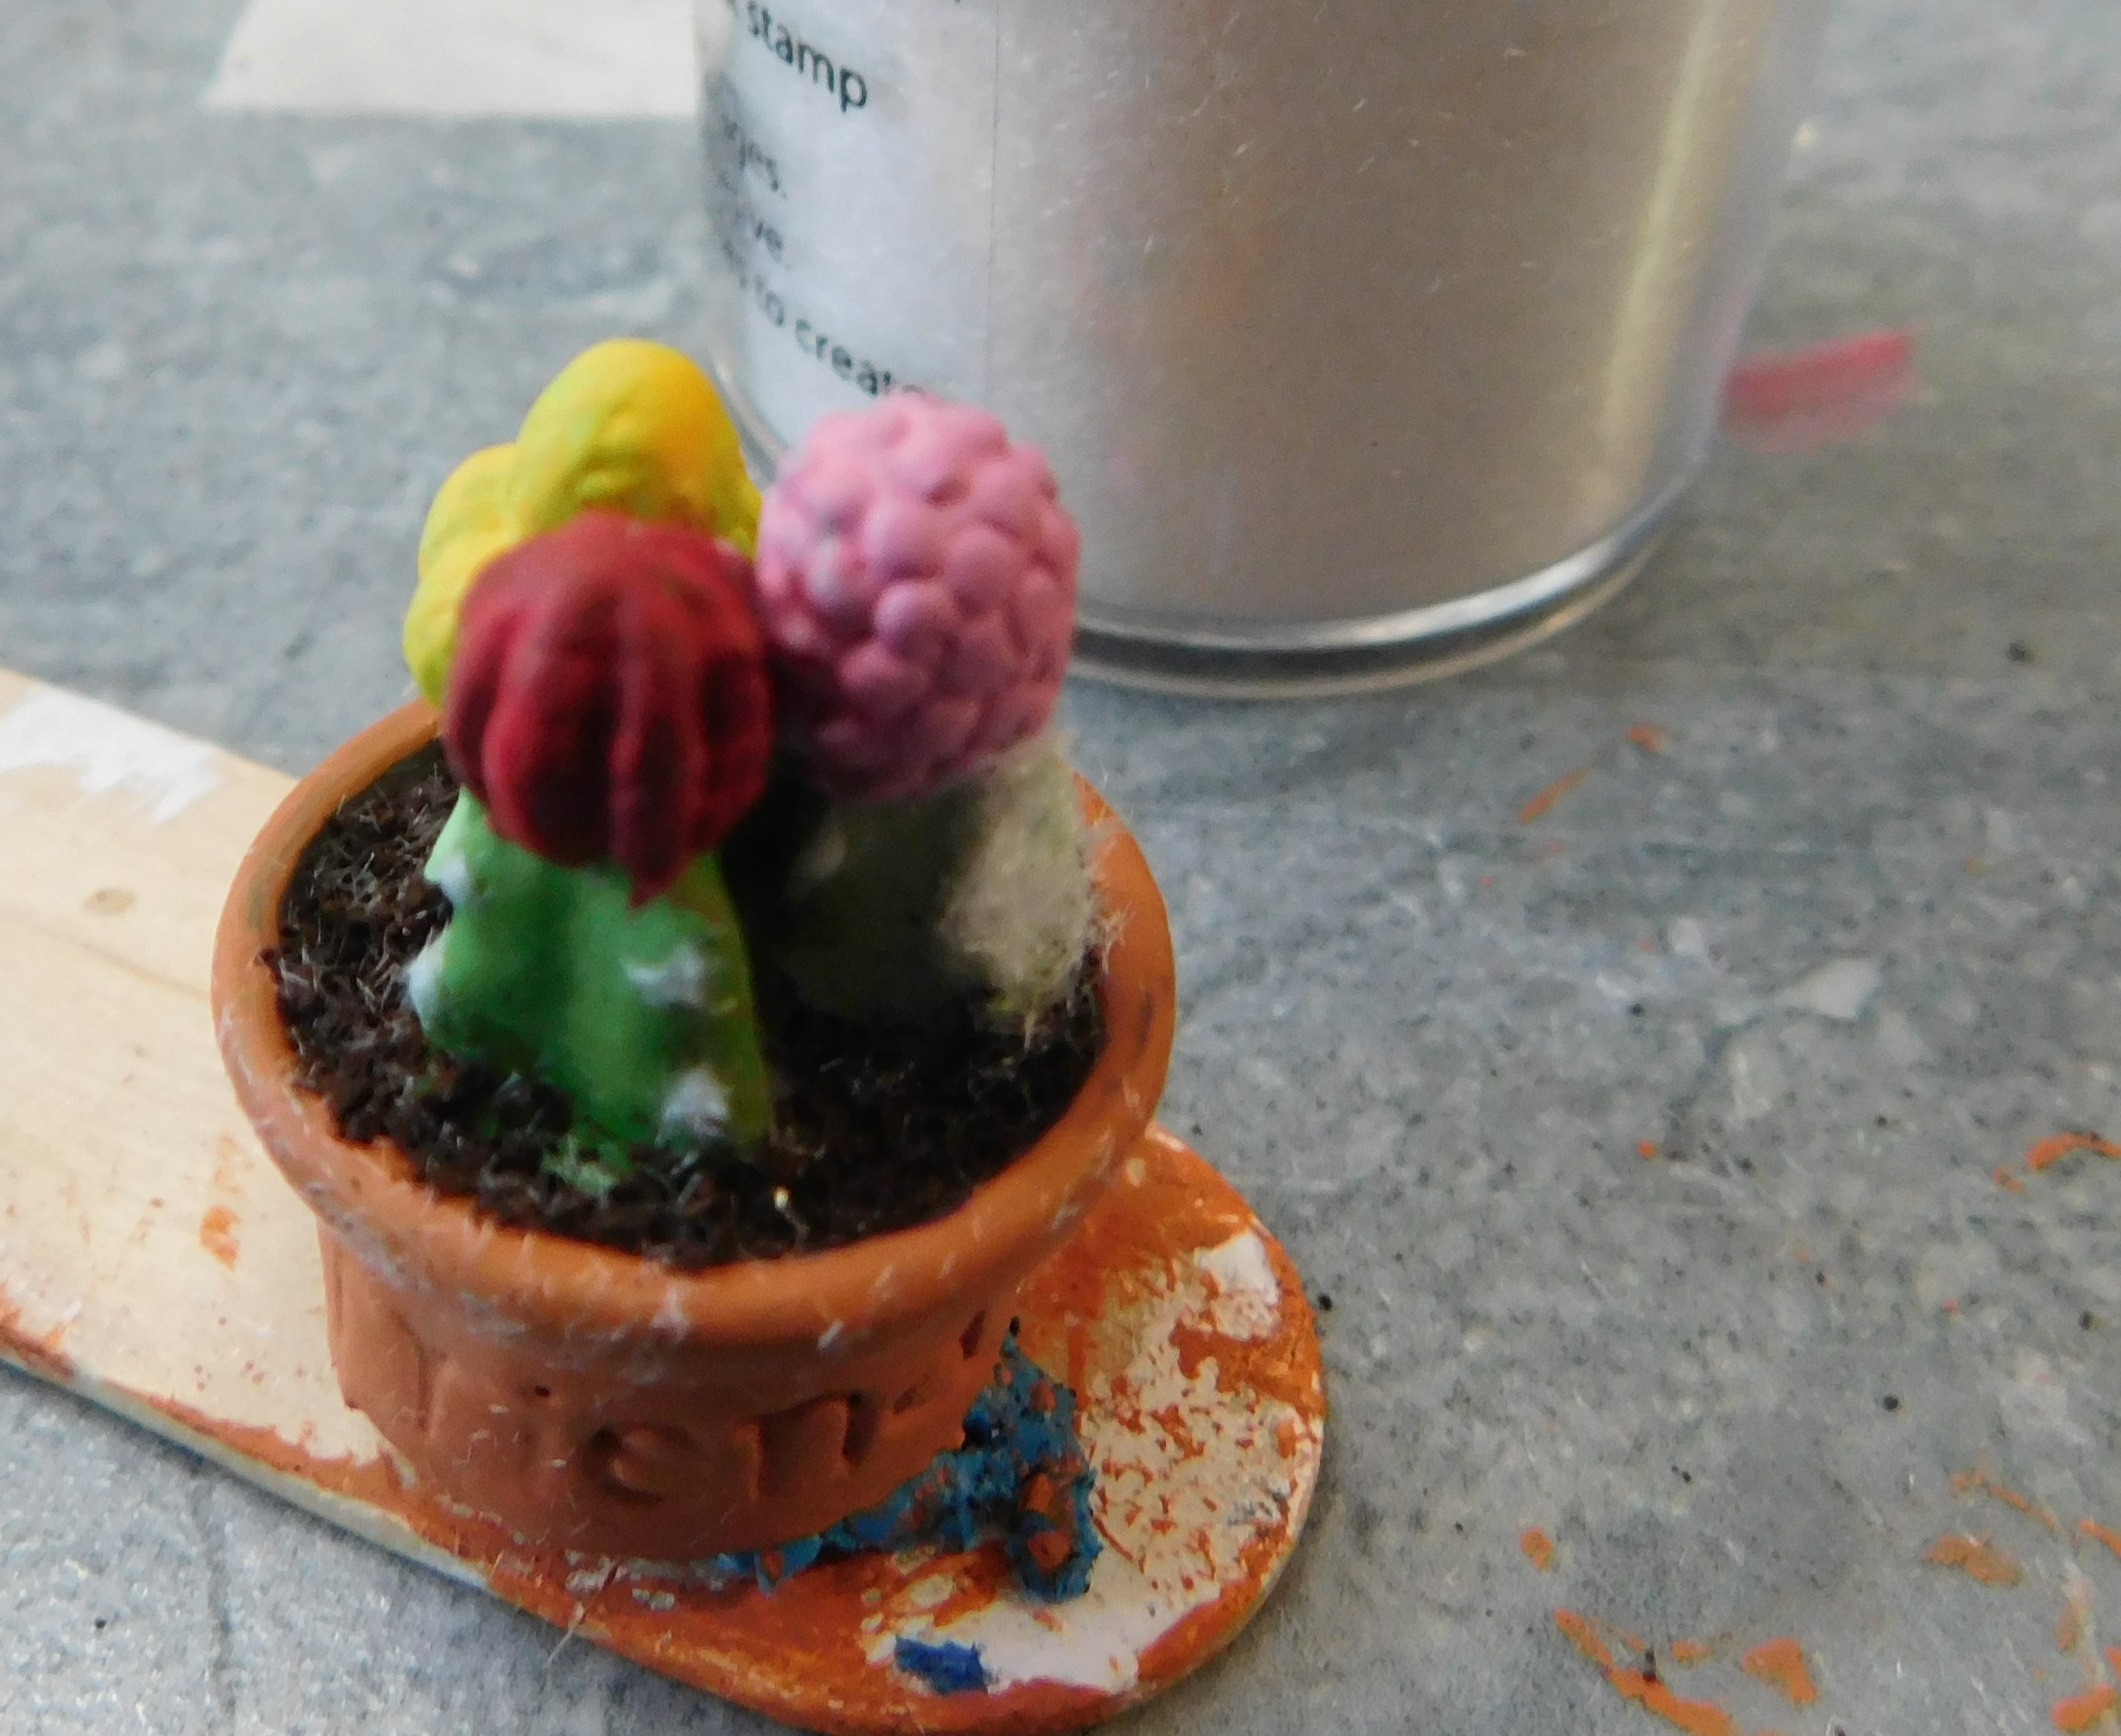
Just for fun I pulled out my jar of white flocking and used it on the cactus plants where the stickery parts would be in real life. I know it doesn’t show a lot (you can see it better in person than in the pictures or video) so it is optional but I like the look of it.
Once your glue has dried you are ready to display the piece in your mini scene.
As always I do want to sincerely thank all of you for watching my videos and reading my blog posts. It means so much to me that you are supporting me in this way. If I could ask you all to do just a bit more by subscribing to the channel and liking the videos and leaving comments. Those help more than you can imagine. Also if you could pass the links on to your friends I would appreciate it so much.
No comments:
Post a Comment