
This week I have a last minute Easter project for you to make to decorate the dollhouse. I know we are only a week away from Easter but I really wanted to get this one done for this year. I am feeling a lot better and hope to be back at full video schedule in the near future.
This project uses another of the patterns I have created for you to use either by hand cutting (a PDF) or with an electronic cutting machine (PNG with a text file that gives details/hints for sizing etc). You can download all the files here.

Here are what all the pieces look like when they are cut out. The pieces are grouped together on both files and I do recommend keeping them together to make gluing easier. There are two pieces that are meant to be left in a single layer and they are the lining pieces for the bunny ears. The rest are glued together in either sets of 3 or 4 and I talked about that in the video.

Here are the sets all glued together. I do find it works best to put something flat on top of the glued sets and add a weight to hold them flat until dry. It does take a bit longer for the pieces to dry this way but they remain much flatter and easier to work with.

Since I decided to make one of the ears flap over we now need to glue that little flap layer onto the ear. They piece should fit perfectly since it was sliced from the ear. I just found it looked a lot nicer when I added this little piece. Allow this glue to dry before moving on to the next step.
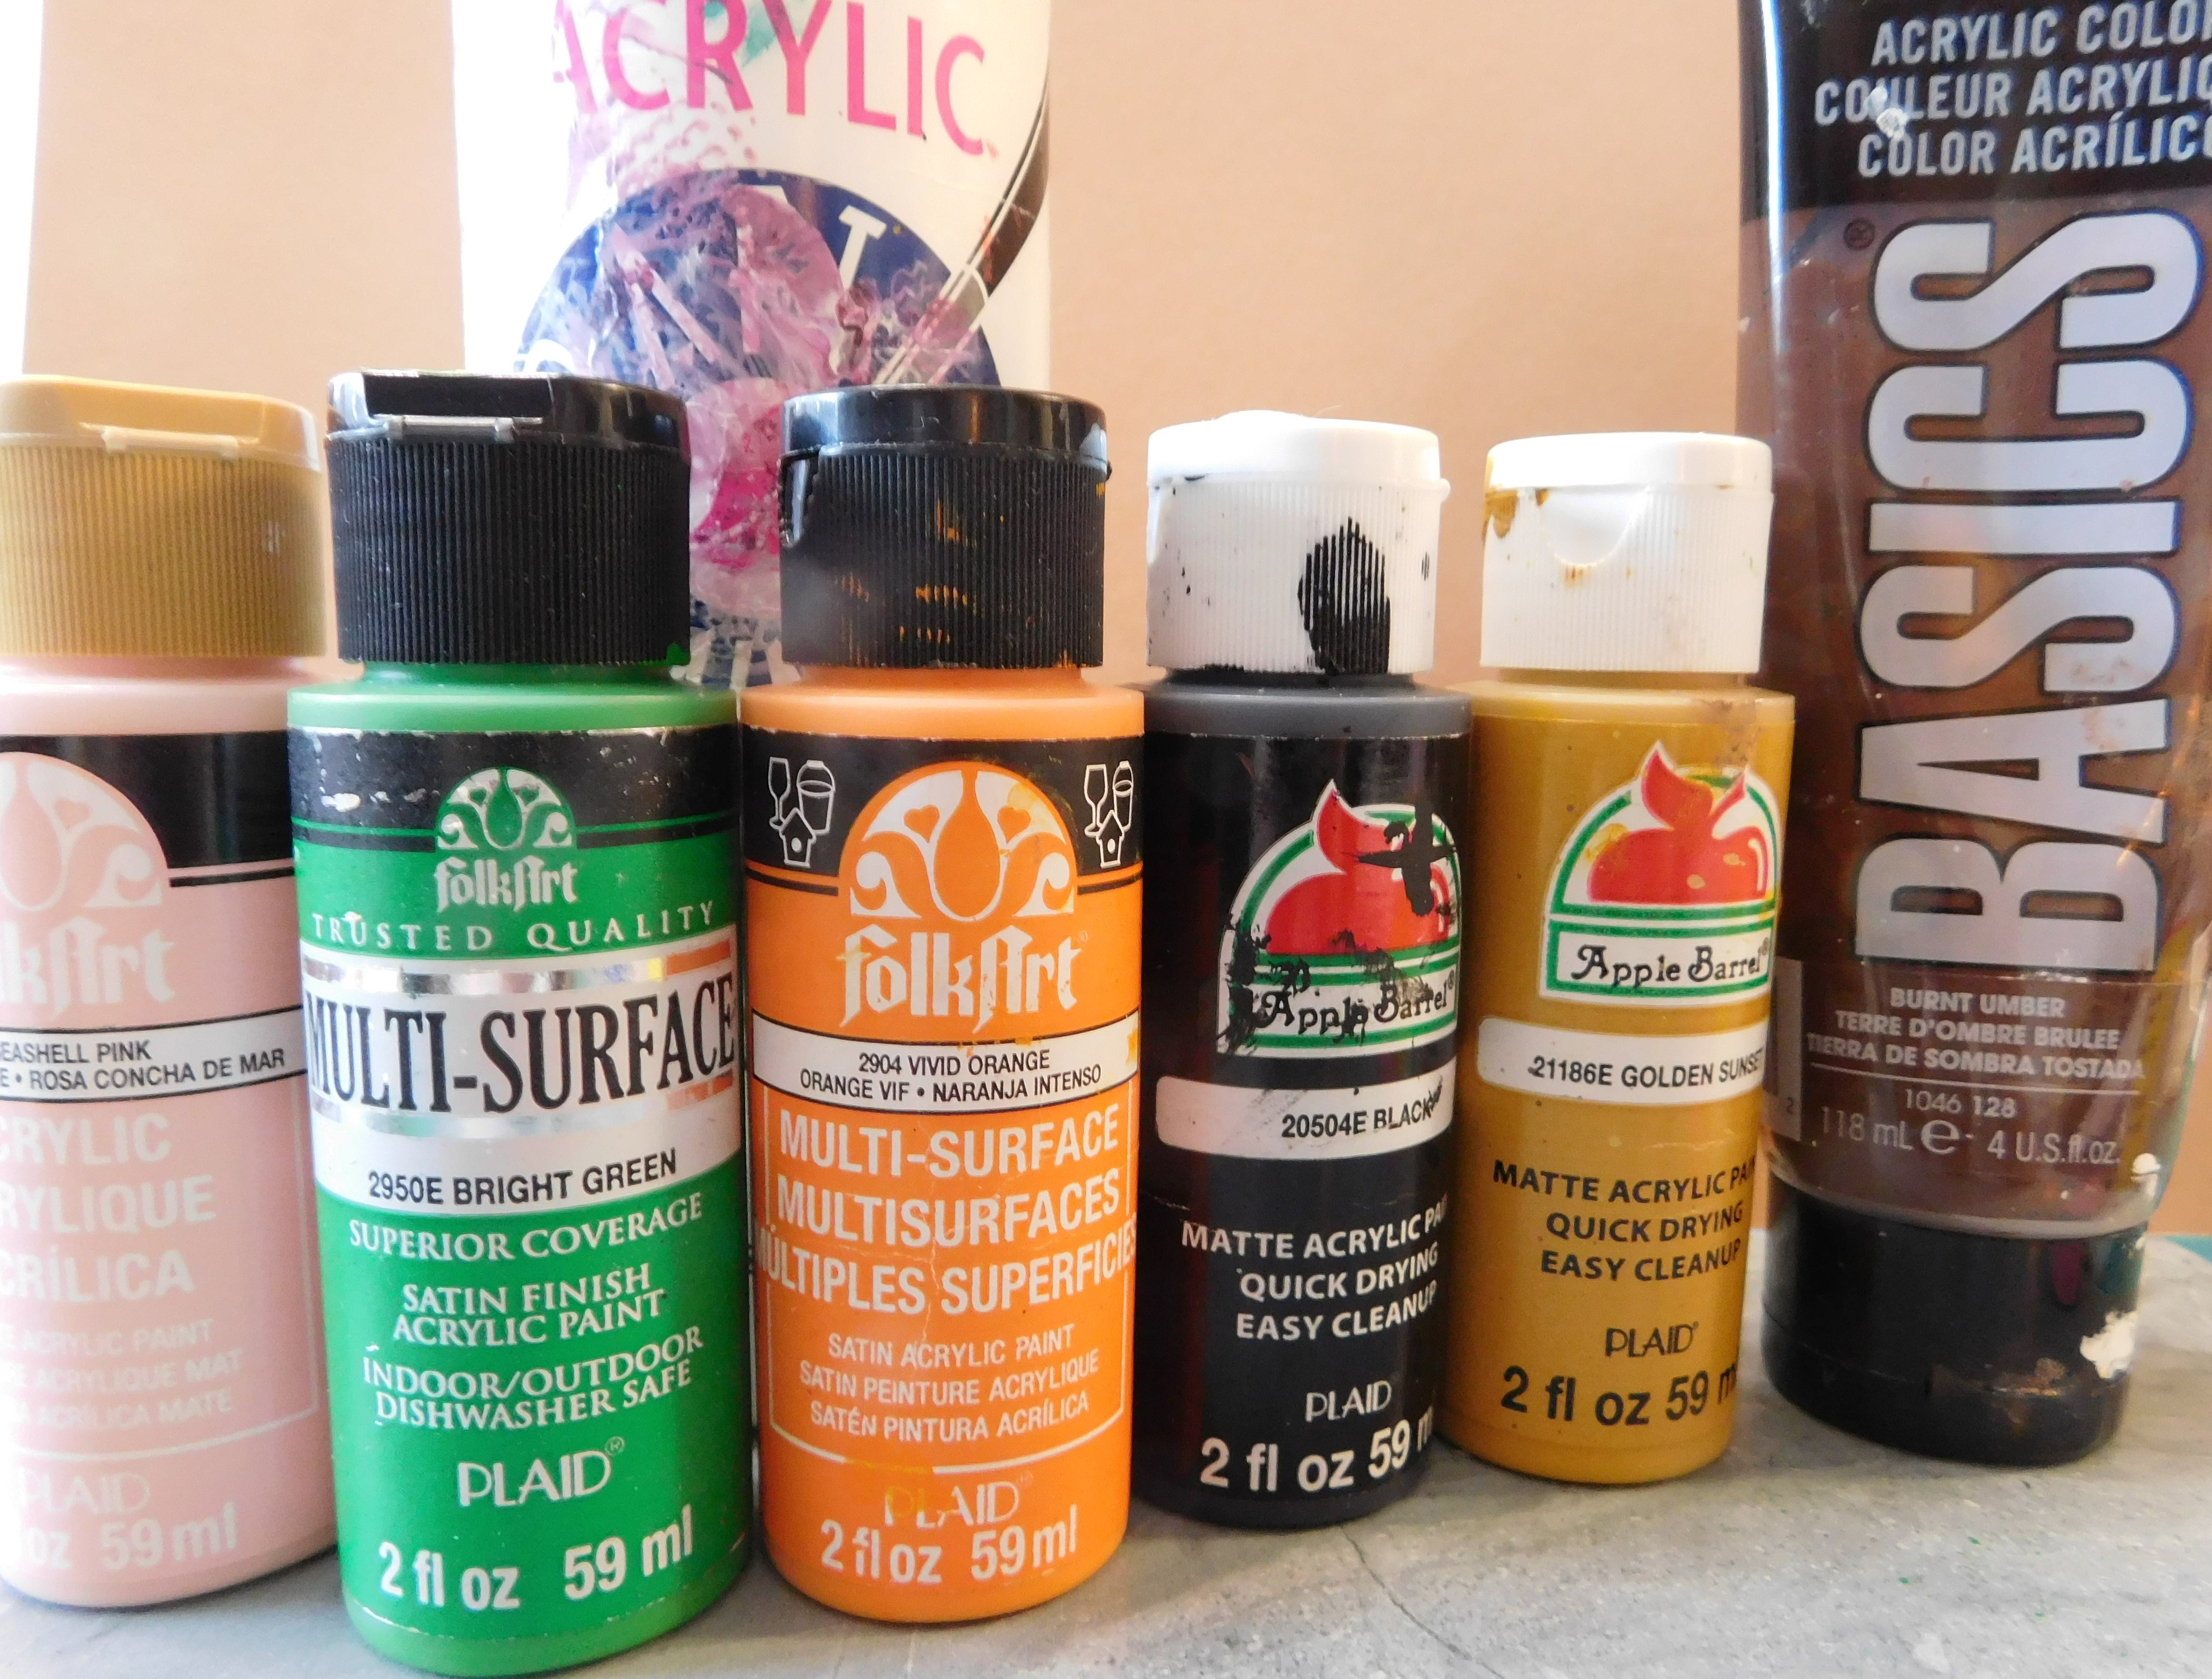
Now we can paint all the pieces in the colors of your choice. Here are the paints I used but you can make you bunny sign truly yours by picking different colors.

I like to set up a strip of sticky tape to hold the pieces in place for painting. Just be sure that the glue you used in assembly is totally dry. I also try to have most pieces partly off the tape to make removal easier. I also make sure to press the tape against something like my jeans to take some of the sticky away to help me in getting the pieces off the tape intact. I recommend grouping the pieces together by the color of paint you are going to use also.
Depending on the final look you are after and the paints you use you might need to use 2 or more coats of paint. Allow to dry completely.

Now we can add the lining pieces tot he ears and put the carrots together. This is a simple job of lining up the pieces and gluing them, allow the glue to dry.

Now we are going to prep to add the details. I like to add a thin coat of mat Mod Podge to the pieces I am going add details to. On this project that would be the bunny face and the carrots. This acts as a bit of insurance in case I mess up in the painting of the details. It is much easier to remove the paint from a sealed surface as opposed to a not sealed surface.

One the Mod Podge was dry I used a pencil to figure out placement for the facial features and the lettering I was going to paint on. Once I had everything placed in about the spots I wanted I used a very fine tipped dotting tool and some black paint to add the details. This also might need 2 or more coats to look the way you want. Allow this paint to dry completely before going the next step. (you don’t want to smear the details)

Once the paint dries completely we can glue most of the sign together. I found it was much easier to lay the backing “sticks” on some tape to line them up and have them stay in place while I added the face and the carrots to them. You can also add the tiny nose to the face now. Allow to dry until set.

Now add the ears to the back of the head piece in whatever angle you want. You can really give your bunny some personality by changing the way his ears are set.

Once the glue dries add a finish coat of Satin Mod Podge and allow to dry.

And here is the front porch of the Beachside Bungalow with the Easter items from this year along with the ones from last year.
As always I do want to sincerely thank all of you for watching my videos and reading my blog posts. It means so much to me that you are supporting me in this way. If I could ask you all to do just a bit more by subscribing to the channel and liking the videos and leaving comments. Those help more than you can imagine. Also if you could pass the links on to your friends I would appreciate it so much.
No comments:
Post a Comment