Check back often

Have you checked out all my blogs?


Dollhouse Minis: http://joannesminis.blogspot.com


18” Dolls: http://joannes18dolls.blogspot.com/


General Crafts: http://joannes-place.blogspot.com/


Cooking: http://joanne-kitchen.blogspot.com/


Also if for some reason I can't post I will try to give a head's up on the Facebook page so check there too.

Sunday, April 4, 2021

Building the Beachside Bungalow part 08


Watch the video here.


First I just want to say I am really happy with how well this house kit is coming together. I really expected to have more problems along the way. 


This week we put the porch beam in place.


 The first step was to get the base caps and porch posts in place. These really need to be in straight so I spent the extra time with my level and sandpaper to get the bases ready. The center base was enough off that I decided to put a shim in between the base and cap. A piece of one of the shingles was just the right thickness for this and works perfectly. You can't even see it's there now that everything is in place.


Next is the actual beam placement. I have to admit I was more than a bit nervous about this step. If this goes in incorrectly it can make the entire roof go wrong. This has to be straight and parallel to the house front in order to it hold the roof correctly. I did dry fit it several times before I turned the camera on. In the end it was really easy you just have to be really careful with your measuring. This is not the spot to “eyeball” it.


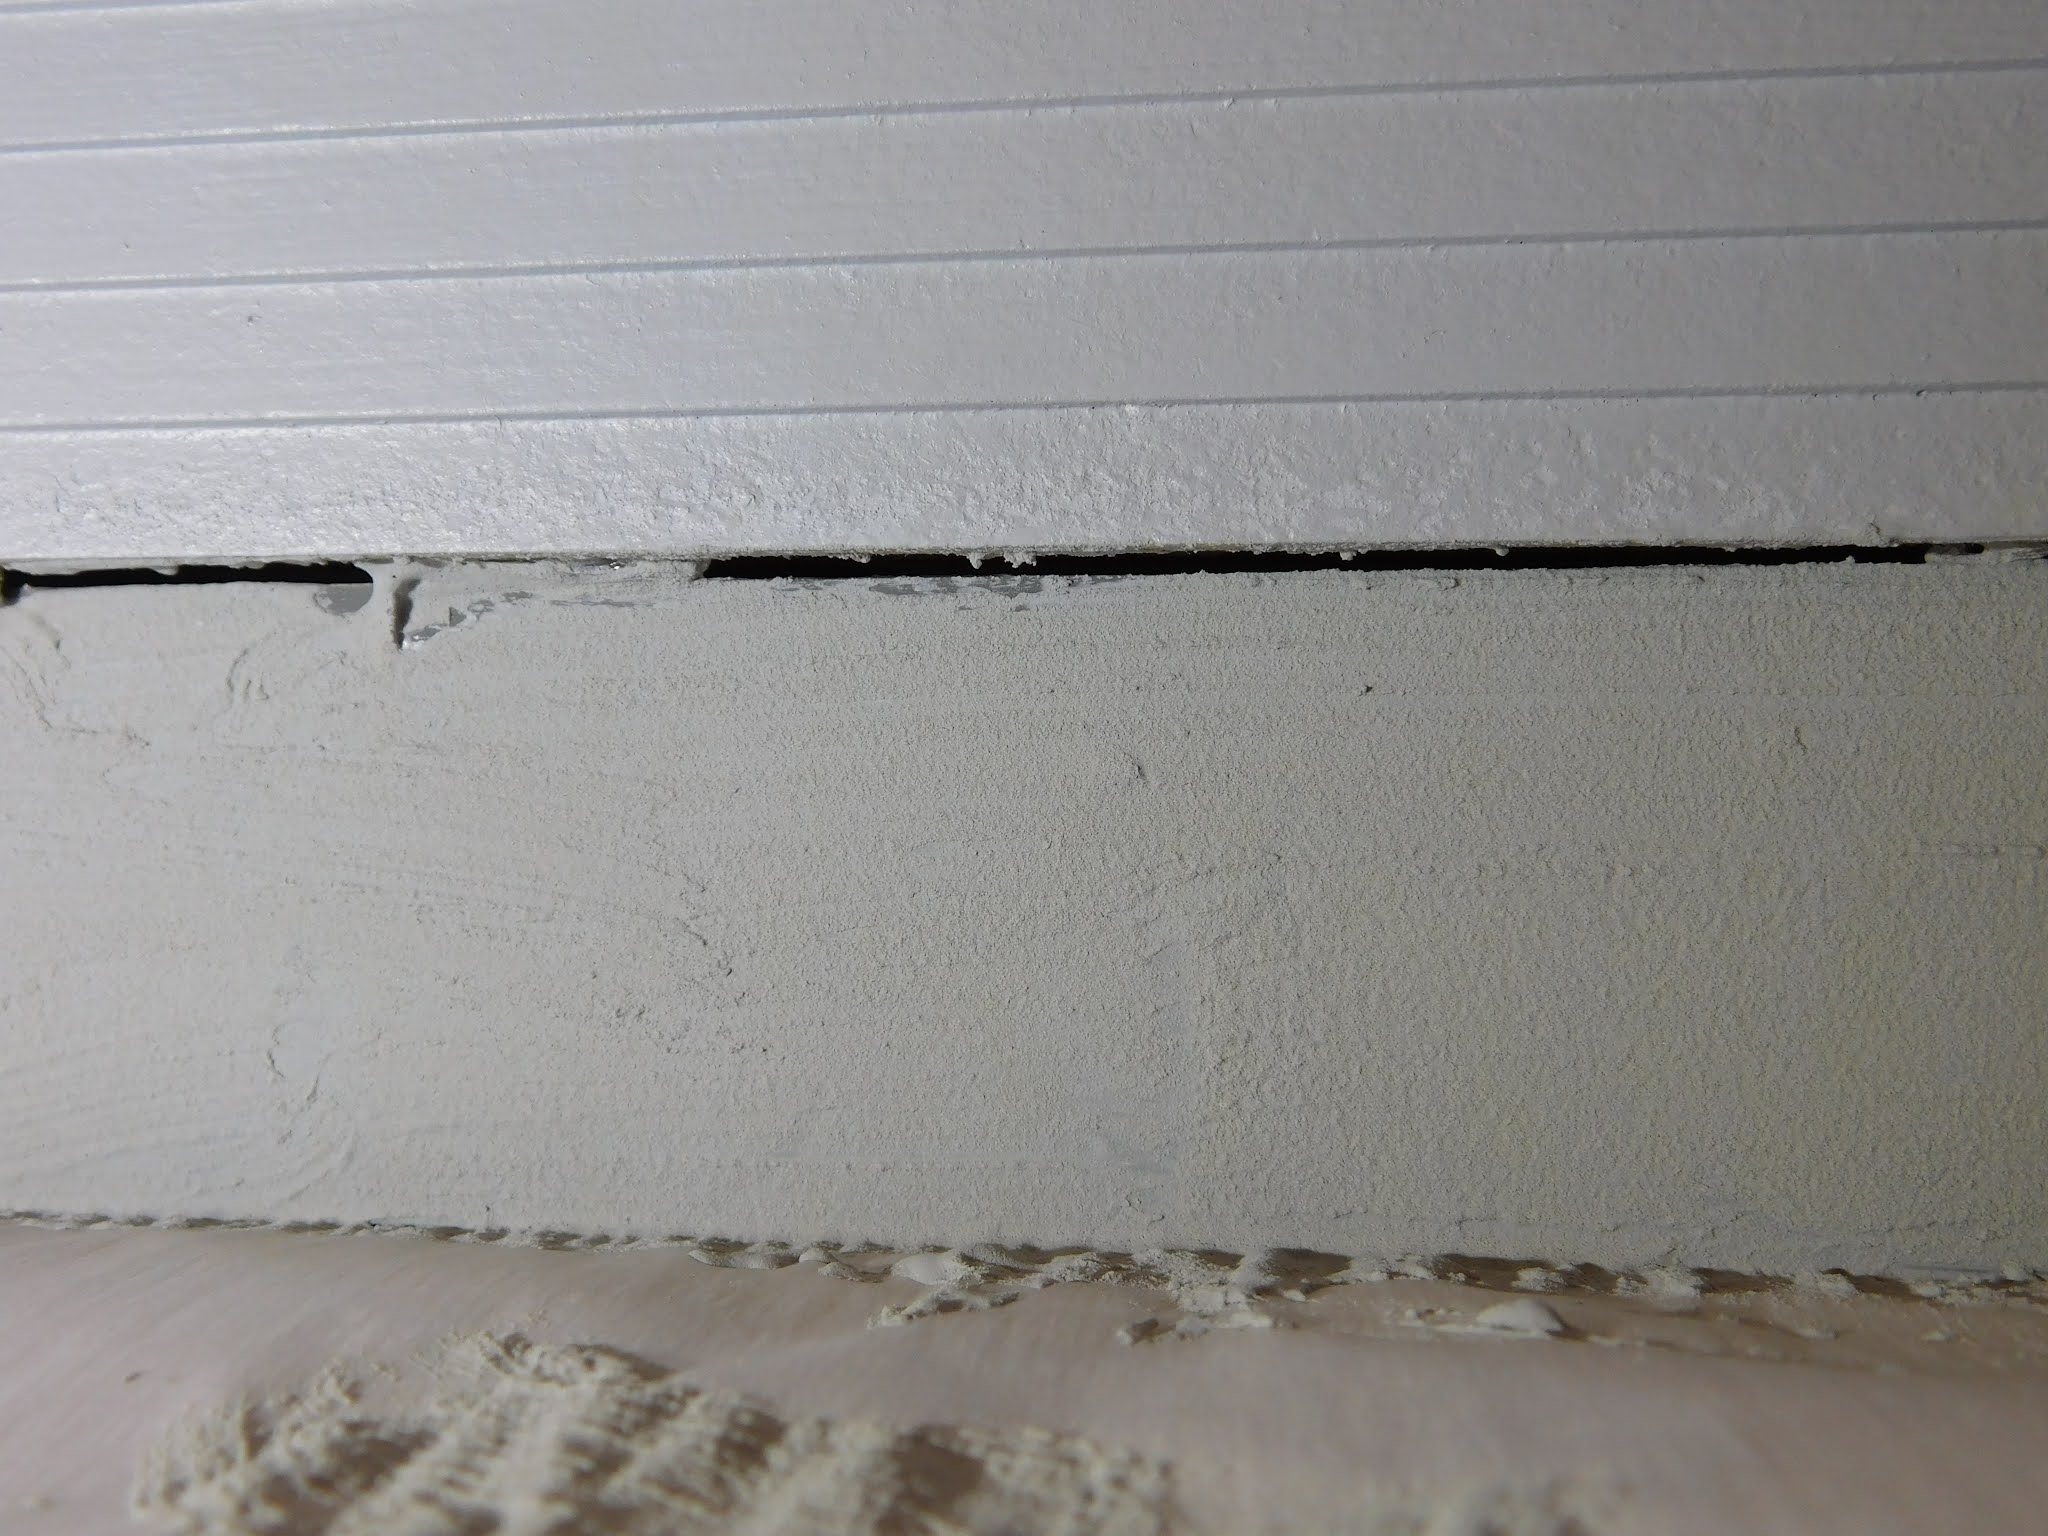
I did tackle a spot on the porch railings that were bugging me. My preference would have been to make the porch railings from a different material but I went with what the kit provided. You really can't paint the opening where the balusters go into the rails before hand because that could change the fit. And I don't think just painting the area would have made much difference. I had thought about filling all those little holes between the balusters before I installed the railings and I really wish I would have. I didn't do a perfect job on the fill and I might go back at a later time and make it better but I am so much happier now than I was before. It didn't take too much time, I just turned on some music and lost my self in the task for a while.


The last step today was to cut the side trim boards for the dollhouse. I am not going to trim my house out exactly like the kit directions say to but I will still need these pieces. They are way easier to cut now than it will be once the roof goes on. Getting that angle at the top is so important and relatively easy without the roof in place/in the way.


Now I am going to back on my soapbox so to speak. I see so many crafters on YouTube using regular scissors to cut wood strips and craft sticks. Please don't do this. It is just plain dangerous. Those regular scissors are not made to cut wood and can case a really bad injury. I've seen it happen and it was horrid. You don't want to spend your time or money going to the ER to get patched back up. Get the proper tools and use them safely. 


Tuesday, March 30, 2021

Changes Coming


I have some changes planned for the blog/YouTube Channel/ Facebook page starting in April. I am really excited about them and I hope all of you will be also.


First off I am going to add a new set of videos that will be on Tuesdays and I am going to call them “Tuesday Tidbits” these are going to be shorter (most of them will be shorter...) videos. My aim is to try for about 5 to 10 minutes but some will be longer and some shorter.


There will be a variety of topics, which I will try to keep as balanced as possible. Some of the types that are currently planned are: short tool tip videos, Q&A videos, hauls, reviews, dollhouse furniture flips, trash to treasure, and short tool tutorials. If you have any suggestions for other things to include be sure to let me know.


I do need you all to ask questions for the Q&A videos, I will save them up until I have enough to fill about a 10 minute video.


The other change that I hope you guys will find fun is I am going to try to do what I am going refer to as “Throwback Thursdays” for those there won't be any new videos but I will do a highlight post on the Facebook page about one of the videos that already exists on my channel. I know that with over 400 videos on the channel I can't remember what all I have. So I am going do a short post every Thursday starting in April where I will highlight one of the older videos and give the link to it. I know that some of you have been with me since the beginning but I bet you have forgotten about some of those earlier videos. And for the newbies, this will be a chance to see some of the older videos without getting too overwhelmed.


Anyway that's about it for today. I hope that you all enjoy these changes and will give me suggestions for things you'd like to see.


Sunday, March 21, 2021

Building the Beachside Bungalow part 07


Watch the video here.


This week we got to play with some paint so I am very happy. I was hoping to get a bit further in the build this week but the video was getting really long so I decided that the next steps will have to wait until future weeks.


Our first steps were to get those short side railings glued in place then we were able to mark the approximate place where they were going to glue onto the post bases. This was important because we needed to leave a bare space to glue the railing to the post bases. One bit of caution I have for you is to be very, very, very, very careful around those railings until you get the post bases glued on. I can tell you from experience they will get knocked off really easy and that might damage the siding where they are glued on. I was able to fix it so it is all good but just be careful.


The best part of this week's tutorial for me was getting to mix up my paint concoction. I love this stuff and I have made it up several times lately to do non-mini crafts. It looks great in a lot of different uses. I know this has been around for a long time but it had been years since I last played with it, now I keep finding places to use it.


My paint mixture just contains 2 ingredients craft paint and baking soda. For the texture we used here I try to get the two to be about equal parts. I know once you try this you are going to use it a lot.


Here is an extreme close up of the texture of this paint. I hope you can see how cool it looks.


Those of you that really pay attention can probably tell that the chimney portion was filmed earlier. It was actually supposed to go into last week's video but I didn't get the other stuff finished that I wanted to do before it so it had to wait for this week.


So here are some more photos of what we got done today. I hope you are enjoying the series and learning something along the way. Be sure to share links to the videos and blog posts to any of your friends that would be interesting in them.


And be sure to come back next week for the next part of the project.


Sunday, March 14, 2021

Building the Beachside Bungalow part 06


Watch the video here.


This week's video did not go as I had planned at all. I had a list in my mind of what I was going to do this week and most of it is not in here. I bet we all have those weeks though.


I start the video off with a mini haul of a couple of things. I am so glad I picked up the Dollar Tree table cloths. I can cut them in half so I get two out of each. They are very thin but they offer some protection for my table from the work I am doing on the doll house. I also got a roll of kraft paper to use on top of the plastic table cloth to work directly on. I wish I would have thought of this a long time ago. So much easier for clean up and it gives a good work surface that my colors show up well on. I hope it works well for the video.


I went to Lowe's to pick up my paint. I knew I was going to get the sample size containers of the paint, they are perfect for our dollhouses. Since they are the same paint the store sells for real size houses it is excellent quality. I know that Home Depot also has these (at least they did last time I looked) I am not sure about other stores.


I went to the store planning to get a container of white for the trim and 1 of gray for the body of the house. The white was easy and the one I went with is called Winter Dawn. Then I ran into problems I couldn't choose a gray. I found 2 that were really close to what I wanted and they were on the same paint chip card so they are closely related. One is called Voyage, it is a bit lighter than what I was hoping for. The other color is Drizzling Mist, a bit darker than I wanted but again really close.


The white paint went on really well and I am very happy with it. It gave excellent coverage even with the thin coats I was using. I love how crisp it looks.


Then I moved on to the body color. That was where things didn't go as planned. First I found that the roller I have been using wasn't working very well with the thicker paint. It was going on way too thick. I dug out brush and did the rest of the application. I knew as I was putting the paint on the dollhouse I just wasn't happy. I know paint tends to dry darker but this was going on really light. I had more than a few moments of panic. I even posted on the Facebook page about it. The next morning it was better but just not right. I was going to just go with it. I decided to do a bit of sanding since the walls were a bit rough for my liking and then I was going to give it another coat of the paint.


As for the sanding I find the best way to sand the siding is to wrap a bit of sandpaper around a large craft stick or something similar and use that to sand each and every layer of the siding. It really doesn't take too much time once you get started.


Then I got ready to paint. I took another look at both the paint and the two craft sticks I had sampled the paint on. Then I made the decision to combine the two paint colors. I had used about half the container of the light color on the first coat. I added some of the darker color and stirred it a checked the color until I was happy with it. In the end the container was about ¾ full so I would guess I used 1 part of the dark to 2 parts of the light color.


I am so much more happy with the color of the house now. I am still going to make the foundation color a bit lighter than I had originally planned but this is much closer to what I had pictured for the color.

Sunday, March 7, 2021

Building the Beachside Bungalow part 05


Watch the video here.


This week we start out with gluing the front of the house to the shell. I was really worried that things wouldn't line up correctly since I couldn't actually check inside the house the way I had it laying on my table. I did my best to look as much as I could and I was somewhat confident that it was lined up. So when I turned it over to that yes, it had indeed lined up really well I was very happy.


Since this area was easy to line up and gravity was working with me instead of against me I didn't feel the need to use my “2-glue” method.


Same with when we go the point of gluing the shell to the foundation, gravity helped to hold until I could add weights. And once again I am very happy with the way everything lined up. It is really starting to look like a house.


I decided to go ahead and do the marking of the roof pieces for the shingles today too. It needs to be done before we glue the pieces onto the house. I am holding off on priming the outside roof pieces because I just haven't decided what color my roof will be. I want to make sure I prime the roof in a color that is close to the color of the shingles. That is just in case my shingles don't line up perfectly I didn't want white primer showing between my shingles. Right now I am leaning toward a gray tone for my roof but I haven't decided. I think once I paint the outside of the house I will put a poll up on the Facebook page and have you guys let me know what you all think.


Note from future me:


If you are reading this now, I just want to say I actually marked the wrong side of the front roof piece and the porch roof piece. I'll explain more about that in part 9 of this series, (should be released on April 11, 2021)


Sunday, February 28, 2021

Building the Beachside Bungalow part 04


Watch the video here.


This week we begin the process of building the shell of the dollhouse. I start by priming the wood pieces that will be used in this step.


After the primer is completely dried we begin the process of gluing the shell. I highly recommend that if possible you get a buddy to help with this process. I was able to get it in the end but it would have been much easier if I had an extra pair of hands and eyes. The pieces are large and it is hard to make sure everything it lined up correctly in all areas while the glue is still workable. This is especially true of the hot glue. I don't normally get anywhere near a hot glue gun for my mini projects. However in this case I needed something that would hold the pieces until I could glue them. I did have to peel off glue in places and reapply because I wasn't fast enough and the hot glue set up. I am glad it is so easy to peel away. (side note I am proud of myself that for once I didn't burn myself with the glue gun) Also there were many words uttered that could not be in the final video, LOL.


Be sure to use plenty of masking tape to help hold the house together while the glue dries.


On this kit it is important to assemble it with the back of house against your work table. There is supposed to be a bit of the floors that comes out past the side walls that will attach to the front piece. I am not confident that mine sticks out as much as the directions say but we will cross that bridge next week.


I did do a dry fit of the front piece before the glue from today's work had dried to make sure everything will line up next week. I am really looking forward to seeing this project come together. I really need to start making my finial decisions about paint color in the very near future.


As always if you have any questions be sure to ask me.


Also feel free to share the links to the video and blog with your friends that would enjoy it. I really want to grow both the blog and the YouTube channel over the next few months.


Friday, February 26, 2021

Primer and Why I Am Using It


I have gotten more than a couple of questions privately about why I am using primer on the Beachside Bungalow build. I am aware that the kit manufacturer states that primer is not necessary and they site the reason that paint will stick to the wood just fine without it. In my opinion that is just one of the reasons to use primer and in this case it is not even on my list of reasons.


So why do I use primer?


What ever is the first coat on those pieces of wood is going to soak in much more than later coats. The first coat seals the wood surface for the later coats. Primer is typically a little bit thinner than the paint I will be using for the final finish and is designed to soak in. For the exterior of the house I will be using latex paint that is designed for use in real size houses, the kind you would use to paint the interior walls with. This paint is designed to work best over a primer. In fact most of the latex paints will cure which means they undergo a chemical change as they dry. This chemical change is dependent on the paint drying at a normal rate. If the surface is not sealed the paint soaks into the wood and therefore dries much faster. This will effect how the paint cures, how it looks and how well it holds up over time.


If you have watched any of my build videos before then you know that I paper all of the interior walls of my projects. This of course requires some kind of glue. Just like I don't want the paint to soak into the wood I don't want my glue to soak in either. Without primer the glue I use to adhere the wallpaper might not work correctly, it might cause my paper to bubble, to not discolor, or possibly even to not stick at all. In any of these cases I would then have to take all the paper I had put up down and start over.


Another purpose of the primer is to help hide my tape-wire. If I decided to use a light colored paper on the walls that the color of the tape-wire shows through I can simply paint a coat of primer over the tape-wire to help hide it. If the wall was not primed this would be a much more involved process.


Also for me starting with the plain white coat of primer allows my imagination to flow much better. I can “see” more options for what I want to do with the house if it is all a very neutral white, like a blank sheet of paper.


So those are at least some of the reasons I am priming all the surfaces on the Beashside Bungalow as I build it.