
I have another free pattern for you to download so you make the project. You can find the file here. In the download there are 3 files: a PDF for hand-cutting of the pieces, a PNG to use with your electronic cutting machine and a text file with handy hints and tips (and the sizing information) to use the PNG.

As with most of these projects I cut all the pieces from medium weight white card-stock, the kind used to make cards and such. This is way more economical than having to purchase a bunch of colors and in my experience the paint colors are a lot more stable than the paper colors. I rarely get noticeable fading with the painted projects.
You are free to use the pattern as many times as you wish and even to sell the finished project. But, please don’t give away or sell my patterns. I spend a lot of time creating them and the only compensation I get is from people watching the videos and checking out the blog post. I really want to keep offering these for free so please if someone else wants to make one send them to the video and blog so they can get their own copy of the pattern.
As is the case with most of these projects the first step once you have you pattern prepared and cut is to glue the layers together. Just take your time and line up the edges as well as you can. Once they are glued I usually put them under a weight to keep everything nice and flat as they dry. Once dry we can prep to paint.

To get ready to paint I like to put all the pieces down on a piece of tape that is taped to my work tile sticky side up. This holds everything in place until I am ready to work with it. I did use a little piece of Washi tape for the single layer ear liner pieces.

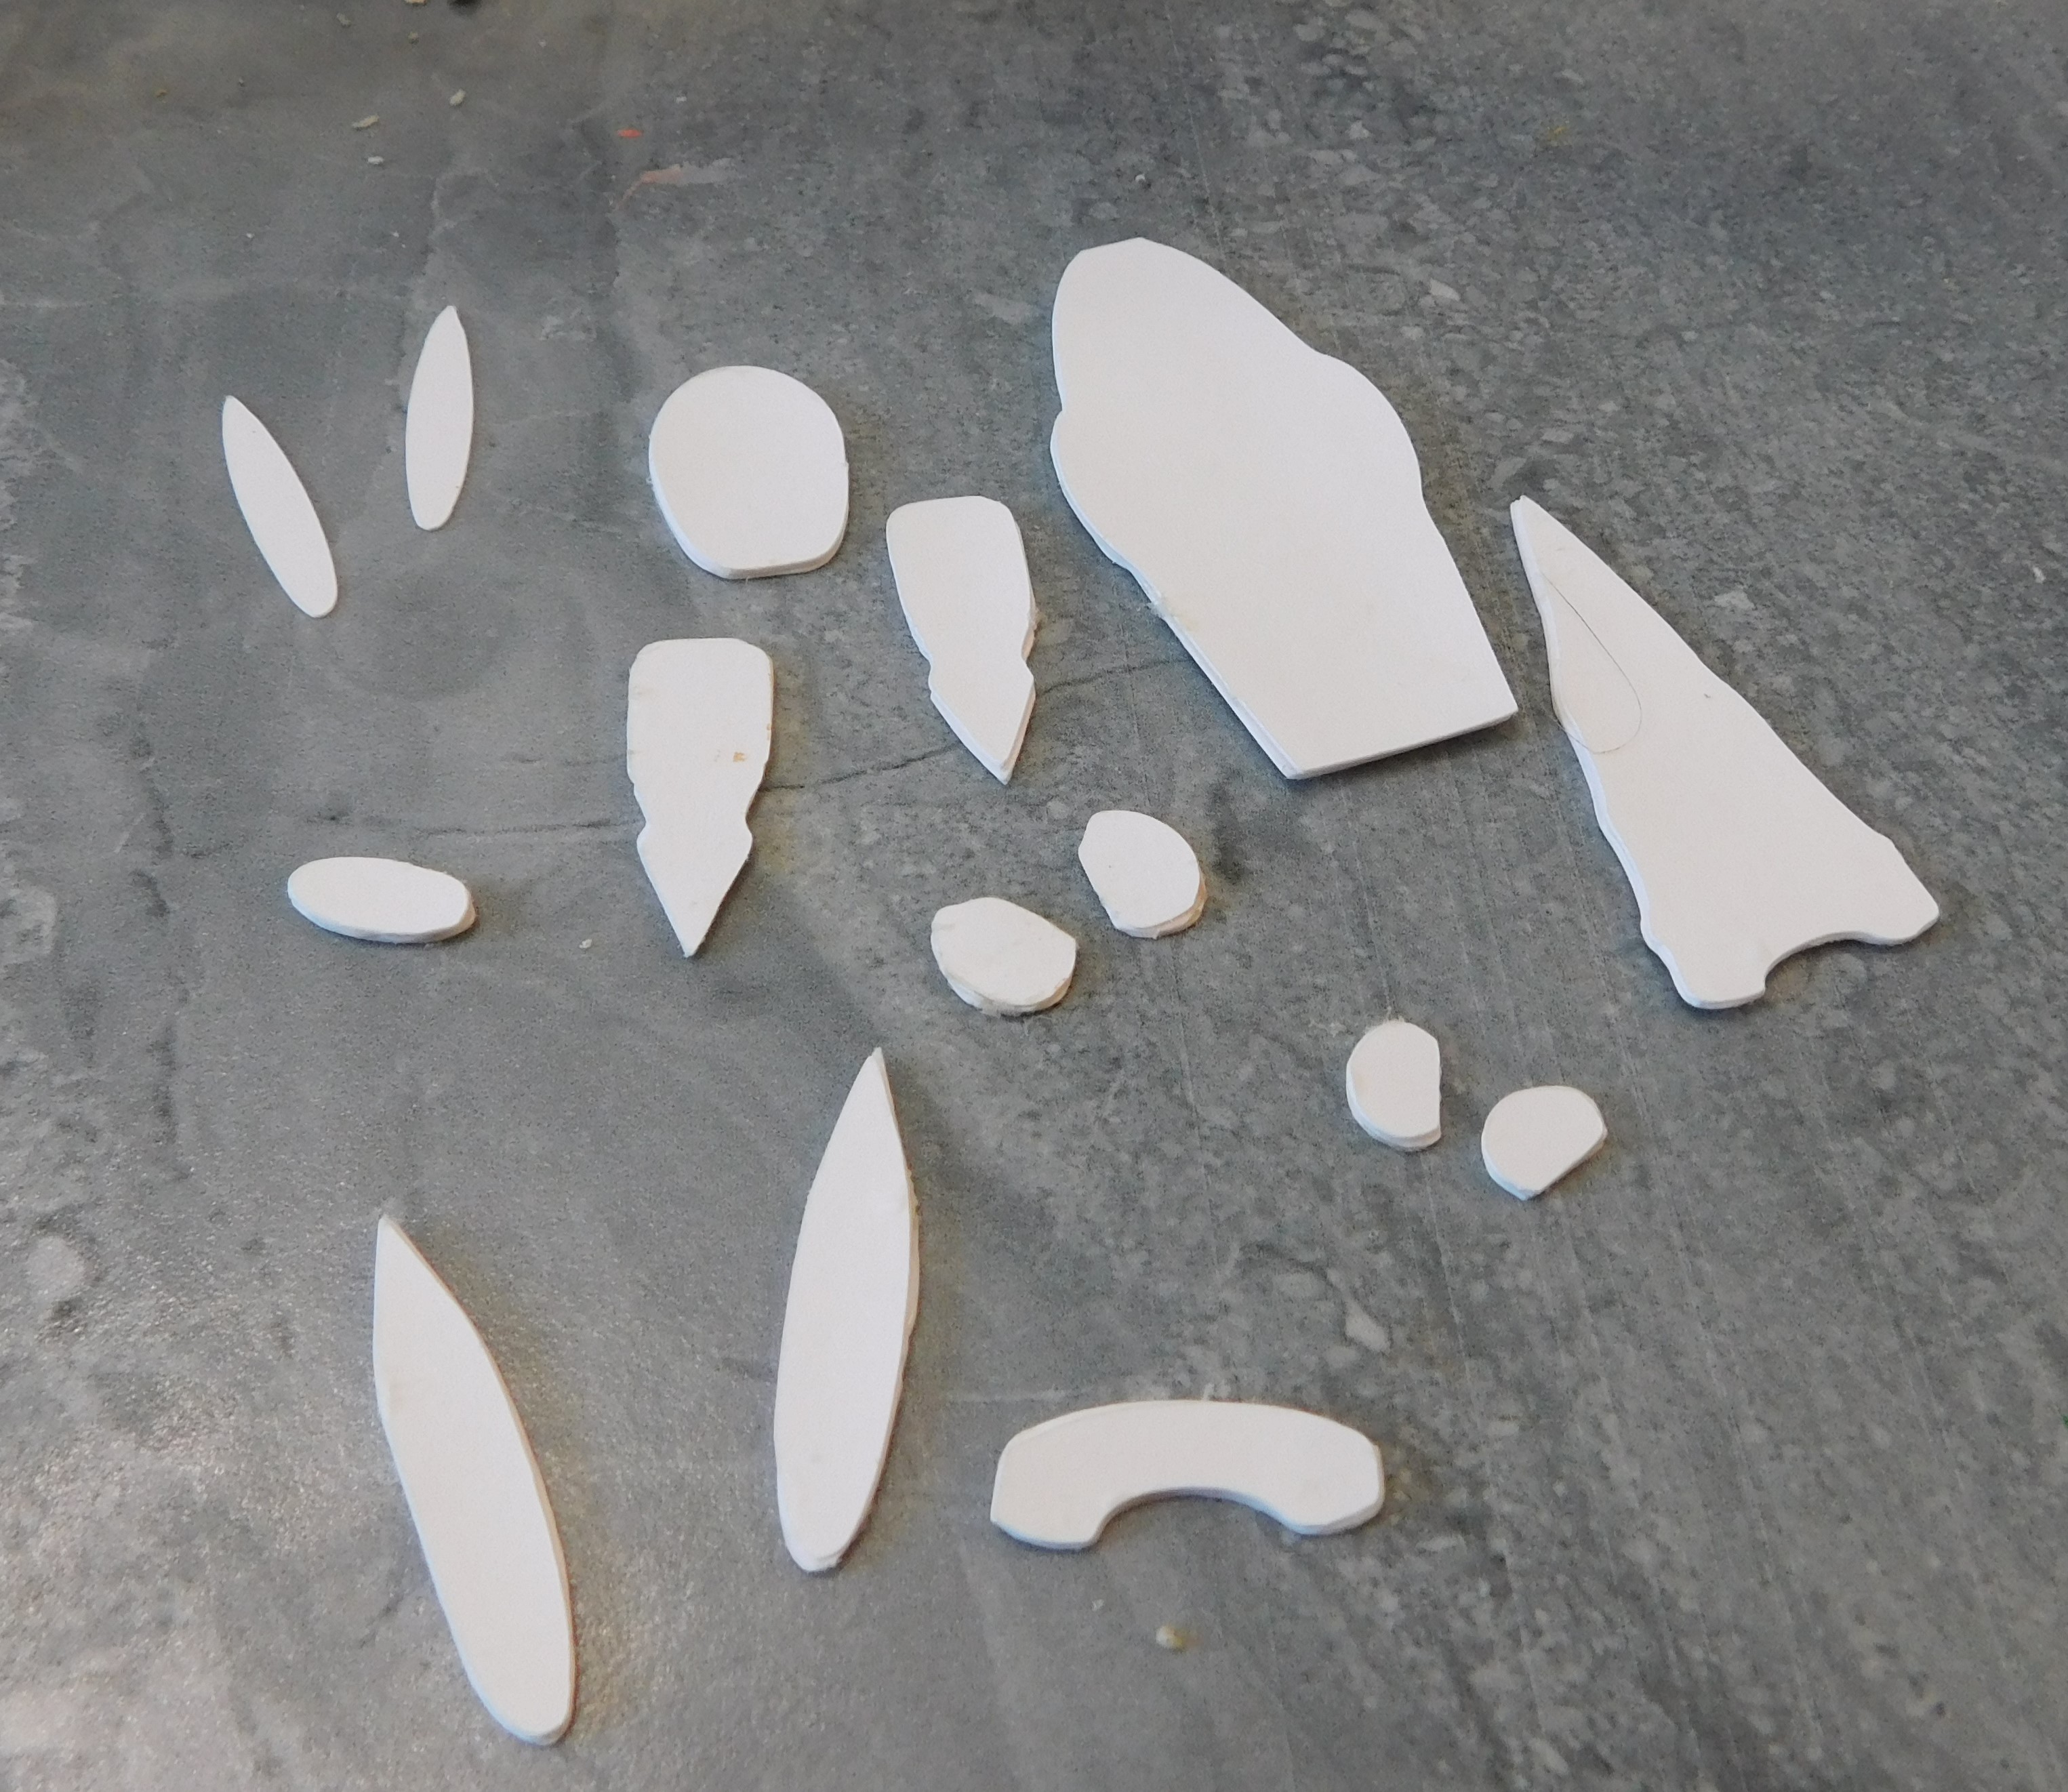
I painted the pieces as follows:

ear liners a pale pink

Easter egg a pale yellow

ears white

hair a golden yellow

hands and nose a flesh color

hat brim a medium blue

hat a pale blue

body/back a medium pink

and the shoes black
Once this paint was dry and I was happy with the paint coverage it was time to go on to doing some decorative painting.

I kept the decorative painting really simple just some lines for hair ties on the hair pieces, dots on the egg, and a very simple flower on the hat (which I then managed to pretty much cover up with the ears…)
Once dry it is time to start assembly.

The first thing to put together is to add those liner pieces to the ears. I like to line them up at the bottom of the ear and try to keep them centered side to side. Set those to the side to set up while we start adding to the hat. By the time we are ready for them they should be set up enough to add.
Start by lining the hair up the way you want it, I like to put mine on a piece of tape to make sure they stay where I want them. Then add some glue to the back of the hat at the bottom edge and place it on the hair pieces. Then add the nose into it’s little area just under the hat. Since this hat has a brim add that next. Then add the ears with the bottoms touching the top of the hat brim. Allow this glue to dry enough that the pieces won’t shift when we are adding this piece to the body.

Once the hat part has set up it can be added to the body piece along with the shoes. Again if you have time I recommend letting this glue set up before moving on.

The last pieces to glue on are the Easter egg and her hands then the project needs to dry completely before going on.

The last step before we display this little lady is to add a coat of a clear finish. I like to use Satin Mod Podge for this.

Once she is dry she can take her place in you mini scene. I think she looks right at home with the rest of our Easter decorations on the front porch of the dollhouse.
As always I do want to sincerely thank all of you for watching my videos and reading my blog posts. It means so much to me that you are supporting me in this way. If I could ask you all to do just a bit more by subscribing to the channel and liking the videos and leaving comments. Those help more than you can imagine. Also if you could pass the links on to your friends I would appreciate it so much.
No comments:
Post a Comment