
This week we are putting the roof pieces onto the house. The back roof piece went on without any problems.


Then I got the front roof and the porch roof. I had put the back piece on in the afternoon intending to proceed with the front sections in the morning. As I was getting ready to head to bed I decided to do a dry fit of the front roof and porch roof pieces to see what I was going to be doing in the morning. That was when I discovered a mistake I had made back in video 5 of this series! I had primed and marked the wrong sides of these 2 pieces.

Crap,
that meant that what is supposed to be the inside had a bunch of
pencil lines drawn across them and that the side that was to out for
the shingles to be glued to was white and had no placement lines.
There were multiple words spoken that can not be on YouTube (at least
not if I want to remain monetized...LOL) So instead of going to bed I
primed what is actually the inside of the roof with my primer. I then
had to wait for that to dry enough to flip it over because I needed
to cover that white primer. If it had not be covered there is a huge
chance it would show between my shingles and I don't want that. Then
I had to get creative, what was I going to cover the white with?
Well, I know that I will probably be using some shade of grey or
black on my shingles. So I poured a bit of my primer into a container
and added a bit of black craft paint then a little white until I had
a grey that would cover the white. After giving the roof panels a
coat of that paint I was finally able to go to bed a bit later than
planned.

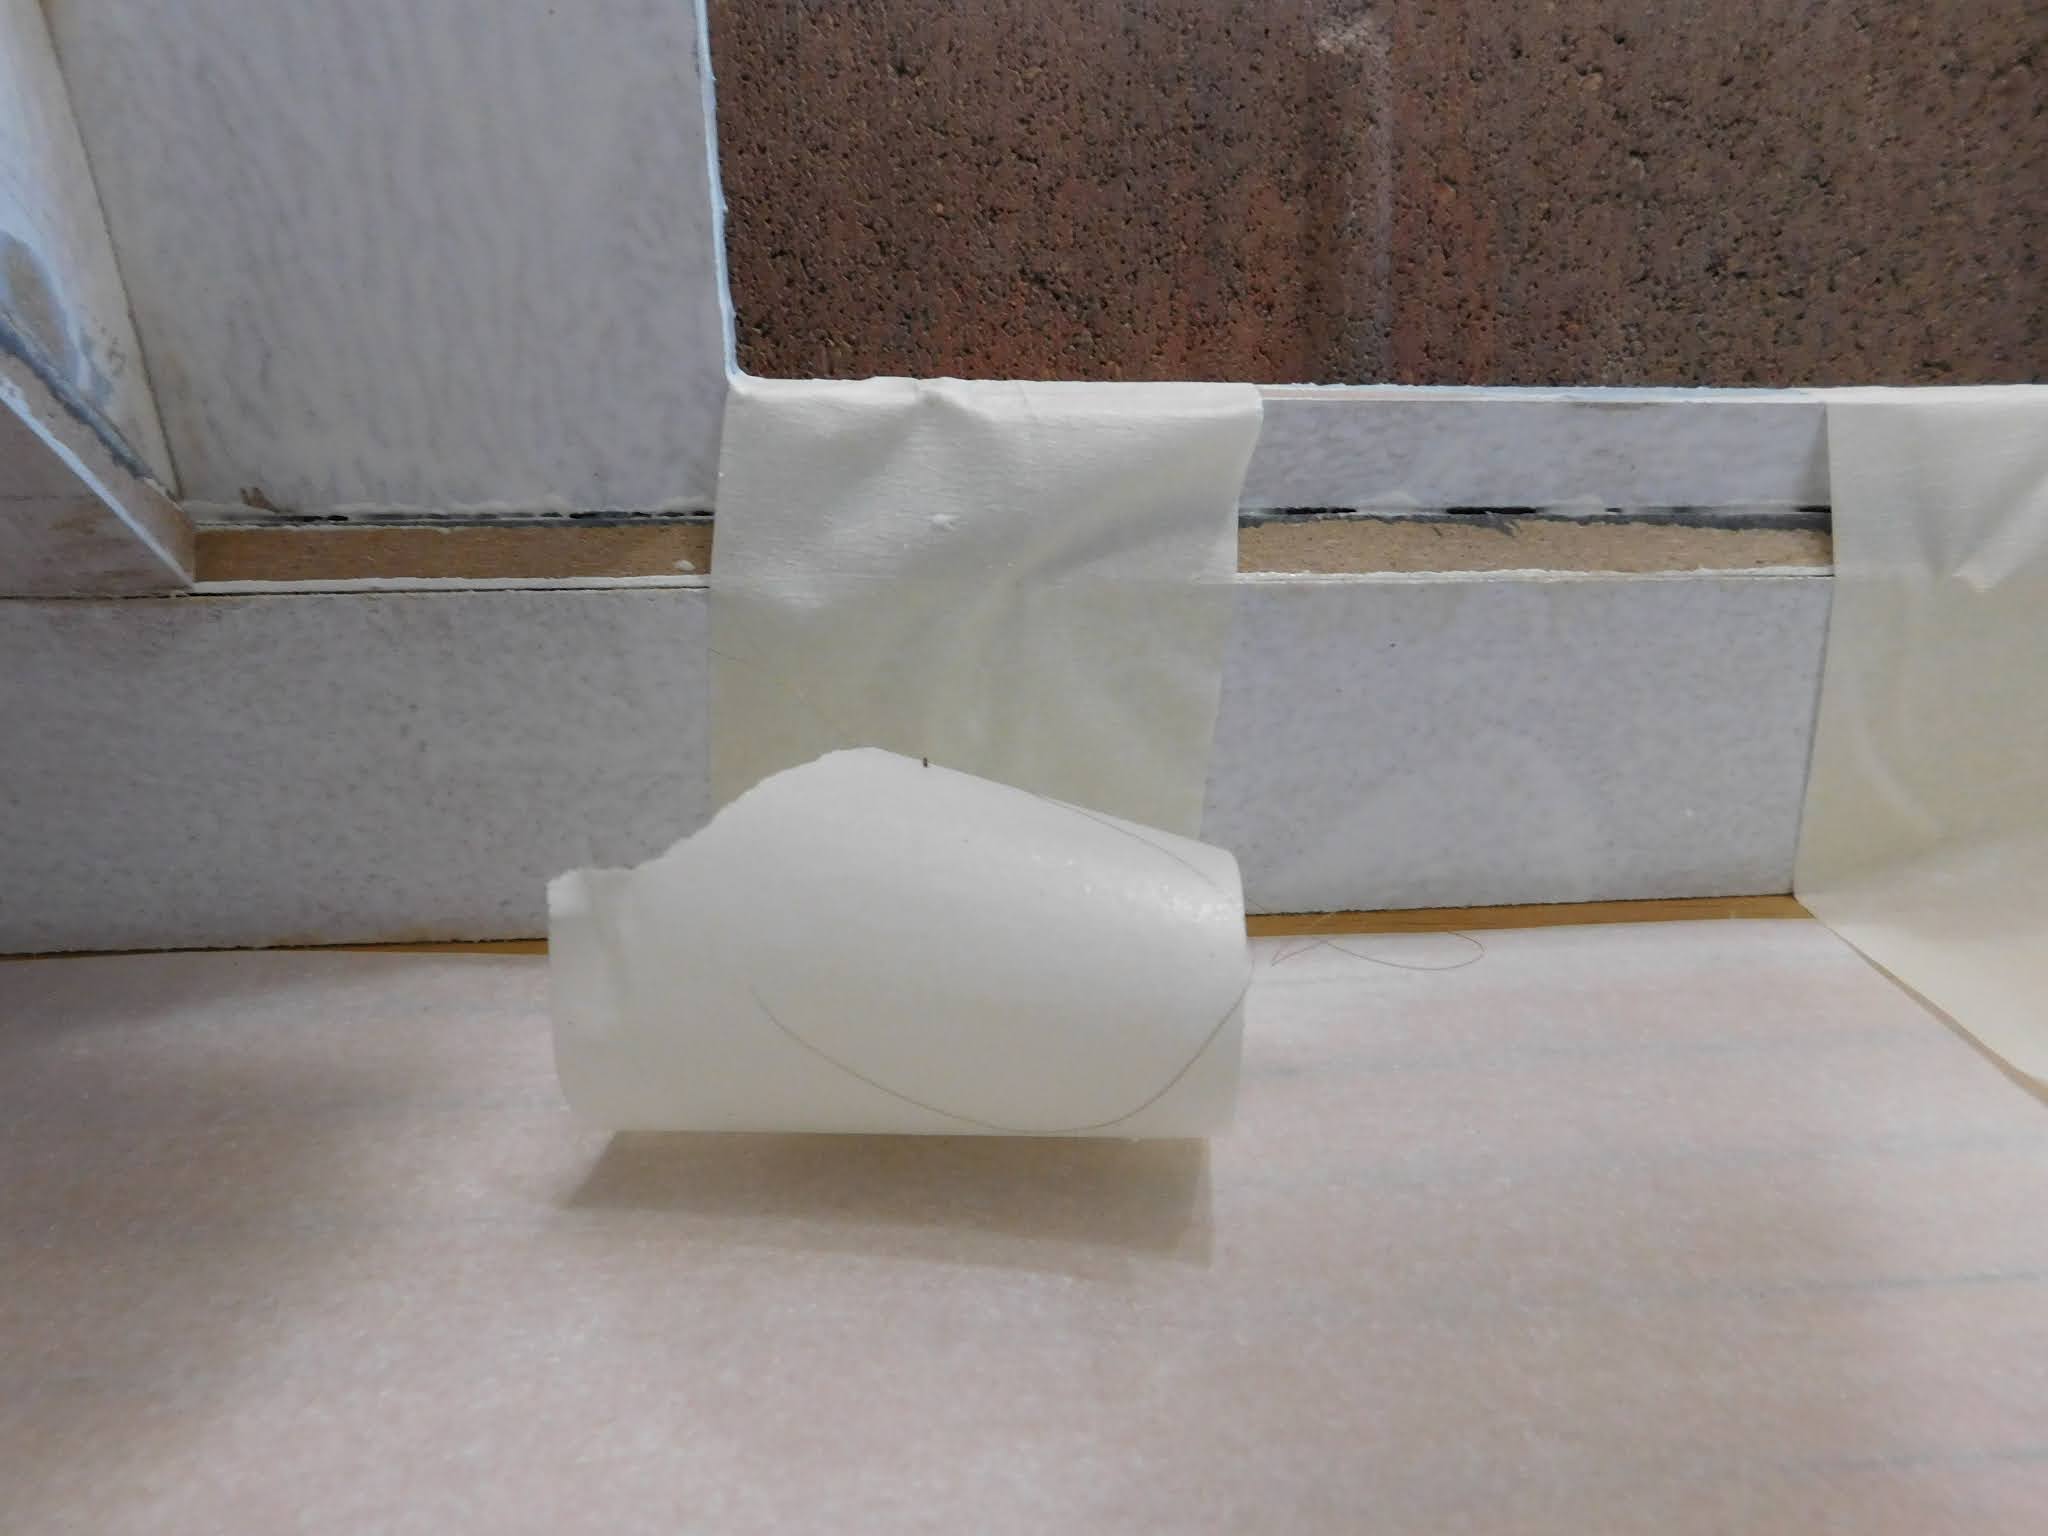
The first step for the front panels is not to glue them to the house but to glue them together at the correct angle. This was fairly easy, I did use a lot of masking tape and I added some weight in the form of a couple of bricks to make sure the pieces are at the correct angle. Then it was just a matter of keeping up with wiping up any glue drips and waiting for the glue to dry completely (I decided to give it a full 24 hours since I want it to hold up when it take it off to glue it back in place.)


The last step for today's video was to put the roof on the dormer. I painted it with the same grey primer mixture I had made up for the front roof. (I also painted the back roof panel off camera too) and re-drew the shingle placement lines. The roof went on pretty well. The instructions suggested using the attic wall pieces to help hold it in place but I just couldn't get that to work. I used a bunch of tape instead. I did notice while watching the footage of the video back in preparation for editing the video that there is a space between the front wall of the dormer and the roof piece. While I wish I had caught it sooner and glued it better it will be a really easy fix which we will do on a future video.


The house is really starting to look like a house at this point. I am still deciding on how I am going to trim it out. I have a handful of pictures of real houses, most are real houses located on the Oregon coast that I am using for reference. There are a couple in particular that have caught my eye and I am probably going to base the way I trim this house loosely on how they are trimmed.
I hope you are enjoying this series and learning at least some things from it. I would appreciate it if you passed the links to my channel and/or my videos on to your friends that would enjoy my tutorials. Thanks in advance for that and also a big thank you for watching the video and for reading my blog post.
No comments:
Post a Comment